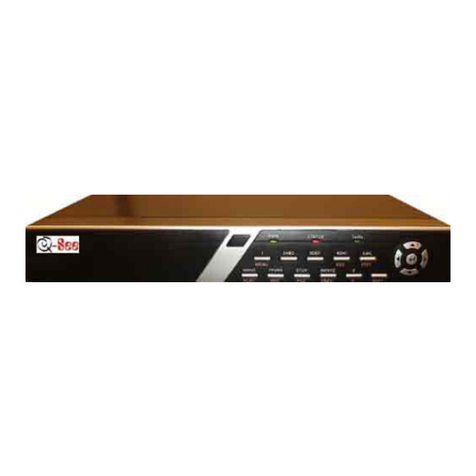
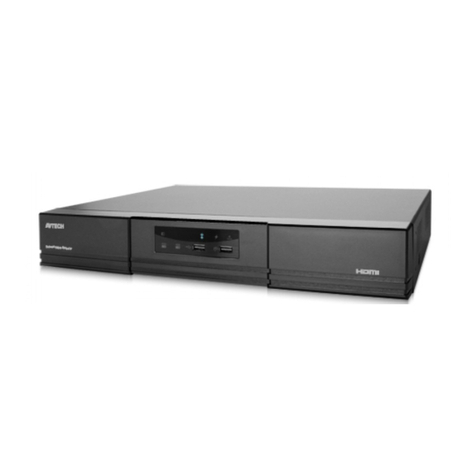
Smart view iSC-NVR2316-T User manual

1
SmartVIEW NVRs
Quick Installation Guide
iSC-NVR2316-T / iSC-NVR2532-T
iSC-NVR2532-U /SC-NVR2532-R
iSC-NVR2532-A / iSC-NVR2532-D
Version 1.5
Copyright © Ingrasys Technology Inc. All rights reserved.

2
1. How to Start?
Thank you for using SmartVIEW NVR.
Following steps are for bringing on this system from storage setting to starting recording and
live viewing. Details will be described in following contents.
Hardware preinstall & power on
RAID setting
(for iSC-NVR2532-R/A/D)
Windows partition setting
Enable SysGuard
NVR quick setting by Installation wizard
Enjoy your surveillance system

3
2. Package Contents
Following items should be included in your SmartVIEW NVR’s accessory content. If any
component is missing in your SmartVIEW NVR package, please contact Ingrasys Technology
Inc.
Model No.
iSC-NVR2316-T
iSC-NVR2532-T
iSC-NVR2532-U
DVD-ROM
Power Cord
HDD Srews
HDD tray keys
RJ45 to RS232(option)
Rackmount screw set

4
Model No.
iSC-NVR2532-R
iSC-NVR2532-A
iSC-NVR2532-D
DVD-ROM
Power Code
HDD Srews
Slide Rail
Slide Installation Guide
Rackmount screw set
RAID card driver
RAID card Quick
Intallation Guide

5
3. Pre-install Notice
Before installing SmartVIEW NVR, please make sure the following items are ready.
Network connection
Well-configured IP camera(s)
A computer monitor with VGA interface
A USB mouse
1~24 3.5”hard disk(s)
A screwdriver

6
4. Hardware Interface
4.1 NVR2316-T
A
Power switch
B
Power LED
C
Reset button
D
System read/write LED
E
Front cover for 4 x 3.5”lockable HDD trays
F
2 x USB 2.0
G
Power socket
H
LAN
I
LAN
J
VGA
K
4 x USB 2.0
L
COM
M
E-SATA

7
4.2 NVR2532-T
A
Power switch
B
Power LED
C
Reset button
D
System read/write LED
E
Front cover for 4 x 3.5”lockable HDD trays
F
2 x USB 2.0
G
Power socket
H
Audio Jack
I
COM1
J
COM2
K
VGA
L
DVI-D
M
HDMI
N
LAN
O
LAN
P
4 x USB 2.0

8
4.3 NVR2532-U
A
Power switch
B
Alarm mute button
C
Fan failed LED
D
Power LED
E
4 x 3.5”HDD tray
F
Power socket
G
Audio Jack
H
COM1
I
COM2
J
VGA
K
DVI-D
L
HDMI
M
LAN
N
LAN
O
4 x USB 2.0

9
4.4 NVR2532-R / NVR2532-A (Redundant PSU)
A
Power switch
B
System reset button
C
Alarm mute button
D
System read/write LED
E
Power LED
F
System alarm LED
G
LAN1 LED
H
LAN2 LED
I
2 x USB 2.0
J
16 x 3.5”HDD tray
K
Power socket
L
Audio Jack
M
COM1
N
COM2
O
VGA
P
DVI-D
Q
HDMI
R
LAN
S
LAN
T
4 x USB 2.0
NVR2532-R
NVR2532-A (Redundant PSU)

10
4.5 NVR2532-D
A
Power button
B
System reset button
C
Alarm mute button
D
Power LED
E
System alarm LED
F
LAN1 LED
G
LAN2 LED
H
2 x USB 2.0
I
24 x 3.5”HDD tray
J
Power socket
K
Audio jack
L
COM1
M
COM2
N
VGA
O
DVI-D
P
HDMI
Q
LAN
R
LAN
S
4 x USB 2.0

11
5. SysGuard
To prevent from any exception and keep high performance for the SmartVIEW NVR, the
operation system is built with Microsoft Window Embedded 7 and the system drive (Drive C)
is protected with FBWF (File Base Write Filter). If you want to change any settings of
Windows operating system (i.e. storage, network IP address, system time zone, system
date/time, computer name … etc.), you MUST follow the steps to apply changes.
Please do the 4 steps below before using SmartVIEW NVR.
Notice : For the system safety, you have to enable the SysGuard for running SmartVIEW
NVR after changing settings on Windows operation system.
(1) Choose “not to”
enable SysGuard when
warning message pops
up.
(4) System auto reboot
(2) Change settings
(3) Enable SysGuard

12
(1) You should disable the SysGuard before changing the system settings.
After system start up, system will pop out a warning message automatically, please click
No to disable the SysGuard.
(2) Close Installation Wizard and SmartVIEW for changing Windows operation system
settings.
Notice
:
Default user name is admin, default password is 1234
You can change the system settings after disabling SysGuard. In this session, all the
changes of the system settings would be applied and the system is not under protection
until the SysGuard is enabled.
Notice
:
The most important setting is to create RAID and format disks, SmartVIEW
Installation Wizard will apply 1st available drive letter (e:) automatically as default
Recording Media.

13
(3) Double click on the shortcut of system desktop and click Yes to enable the
SysGuard. System will be restarted automatically.
※If your SmartVIEW is already running and SysGuard is enabled, you may open the
SysGuard program and select Disable the SysGuard function and click OK. Then, click
Yes. The system will be restarted to disable the SysGuard. After system reboot, please
refer to above steps to change settings.

14
6. RAID Settings
Notice : RAID settings only applied for NVR2532-R / NVR2532-A / NVR2532-D, if you are
using NVR2316-T/K or NVR2532-T, please skip this chapter directly.
6.1 Log-in MegaRAID Storage Manager
(1) Insert all hard drives to the trays.
(2) Power on the system.
(3) Please disable the SysGuard (Refer to Chapter 4.) before changing the RAID settings.
(4) Double click on the icon on the Windows desktop to open the MegaRAID
Storage Manager.
(5) Click on IP Address link ( ) under Remote servers list to type User Name “NVR”( ) and
password (There’s no password in the default setting) then click Login ( ) button to
login MegaRAID Storage Manager.

15
6.2 RAID configuration
You will enter the main console of MegaRAID Storage Manager.
(1) Select to Physical tab and make sure every hard disks you installed in your SmartVIEW
NVR’s front slots are all “Unconfigured Good”(like )
(2) Right click on LSI MegaRAID SAS 9260-4i ( ) and choose Create Virtual Drive.
(3) Create Virtual Drive –Choose mode will pop up, please select on Simple and click Next
button.

16
(4) Create Drive Group –Drive group and Virtual drive settings will pop up, please select
RAID 5 ( ), then click Next ( ) button to create RAID.
(5) Create Virtual Drive - Summary window will pop up to confirm all settings are correct,
and then click Finish and OK to complete settings.

17
(6) Please make sure all HDD you configured are online ( ).
(7) These hard drives will be regarded as one single disk in Windows 7 operation system.
(8) Now you may go to initialize the disk and create new volumes through right click mouse
at WindowsComputer and select on Manage Disk Management. Please be aware
of the recommended maximum volume size is less than 2TB for the best performance
of database.
6.3 Enable SysGuard
Please execute SmartVIEW and enable the SysGuard. The system will be under protection
after system is restarted.

18
7. Add Storage
SmartVIEW NVR is capable to install up to 24 hard drives as recording storages. To keep the
system working normally, you should operate steps as the following for adding recording
storages:
Notice
:
If you are using NVR2532-R/A/D and your RAID setting has been just done,
please jump to step (5) directly.
(1) Insert all hard drives to the trays
(2) Power on the system.
(3) Please disable the SysGuard (Refer to Chapter 4.) before add storage of SmartVIEW.
(4) For storage volume setting in Windows, you may go to initialize the disks and create
new volumes through right click mouse at WindowsComputer and select on Manage
Disk Management. Please be aware of the recommended maximum volume size is
less than 2TB for the best performance of database.
(5) After disk volumes were created properly, system will pop-up window as following
picture. Please close the AutoPlay window.
(6) Double click on the icon on the Windows desktop to enable SysGuard.
After automatic rebooting, SmartVIEW will be started automatically and the Installation
Wizard will pop out.
Notice
:
More details are described in the Chapter 5.2 of the Users’ Manual.

19
8. Installation Wizard
After adding storages, once you are first using SmartVIEW, the Installation Wizard will pop up
automatically to finish basic NVR setting and adding cameras. And then you will enter
SmartVIEW main console to start your enjoyable surveillance experience!
(1) System setting
Snapshot Folder:To assign a folder to store snapshot pictures.
Max Record Days:To specify the maximum days for reserving event logs.
Recording Media:To assign a storage partition for video / audio recording data.
Free Space:To specified the reserved space of this partition that assigned for storing
recording data
OK:To start using SmartVIEW immediately and leave the wizard.
NEXT:To enter the next step of the wizard.
PREV:To back the previous step of the wizard.
Exit:To exit the wizard without saving.
Notice
:
Default Snapshot Folder and Recording Media will be set to first drive letter

20
(2) Cameras discovery and adding
Users are able to complete most basic and important settings on adding a camera. By
Cameras Discovery,users can find all cameras in local network and then complete basic
setting easily.
Discovery:To start the cameras discovery procedure.
Recording: To turn on / off the video recording function.
(Users are needed to prepare the storage of recording for each camera in the system
configuration.)
Add: To specify whether the camera to be managed or not.
Click to finish adding cameras with basic settings and get into SmartVIEW Live view
page.
This manual suits for next models
5
Table of contents
