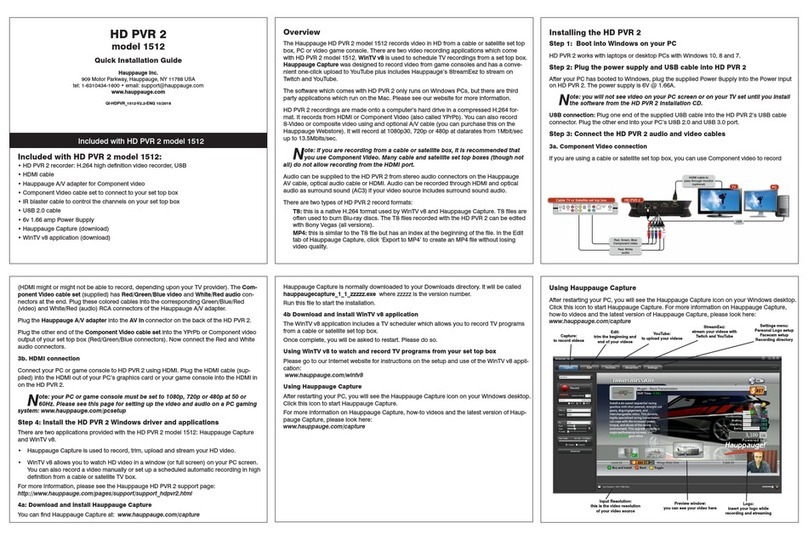
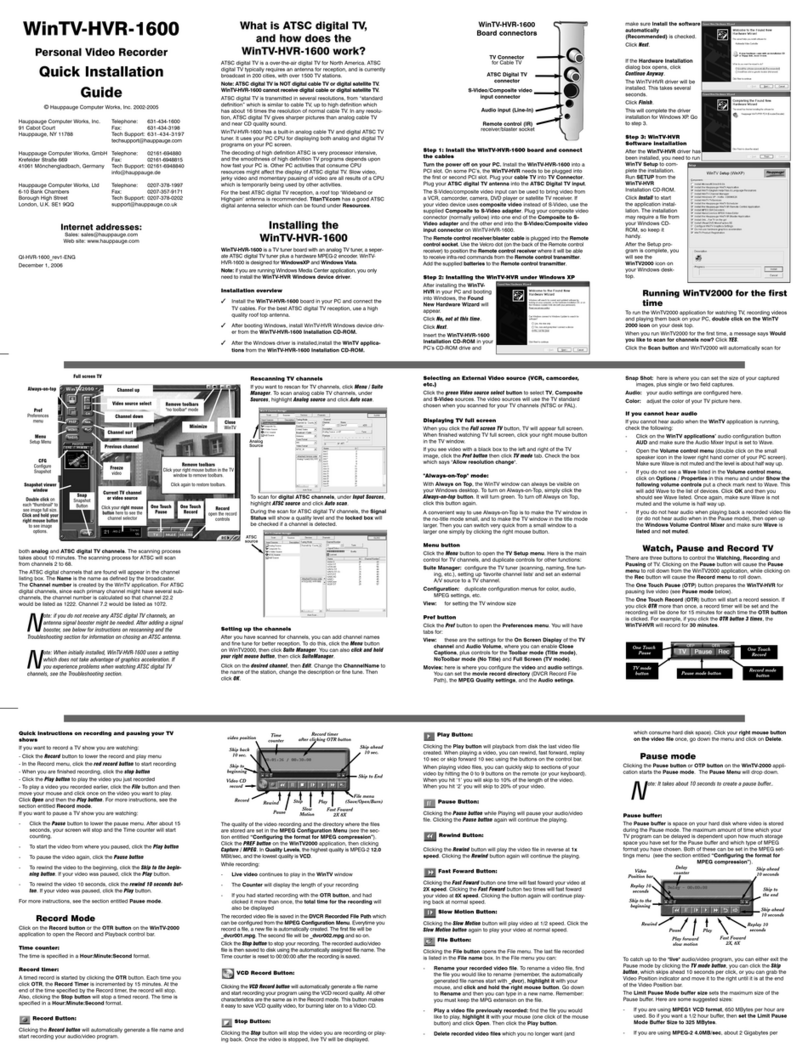
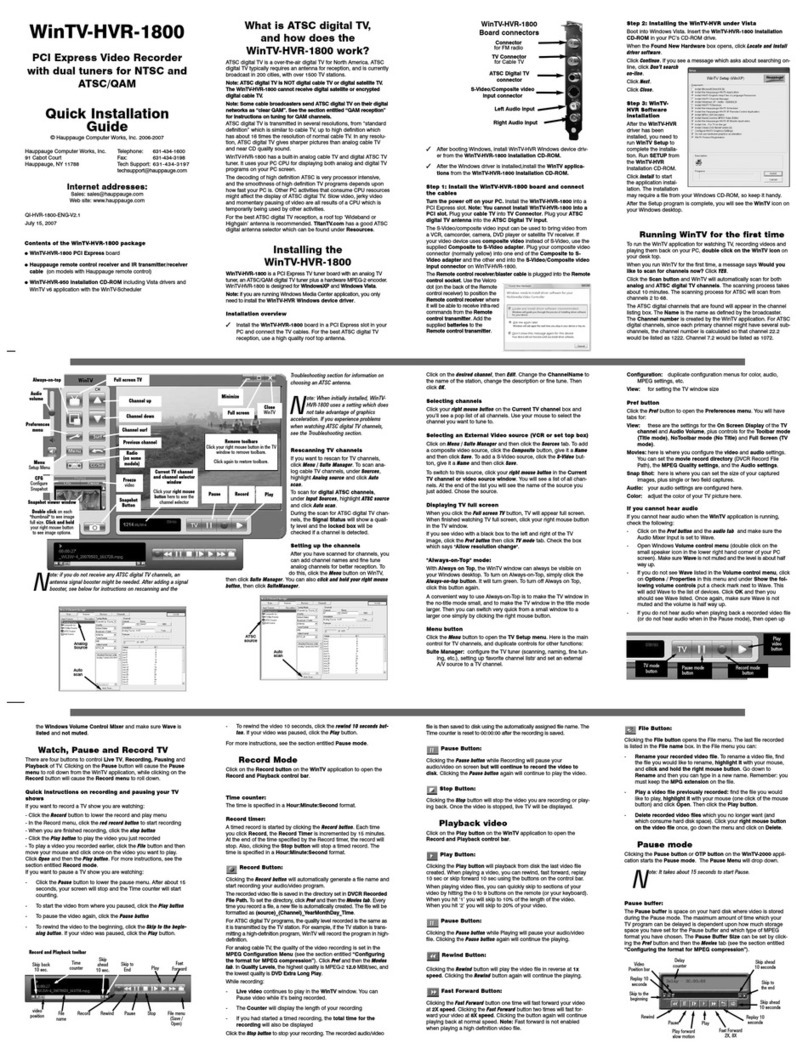
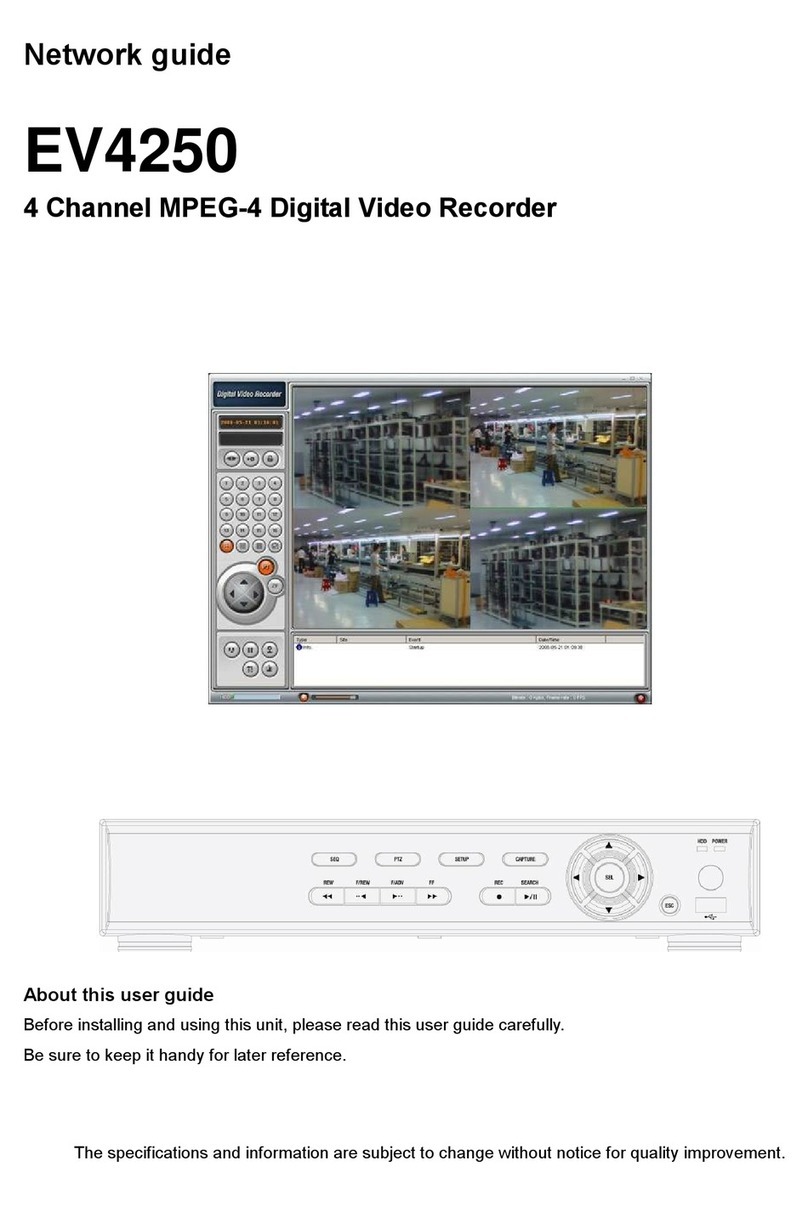
Page 1 Page 2 Page 3 Page 4
Page 5 Page 6 Page 7 Page 8
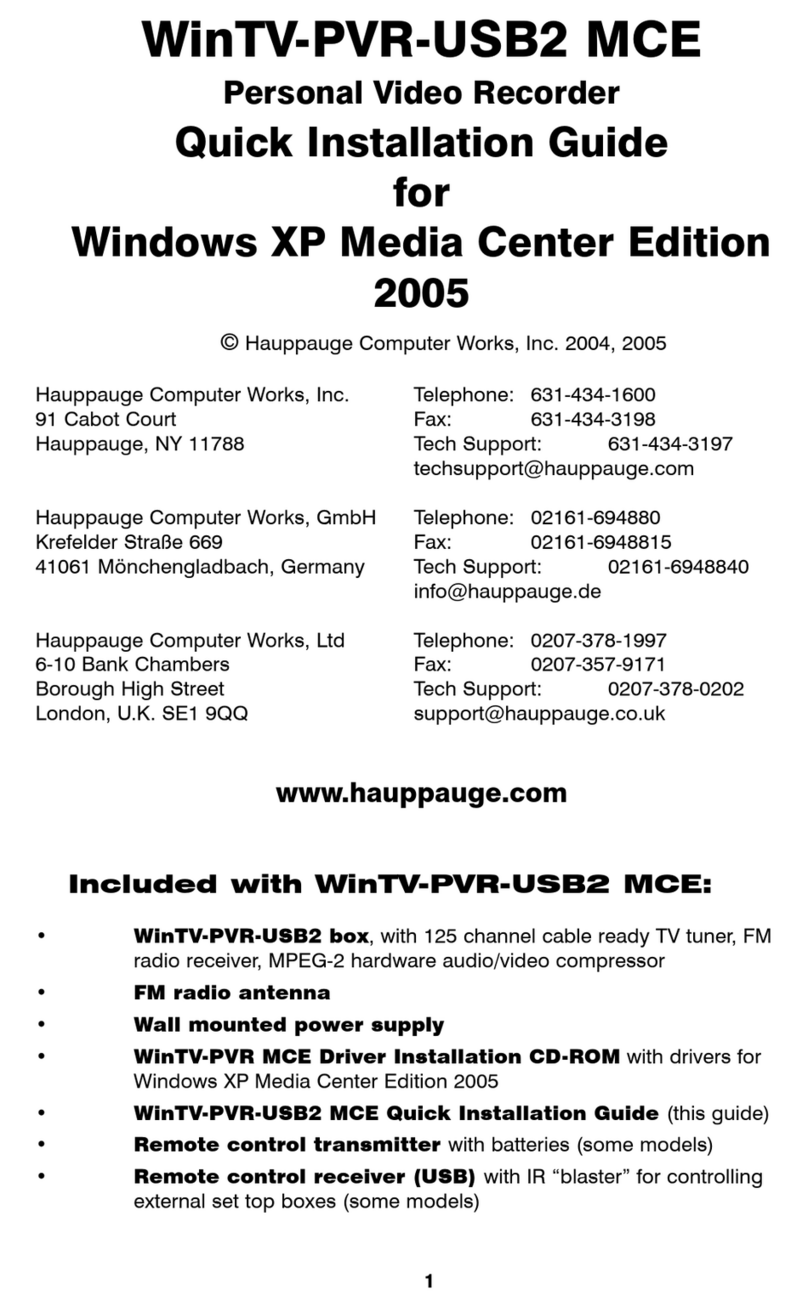
Wi TV-CI
Quick I stallatio Guide
©2008 Hauppauge Computer Works · QI-WINTV-CI-V1.1-ENG · 2008/04/10
●WinTV-CI
●USB Cable
●WinTV-Installation CD-ROM-ROM inclu ing the
new WinTV v6 application
●This installation gui e
Co te ts of the Wi TV-CI package
●Compatible WinTV pro uct e.g. WinTV-NOVA-T, WinTV-NOVA-S,
WinTV-HVR-900 or WinTV-HVR-3000
●Win ows XP with Service Pack 2 or Win ows Vista
●One free USB 2.0 port
The WinTV-CI is a peripheral evice for your WinTV pro uct that
allows you to connect a Con itional Access Mo ule (CAM) with a
compatible PayTV SmartCar subscription to watch PayTV channels.
System Requireme ts
If you have purchase the WinTV-CI as an upgra e to an existing pro-
uct, then you shoul ensure that your previous software installation
is remove .
To o this, insert the installation CD-ROM that came with the WinTV-CI
an select Browse CD-ROM from the autorun menu. This will open up
an explorer win ow with the files on the CD-ROM, locate the file cal-
le HCWClear an ouble click on
it, from there select Remove all
W nTV dr vers and appl cat ons
an Search all INF f les for confl c-
t ng hardware, click OK an wait
for the black box to isappear.
Once the black box has isappea-
re please restart your computer.
When Win ows restarts the foun
new har ware wizar will open
an ask you to install rivers for your pro uct. Select Cancel each
time this wizar appears (it may appear several times).
When Win ows has fully loa e please continue to step 2.
1. Removal of previous software
During the installation a message
may appear warning you that it
cannot verify the publisher of the
river, click Install th s dr ver soft-
ware anyway to procee .
You shoul connect the WinTV-CI
to your computer using the sup-
plie USB2 cable. (N.B Will not
work in a USB 1.1 port). You
shoul also make sure your
Hauppauge TV Car is also con-
necte at this time.
The foun new har ware wizar
will appear again, select Cancel
each time it appears.
2. Co ecti g the Wi TV-CI
Note: If you ha e any anti- irus software enabled, please dis-
able it during the installation of the software.
3. I stalli g the drivers a d applicatio for
your Wi TV product a d the Wi TV-CI
Insert your WinTV Installation CD-
ROM, the installation win ow will
automatically appear.
Note: If the autorun does not
start, browse to the files on
the disc and double click on the
file called 'Setup'.
In the installation win ow click on
Step 1: Install W nTV Dr vers.
A blue screen will open which will
begin installing an up ating the
rivers for your pro uct.
Once complete, a message
appears in the bar. If this message
is Dr vers have been updated
Successfully, click on the bar to
exit. If the message reports an
error, check the connection of
your WinTV, or contact our techni-
cal support.
Next, click on Step 2: Install
W nTV an select your language
from the list. The setup win ow
shoul appear an begin to auto-
matically install the WinTV appli-
cations.
Note: During the installa-
tion, other installation wiz-
ards may open, we recommend
following the instructions in
each of these and installing
with the default options a ail-
able.
Note: For ad anced users
you can select the 'Custom
Installation' which will allow
you to modify the list of appli-
cations that are installed by
default.
Once the WinTV installation is complete, click OK then Exit in the win-
ow "Hauppauge W nTV Installat on CD". You shoul now be back at
your Win ows esktop.
To check that you have correctly
installe you WinTV-CI, you can
check in Device Manager. First
check that "WinTV-CI USB"
(11xxx) appears un er Univeral
Serial Bus Controllers.
Hauppauge Computer Works, Ltd.
10 Borough High Street
Bank Chambers
Lon on, UK, SE1 9QQ
www.hauppauge.co.uk
Tech Support: (+44) 0207 378 0202
Telephone: (+44) 0207 378 1997
Fax: (+44) 0207 357 9171
support@hauppauge.co.uk
4. Checki g the Wi TV-CI I stallatio
To start the WinTV application ouble click on the W nTV con.
When you run
WinTV for the first
time, a message will
appear asking you
to scan for tuner
channels now.
Please ensure that
the TV an /or
Satellite antenna is
connecte , click
YES.
5. Wi TV®Applicatio
From the scan page perform a channel scan as you woul normally
with your WinTV evice, refer to the full manual or quick installation
gui e for your WinTV pro uct if you nee assistance with this.
Watch TV
Snapshot Still
capture
Freeze picture
CFG
Configure Snapshot
Setup Menu
TV Mode
Remove toolbars
no title mode
Minimise
Close
Channel surf
Channel down
Channel up
Last channel
Current TV channel
Click your right mouse
button here to see the
channel selector
Click your right mouse button
in the TV window to remove
toolbars. Click again to
restore toolbars.
Record Playback
Volume
Always on Top
Snapshot iewer
window:
Double click on each
thumbnail to see
image full size.Click
and hold your right
mouse button to see
image options.
Pause
TV-Mode
Mute
Cha gi g cha els
You can change channels by using the Channel Up or Channel Down
buttons on the WinTV. You can type a channel number (for example:
27) an WinTV will tune to that channel. If the entere channel oes
not exist, you will see a black win ow.
You can also right click in the Current TV channel box, where you will
see a list of channels. Or type letters (for example: BBC) to access to
the list of the channels inclu ing these letters.
TV Mode
When you click the Full screen TV button, TV will appear full
screen on your PC monitor. When finishe watching TV full screen,
click your right mouse button in the TV win ow. If you see vi eo with
a black box aroun it, click the Pref button then click TV mo e tab.
Check the box which says “Allow resolution change”.
"Always o top" Mode
The WinTV application will remain in view over any other applica-
tions even if it is not selecte . To turn on, click the Always on top but-
ton. It will turn green. To turn off, click this button again.
A convenient way to use Always-on-top is to make the TV win ow in
the no-title mo e small, an to make the TV win ow in the title mo e
larger. Then you can switch from a small win ow to a larger one by
clicking the right mouse button.
Pref butto
Click the Pref button to open the preferences menu:
V ew: These are the settings for the On Screen Display of the TV
channel an Au io Volume, where you can enable Close Captions (if
supporte in your system configuration), plus controls for the Toolbar
mo e (Title mo e), NoToolbar mo e (No Title) an Full Screen (TV
mo e).
Mov es: Here is where you configure some vi eo an au io settings.
You can set the movie recor irectory (DVCR Recor File Path).
Snapshot: Set the size of your capture images, plus single or two
fiel captures for capturing motion or still image vi eo.
Aud o: Your au io settings are configure here.
Me u Butto
Click the Menu button to open the TV setup menu. Here is the main
control bar for TV channels, an uplicate controls for other functions:
Su te-Manager: Configure the TV tuner (scanning, channel pre set,
etc.) an setting up favourite channel lists.
Conf gurat on: Duplicate configuration menus for colour, au io, etc.
V ew: For settings an exact TV win ow size: 320x240, 640x480 etc.
Secon ly, click "View" an "Show
Hi en Devices".
Now if Live TV is running you will
see a secon evice "WinTV-CI
BDA (11xxx)" un er Soun Vi eo
an Game Controllers. If this
evice is shown your WinTV-CI is
correctly installe .
