© 2006 SMART Technologies Inc. All rights reserved. Sympodium is a registered trademark of SMART Technologies Inc. in Canada, the U.S. and EU. Sympodium,
SMART Board, Notebook and the SMART logo are trademarks of SMART Technologies Inc. All other third-party product and company names may be tradmarks of
their respective owners. Printed in Canada 03/2006.
Writing and Erasing Notes
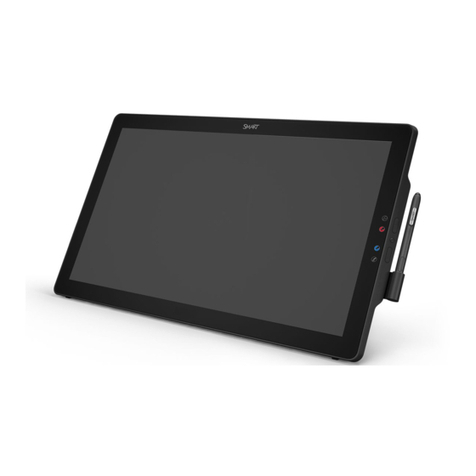
To write over your desktop image, pick up the tethered pen, press a pen-tool button to select your digital ink color,
and write on the interactive display. Select another pen-tool button to change your ink color. To erase your notes
select the eraser, and move the pen in a smooth motion over your notes. Press the cursor button to return the pen
to mouse mode.
Saving Your Notes
You can easily save notes on your interactive pen display for future reference.
1 Select one of the pen display’s pen-tool buttons. The Floating Tools toolbar will appear.
2 To save a selected area of your screen, press the Area Capture button on the Floating Tools toolbar. Touch
the display with the pen, and without releasing pressure, drag the selection box to outline the area you want to
capture.
3 Notebook software will open automatically and display your notes on a new Notebook page, which you can
then save as a Notebook file or export as a PDF.
NOTE: If the Floating Tools toolbar does not appear when you select one of the pen display’s pen-tool buttons,
you may be working in an Ink Aware application (e.g., Microsoft®Word). If the application is Ink Aware, these
buttons will be available in the application’s own toolbar.
Using Microsoft PowerPoint®on the Sympodium ID250 Interactive Pen Display
You can focus the attention of your audience by making notes or diagrams over your existing PowerPoint
presentations.
1 The Slide Show toolbar will appear as soon as you start a
slide show. Using the tethered pen, press the arrow buttons
to move forward or backward through your presentation. Or
press the Menu button for a list of options.
2 Select a pen tool and write over your slide.
3 To advance to the next slide, press the move forward
arrow.
4 To capture your notes or drawings to Notebook software,
press the Menu button on the Slide Show toolbar, and then
select Capture to Notebook from the menu.
NOTE:More details on using Microsoft PowerPoint with
SMART products are available at
www.smarttech.com/trainingcenter/tutorials.asp
Aware Tools toolbar
Captures an
image of your
entire screen
Inserts a note
or drawing as
a graphic
object
Inserts your writing in the
document as text
Menu button
Slide Show toolbar
