Smartplanet CDM-2 Technical specifications

INSTRUCTION MANUAL
AND RECIPE BOOK
PIGS IN A BLANKET MAKER
CDM-2
SMART PLANET
PLEASE READ THESE INSTRUCTIONS CAREFULLY
AND RETAIN FOR FUTURE REFERENCE.
www.smartplanethome.com
Copyright 2011 | Smart Planet | Canoga Park, CA 91304
v.20101215

CONGRATULATIONS
You are now a proud new owner of SMART PLANET’s Pigs in
a Blanket Maker model no. CDM-2.
Before using for the rst time, please take time to carefully
read your instruction manual. Please observe all safety
precautions and follow operation procedures. After
reading, store your instruction manual in a safe place for
your future reference. If you pass the Pigs in a Blanket
Maker to a third party, please include the operation
instruction manual.
IMPORTANT SAFEGUARDS
Always operate this electric appliance from a power•
source of the same voltage and frequency rating as
indicated on the rating label.
Close supervision is necessary when the Pigs in a•
Blanket Maker is used by or near children.
Never leave the Pigs in a Blanket Maker unattended•
when in use. Remember, it can become very hot!
Do not connect or disconnect the power plug with wet•
hands.
Unplug the power cord from the outlet by holding onto•
the plug. Do not unplug by pulling the cord.
Do not operate the unit when the power cord or plug•
is damaged, or if the Pigs in a Blanket Maker appears
damaged in any way.
Do not let the power cord hang over the edge of•
counter or table. A short power-supply cord is provided
to reduce the hazards resulting from entanglement or
tripping over a long cord. Use of an extension cord is
not recommended.
Keep the electric appliance away from hot objects and•
open ames.
To reduce the risk of electric shock, do not immerse or•
expose the Pigs in a Blanket Maker to rain, moisture or
any liquid.
When operating the Pigs in a Blanket Maker keep at•
least 1” (2.54 cm) clearance on all sides of the appliance
to allow for adequate air circulation.
Do not store any item on top of unit when in operation.•
The temperature of the heating surfaces may be high•
when the Pigs in a Blanket Maker is operating. Avoid
touching hot surfaces during use.
Always use a pot holder or oven mitt when opening or•
closing the unit when hot.
The use of metal items such as a spatula, etc is not•
recommended.
A. Hot Plates
B. Green power light
C. Red ready light
D. Clasp
E. Plug
PARTS DESCRIPTION
A
B
D
E
C

Do not store any objects in the appliance such as•
cardboard, plastic, paper, etc.
Do not cover any part of the Pigs in a Blanket Maker•
with metal foil.
Keep the Pigs in a Blanket Maker away from ammable•
material, including curtains, draperies, blinds, etc,
during operation.
The Pigs in a Blanket Maker is intended for normal•
domestic/household use only. The unit is not suitable
for commercial or outdoor use.
Do not touch the hot plates while the Pigs in a Blanket•
Maker is in operation or immediately after switching it
o, as it will still be very hot.
After using the Pigs in a Blanket Maker, thoroughly•
clean & dry all surfaces.
HOW TO MAKE PIGS IN A BLANKET
BEFORE FIRST USE
When using for the rst time, remove all packaging1.
materials and unwind the power cord from the
appliance.
Clean the appliance with warm soapy water using a2.
damp cloth, and then dry it.
Before using the Pigs in a Blanket Maker, make sure it is3.
at least 1” away from any object
HOW TO PREPARE PIGS IN A BLANKET
Note - Hot Dogs come in various sizes. Cut hot dogs to
correct size to t in the Pigs in a Blanket Maker.
Brush vegetable oil or cooking spray on the cooking•
surfaces. Close the unit.
Plug cord into a 110-120 volt AC power outlet to•
preheat the Pigs in a Blanket Maker. The green power
light will turn on.
When ready light turns on, spoon batter evenly, about•
1/2-2/3 full, into each cavity.
Place correct size hot dogs into the batter. Add more•
batter on top. Do not overll as batter will rise as it
bakes.
Close the Pigs in a Blanket Maker by lowering the upper•
plate onto the bottom plate.
Bake until the batter is lightly browned, about 3-5•
minutes (shorter or longer depending on personal
preference). Do not open the Pigs in a Blanket Maker
during the rst minute of cooking. NOTE: the green
light will alternate on and o to show that the
temperature is being maintained.
CAUTION: This appliance is not to be operated in the•
open position.
Once the hot dogs are cooked, carefully remove them•
using a wooden or plastic utensil. Do not use a sharp
or metal object as it can damage the non-stick surface.
Use caution as the heating surfaces as well as the sides
of the appliance may be hot.
To bake more hot dogs, re-brush the cooking surfaces•
with oil and preheat the appliance.
After use, disconnect the plug from the power outlet.•
Allow the Pigs in a Blanket Maker to cool before
cleaning.
HELPFUL HINTS
Should the top of the hot dog batter be too light in1.
color, try adding a little more batter to each cavity
If the bottom of the hot dog batter be too light in color,2.
try using a little less batter and/or preheating the Pigs
in a Blanket Maker longer.

CLEAN AND CARE
Always disconnect the power plug before cleaning.•
Wash outside surfaces with warm, soapy water using a•
dishcloth or sponge. Rinse thoroughly and dry. Do not
use a scouring pad or abrasive powder on the cover as
they can scratch the plastic.
Clean the non-stick surfaces of the Pigs in a Blanket•
Maker with a damp, soapy dishcloth or sponge. Wipe
the surface with a damp cloth and dry. Do not use
abrasive scouring pads or powders on the non-stick
nish as they can scratch the surface.
CAUTION: DO NOT immerse the Pigs in a Blanket Maker•
in water or other liquids to avoid electric shock.
DO NOT WASH IN AN AUTOMATIC DISHWASHER.
90 DAY LIMITED WARRANTY
If there are any defects in material or workmanship during
the rst 90 days of purchase, the Pigs in a Blanket Maker
will be repaired/replaced at our option. This warranty
excludes any damages to the product resulting from
accident or misuse. Please read instructions carefully.
The warranty also excludes damage caused by shipping,
mishandling, or unit being dropped. To obtain service
under the warranty, send an email to the Pigs in a Blanket
Maker Service Center for further instructions. Please
include a description of the defect along with your contact
information. Please attach a scanned copy of your original
receipt to your email. Returns without receipt will not be
accepted.
The Pigs in a Blanket Maker Service Center
service@smartplanet.net
Copyright 2011
Smart Planet
Canoga Park, CA

CLASSIC CORN DOG BATTER RECIPE
1 Egg, Beaten
1/4 Cup Milk
1/4 Cup Cornmeal
1/4 Tsp. Salt
1/2 Cup Whole Wheat Flour
1/2 Tsp. Baking Powder
1 Tbsp. Sugar
In a mixing bowl, combine all the ingredients and mix well.
Cut hot dogs into the correct size for the cavity.
With a tablespoon ll each cavity about 2/3 full. Lay the hot
dog on top of the batter. Add more batter on top of the
hot dog and close the top securely. Do not over ll the
cavities with batter as the lling will rise during the baking
process. Bake until lightly browned; for a crunchier coating
leave in longer.
CHEESY CORN DOG MUFFIN RECIPE
2 (8.5 oz) Packages Cornbread Mix
2 Tablespoons Brown Sugar
2 Eggs
1 1/2 Cups Milk
1 Cup Grated Cheddar Cheese
In a mixing bowl, combine all the ingredients and mix well.
Cut hot dogs into the correct size for the cavity.
With a tablespoon ll each cavity about 2/3 full. Lay the hot
dog on top of the batter. Add more batter on top of the
hot dog and close the top securely. Do not over ll the
cavities with batter as the lling will rise during the baking
process. Bake until lightly browned; for a crunchier coating
leave in longer.
CHEESE ON A STICK
1 Egg, Beaten
1/4 Cup Milk
1/4 Cup Cornmeal
1/4 Tsp. Salt
1/2 Cup Whole Wheat Flour
1/2 Tsp. Baking Powder
1 Tbsp. Sugar
Cheese of Choice
In a mixing bowl, combine all the ingredients and mix
well. Cut your choice of cheese into the correct size to t
the cavity. With a tablespoon ll each cavity about 2/3 full
with batter. Lay the cheese on top of the batter. Add more
batter on top of the cheese and close the top securely. Do
not over ll the cavities with batter as the lling will rise
during the baking process. Bake until lightly browned; for a
crunchier coating leave in longer.
PIZZA ON A STICK
1 Egg, Beaten
1/4 Cup Milk
1/4 Cup Cornmeal
1/4 Tsp. Salt
1/2 Cup Whole Wheat Flour
1/2 Tsp. Baking Powder
1 Tbsp. Sugar
Mozzarella Cheese
Pepperoni
Pizza Sauce
(continued on next page)

(continued)
In a mixing bowl, combine all the ingredients and mix
well. Cut mozzarella cheese and pepperoni or other pizza
toppings of your choice into the correct size to t the
cavity. With a tablespoon ll each cavity about 2/3 full with
batter. Lay the cheese on top of the batter. Add more batter
on top of the cheese and close the top securely. Do not
over ll the cavities with batter as the lling will rise during
the baking process. Bake until the batter is lightly browned;
for a crunchier coating leave in longer. Use your favorite
pizza or marinara sauce for dipping!
SNICKERS ON A STICK
1 Egg, Beaten
1/4 Cup Milk
1/4 Cup Cornmeal
1/4 Tsp. Salt
1/2 Cup Whole Wheat Flour
1/2 Tsp. Baking Powder
1 Tbsp. Sugar
Snickers Chocolate Bars
In a mixing bowl, combine all the ingredients and mix well.
Cut Snickers Bars into the correct size to t the cavity. With
a tablespoon ll each cavity about 2/3 full with batter. Lay
the Snickers Bars on top of the batter. Add more batter
on top of the Snickers Bars and close the top securely. Do
not over ll the cavities with batter as the lling will rise
during the baking process. Bake until lightly browned; for a
crunchier coating leave in longer.
Table of contents
Other Smartplanet Kitchen Appliance manuals
Smartplanet
Smartplanet Nestle Nesquik NCF-1 User manual
Smartplanet
Smartplanet BM-1 User manual
Smartplanet
Smartplanet MBM-1 User manual
Smartplanet
Smartplanet MCM-1NQ User manual
Smartplanet
Smartplanet MTP-1 User manual
Smartplanet
Smartplanet MDM-1W User manual
Smartplanet
Smartplanet BG-1 User manual
Smartplanet
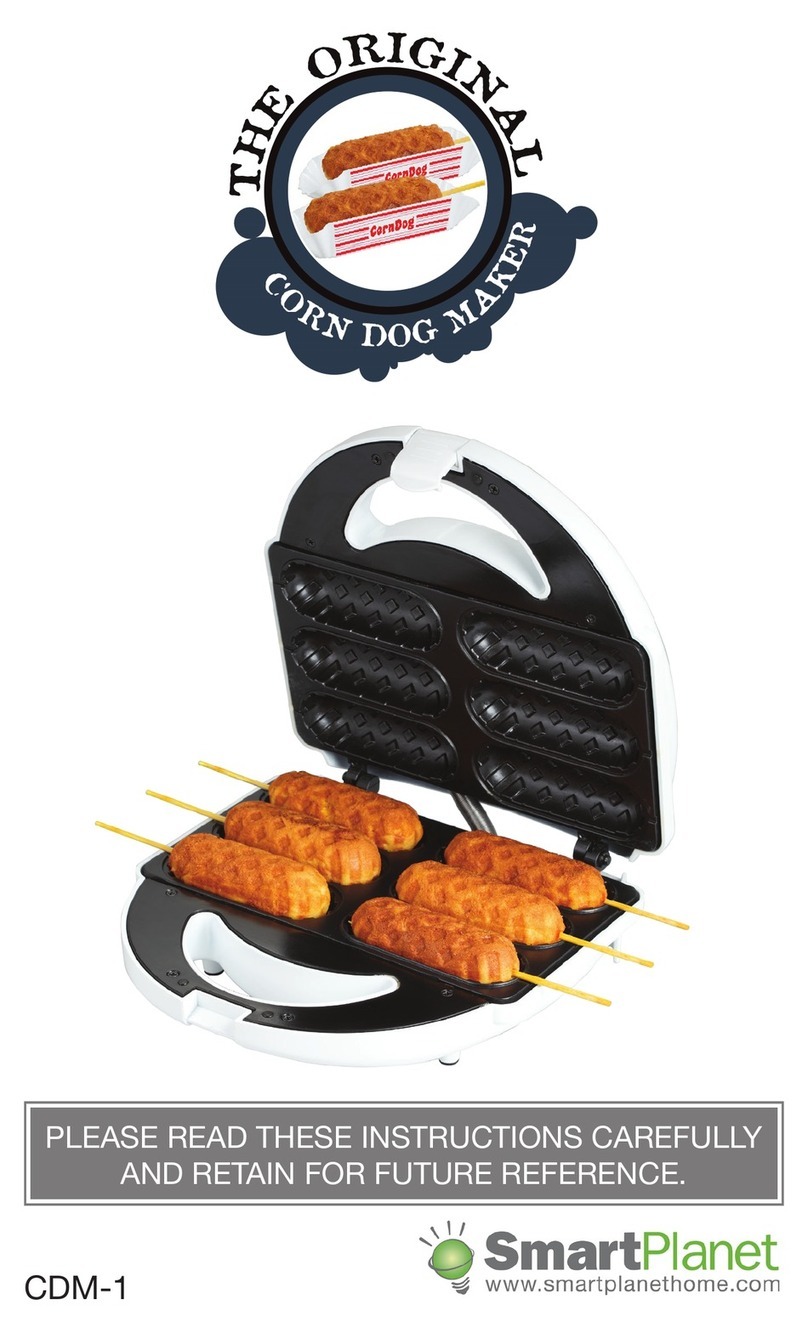
Smartplanet CDM-1 User manual
Smartplanet
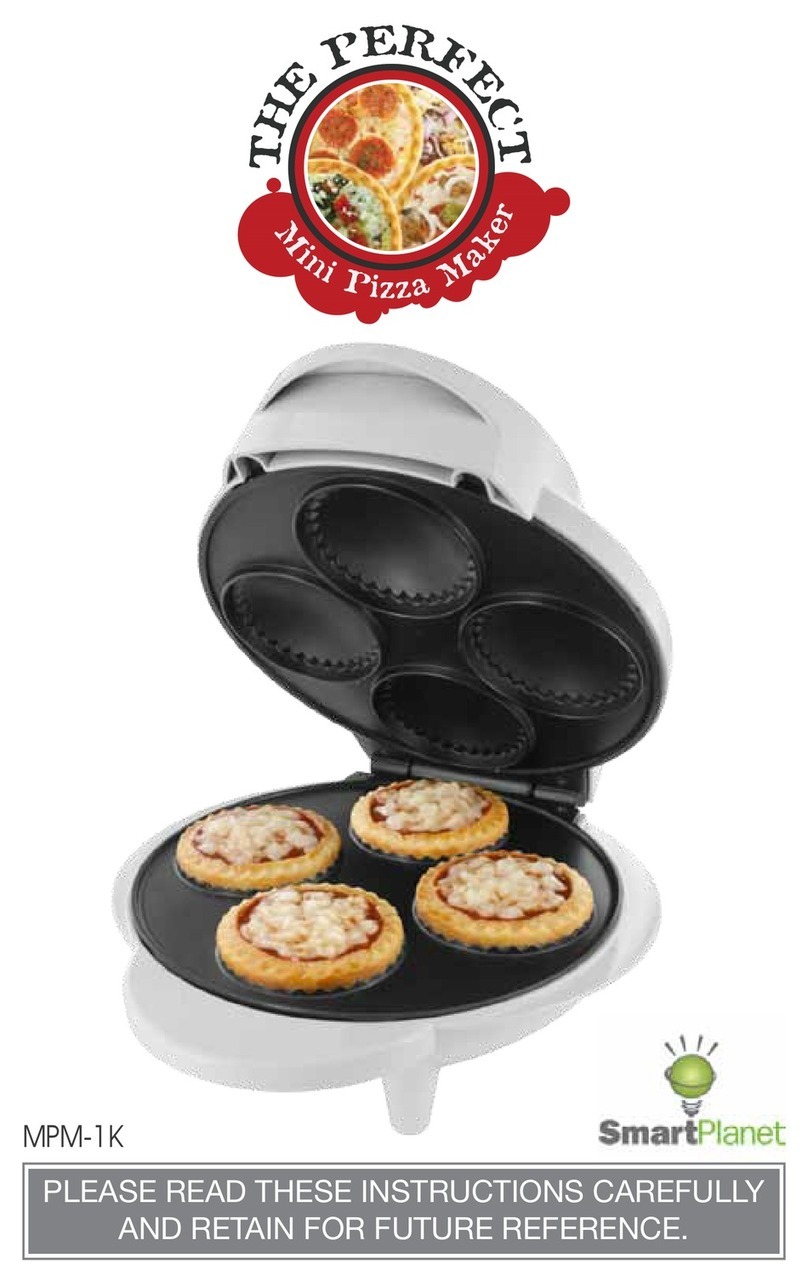
Smartplanet MPM-1K User manual
Smartplanet
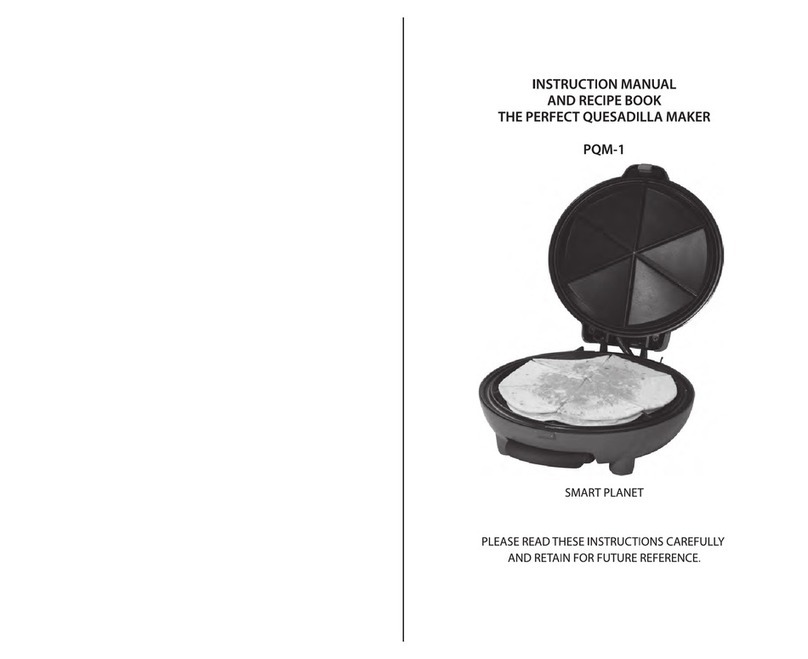
Smartplanet PQM-1 Quick guide
