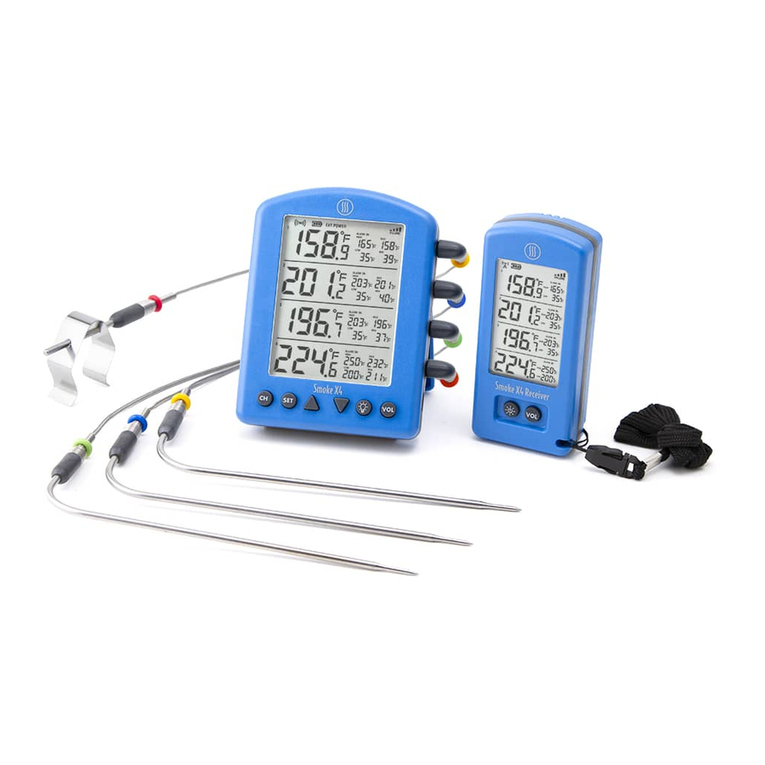
Smartro ST55 User manual

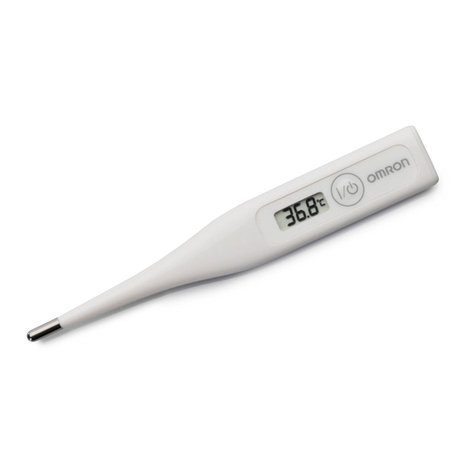
SMARTRO Cooking Thermometer
User Manual
13
2
_
: Group:http://bit.ly/smartro_01 : smartro_01
: +1(323)287-5798


Content
Contents Included............................................................................. 2
Warning............................................................................................ 2
Function Introduction...................................................................... 3
Quick Start Guide without App....................................................... 5
How to Download and Pair the App for Iphone............................... 8
How to Download and Pair the App forAndroid Phone................10
How to Use the App.......................................................................13
Knowing More about Your App...............................................17
Attention........................................................................................19
Troubleshooting..............................................................................19
Watch the Setup Video................................................................... 22
1

2
Contents Included
ST55
Thermometer
3 Meat
probes 3 Probe
wraps
2 AA
Batteries
13
2
_
Warning
● We suggest that you use this product in an
open area. The Bluetooth transmission range
will be greatly affected if there are barriers
such as walls, buildings, glasses, windows.
● DO NOT allow the probe temperature to
reach a temperature between 572°F and
716°F, or the thermometer will display"HH"
which indicates that the probe temperature
exceeds normal working temperature. If this
happens, please remove the probe from high
temperature to cool it down, and then use it
within normal working temperature.
● Make sure do not expose the probe to
open fire(flame) or other objects with a
temperature exceeding 716 °F, or the probe
will be damaged. If this happens, please
buy a new probe to replace or contact us via
email/phone.

3
Function Introduction
①
②③
④
⑤
⑥ ⑦ ⑧
°F: Temperature measurement unit
Alert temperature
Cook temperature
°C: Temperature measurement unit
Temperature measurement channel
Increase value of the setting;
Switch measurement channel
Power switch; Enter setting mode
Decrease value of the setting
Magnet
°C/°F conversion button
Battery compartment
Anti-slip foot mat
①
②
③
④
⑤
⑥
⑦
⑧
⑨
⑩
11
12
⑨
⑩
11
12

4
Function
Button Function Descriptions
<SET>
Short press [SET] button to power on.
Short press [SET] button to enter alarm temperature
setting state.
Short press [SET] button to conrm setting.
Long press the [SET] button to power off.
<+>
Short press [+] button to choose measurement
channels.
After you insert probes into probe sockets and short
press SET button to enter temperature setting state,
short press [+] button to increase the alarm parameters,
long press [+] button to quickly increase alarm
parameters.
< - >
After you insert probes into probe sockets and short
press SET button to enter temperature setting state,
short press [-] button to decrease alarm parameters,
long press [-] button to quickly decrease the alarm
parameters.
°C/°F Press °C/°F conversion button with a probe to select °C
or °F temperature mode.

Quick Start Guide without App
● Open the battery compartment and insert two new 1.5V
AA batteries to power on, as shown in Figure (a) .
● Remove the probes from their probe wraps and insert
probes into the probe sockets to get ready for using it, as
shown in Figure (c) and Figure (d).
(a) (b)
1
_
(c) (d)
1
_
5
NOTE:
In the “OFF” state, short press SET button to turn on the
thermometer as shown on screen (b).

6
● Short press [+] button to choose the measurement
channel you want to set. There are 3 measurement
channels which display 1 2 3 on the LED screen, as
shown in Figure (e).
● When the measurement channel is confirmed, short
press SET button to enter alarm temperature setting
state. Short press [+] button to increase the alarm
parameters. Short press [-] button to decrease alarm
parameters. And then press SET button to confirm the
setting as shown in Figure (f), Figure (g) and Figure (h).
(e)
2
_
(f)
2
_
(g)
2
_
5
(h)
2

7
● Insert the tip of probe into the middle of food. This
thermometer can measure 3 probe temperatures
at the same time, as shown in Figure (i). When the
set temperature has been reached, you will hear the
thermometer beep from your thermometer.
(i)
NOTE:
Please manually power off this thermometer after using
it.

Settings Bluetooth
Bluetooth
MY DEVICES
Not Connected i
OTHER DEVICES
To pair an Apple Watch with your iPhone, go to the Watch app.
EMAX Smart xxxxxx
8
How to Download and Pair the App for Iphone
● Open the battery compartment and insert two new 1.5V
AA batteries to power on as shown on screen (a).
● Make sure that the Bluetooth is on in your settings
interface and control center as shown on screen (c) and
(d).
NOTE:
In the “OFF” state, short press SET button to turn on the
thermometer as shown on screen (b).
(a)
(c)
(b)
(d)
1
_

9
● Go to the Apple App Store to search the keyword
"SmartThermo2" as shown on screen (e), or scan the
following QR Code on screen (f) with your phone to
download the app.
● Open the app, the Bluetooth screen (g) will appear.
Keep your phone close to the thermometer. Tap Search
on screen (g). When Bluetooth connection succeeds,
you will hear the thermometer beep and the Pair will stop
ashing. Now you are back to screen (h).
NOTE:
If Bluetooth search interface doesn’t show up, click on
Pair at the top right of screen (h) to enter the Bluetooth
search interface (g).
(g)
(e)
(h)
(f)
Pair
Search Start
Channel2
Time: 01m 20s
Timer
Profile
Beef
Well Done 174°F
131 °F
Profile
Channel3 Pair
Channel1
Pair
Search Start
Channel2
Time: 00m 00s
Timer
Profile
Beef
Well Done 77°C
___ °C
2SmartThermo2
Fuzhou EmaxElectronic Co.,Ltd
smartthermo2
Channel1
Profile

10
How to Download and Pair the App forAndroid Phone
● Open the battery compartment and insert two new 1.5V
AA batteries to power on the thermometer as shown on
screen (a).
● Make sure that Bluetooth is switched on as shown
in screen (c), and then keep your phone close to the
thermometer.
(a) (b)
(c)
1
_
NOTE:
In the “OFF” state, short press SET button to turn on the
thermometer as shown on screen (b).

11
● Go to Google Play Store to search the keyword
"SmartThermo2" as shown on screen (d), or scan the
following QR Code on screen (e) with your phone to
download the app.
(f)
NOTE:
When you download and open the app for the rst time,
it will show up 3 different question screens as shown
on screen (f). You should click the “ALLOW” for all the
3 permissions, or the thermometer will not pair with the
app successfully.
SmartThermo2 requires the Storage
permission.
Never ask again after denying permission
DENY ALLOW
SmartThermo 2
SmartThermo2 requires the Camera
permission.
Never ask again after denying permission
DENY ALLOW
SmartThermo 2
SmartThermo2 requires the Your location
permission.
Never ask again after denying permission
DENY ALLOW
SmartThermo 2
(d)
(e)
Pair
Search Start
Channel2
Time: 00m 00s
Timer
Profile
Beef
Well Done 77°C
___ °C
2SmartThermo2
Fuzhou EmaxElectronic Co.,Ltd
smartthermo2
Channel1
Profile

12
● After you click “ALLOW” for the 3 permissions, the
screen (g) will appear on your phone. Tap Pair at top
right of screen (g) to enter into the Bluetooth search
interface on screen (h).
● Tap Search on screen (h). When Bluetooth connection
succeeds, you will hear the thermometer beep and the
Pair will stop ashing. Now you are back to screen (g).
(g)
(g)
(h)
(h)
Pair
Search
Pair
Search
Start
Channel2
Time: 01m 20s
Timer
Profile
Beef
Well Done 174°F
131 °F
Profile
Channel3 Pair
Channel1
Start
Channel2
Time: 01m 20s
Timer
Profile
Beef
Well Done 174°F
131 °F
Profile
Channel3 Pair
Channel1

13
● Make sure that the Bluetooth has paired successfully,
and then insert probes into the probe socket to get ready
for using it as shown on screen(a).
NOTE:
1. This product is only available for the devices equipped
with Bluetooth 4.2 or 4.2 above. In this case, the
Bluetooth transmission range is 90 feet in an open area.
2. This product can only be connected to one device at
a time. If you want to switch to another Bluetooth device,
you must firstly click pair- unbound to disconnect the
connected device, and then click pair- search to re-
establish a new paring in your new device.
How to Use the App
(a)
1
_

● You are now on the Settings screen (d). Tap to select
°C or °F temperature mode. Then tap on Alarm and
scroll through 27 pre-programmed alert sounds to select
the one you prefer.
Settings
Unit:
Profile:
Temperature:
Timer:
Sound: Alarm
°C°F
Profile
Cha
Version:V1.1.4
Home
Camera
Settings
(e)
(d)
(c)
(b)
● Select the channel you want to set on top of screen (b),
and then tap on top left of screen (b). This will bring
you to screen (c), please tap settings on it.
Start
Channel2
Time: 01m 20s
Timer
Profile
Beef
Well Done 174°F
131 °F
Profile
Channel3 Pair
Channel1
Profile
Cha
Version:V1.1.4
Home
Camera
Settings
14

Start
Channel2
Time: 01m20s
Timer
Profile
Beef
Well Done 174°F
131 °F
Profile
Channel3 Pair
Channel1
Doneness:
Add Del
Well Done
Medium Rare
Rare
Beef
Veal
Lamb
Pork
Chicken
Turkey
Fish
Hamburger
171°F
145°F
140°F
+
+
+
Medium 160°F+
15
(b)
(f)
● On the top left of screen (d), tap the to return to
screen (e). Tap Home to return screen (b). Tap or
on screen (b). This brings you to screen (f). Select
the type of meat you are cooking. Most common meat
options are listed as pre-set selections. To cook a meat
/food selection which is not on the list, tap Add at top
right of screen to create additional meats / foods.
● After you choose the type of meat you are cooking, you
can select your preferred level of doneness on screen (f)
under Doneness. Tap a pre-set doneness temperature
from Well Done to Rare. Temperature can be adjusted
up and down 2°C ( 3°F- 4°F ). Once you have selected
your level of doneness, tap the back arrow at top left of
your screen to return to screen (b).

16
(b)
(g)
● Insert the metal probe tip into food you are cooking.
Click the Start button, the app starts to time, and then
click Current Cook Temperature on screen (b), you will
see the history of time-temperature on screen (g).
Start
Channel2
Time: 01m20s
Timer
Profile
Beef
Well Done 174°F
131 °F
Profile
Channel3 Pair
Channel1
131°F
20:40 20:41 20:42 20:43 20:44
90°F
81°F
98°F
107°F
115°F
124°F
132°F
141°F
History
1
● You can now monitor your cooking progress on your
smart device under Bluetooth connection status. When
the set temperature has been reached, your smart
device will alert you with the sound you have chosen and
the measurement channel will flash on the SMARTRO
thermometer.
Start
Channel2
Time: 01m20s
Timer
Profile
Beef
Well Done 174°F
131 °F
Profile
Channel3 Pair
Channel1
Doneness:
Add Del
Medium Rare
Rare
Beef
Veal
Lamb
Pork
Chicken
Turkey
Fish
Hamburger
145°F
140°F
+
+
Medium 160°F+
Well Done 171°F+
1
(b)
(f)

Start
Channel2
Time: 01m 41s
Timer
0°F
136 °F
Profile
Channel3 Pair
Channel1
2
History
136°F
20:40 20:41 20:42 20:43 20:44
90°F
81°F
98°F
107°F
115°F
124°F
132°F
141°F
1
0 0 0
1 1 1
-
°F
● Cook By Custom Temperature: Tap on Temperature
at bottom of the screen (h), and then click 0°F. This will
take you to the customized doneness temperature on
screen (i). Scroll to select the alert temperature. Tap the
arrow at top-left of the screen (i) to return to screen (h).
Click Start button, the app starts to time, and then click
Current Cook Temperature on screen (h), you will see
the history of time-temperature on the screen (j).
(i)
(h)
(j)
● Cook By Timer / Temperature: Tap on Timer at the
bottom of the screen (k), and then click 0m 00s. This will
take you to the customized cooking time on screen (l).
Scroll to select the custom time. Tap the arrow at top-left
of screen (l) and return to screen (k). Click Start button,
the app starts to countdown, and then click Current
Cook Temperature on screen (k), you will see the
history of time-temperature under countdown condition
on screen (m).
Knowing More about Your App
17

18
Start
Channel2
Countdown: 07m 21s
Timer 00m 00s
109 °F
Profile
Channel3 Pair
Channel1
Timer
2
1
0hr 0min 0sec
1 1 1
History
109°F
13:22 13:23 13:24 13:25 13:26
92°F
88°F
97°F
101°F
106°F
110°F
115°F
119°F
13:
(l)
(k)
(m)
● Sharing Photos: Tap on screen (b), (h) or (k),
and then tap Camera on screen (n). This will take you
to the camera function screen (o). Tap Camera to take
a picture. Tap on the Share icon on screen (o) to share
your photos with your friends and family through social
media.
(o) (n)
Profile
Cha
Version:V1.1.4
Home
Camera
Settings
1
Camera
174°F
Table of contents
