Instructions
6
• Never leave the appliance
unattended during cooking
operations where fats or oils
could overheat and take fire. Be
very careful
• Danger of fire: do not store items
on the cooking surfaces.
• DO NOT USE THE APPLIANCE
TO HEAT ROOMS FOR ANY
REASON.
• Do not spray any spray products
near the oven.
• Do not use plastic cookware or
containers for cooking.
• Do not place sealed tins or
containers in the oven cavity.
• Remove all trays and racks which
are not required during cooking.
• Do not cover the bottom of the
oven cavity with aluminium or tin
foil sheets.
• Do not place pans or trays directly
on the bottom of the oven cavity.
• If you wish to use greaseproof
paper, place it so that it will not
interfere with the hot air circulation
inside the oven.
• Do not use the open door to place
pans or trays on the internal
glazing pane.
• Cooking vessels or griddle plates
should be placed inside the
perimeter of the hob.
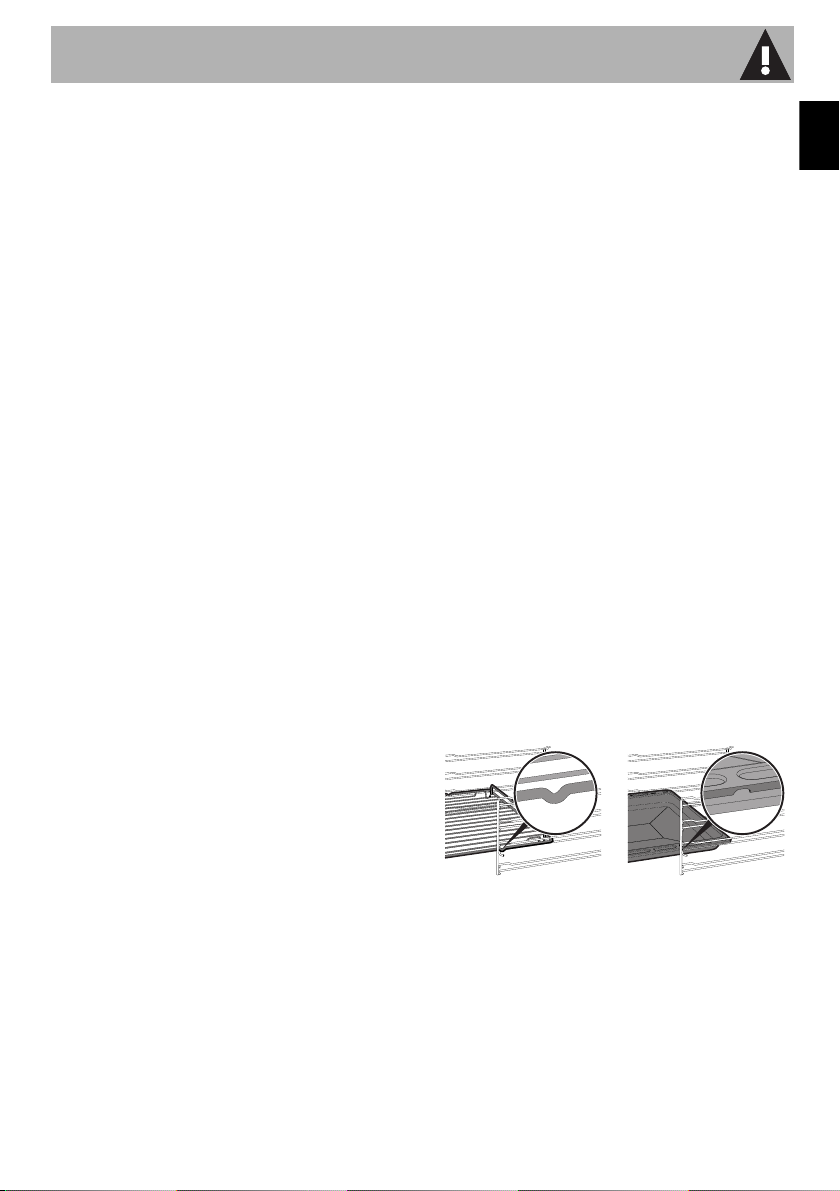
• All pans must have smooth, flat
bottoms.
• If any liquid does boil over or spill,
remove the excess from the hob.
• Take care not to spill acid
substances such as lemon juice or
vinegar on the hob.
• Do not put empty pans or frying
pans on switched on cooking
zones.
• Do not use steam jets to clean the
appliance.
• Do not use rough or abrasive
materials or sharp metal scrapers.
• Do not use cleaning products
containing chlorine, ammonia or
bleach on parts made of steel or
that have metallic surface finishes
(e.g. anodizing, nickel- or
chromium-plating).
• Do not use abrasive or corrosive
detergents (e.g. scouring
powders, stain removers and
metallic sponges) on glass parts.
• Do not wash the removable
components such as the hob
grids, flame-spreader crowns and
burner caps in a dishwasher.
• Never use the oven door to lever
the appliance into place when
fitting.
• Avoid exerting too much pressure
on the door when open.