manuals.online logo
Brands
  1. Home
  2. •
  3. Brands
  4. •
  5. Smeg
  6. •
  7. Cooker
  8. •
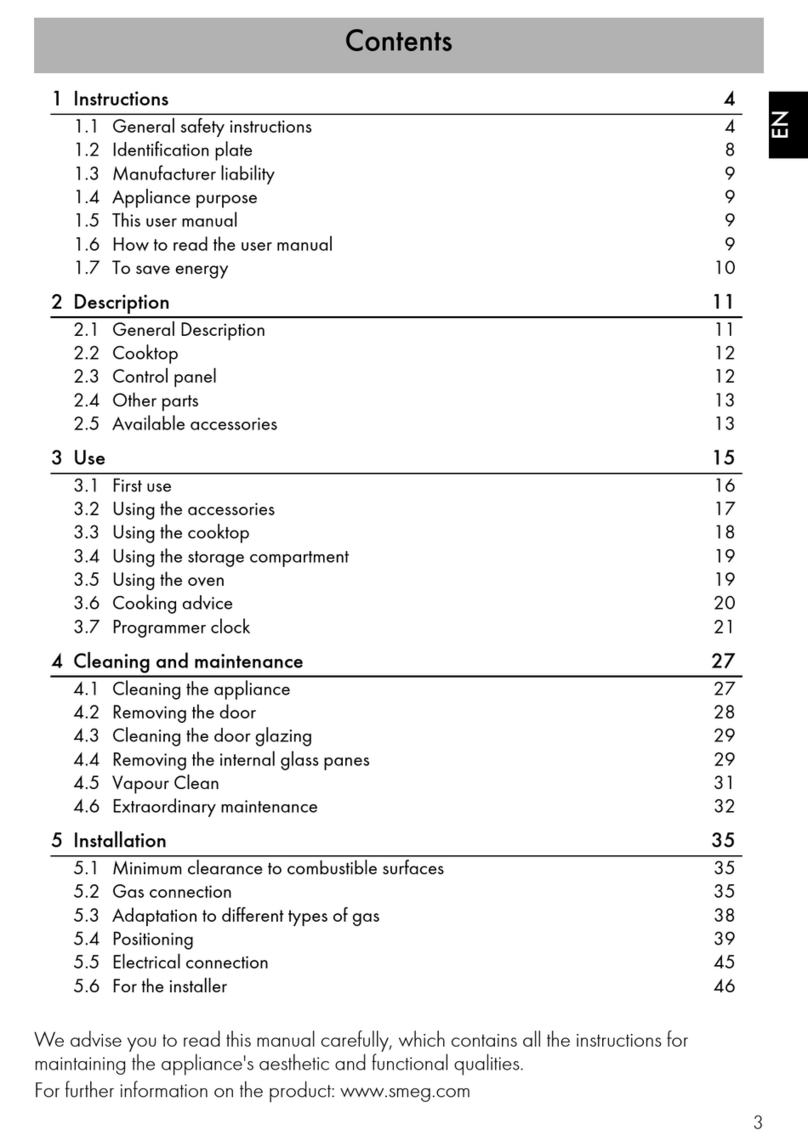
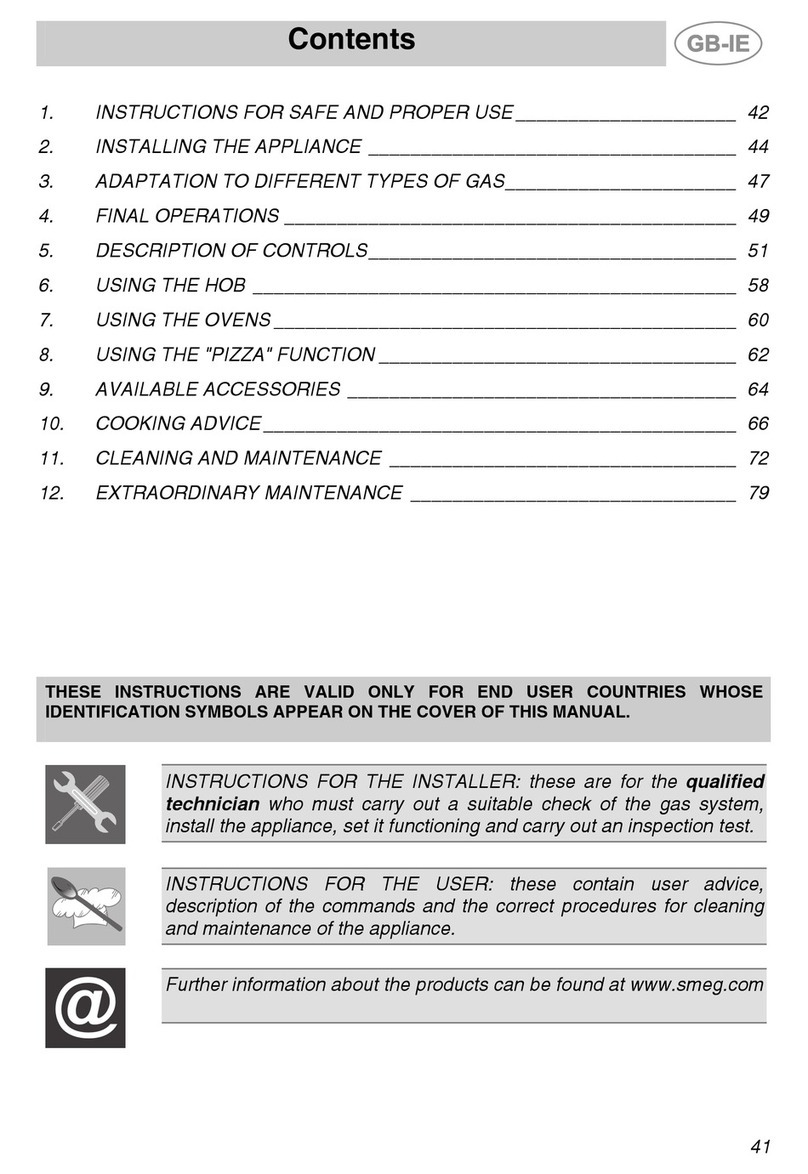
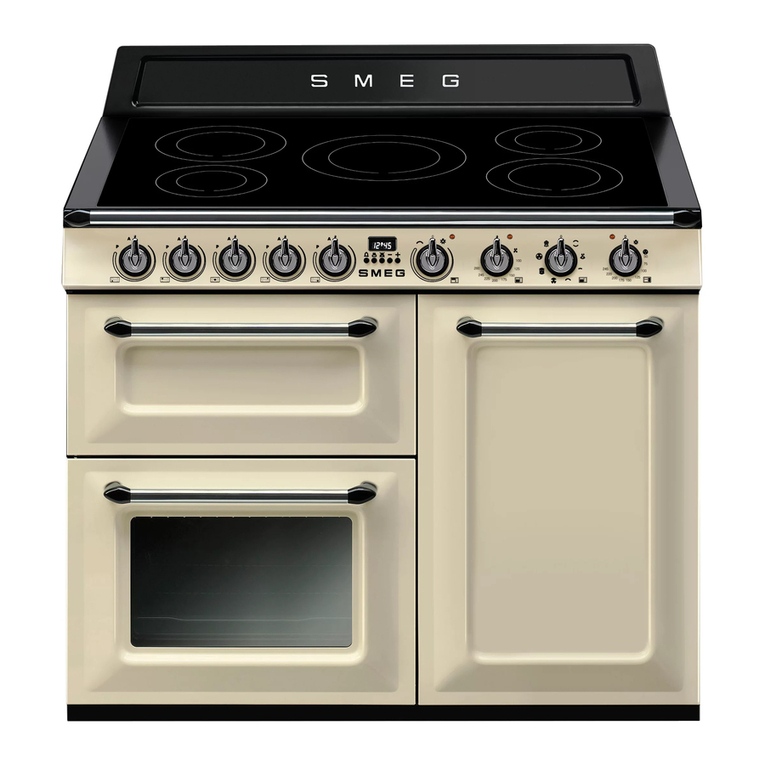
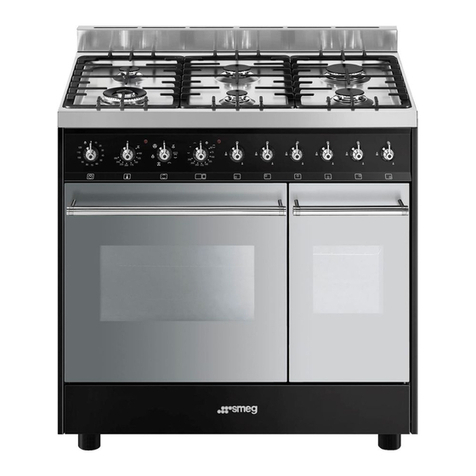
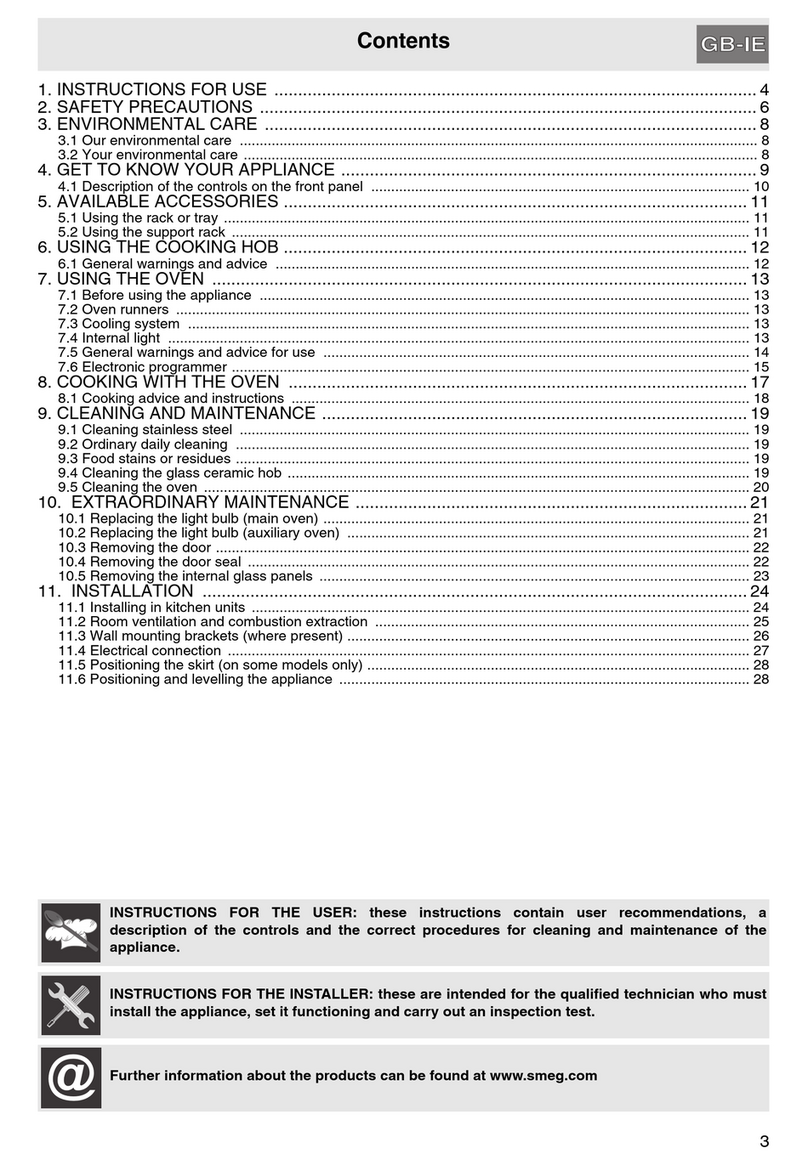
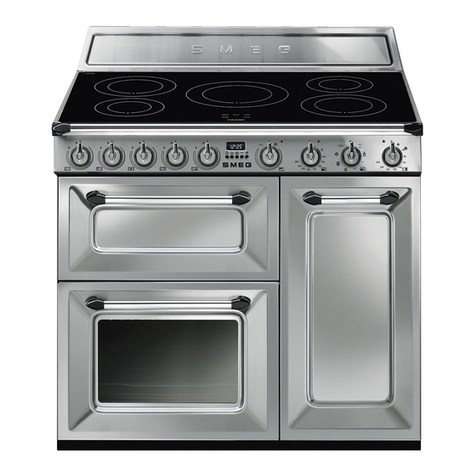
  9. Smeg TR90 Instruction Manual

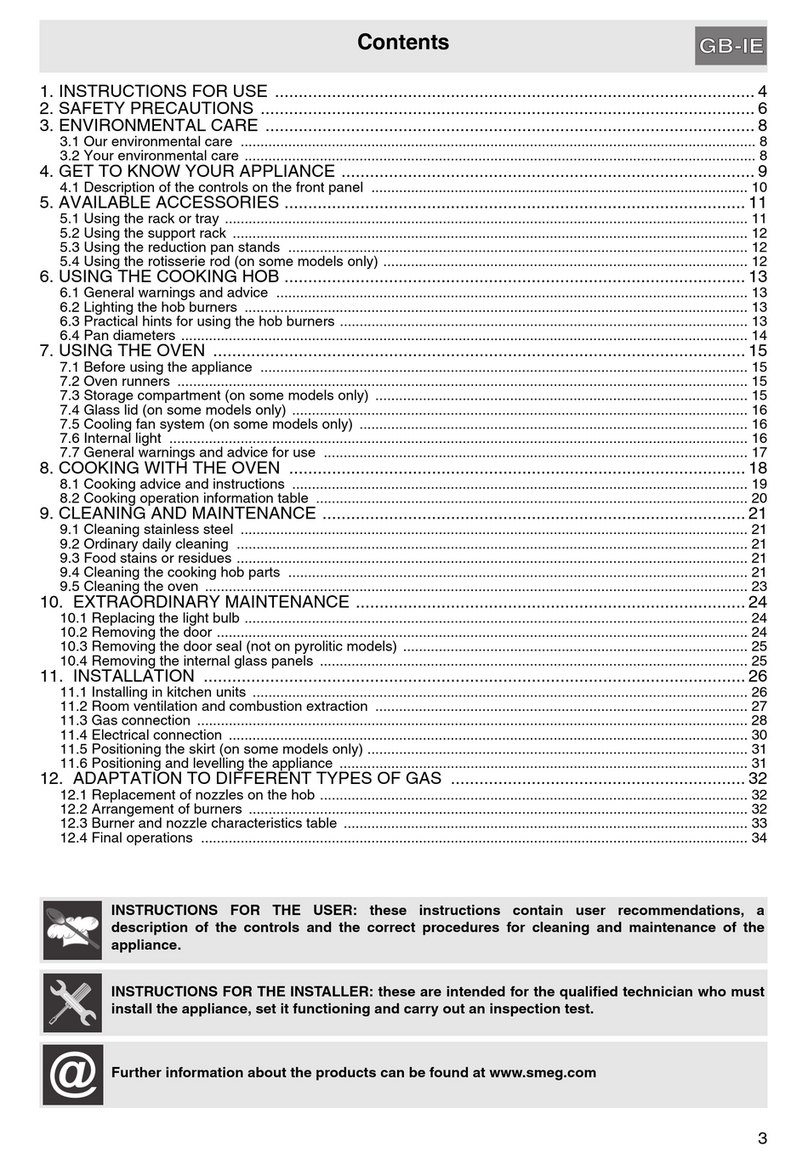
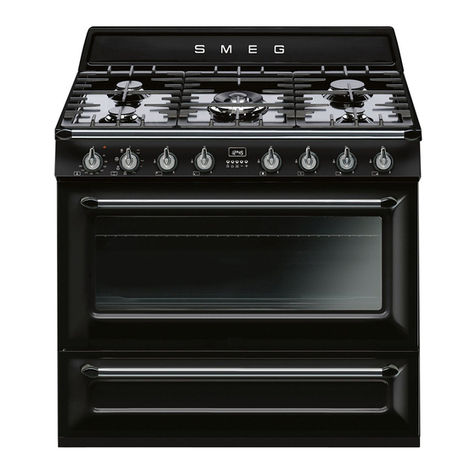
Smeg TR90 Instruction Manual

Other manuals for TR90

1

This manual suits for next models

23

Other Smeg Cooker manuals

Smeg Classica Sinfonia Series User manual

Smeg

Smeg Classica Sinfonia Series User manual

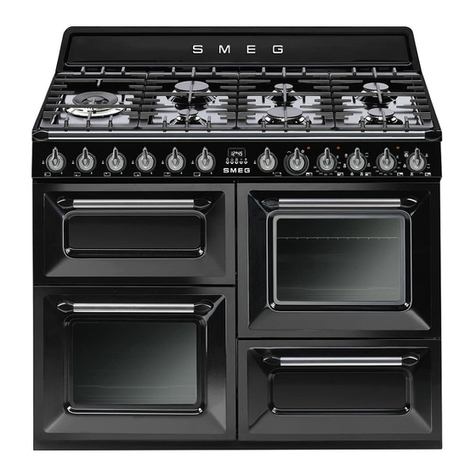
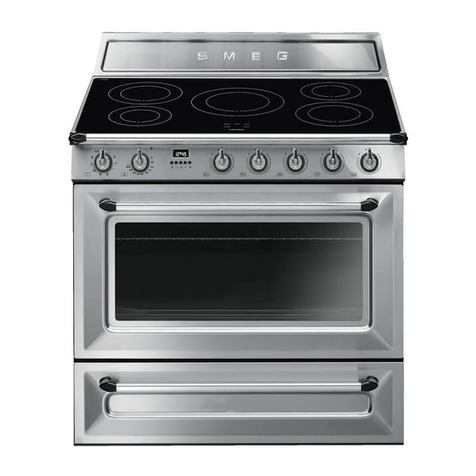
Smeg Victoria User manual

Smeg

Smeg Victoria User manual

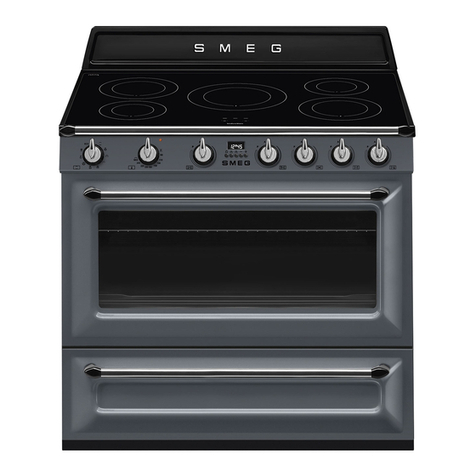
Smeg Victoria User manual

Smeg

Smeg Victoria User manual

Smeg Mista Aesthetic User manual

Smeg

Smeg Mista Aesthetic User manual

Smeg FS61XPZ5 User manual

Smeg

Smeg FS61XPZ5 User manual

Smeg TRA90BL9 User manual

Smeg

Smeg TRA90BL9 User manual

Smeg A1PYID-9 User manual

Smeg

Smeg A1PYID-9 User manual

Smeg C9CMXA User manual

Smeg

Smeg C9CMXA User manual

Smeg AS5601 User manual

Smeg

Smeg AS5601 User manual

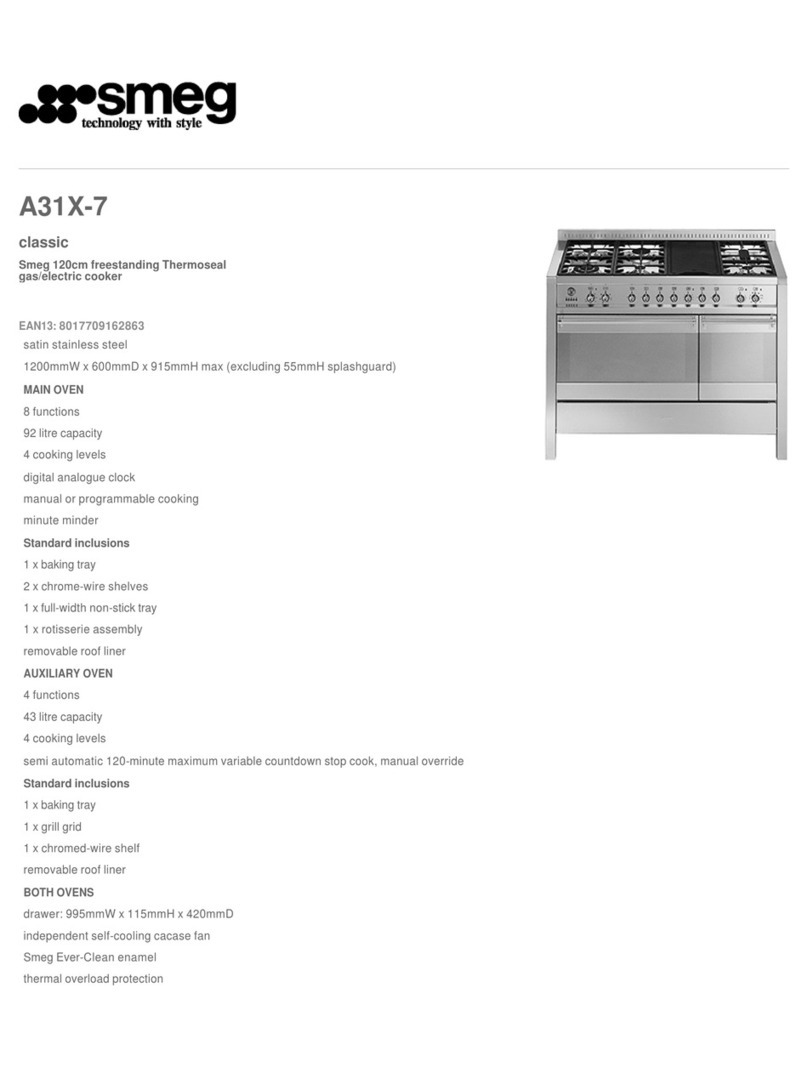
Smeg A31X-7 User manual

Smeg

Smeg A31X-7 User manual

Smeg Classic CSA122X User manual

Smeg

Smeg Classic CSA122X User manual

Smeg C9GMXA User manual

Smeg

Smeg C9GMXA User manual

Smeg Mista User manual

Smeg

Smeg Mista User manual

Smeg CS122-6 User manual

Smeg

Smeg CS122-6 User manual

Smeg GP61X9 User manual

Smeg

Smeg GP61X9 User manual

Smeg A3 Instruction Manual

Smeg

Smeg A3 Instruction Manual

Smeg SNL61MA9 User manual

Smeg

Smeg SNL61MA9 User manual

Smeg CE92CMX User manual

Smeg

Smeg CE92CMX User manual

Smeg A2EA User manual

Smeg

Smeg A2EA User manual

Smeg Selezione Concerto Series User manual

Smeg

Smeg Selezione Concerto Series User manual

Smeg Classic FS9608 User manual

Smeg

Smeg Classic FS9608 User manual

Smeg Victoria TR4110RW1 User manual

Smeg

Smeg Victoria TR4110RW1 User manual

Smeg C6GMXA User manual

Smeg

Smeg C6GMXA User manual

Smeg TR62IBL User manual

Smeg

Smeg TR62IBL User manual

Popular Cooker manuals by other brands

Logik LFTG50A12 installation manual

Logik

Logik LFTG50A12 installation manual

Rayburn 200G/L Gas Fired Cooker Installation and servicing instructions

Rayburn

Rayburn 200G/L Gas Fired Cooker Installation and servicing instructions

VacPak-It SV158 manual

VacPak-It

VacPak-It SV158 manual

Electrolux N7E Installation and operating manual

Electrolux

Electrolux N7E Installation and operating manual

Electrolux EKE6100 Instruction book

Electrolux

Electrolux EKE6100 Instruction book

ARO SHC5065 instruction manual

ARO

ARO SHC5065 instruction manual

Baumatic BCE905SS user manual

Baumatic

Baumatic BCE905SS user manual

Bosch HCE744350R instruction manual

Bosch

Bosch HCE744350R instruction manual

Modena FC 7645 SGM User manual book

Modena

Modena FC 7645 SGM User manual book

Stanley Donard 60 Installation and operating instructions

Stanley

Stanley Donard 60 Installation and operating instructions

Bartscher 201TC manual

Bartscher

Bartscher 201TC manual

Parkinson Cowan 50 GR/BU installation instructions

Parkinson Cowan

Parkinson Cowan 50 GR/BU installation instructions

Creda S150E Installation and user instructions

Creda

Creda S150E Installation and user instructions

Creda HB48309 instructions

Creda

Creda HB48309 instructions

Bosch HCE743220F instruction manual

Bosch

Bosch HCE743220F instruction manual

Tricity Bendix SE545P manual

Tricity Bendix

Tricity Bendix SE545P manual

NEFF E1461A2/01 Instructions for use

NEFF

NEFF E1461A2/01 Instructions for use

Pkm EH9-60GK4 IX instruction manual

Pkm

Pkm EH9-60GK4 IX instruction manual

manuals.online logo
manuals.online logoBrands
  • About & Mission
  • Contact us
  • Privacy Policy
  • Terms and Conditions

Copyright 2025 Manuals.Online. All Rights Reserved.

SMEG COOKERS
Delivery & Connection Guide
Disposal and installation is not available online for this product. Instead, call 0345 604 8835 to order over the phone and
arrange these services.
Smeg will provide a‘hook up’ service to connect your new cooker to both the natural gas and/or electrical supply (please
note Smeg will not undertake disconnection or connection to LPG).This connection service is provided on the understanding
that existing fuel supplies have been prepared to a required standard and fall within the parameters laid out in the following
information.
Once your order has been processed our fullment partner will get in touch with you to arrange a home delivery booking.
When a date is agreed they will also give you a follow up call the day before delivery with a 4hr delivery window. You
can also choose to be contacted one hour prior to delivery on the actual day, should you wish.
To ensure everything runs smoothly, when making the booking our fullment partner will carry out a home delivery
questionnaire to ascertain information relating to both access at your property & the electrical/gas supply.
DISCONNECTION: Please note our team can only disconnect gas from a standard bayonet tting. Please ensure any
cooker for removal is cooled down prior to the team arriving.
GAS CONNECTION: Your cooker will be supplied with a one metre long mark 2 BS bayonet hose with a 1/2” BSP male
tting, which will be used to connect your cooker to the gas supply.
ELECTRICAL CONNECTION: Your electrical supply must be easy to access. If it’s inaccessible or the supply is faulty, we
wont be able to complete your connection. Your cooker will be supplied with the appropriate cable to connect to the
electrical supply. Please visit www.smeguk.com for information on the electrical loading requirement for your appliance.
Every home is dierent, so please ensure the electrical loading supply is suitable for the appliance you are purchasing. We
recommend you seek conrmation of this via the services of a qualied electrican. If you need help nding an electrican
please visit www.electricalsafetyrst.org.uk/nd-an-electrician/.
The instruction manual for your new appliance is available to view or download on our website www.smeguk.com/user-
manuals which contains detailed information regarding installation.
Cookers delivery and connection guide page 1/3
The gas bayonet tting must terminate to the left hand side of the cooker when viewed from the rear and must be within 100mm from the
edge of left hand side, it must not be directly behind the appliance. The bayonet tting must be no higher than 700mm and no lower than
600mm from the oor.
The gas bayonet tting must terminate to the right hand side of the cooker when viewed from the rear and must be within 100mm from
the edge of right hand side, it must not be directly behind the appliance. The bayonet tting must be no higher than 700mm and no lower
than 600mm from the oor.
Please ensure your electricity connection is no more than 1metre away from where the appliance will be situated.
Electrical
connection
point
A 15mm BSP
socket elbow
(bayonet tting)
Gas
supply
point
VIEW FROM REAR
600mm to 700mm
Electrical
connection
point
100mm
Gas
supply
point
Electrical
connection
point
MODELS: CC92/SUK61/SUK62/SUK91/SUK92/SY62/SY6/SY92/C7GPX/ TR90*/TR62/CPF9GP/CPF9IP/A1/A2/A3/A4/A5
MODELS: TR4110/ SYD4110
The gas bayonet tting must terminate to the right hand side of the cooker when viewed from the rear and must be within 100mm from
the edge of right hand side, it must not be directly behind the appliance. The bayonet tting must be no higher than 700mm and no
lower than 600mm from the oor.
A 15mm BSP
socket elbow
(bayonet tting)
Gas
supply
point
VIEW FROM REAR
600mm to 700mm
100mm
Gas
supply
point
Electrical
connection
point
MODELS: SY93/TR93/TR103/TR103I
VIEW FROM REAR Gas
supply
point
Electrical
connection
point
Gas
supply
point
A 15mm BSP
socket elbow
(bayonet tting)
600mm to 700mm
Electrical
connection
point
100mm
*The appliance must be secured to the wall using the brackets or chain provided
ELECTRIC COOKERS
Cookers delivery and connection guide page 2/3
What to expect from your connection…
• We’ll unpack your new appliance.
• We’ll connect it to your existing gas and/or electrics, where applicable.
• We’ll position and level it.
• We’ll take away all of the packaging.
• We’ll remove your old appliance, if this service was requested at point of purchase.
IMPORTANT
Please note this is a delivery, disconnection, disposal and connection service only. Our fulfilment
partner will only connect the gas and electric supply. All necessary gas pipework and electrical points
must be in place prior to connection, any remedial work will not be undertaken and the engineer
will not be able to complete connection. If we are unable to connect your new appliance due to
requirements in this guide not being met and you require a return visit, additional charges will be
incurred.
HOT ZONE
The hot zone is the area directly above your cooker. Before connection please ensure that this area is free from
ammable items including wood, wallpaper, plug sockets, wiring or an overhanging boiler. If the hot zone isn’t
clear, we may not be able to complete your connection.
Cookers delivery and connection guide page 3/3