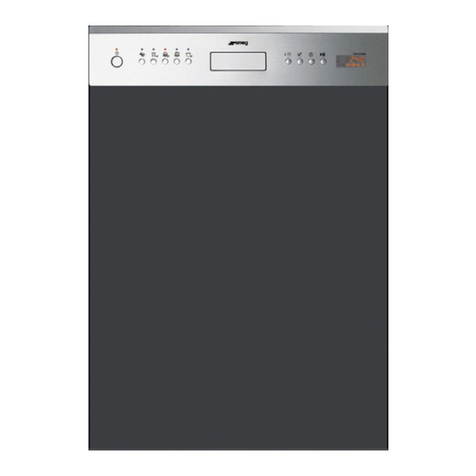
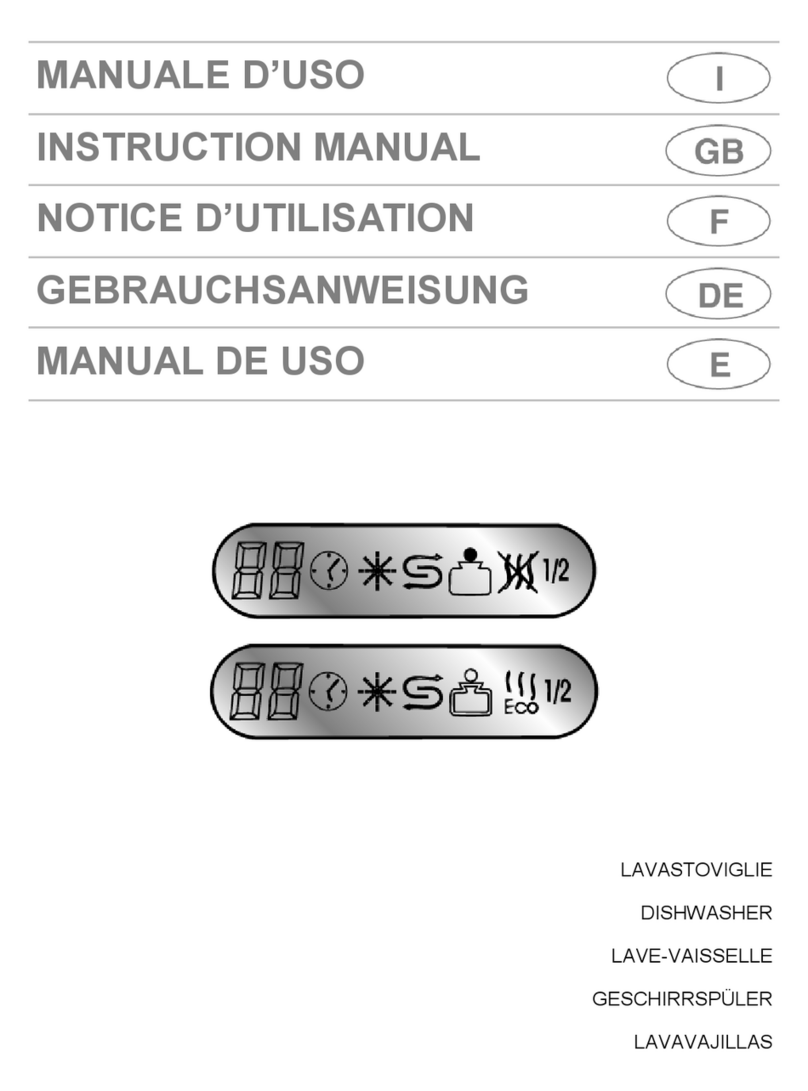
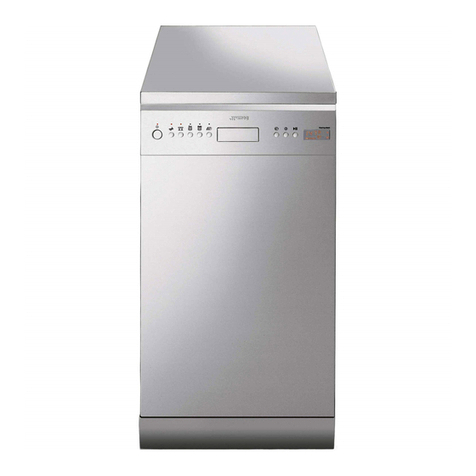
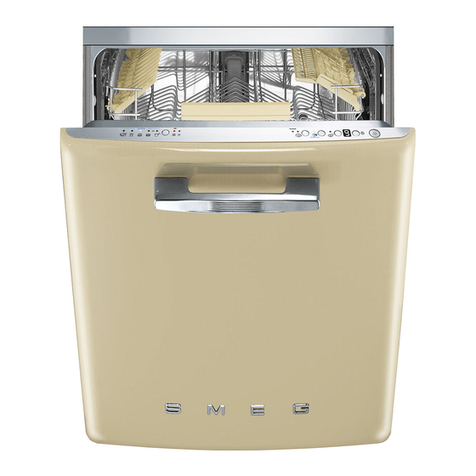
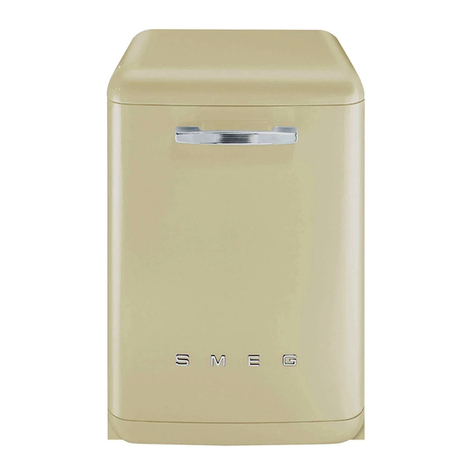
Smeg LVS344PM User manual

Contents
1
1.Product description _____________________________________2
2.Operating instructions __________________________________10
3.Cleaning and maintenance ______________________________11
4.Troubleshooting _______________________________________12
Thank you for choosing one of our products.
You are advised to read this manual carefully; it contains all the
information you need about the right conditions for the proper, safe use
of your dishwasher.
This manual contains only the basic information required to use the
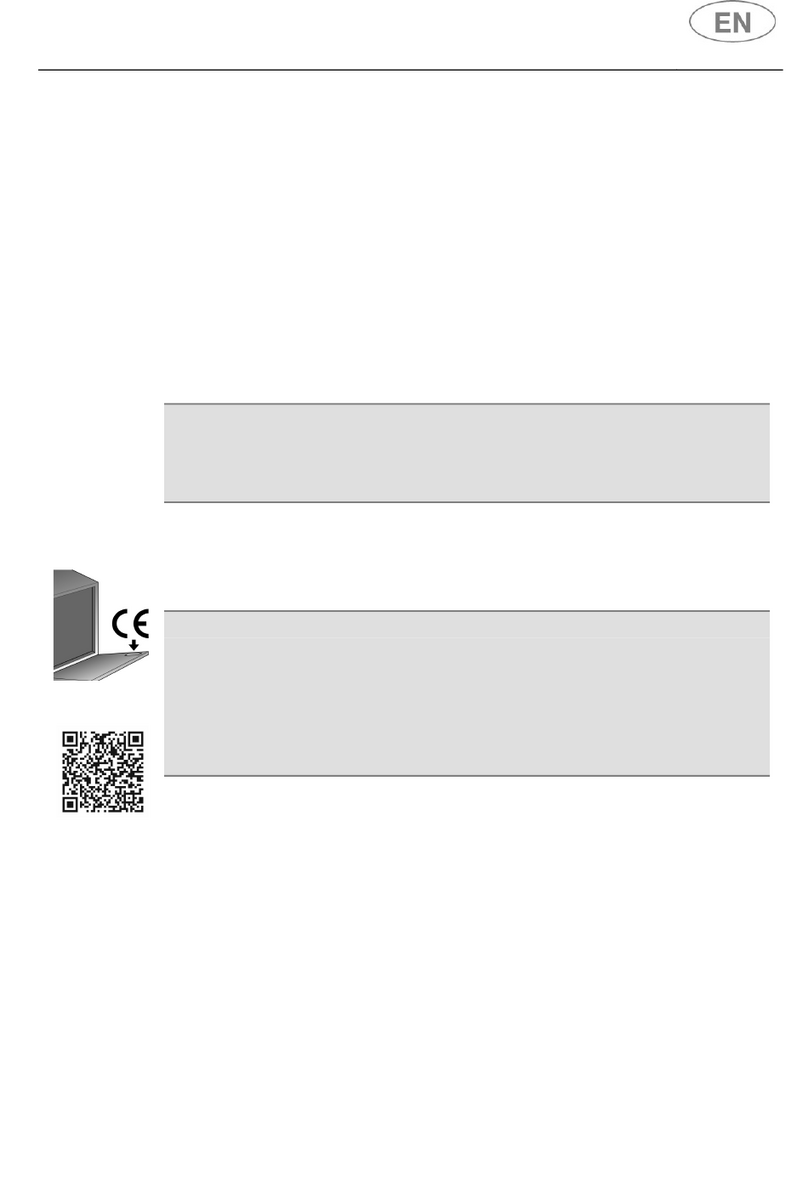
appliance. The complete manual can be obtained from
www.smeg.com/download-manuals
by entering the product code shown on the plate attached to the inner
right hand edge of the dishwasher door.
The manual can be accessed quickly via the QR code using a device
with a QR reader application.

User instructions
2
TRANSLATION OF THE ORIGINAL
INSTRUCTIONS
1. Product description
1.1 Control panel
All the dishwasher controls are grouped on the front panel. Programming
and option selection are only possible with the door closed.
1 ON/OFF BUTTON AND WARNING LIGHT
2 OPTION SELECTION BUTTONS AND WARNING LIGHTS
3 “CHILD LOCK” ACTIVATION BUTTONS
4 START/PAUSE BUTTON
5 PROGRAM SELECTION BUTTONS
6 INFORMATION DISPLAY
7 HANDLE TO OPEN THE DOOR
N.B.: symbols and styling are guideline and may vary depending on
the model or version of the dishwasher purchased.
The dishwasher is equipped with a practical DISPLAY which provides
information on the programmed dishwasher functions.

User instructions
3
Rinse aid lack warning indicator
Salt lack warning indicator
End of cycle signal
“Child lock” option warning light
000Delayed start indicator, wash cycle duration and alarms
Program phases warning lights.
LIGHTING
Pressing the ON/OFF button will start the dishwasher and will lit up the
dishwasher pilot light. After approximately 3 second from this operation
the DISPLAY will be turned on with a visualization that will depend upon
the state of the dishwasher.
PROGRAMMING
All the programming operations are possible only with closed door. With
open door, on the DISPLAY will appear - - : - -.
SELECTION PROGRAM
The program selection is possible through the relative buttons.
By pressing the relative button of the desired program (see table) it will
light up the relative pilot light to confirm that the operation occurred and
on the DISPLAY a program duration forecast will appear (“h.mm”).
START PROGRAM
At this point, in order to start the machine, it is only enough to press the
START/PAUSE for some seconds until the symbol START/PAUSE
start to flash and confirmation “beep” is heard. From this moment the cycle
duration on the DISPLAY starts to decrease.
Program progress is indicated by the program phases that show the status
of the current cycle.
The current phase flashes, while the next washing phases lights stay on.
At the end of each phase, the signal will turn off.
N.B.: when a program which does not need the prewash phase is
selected, the prewash signal stays off.
Prewash
Wash
Rinse
Drying

User instructions
4
Warning:
during the initial phase of the wash program the spray arms cannot be
heard in operation because they start turning about 5 minutes after the
start. This is the normal wash cycle sequence.
END PROGRAM
At the end of the program the DISPLAY shows “end”. By pressing one of
the program buttons the dishwasher is ready to start a new cycle.
INTERRUPTING
A
PROGRAM
In order to interrupt a running program it is necessary:
to press the START/PAUSE for some seconds until when the
led START/PAUSE remains lit on (confirmation beep). At this point,
it is possible to start the cycle again, otherwise:
TO CHANGE A PROGRAM
To change the running program it is necessary:
to interrupt the running program (see “I
NTERRUPTING A PROGRAM
”);
select the new program;
to press again the START/PAUSE button to make start the new
program.
STOPPING A PROGRAM
To cancel a program which is running:
Interrupt the program (see "
INTERRUPTING A PROGRAM
")
Press the START/PAUSE button and hold it down; the
display will show "P0" and the dishwasher will immediately
switch to the end of the cycle and drain the tank (during this
process, the "START/PAUSE led will flash). When the drain
procedure ends, the end of cycle "End" message appears on
the display.
In case that the door is opened during the operation, to the next door
closing it is going to be necessary to start the program as shown in
paragraph “
S
TARTING THE PROGRAM
”. The program will resume from the
point in which it was interrupted.
In case that the tub temperature is higher than 50°C the program will
start about 60 seconds later.

User instructions
5
PROGRAMS TABLE
PROGRAMME,
NUMBER &
SYMBOL
LOAD CROCKERY AND
CUTLERY PROGRAM PROGRESS
(1 ) CONSUMPTION
Water Power (kWh)
Liters Hot H2O Cold H2O
1SOAK
Recommended for rinsing
dishes while waiting for
another wash cycle.
Cold prewash 3,9 0,02 0,02
2 CRYSTAL (**)
Wash cycle for delicate
items, such as wine
glasses and lightly soiled
fine china. Ideal when you
require dazzlingly clean
g
lassware
Wash at 45°C
2 cold rinses
Rinse at 55°C (2)/70°C
Dry
14 0,50/(2)
0,75
0,9/(2)
1,25
3 AUTO (**)
IEC/DIN***
Wash cycle for normally
soiled mixed loads such
as dishes and pans, even
with dried-on residues.
When the "AUTO" program is selected, the dishwasher
recognises the type of dirt and automatically adjusts the
washing parameters as appropriate.
4 ECO (*)
(**)
EN60436
Wash cycle with lower
water and energy
consumption,
recommended for
washing normally soiled
dishes, even with dried-on
residues.
Wash at 48°C
Cold rinse
Rinse at 41°C (2)/70°C
Dry
10,5 0,50/(2)
0,75
0,75/(2)
1,25
5 HYGIENE 99,9%
Intensive wash cycle ideal
for plates, pots, pans,
cutting boards, feeding
bottles. Ideal for baby
dishes or if there are
aller
gy
sufferers.
Hot prewash
Wash at 70°C
2 cold rinses
Rinse at 75°C
Dry
17,7 1,30 1,80
HYGIENE 99,9%
Increases the temperature of the final rinse to obtain a greater level of hygiene.
Suitable for the intensive washing of plates, pots, pans, cutting boards, feeding
bottles. Ideal for baby dishes or if there are allergy sufferers in the family.
NOTE: The Hygiene 99.9% program has been tested by an external laboratory (VDE)
without an option selected.
In order to be effective, the cycle should not be interrupted.
If the dishwasher door is open or not properly closed, the washing cycle
will not start.

User instructions
6
PROFESSIONAL PROGRAMS (see “professional programs option”)
PROGRAMME,
NUMBER &
SYMBOL
LOAD CROCKERY AND
CUTLERY
PROGRAM
PROGRESS
(1) CONSUMPTION
Water Power (kWh)
Liters Hot
H2O
Cold
H2O
6 PRO GLASSES
+
Special program for
washing glasses.
Wash at 50°C
Cold rinse
Rinse at 70°C
11,4 0,82 1,32
7 ULTRA RAPID
+
Very dirty pans and
dishes, even with dried-on
residues, for fast washing.
Wash at 65°C
Cold rinse
Rinse at 65°C
11,8 0,88 1,38
8 MIX
+
Dishes with normal dirt,
with some fairly moist
residues.
Wash at 65°C
Cold rinse
Rinse at 70°C
11,8 0,98 1,48
9 FULL EXPRESS
+
Normally soiled mixed
loads such as dishes and
pans, even with dried-on
residues.
Wash at 65°C
Cold rinse
Rinse at 70°C
Dry
10,4 0,86 1,36
10 PRO-INTENSIVE
+
Very dirty pans and
dishes, even with dried-on
residues, for fast washing.
Cold prewash
Wash at 70°C
Cold rinse
Rinse at 65°C
15,6 1,17 1,67
If the dishwasher door is open or not properly closed, the washing
cycle will not start.
Programs controlled by the dedicated key
SELF CLEAN
Dishwasher cleaning
cycle. Must be
started with the
machine empty,
without dishes.
Wash at 70°C
2 cold rinses
Rinse at 70°C
Dry
13,8 1,08 1,58

User instructions
7
DURATION AND CONSUMPTION (1)
PROGRAMME
NUMBER E
SYMBOL
Duration for power
5.45 kW – P3
Duration for power
3.5 kW – P2
Duration for power
2,0 kW – P1
Hot H2O
60°C
Cold H2O
15°C
Hot H2O
60°C
Cold H2O
15°C
Hot H2O
60°C
Cold H2O
15°C
1SOAK
15’ 15’ 15’ 15’ 15’ 15’
2 CRYSTAL
99’ (2)/
45’
104 (2)/
50’
104 (2)/
50’
109 (2)/
56’
109 (2)/
56’
125 (2)/
75’
3 AUTO
When the "AUTO" program is selected, the dishwasher recognises the type of dirt
and automatically adjusts the washing parameters as appropriate.
4 ECO (*)
EN60436
246 (2)/
152
251 (2)/
157
251 (2)/
157
254 (2)/
162
254 (2)/
152
265 (2)/
185
5 HYGIENE 99,9%
90’ 95’ 95’ 102’ 102’ 140’

User instructions
8
6 PRO-
CRYSTAL
+
20’ 24’ 24’ 29’ 29’ 55’
7 ULTRA
RAPID
+
14’ 19’ 19’ 25’ 25’ 55’
8 MIX
+
22’ 27’ 27’ 32’ 32’ 60’
9 FULL
EXPRESS
+
55’ 60’ 60’ 60’ 60’ 75’
10 PRO-
INTENSIVE
+
40’ 45’ 45’ 51’ 51’ 80’
Automatic door opening – Dry Assist
Automatic door opening is included in programs indicated with ** in the first column
(*) Standard program according to EN60436. The DRY ASSIST option (if the button
is present) must be active.
(1) Consumption and program duration are measured according
to EN 60436. The values may vary due to various factors, such as the inlet water
temperature and the number of dishes.
(2) With the dry assist option selected (default) / not selected.

User instructions
9
Automatic door opening-Dry Assist
It activates automatically when a program that includes the function it is
selected (the light comes on).
It can be deactivated b pressing the button (the light turns off).
The program ends with a drying cycle that consists of a time during which the door is
closed, and a time during which the door is slightly open (just waiting, to assist drying).
The duration depends on the program and model.
Any intervention (opening / closing the door, switching off etc.) during this stage will
end the program early.
The program can be interrupted during the drying cycle and the dishwasher can
unloaded before the cycle has completely ended, which is indicated by a visual and/or
audible alarm (depending on the model), but best drying results may not be obtained.
The complete program ends only when indicated by a visual and/or audible
signal (depending on the model).
There must be sufficient space available for the door to open. The
door must not be forced open and closed before the wash cycle has
ended completely.
Notice for testing institutes
Testing institutes are provided with guidelines for comparative tests (e.g. according to
EN60436). request the guidelines by contacting us at the following
e-mail address: dishwasher@test-domestic-appliances.com
When making a request, please specify the model (MOD) and the serial number (S/N)
indicated on the plate on the side of the door.
OPTIONS TABLE
Option Description
1 PROFESSIONAL
Creates professional programs.
“PROFESSIONAL” programs are indicated by the
blue light.
2 DRY ASSIST
Allows the dishes to be dried perfectly even at low
rinse temperatures, with significant energy
savings. It starts automatically if the selected
program is compatible with it. If it is not required,
press the button to disable it.
3 ½ LOAD FLEXY
ZONE
Ideal if just a few dishes need to be washed,
allowing energy savings and a shorter wash cycle.
4 DELAY
Allows the wash cycles 1 or 3 to be delayed by up
to 9, 12 or 24 hours depending on the models.
5 SELF CLEAN
Dishwasher cleaning cycle. Must be started with
the machine empty, without dishes.
User instructions
10
2. Operating instructions
After having installed the dishwasher, remove the basket retainers.
2.1 Adding the salt
The salt prevents the formation of scale
deposits.
Unscrew the cap of the salt container.
Only for the first time, fill the container
with a litre of water.
Pour salt (approx. 1 kg) into the
container using the funnel provided with
the dishwasher.
Remove any salt residues before
screwing the cap back on.
To regulate the water hardness setting, please refer to the complete
manual that can be found on the website.
- Only use regeneration salt specifically for domestic dishwashers.
- After having added the salt, run a wash cycle to remove any excess
salt.
2.2 Adding the rinse aid
The rinse aid helps to dry the dishes more quickly.
To add rinse aid:
Open the dispenser by pressing and lifting the tab
on the cover.
Top up again when the rinse aid indicator light
turns on.
Close the cover, a click indicates when it is closed.
Use a cloth to remove any spillage of rinse aid which might lead to
the formation of excess foam.
To regulate the amount of rinse aid, please refer to the complete manual
that can be found
on the website.
2.3 Adding the detergent
Open the detergent dispenser cover by
lightly pressing the button P.
Add the detergent or tablet.
Close the cover by sliding it until it stops,
indicated by a click.

User instructions
11
3. Cleaning and maintenance
Before carrying out any work, always unplug the appliance from the
electrical supply or switch off the omnipolar circuit breaker.
CLEANING THE WATER INTAKE FILTER
Close the water supply tap, unscrew the end of the water intake hose,
remove the filter Aand clean it under running water. Put the filter Aback
into its seat and carefully screw the water intake hose back on.
CLEANING THE SPRAY ARMS
Remove the spray arms and wash them with a jet of water. Put them back in their
seats, making sure that there is nothing to prevent them from rotating.
To remove the upper spray arm, unscrew locking ring R.
To remove the lower spray arm, simply lift it up, pulling by the
central part.To remove the orbital spray arm assembly, take
hold of the longer arm and pull the orbital unit upward.
To remove and clean the planetarium sprayer follow the instructions provided.
CLEANING THE FILTER UNIT
Remove the planetarium spray arm (only for the models on which it is fitted)
Grip the tabs, turn them anticlockwise and lift upwards.
Push the central filter Dfrom underneath to remove it from the micro-filter.
Separate the two parts that make up the plastic filter by pressing the body of the
filter in the zone indicated by the arrows.
ORBITAL PLANETARIUM

User instructions
12
4. Troubleshooting
The dishwasher has an autodiagnosis system capable of detecting and
indicating a preset series of possible malfunctions.
TABLE OF MALFUNCTIONS DETECTED BY THE AUTODIAGNOSIS SYSTEM
FAULT DESCRIPTION
E 01 Anti-flooding system tripped (where installed).
E 02 The system that limits the water level in the dishwasher has been tripped.
E 03 The dishwasher is unable to heat the water.
E 04 Temperature sensor disconnected.
E 05 The dishwasher is unable to fill with water
E 06 The dishwasher is not able to pump out the water from the tank.
E 07 The dishwasher is not able to measure the amount of water loaded
accurately.
E 08 Anomaly in the system which distributes water to the baskets.
E 09 Water intake system malfunction.
E 11 Washing pump failure
If an alarm occurs, the machine stops the current program and indicates the fault.
Alarms E1 and E11 require you to contact the technical assistance service.
Alarm E7 is displayed at the end of the cycle, which is anyway completed, as it
does not affect the operation of the dishwasher.
For all other alarms, proceed as follows: stop the current program, switch off the
dishwasher. Switch on and program the dishwasher again to start the new wash cycle.
If the malfunction persists, contact your authorised Service Centre and
provide it with the fault code.
The contact details of the Technical Assistance Department can be found
on the warranty certificate and the website
The manufacturer reserves the right to make any changes deemed necessary for the
improvement of its products without prior notice.
This manual suits for next models
1
Table of contents
Other Smeg Dishwasher manuals