User instructions
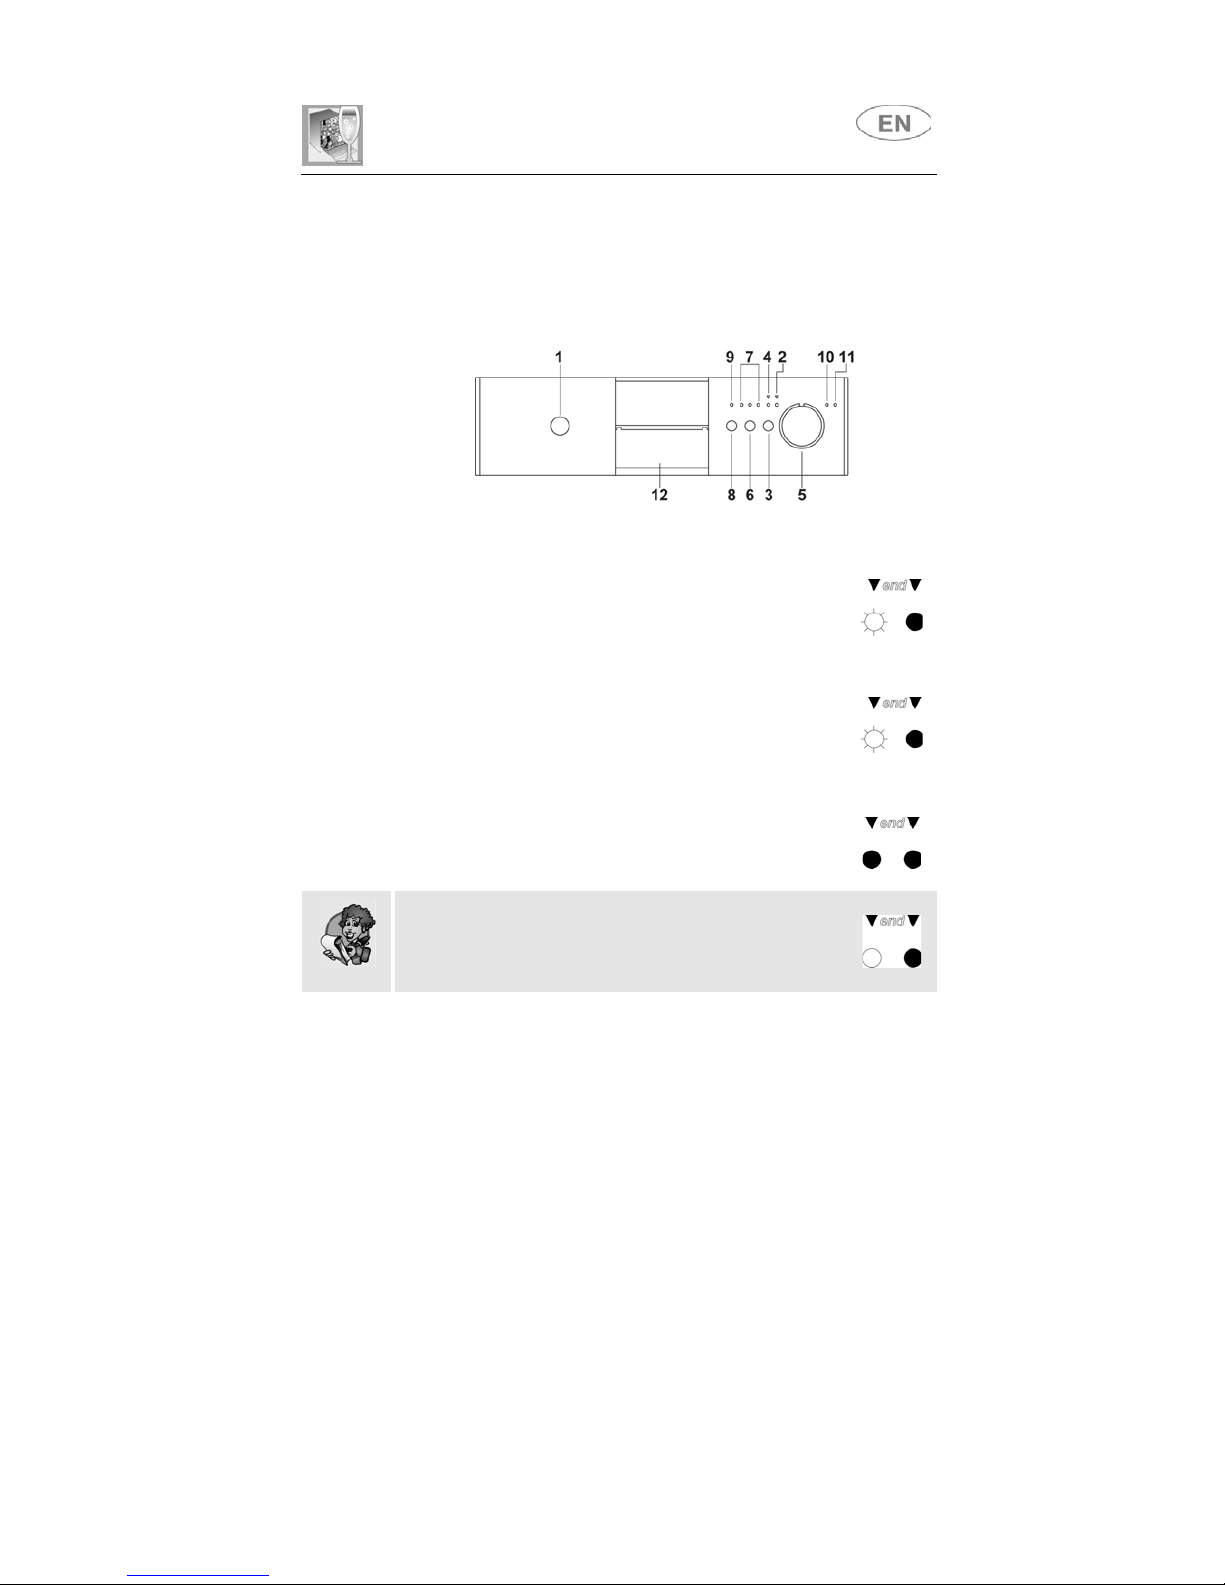
INTERRUPTION OF A PROGRAM
Press the START/PAUSE button (3) for a few seconds, until
the configuration of the ON/OFF (2) and START/PAUSE (4)
lights is as follows.
You may now restart ("START PROGRAM") or change the program which
was interrupted.
TO CHANGE A PROGRAM
To change the running program it is necessary:
•to interrupt the running program (see “INTERRUPTION OF A PROGRAM”);
•select the new program;
•to press again the START/PAUSE button (3) to make start the new
program.
ANNULLING A PROGRAM
To annul the program in progress, it must first be interrupted (see
“INTERRUPTION OF A PROGRAM”).
Turn the PROGRAM SELECTOR (5) to any point on the "empty" sector
(with no symbols) on the left of the selector and start the dishwasher.
After the water has discharged from the tank, the ON/OFF
(2) and START/PAUSE (4) lights will both remain on.
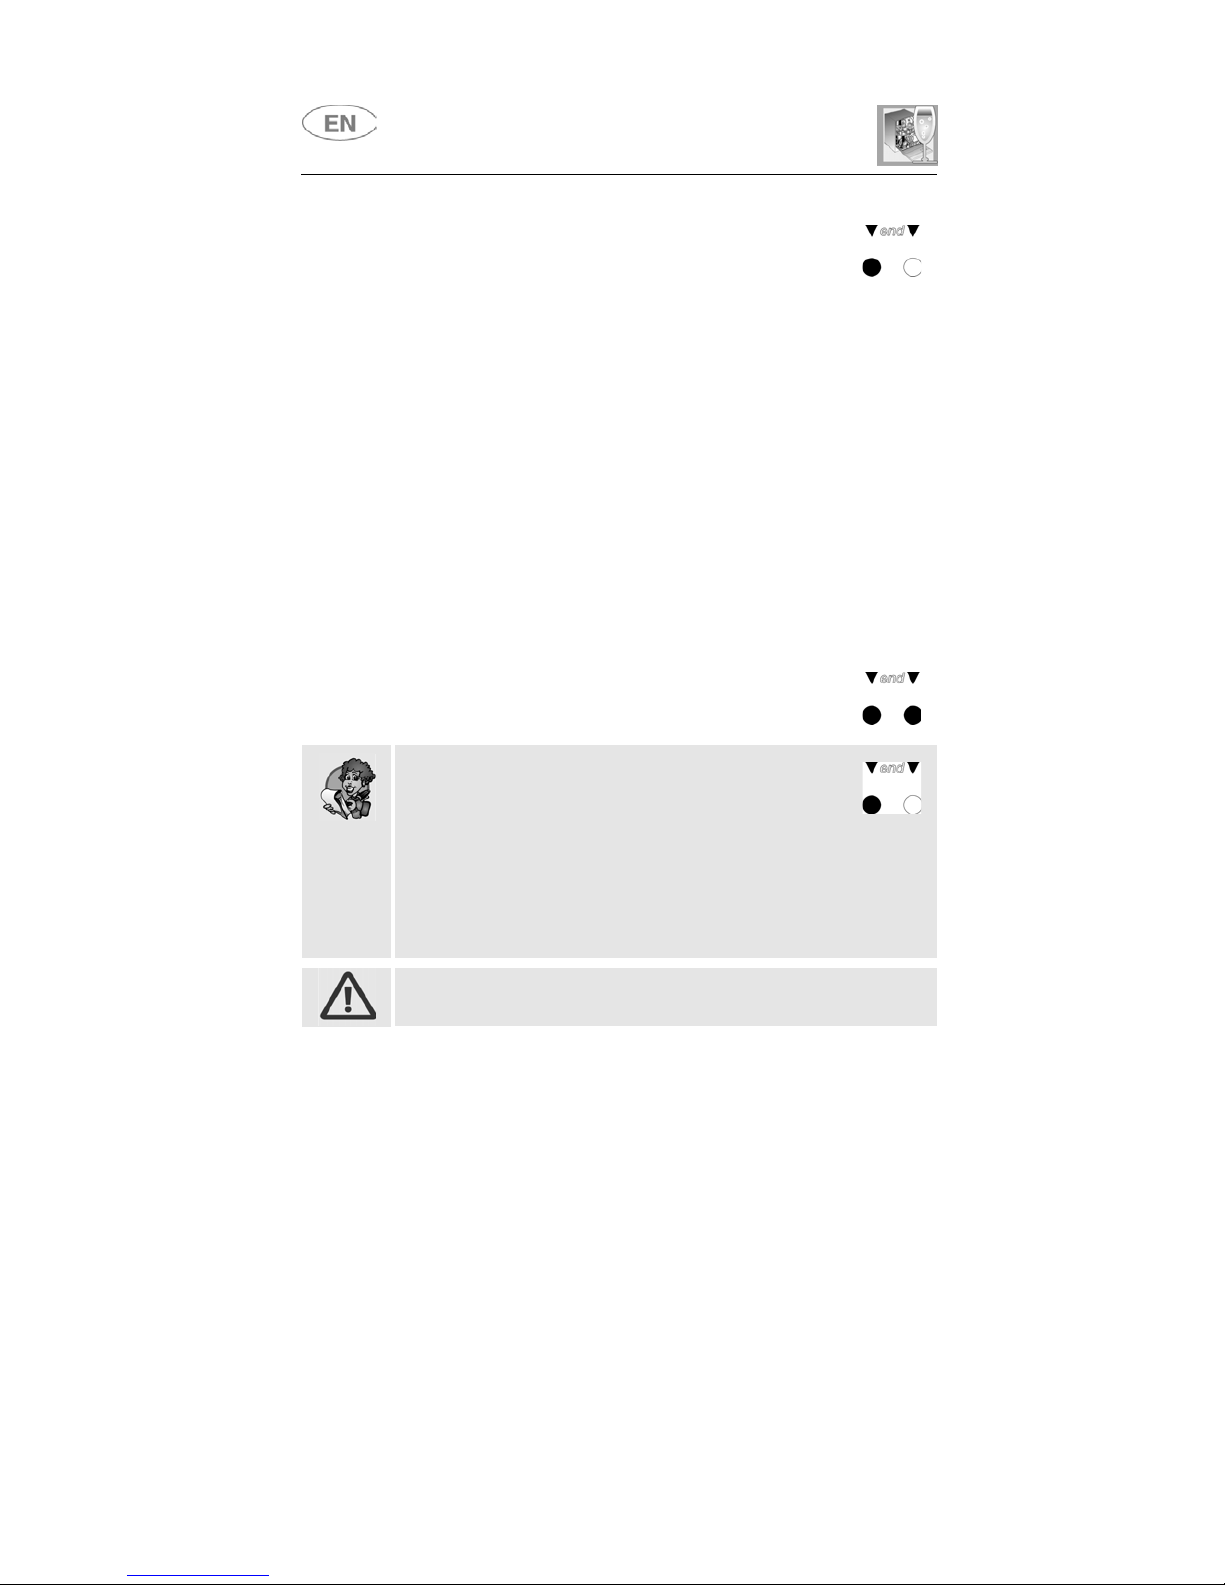
If the door is opened with the dishwasher in operation, the
appliance switches to "Pause" state, indicated by a series of
beeps and the following configuration of the ON/OFF (2)
and START/PAUSE (4) lights.
Once the door has been closed again, the "START PROGRAM" procedure
already described must be repeated. The washing cycle will restart from
the point where it was interrupted.
In case that the tub temperature is higher than 50°C the program
will start about 30 seconds later.
If the dishwasher door is not properly closed, the washing cycle will not
start.