Description
36
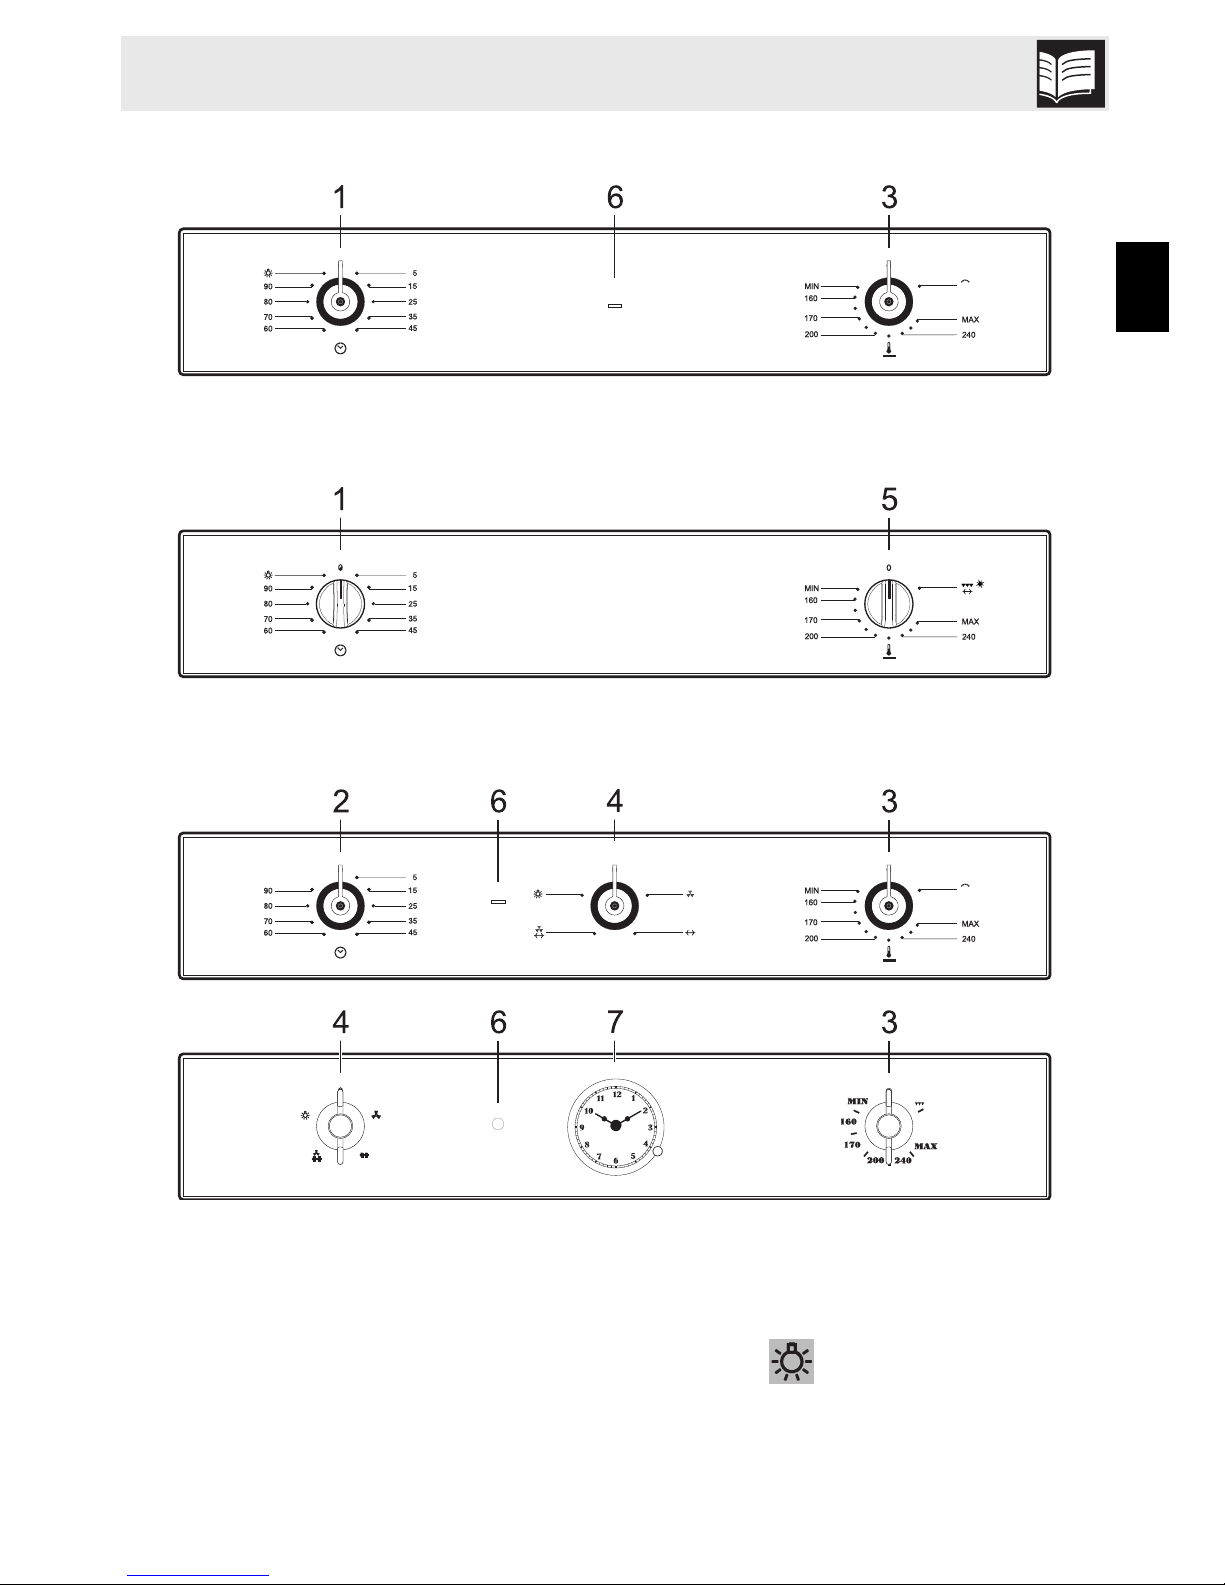
Mechanical timer indicator light (2)
In order to use the mechanical timer, the
buzzer must be set by turning the knob
clockwise. The numbers correspond to
minutes (maximum 55 minutes). Adjustment
is progressive and intermediate positions
between the figures can be used. The end
of cooking buzzer does not interrupt
operation of the oven.
Oven/electric grill temperature knob (3)
Useful for lighting the lower burner or the
electric grill. The cooking temperature is
selected by turning the knob anti-clockwise
to the required setting, between and
.
Function knob (4)
The oven's various functions are suitable for
different cooking modes. After selecting the
required function, set the cooking
temperature using the temperature knob.
Oven/gas grill temperature knob (5)
Useful for lighting the lower burner or the
upper gas grill. The cooking temperature is
selected by turning the knob anti-clockwise
to the required setting, between and
.
To activate the grill function, simply press
and turn the knob clockwise to position
.
Grill indicator light (6)
The grill indicator light comes on when the
grill function is activated. Once the
temperature has been reached, the
indicator light switches off. When the light
flashes, it means that the temperature is
being regulated.
Clock (7)
Useful for displaying the current time.
2.3 Other parts
Oven shelves
The oven features shelves for positioning
trays and racks at different heights. The
insertion heights are indicated from the
bottom upwards (see 2.1 General
description).
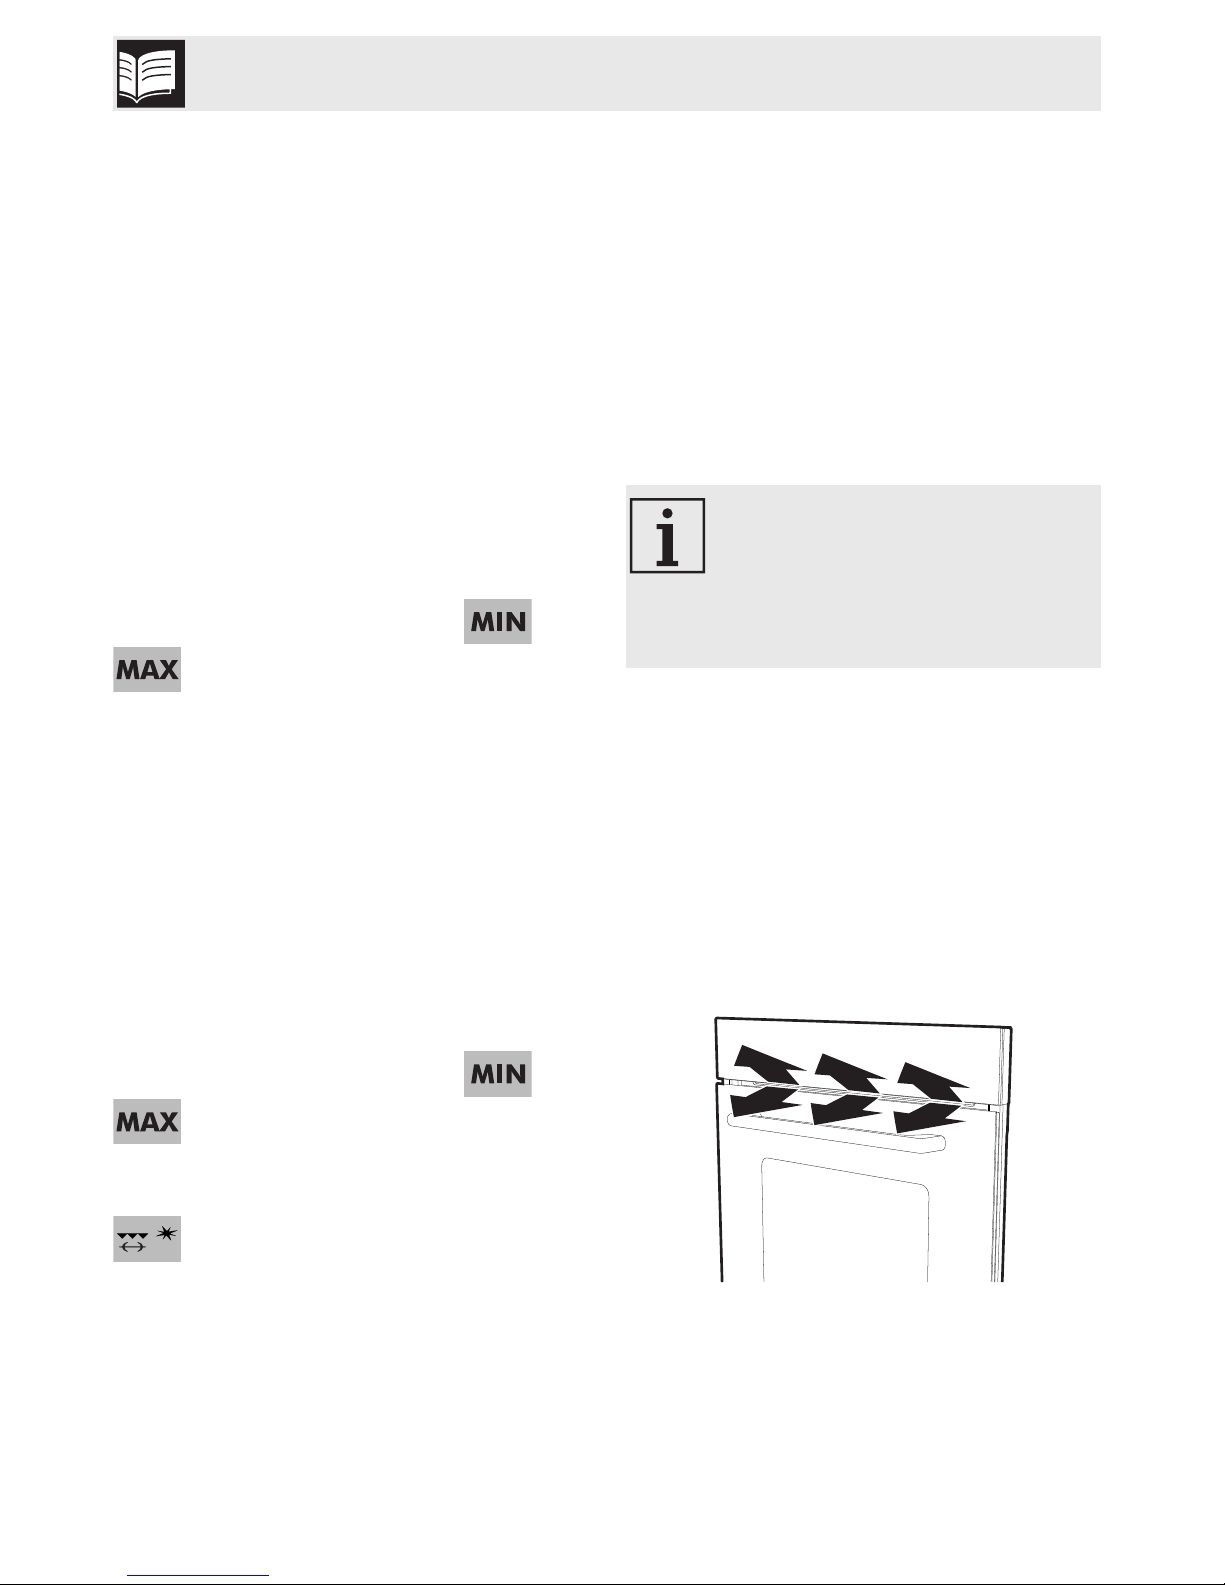
Cooling fan
The fan cools the oven and comes into
operation during cooking.
The fan causes a steady outflow of air from
above the door which may continue for a
brief period of time even after the appliance
has been turned off.
Please note not all controls are
available on all models. Identify
the facia relevant to your model
and follow the appropriate control
descriptions