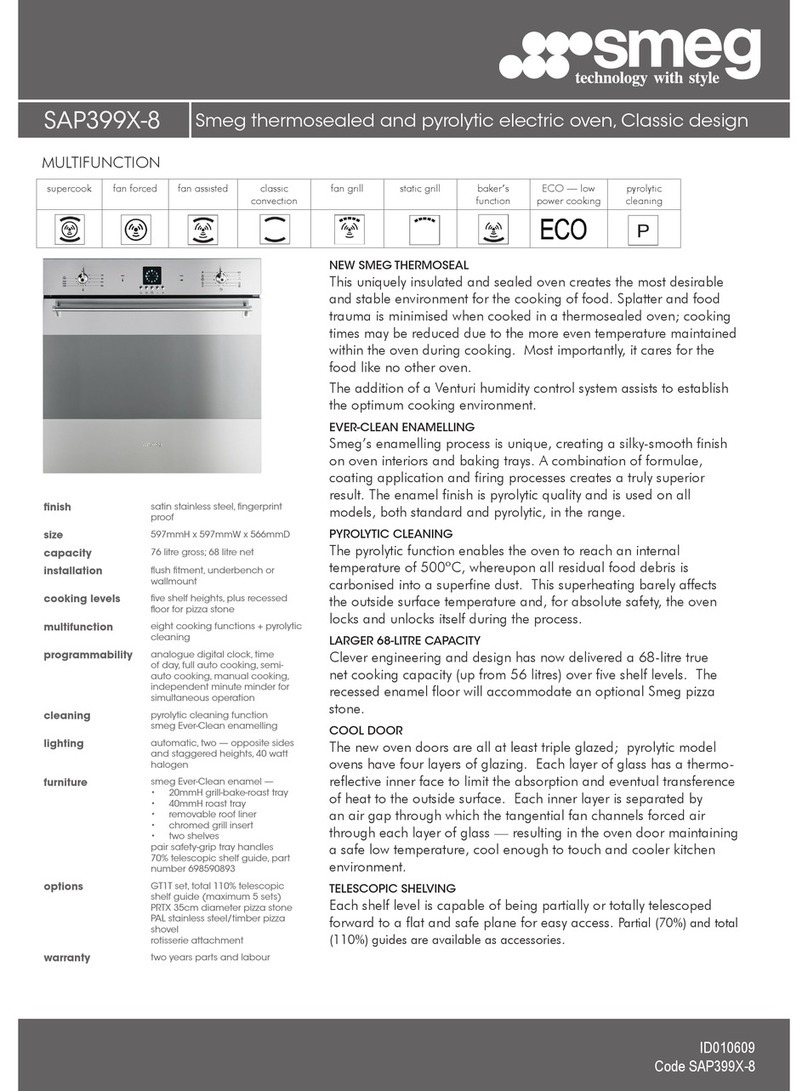
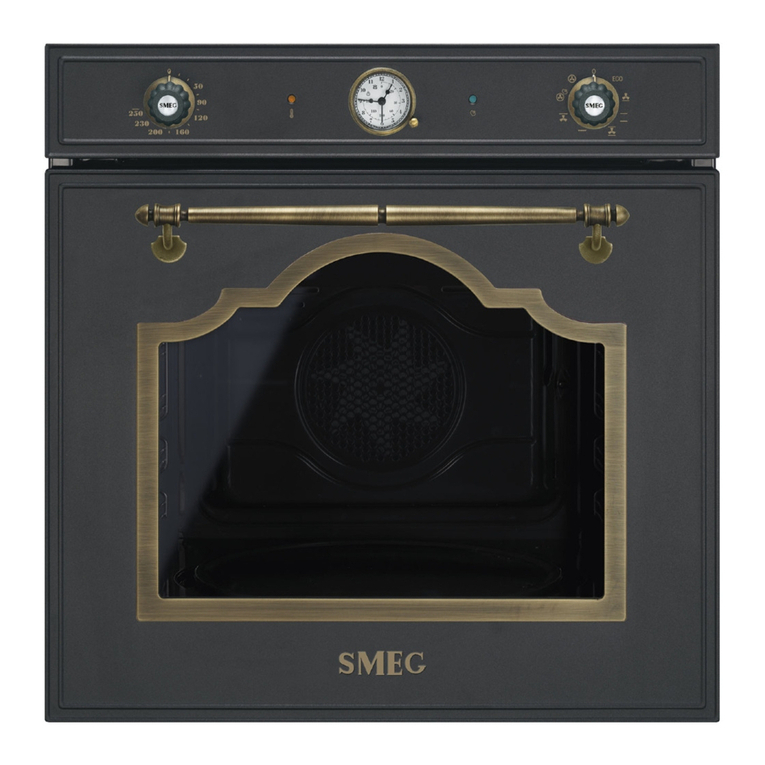
Smeg SF6604 User manual

ELECTRONIC
SPECIFICATIONS
OVENS WITH TFT DISPLAY
TOUCH
REV. MODIFICATION DATE
00 First version 11/2016
01
Second Version:
addition of acoustic alarms
section on ovens with
retractable handle
02/2018

Electronic specifications – oven with TFT display touch
Rev. 01 – 02/2018 2 / 10
INDEX
1 USER INTERFACE ....................................................................................................................... 3
2 CONNECTING THE PRODUCT TO THE ELECTRICAL MAINS ................................................. 3
3 CONTROL LOCK AND DEMO MODE.......................................................................................... 4
4 PUSH-PUSH HANDLE CONTROL VERSION.............................................................................. 5
5 TESTING ....................................................................................................................................... 5
6 BOARD DIAGNOSIS..................................................................................................................... 6
7. ALARMS MANAGEMENT ........................................................................................................... 7
8. WARNING BEEPS FOR RETRCTABLE HANDLE ................................................................... 10

Electronic specifications – oven with TFT display touch
Rev. 01 – 02/2018 3 / 10
1 USER INTERFACE
Main menu screen
1 = Settings
2 = Preset recipes
3 = Cooking functions
4 = Special functions
5 = Personal programs
2 CONNECTING THE PRODUCT TO THE ELECTRICAL MAINS
In all menus and related forms described below it is possible to select the pre-selected item, simply by
selecting the item or, alternatively, by scrolling through the parameters using the buttons and then
selecting it with the button .
PROCEDURE
Connection to the mains: the display shows the clock flashing
Push the upper left corner for at least 3 seconds, and within 30 seconds to
enter the testing menu.
Select the clock to access the form “settings menu”
SETTINGS
It allows to change the general configuration of the product; the parameters are
set in the mask on its side: Default language = English - Default time: 00:00
After 15 seconds without any intervention on the display the parameters are
permanently stored in flash and the main form is displayed.
Select the desired parameter directly in the menu on the left to enter the setting
(e.g. language), or scroll with the arrows to view all parameters.
LANGUAGE
Select directly the language parameter
The list of available languages appears as in the first form: to scroll use
Directly select the desired language: the form on the right appears
Select Yes to confirm the new language chosen and return to the main form
Select No to keep the current language and return to the main form..
In whatever form in which the button will be available, it will be used to return to the previous level
To activate the configuration menu starting from the READY state (form 6.1), it is necessary to select the
button and access in this way the main form.

Electronic specifications – oven with TFT display touch
Rev. 01 – 02/2018 4 / 10
3 CONTROL LOCK AND DEMO MODE
Thecontrollockfunctionsandshowroommodecanbeactivatedenteringinthesettingsmenu.
PROCEDUREDISPLAYING
MAIN MENU: access the settings menu pressing the button
Now the SETTINGS MENU is displayed, select the desired function
CONTROLS
LOCK
Ifactivated,after1minutefromthelastpressingofacontrol,the
controlsareautomaticallylocked.
Selectthedesiredsettingandthedisplayreturnstothesettingsmenu
screen.
Withcontrolslocked,touchingthedisplayactivatesthescreenaside
thatallowstotemporarilydisablethelock.Thescreenisactivatedfor3
secondsthenitdisappears.
Totemporarilyexitfromthelock,presstheiconfor3seconds:a
singlebeepisemitted.
Inanycase,evenwiththecontrolslockengaged,itispossibletoturnoff
theovenpressingfor3seconds.
DEMO
Allofthefunctionsprovidedbytheuserinterfaceareactive,whileallthe
loads(heatingelementsandmotors)arealwaysOFF(thelightsare
operating).
Selectthedesiredsettingfromthescreenasideandthedisplayreturns
tothesettingsmenuscreen.
Whenthedemomodeisactivated,thedisplayshowsthescreenaside
onceevery10minutesfor3seconds.

Electronic specifications – oven with TFT display touch
Rev. 01 – 02/2018 5 / 10
4 PUSH-PUSH HANDLE CONTROL VERSION
Some models are provided with a push-push handle with electric drive mechanism. This handle is controlled
by a specific electronic board that will receive the commands from the power board and in particular
producing the signal through the triac TR1 activation with duty cycle of 1 second, as follows:
CONTROLDESCRIPTIONDUTYCYCLE
CookingstartHandleoutputactivation25%
DooropeningHandlemechanismlock50%
EndofcookingHandlere‐enteractivation75%
5 TESTING
1. Switch on the oven;
2. Within 20 seconds from switching it on, press and hold down for 3 seconds the area at the bottom right
of the display to enter the test mode. Or within 30 seconds from switching it on press and hold for 3
seconds the area on the top left.
3. Testing cycle start; the display shows the screen aside
4. Press the buttons : the display shows “step0” and
then continuing to press scroll the steps from P0 to P8. For
each selected function, the display shows the step of the
testing process and activate the various devices according to
the following table
Step Checks
P1 Lamp on - Tangential Motor at full speed
The door lock starts activatin
g
- the check is at the end of testin
g
P2 Lamp off - Tangential Motor at minimum speed - Internal motor fan active
Opening the door: the oven light turns on, the internal motor fan stops, the buzzer sounds, check
the roaster operation
P3 Grill heatin
g
elemen
t
P4 Bottom heatin
g
element
P5 Circular heatin
g
element
P6 Roof heatin
g
element
–
Boiler
(
steam oven
)
–
Ma
g
netron
(
microwave oven
)
P7 Potentiometers check: the knob light - if available - flashes. Activate PT1 and PT2 in sequence as
follows: left rotation, press, right rotation. The display shows the activations of the knob, numbering
them from 1 to 6. Check that the door lock and the s
y
mbol on the displa
y
are on
If during the testing, no command is not given within 60 seconds, the testing is interrupted and the display is
restarted.
After the sequence the test ends: the display restarts.

Electronic specifications – oven with TFT display touch
Rev. 01 – 02/2018 6 / 10
6 BOARD DIAGNOSIS
PROCEDURE
Within30secondsfromthepowersupply,pressandhold
for3secondstheareaintheupperrightofthedisplay→
Thediagnosismenuisactivatedandformontherightis
displayed
Automatic:theautomaticdiagnosisprocedurestarts
Manual:gotothemanualdiagnosis
AUTOMATIC
Duringtheautomaticdiagnosisprocedure,theformontherightisdisplayed
Ifaverificationfails,thedisplayshowsthedevicethatgaveanegativeresult.The
diagnosticprocedureisinterrupted.
Ifinsteaditissuccessful,thedisplayshowsthepreviousform.
Selecttostopthetesting→thestarngformisdisplayedagain
During the test, if a faulty device is detected, the form on the right appears
and after 10 seconds →the form 5.1 is displayed again
MANUAL
Asecondpartofthediagnosisismadewiththehelpofthetechnicianwhoperformsa
visualorinstrumentalinspection,possiblyoperatingadevice.Thedisplaydescribes
whichcheckormanoeuvretocarryout.Itispossibletogofromonesteptothenextby
pressingthebuttons.
Pushthebuttontostopthetest.Fortheverificationofthedevices,proceedas
follows:
RL1(ovenlight):visualcheckthatitturnson.
Rotisserietriac:dooropeningandverificationoftherotationbyinsertingthespitin
theseat
Doormicroswitch:theovenlightturnsonwhenthedoorisopened(simultaneously
checkoftherelayRL1),andwhenthedoorisclosedthelightturnsoff.
Doorlock:waitatleastoneminutefromthedoorlockactivation.Attheend
manuallycheckthatthedoorislocked.Thedisplayshowsthesymbollightedon,
allowingtocheckalsotheoperationofthedoorlockmicroswitch.Ifoneofthe
conditionsisnotmet,thetestfails.

Electronic specifications – oven with TFT display touch
Rev. 01 – 02/2018 7 / 10
7. ALARMS MANAGEMENT
Each error is displayed on the user interface as described in the relevant functional specifications. The errors
are also managed in the course of the test cycle or in the self-diagnosis cycle (if available). In all operating
conditions, the cooling fan remains active at the maximum speed when the door lock is active, regardless of
the type of alarm signalled.
ALARM ALARM CAUSE
A
LARM MANAGEMENT ALARM RESET
ERR1 DEFECTIVE TEMPERATURE
PROBE:
It is activated if the signal from the
probe PT1000 (converted in °C)
provides a temperature value outside
the range -20 °C / 600 °C for at least
10 seconds
Risk: high internal temperatures that
cause risk to the user's health
All heating elements OFF
- cooling fan at max speed
STOP to the cooking cycle
- Buzzer ON
-the measured temperature is
within the range for at least 10
consecutive seconds
-Placing the display in STAND-
BY (e.g. knob set to function 0)
NOTES: If the alarm is reset by
placing the oven in STAND-BY
but the alarm condition
continues, this will return as
soon as the oven goes out from
the STAND-BY condition. To
reset the alarm display is still
required to put in the oven to
STAND-BY or OFF, even if the
cause of the alarm is no longer
presen
t
ERR2 TEMPERATURE TOO HIGH for the
operating conditions.
Activation conditions:
-Pyrolysis cycle NOT active
-Measured temperature is> 410 ° C
for 10sec
Door lock ACTIVATION
All heating elements
OFF
cooling fan at max speed
STOP to the cooking
cycle
Buzzer ON
The temperature measured
is within the range
established for at least 10
consecutive seconds
Oven in STAND-BY (e.g.
knob set to function 0) or
OFF
In these conditions, the alarm
display disappears, the cooking
cycle DOES NOT restart, and
the cooling fan is turned off
Note: If the alarm is reset by
placing the oven in STAND-BY
but the alarm condition
continues, this will return as
soon as the oven goes out from
the STAND-BY condition. To
reset the alarm display is still
required to put in the oven to
STAND-BY or OFF, even if the
cause of the alarm is no longer
presen
t

Electronic specifications – oven with TFT display touch
Rev. 01 – 02/2018 8 / 10
ALARM ALARM CAUSE
A
LARM MANAGEMENT ALARM RESET
ERR3
WATER FILL/DRAIN TIMEOUT
ALARM.
Activation conditions:
-duringtheintake/drainprocedure,
after6minutes(intake)or8minutes
(drain)withoutreachingthe
maximum(intake)orminimum
(drain)levels.
STOP to the intake/drain
cycle
All relays are open
Buzzer ON
Alarm displaying on the
user interface
Oven in STAND-BY (e.g.
knob set to function 0) or
OFF. After the reset it is
possible to restart the
intake/drain procedure, the
alarm can be reactivated in
the same conditions.
ERR4 WRONG DOOR LOCK
ACTIVATION:
• The pyrolysis is active and
the door lock is not activated
within 90 seconds
• The pyrolysis is not active
and the door lock is active (in
this case, the door lock has
been activated by the
external clicson due
abnormally high Tcf)
Risk: high internal temperatures that
cause risk to the user's health
-all heating elements OFF
- cooling fan at max speed
-STOP to the cooking cycle
- Buzzer ON
• Oven in cooling mode at
the end of the pyrolysis
and door lock not
activated.
• Placing the display in
STAND-BY (e.g. knob
set to function 0)
ERR5 CIRCULAR HEATING ELEMENT
ERROR:
• Relay active when the SW
does not provides it
• The heating element is
electrically disconnected
• The safety clicson is tripped
and the internal temperature
<150 °C
Risk: circular heating element
burning without MTV internal cooling
-all heating elements OFF
- cooling fan at max speed
-motor fan inside the oven
activated
-STOP to the cooking cycle
- Buzzer ON
Eliminate the cause of the alarm
by placing the display in
STAND-BY (e.g. knob set to
function 0)
ERR6 MOTOR FAN INSIDE THE OVEN
ERROR:
• MTV is not connected
electrically
• The MTV relay is not closed
when instead it is provided
by the software
Risk: circular heating element
burning without MTV internal cooling
-all heating elements OFF
- cooling fan at max speed
-STOP to the cooking cycle
- Buzzer ON
Eliminate the cause of the alarm
by placing the display in
STAND-BY (e.g. knob set to
function 0)

Electronic specifications – oven with TFT display touch
Rev. 01 – 02/2018 9 / 10
ALARM ALARM CAUSE
A
LARM MANAGEMENT ALARM RESET
ERR7 GRILL HEATING ELEMENT
ERROR
• Relay active when the SW
does not provides it
• The heating element is
electrically disconnected
• The safety clicson is tripped
and the internal temperature
<150 °C
Risk: high internal temperatures that
cause risk to the user's health
-all heating elements OFF
- cooling fan at max speed
-STOP to the cooking cycle
- Buzzer ON
Eliminate the cause of the alarm
by placing the display in
STAND-BY (e.g. knob set to
function 0)
ERR8 (TANGENTIAL) COOLING FAN
ERROR:
• Motor fan not connected
• Motor fan relay not closed
when instead it is provided
by the software
Risk: potential damage to electrical
components in the control
compartment and high temperatures
on the front control panel
-all heating elements OFF
- cooling fan at max speed
-STOP to the cooking cycle
- Buzzer ON
Eliminate the cause of the alarm
by placing the display in
STAND-BY (e.g. knob set to
function 0)
ERR9 BOTTOM HEATING ELEMENT
ERROR:
• The relay is active when the
software does not provide it
• The heating element is
electrically disconnected
• The safety clicson is tripped
and the internal temperature
<150 °C
Risk: high internal temperatures that
cause risk to the user's health
-all heating elements OFF
- cooling fan at max speed
-STOP to the cooking cycle
- Buzzer ON
Eliminate the cause of the alarm
by placing the display in
STAND-BY (e.g. knob set to
function 0)
ERRA TANK LEVEL OPERATION
ERROR:
Activation conditions:
cooking with steam activated and the
level sensor communicates (on serial
line) data which is not congruent with
the established protocol or an error
condition.
-all heating elements OFF
-STOP to the cooking cycle
- Buzzer ON
- the display shows the error
Setting the display in STAND-
BY (e.g. knob set to function 0)
or OFF. In these conditions, the
alarm display disappears, the
cooking cycle DOES NOT
restart, and the cooling fan is
turned off unless there are no
other conditions for which the
activation is required
Electronic specifications – oven with TFT display touch
Rev. 01 – 02/2018 10 / 10
8. WARNING BEEPS FOR RETRCTABLE HANDLE
The appliance can emit some acoustic signals linked to the handle movement. These warning beeps cannot
be disabled by the user.
Warnin
g
Beep
A
ction
1 Tone Handle manual openin
g
or closin
g
from the "Home screen"
1 Extended tone Initial calibration of the handle at the first connection before or after a
power failure.
2 Extended tones Initial setting procedure failed. Make sure that there are no obstacles or
that the handle operation has not been forced during the first electrical
connection or interruption of electricit
y
.
3 Tones From the open handle status, it is not possible to reach the closing. Make
sure to not keep the handle locked
7 Tones It is not possible to open the handle. Check that there are no obstacles in
the range of action of the handle. The appliance will make several
attempts to open it, if malfunctions occur in the opening system, switch off
the appliance.
Table of contents
Other Smeg Oven manuals

Smeg
Smeg SC436X-8 User manual

Smeg
Smeg C9CMXA1 User manual

Smeg
Smeg SA304X-8 User manual

Smeg
Smeg FMI625CN User manual

Smeg
Smeg SFA9315XR User manual

Smeg
Smeg DUSF6300X User manual

Smeg
Smeg SF4920MCX User manual

Smeg
Smeg SFA4390MX User manual

Smeg
Smeg Classic SFA7300TVX User manual

Smeg
Smeg F166-5 User manual
Popular Oven manuals by other brands

Cascade TEK
Cascade TEK Tek TFO-1 instruction manual

NEFF
NEFF B85H42 0MC Series instruction manual

Fagor
Fagor 5H-780X user manual

DeLonghi
DeLonghi DMFPS60BF Installation and service instructions

West Bend
West Bend QUIKSERVE 76026 instruction manual

Kenmore
Kenmore 4061 - 24 in. Clean Double Wall Oven Use and care guide