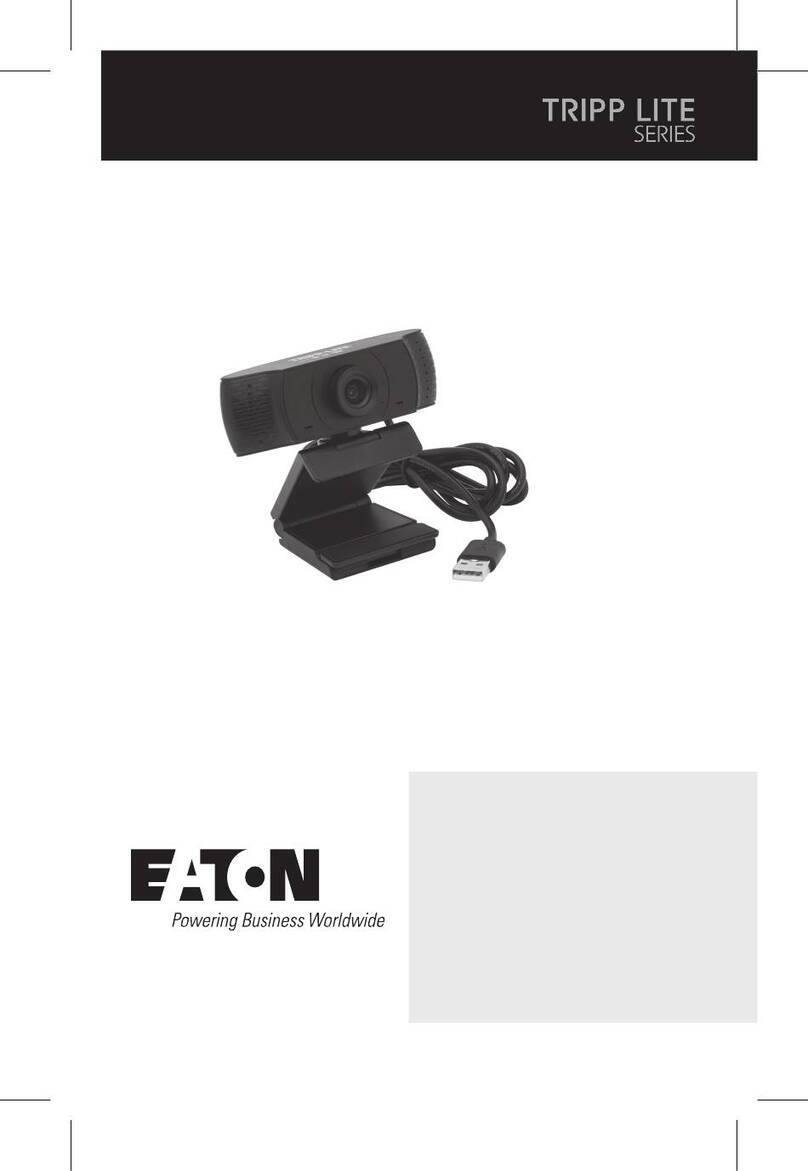
SmileCAM SU-320 User manual

USER’S GUIDE
SmileCAM
SU-320
SmileCAM
4
Video Conferencing
& Monitoring
4Remote Pan / Tilt Control via Internet
4Automatic Motion Tracking

Thank you for purchasing SmileCAM.
Please read the following before using the camera.
[Before using SmileCAM]
:Do not plug out USB port while using applicationprogram.
:Do not force the camera head when adjusting it by hand.
:Do not attempt to disassemble the camera by yourself.
( Warranty is invalid if disassembled )
:Do not clean the camera with flammable substances such
as oil or thinner.
:Do not drop the camera or it will cause operational problems.
:Please make sure the lens cap is on when the camera is not in use.
>>If SmileCAM is being used in network behind IP sharer, Router or in firewall, or during
using if there is any problem with Video and Sound, please refer to Customer Service on
www.smilecam.com.
>>If your computer system has USB ports only and doesn’t have Serial Port, you must
equip USB-to-Serial converter to control camera. And if there is only one USB port on your
computer, also USB Hub is required together with USB-to-Serial converter.
All rights reserved. Copying in whole or in part this manual is
prohibited by law. The information contained herein is subject to change in order to improve
reliability, design, or function without prior notice.
Note that set up (installation) and use may be different from the manual supplied with the
product.
Please see SINTEC Home Page with question or comments. www.smilecam.com
SmileCAM is a trademark or a registered trademark of SINTEC Corp.
A patent is pending and a registration of design has been applied for in
Korea, U.S.A and other six countries.
As this product complies with the guidelines of CE,FCC Rules and EMC Registration,
it can be used in all residential or other areas.
[Note]
In case of using notebook(laptop), need to have main adopter
connect to the electric socket. (Only using battery would not have
enough power for SmileCAM to run).

[Contents]
1. Pack Contents
2. Driver Set-up
(1) Windows 98/98SE
(2) Windows Me
(3) Windows 2000
3. Program
(1) ezNetmeeting
A. ezNetmeeting Set-up
B. Main Functions
(2) ezWebCam21
A. ezWebCam21 Server Set-up
B. Main Functions
C. ezWebCam21 Client Set-up
Installation type 1.
Using www.smilecam.com as your web broadcasting server (recommended)
Installation type 2.
Setting via ftp
. Default Set-up
. User Defined Set-up
Installation type 3.
Setting up “On User’s PC”
D. Main Functions
4. Causion
5. Troubleshooting for SmileCAM

1.Pack Contents
SmileCAM Install CD
Manual

2.Driver Set-up(Windows 98/ME/2000)
Please install USB driver supplied in CD to use SmileCAM-USB camera according to your O/S system.
(1) Windows 98/98Se
1) Turn on your computer. Connect USB cable and RS232 serial cable to each USB port and serial
port in your computer.
Connect to
Computer USB port
and serial port

2) The computer will automatically detect SmileCam as newly added hardware.
Click “Next”.
3) Select “Search for the best driver for your
device(recommended)”and click “Next”.
4) Select “Specify a location” and click “Browse”.

5) Put the supplied CD into CD-ROM drive and Specify ”USB Driver” folder and click
“OK”.
6) Click “Next”.

7) Click "Next" after checking "smilecam.inf" driver file
8) Copying driver files… (if you see "Insert Disk" message while copying driver files,
please put "Windows 98 CD" into CD-ROM drive. Then click "OK")

9) Click "Finish".
10) If the video image is not displayed properly through application program check if the USB
Driver "SmileCAM SU-320" has been successfully installed under the image device by following
path.
Start/Settings/Control Panel/System/Device Manager/Image Device.
>> If you have any problem on driver set-up, refer to Customer Service at www.smilecam.com .

(2) Windows Me
1) Turn on your computer. Connect the USB cable and RS232 serial cable to each USB
and Serial port in your computer. Refer to page 5.
2) The computer will automatically detect newly added hardware of SmileCAM.
3) Select “Specify the location of the driver(Advanced)” and click “Next”.
4) Select “Specify a location” and click “Browse”.

5) Put the supplied CD into CD-ROM drive and Specify ”USB Driver” folder and click “OK”.
6) Click “Next”.

7) Click "Next" after checking "smilecam.inf" driver file.
8) Copying driver files...
9) Click "Finish".

10) If the video image is not displayed properly through application program check if the USB
Driver "SmileCAM SU-320" has been successfully installed under image device by the following
path.
Start/Settings/Control Panel/System/Device Manager/Image Device.
>> If you have any problem on driver set-up, refer to Customer Service at www.smilecam.com .

(3) Windows 2000
1) Turn on your computer. Connect the USB cable and RS232 Serial cable to each USB and
Serial port in your computer. Refer to page 5.
2) The computer will automatically detect newly added hardware of SmileCAM. Then, click
“Next”.
3) Select “Search for a suitable driver for my device (recommended)” and click “Next”.

4) Select “Specify a location” and click “Next”.
5) Put the supplied CD into CD-ROM drive and Specify ”USB Driver” folder and click “OK”.
Click “Open”.

6) Click “O.K” after specifying “USB Driver” folder.
7) Check driver “smilecam.inf” and click “Next”.
8) Click “Yes”

9) Click “Finish”.
10) If the video image is not displayed properly through application program check
if USB Driver “SmileCAM SU320” has been successfully installed under image
device by following path.
Start/Settings/Control Panel/System/Device Manager/Image device.

[ezNetmeeting System]
3. Program Set-up
(1) What is ezNetmeeting
ezNetmeeting is a live video conferencing program that fits best with SmileCAM. You can enjoy
live video communication with your family, your friends and the world with ezNetmeeting, which
enables control of both local and remote camera while conferencing. Diverse additional
functions such as file transfer, white board, message sending, chatting, etc. are also embedded
in this software.
Just click “ezNetmeeting install” in a provided CD and enjoy all these.
A. ezNetmeeting Set-up
>> Insert CD into CD-Rom. Then, installing Program automatically runs as right. You may take
alternative to install by searching and executing AutoSetup.exe file through Windows Explorer.
>> Click “ezNetmeeting”. Then program will be installed automatically.
>> Double click “ezNetmeeting” icon created on the Desktop to execute program.
>> Select the “SmileCAM SU-320” USB driver and click “O.K”.
[AutoSetup Screen]

>> Once program is executed, a window for setting on user information, connection to
www.smilecam.com Server and basic information to use program will be appeared.
>> Type your name, e-mail address and comment, and select the other options.
Then click “O.K”.
[Note]
if you want to delete “ezNetmeeting”, click “ezNetmeeting again. It will delete the
installed program automatically. And if you want to reinstall, click “ezNetmeeting.
It will install the program again.
[ ezNetmeeting Setting ]

[ ezNetmeeting Program ]
B. Getting know main functions
1.Name : shows your name
2.My IP : shows my IP
3.Name : shows your name
4.Partner's IP : shows partner's IP
5.Auto-Tracking : Camera tracks moving object automatically by clicking button,
by clicking again auto-tracking function stops.
6.Cam control On/Off : This function allows or limits you your partner to control your camera.
Green color means 'controllable' and Gray color means 'Prohibited'.
7.My Sound On/Off : Sound transfer ON/OFF to your partner.
8. Save My Image : This icon lets you to capture local video image. Image can be saved once
or in sequence. For sequential capturing, The first clicking makes capture started and the
next clicking makes capture stopped. .
9.Partner's Cam Control On/Off : Greencolor allows your partner's camera and Gray color
means 'Prohibited'.
10.Partner's Sound On/Off : Green color transfers voice to you and you can not hear partner's
voice on gray color .
11.Save Partner's Image : Saves partner's image
12.Connect/Disconnect : This feature enables you to call your partner through their IP box and
disconnect with partner.
13.Friends List : Shows a list of those who are registered
as a friend through “Add Buddy”.
14.Add Buddy : You can simply add your partner or someone to your friends' list by clicking
"Add Buddy".
Table of contents

