SMK P100AC User manual

©Copyright 2014, SMK Industries Inc
!
Operator’s Safety
and Service Manual
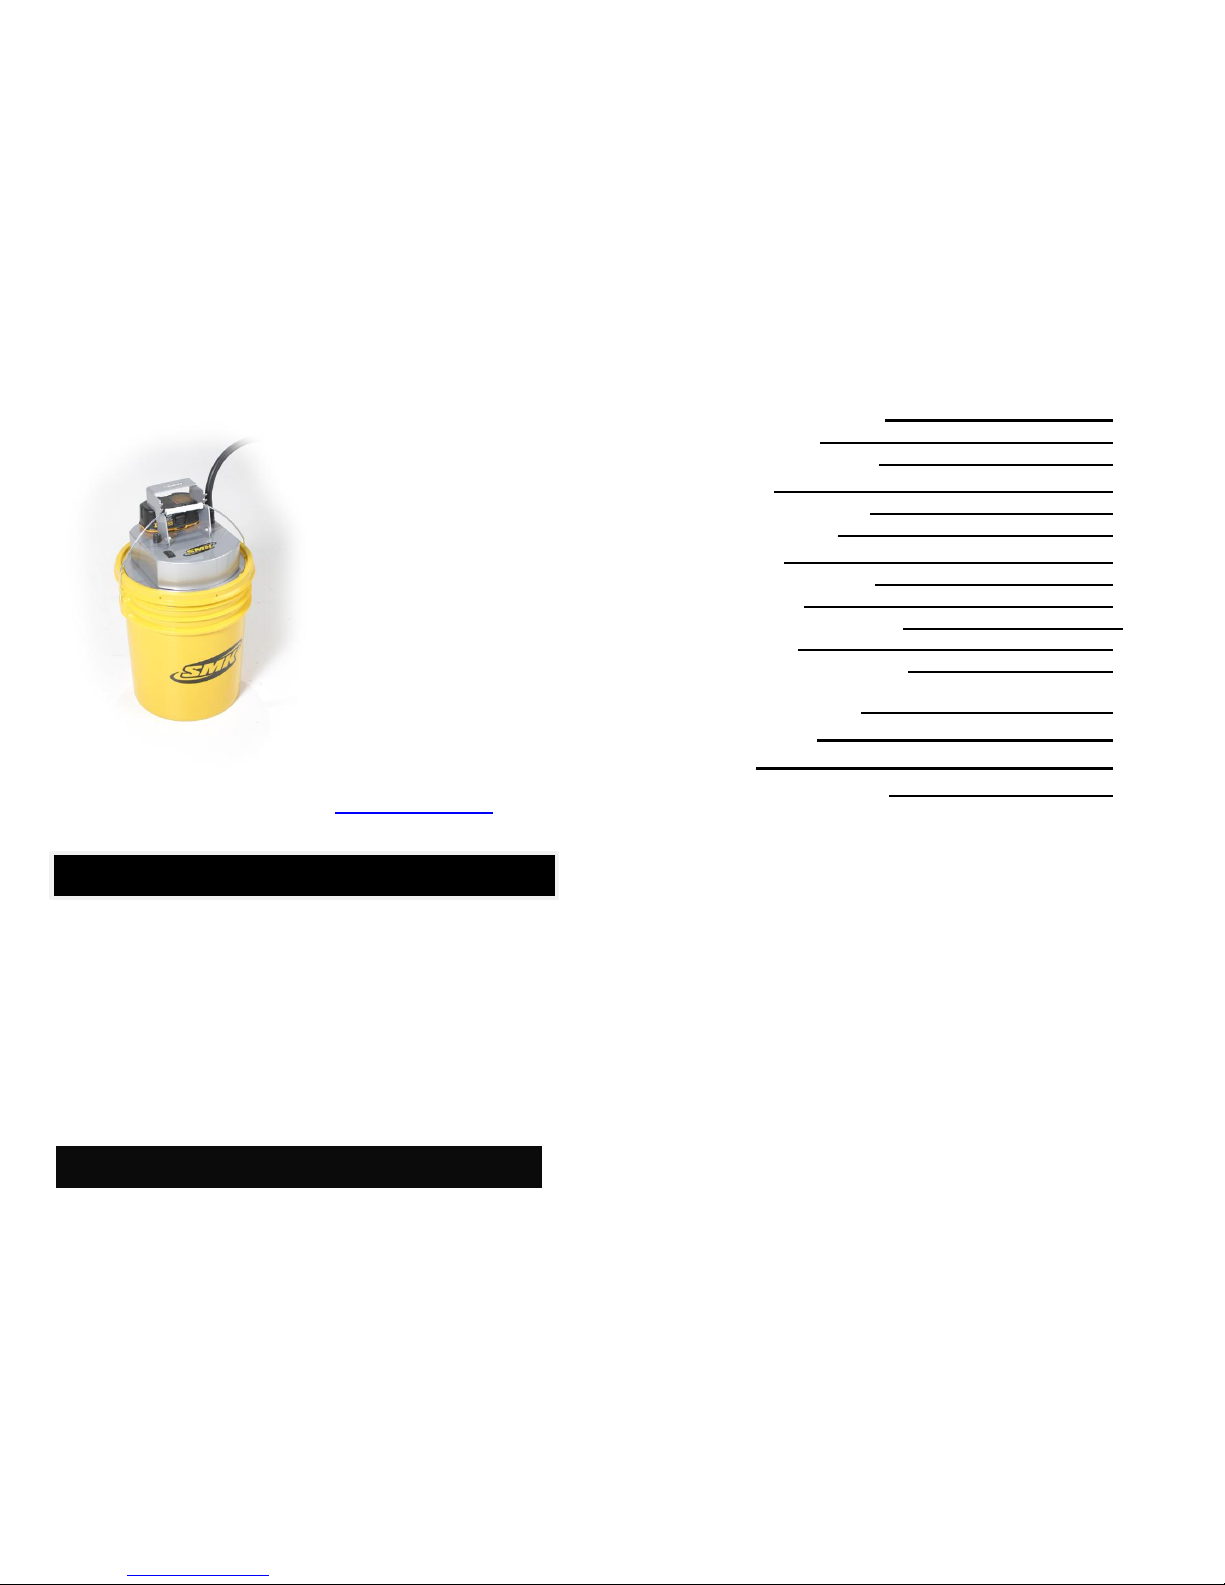
Cordless Sprayer
Model: P100AC !
ALL CHEMICALS
SMK Industries, Inc.
12839 Carpenter Trail
Carlisle, IA 50047
Phone: 515-202-0052
You have purchased a quality SMK product, proudly made
in the USA. If you use and maintain your SMK product for
what it is intended, you will enjoy many years of safe,
reliable service.
The SMK “P100AC” portable sprayer utilizes a
magnetically coupled gear pump and 1 DeWalt® NiCad or
Lithium Ion 18V battery.
SMK reserves the right to make changes to this manual without notice
Table of Contents
Safety Information 2
Introduction 2
Safety Precautions 3-4
Warranty 5
Proof of purchase 6
Specifications 6
Operation 7
Contents of carton 7
Assembly 8-9
Operating the sprayer 10
Cleanup 11
Chemical compatibility 11
Troubleshooting 12
Maintenance 13
Service 13
Replacement parts 13
Page 1
(This page left blank intentionally)
INTRODUCTION

Page 14
No Routine Maintenance is required.
Thoroughly clean of the entire unit by flushing the internal
components (see clean up on page 11) and the exterior
surfaces.
!C A U T I O N !
Service on this unit both within and after the warranty
period should be performed only by an authorized service
center. To find the service center nearest
you Call 1-515-202-0052
For a list of replaceable parts, please call 515-202-0052 for
assistance.
Page 13
Safety Information
Introduction
!This Safety Alert Symbol is used to call attention to
items or operations which may be dangerous to those
operating or working with this equipment. The symbol can
be found throughout this manual. Please read these
warning and cautions carefully before attempting to
operate the unit. Make sure every individual who operates
Maintenance
Service

or works with this equipment is familiar with all safety
precautions.
!W A R N I N G !
GENERAL WARNING: Indicates information important to
the proper operation of the equipment. Failure to observe
may result in damage to the equipment and/ or severe
bodily injury or death.
!C A U T I O N !
GENERAL CAUTION: Indicates information important to
the proper operation of the equipment. Failure to observe
may result in damage to the equipment.
REFERENCES: For details on safety rules and regulations in the United States, contact
your local Occupational Safety and Health Administration (OSHA) office. Equipment
operated in other countries must be operated and serviced in accordance and
compliance with any an all safety requirements of that country. The publication of these
safety precautions is done for your information. SMK does not by the publication of these
precautions imply or in any way represent that these are the sum of all dangers present
near SMK equipment. If you are operating SMK equipment, it is your responsibility to
insure that such operation is in full accordance with all applicable safety requirements
and codes. All requirements of the United States Federal Occupational Safety and
Health Administration Act must be met when operated in areas that are under the
jurisdiction of the United States Department.
Page 2
Safety Precautions
!W A R N I N G !
Before attempting to operate the unit, read and
understand all safety precautions and warnings.
Do not use the unit when tired, ill, or under the
influence of alcohol, drugs or medication.
Inspect unit before each use for loose, broken,
cracked, split, or damaged parts. Do Not operate the
unit with loose or damaged component parts.
Always wear safety glasses or goggles that are
marked with ANSI Z87
Use only in daylight or good artificial light.
Never use unit without the proper factory authorized
accessories attached. When using the unit, ensure
that the sprayer discharge hose is securely
attached.
Do not modify the unit
Page 3
Trouble shooting
Troubleshooting
Replacement Parts

SPRAYER WILL NOT START
✓If battery is not properly seated and fully charged
✓If On/Off switch is in the off position
✓If Speed Control is turned off (counterclockwise)
SPRAYER WILL NOT PRIME
✓If pickup tube or discharge hose is restricted
✓If Spray tip or Filter on end of Wand is plugged
✓If you are out of product
✓For properly charged battery(s)
✓For vacuum leak in suction tube
SPRAYER OUTPUT VOLUME REDUCED
✓If pickup tube or discharge hose for restrictions
✓Sprayer wand and wand tip for restrictions
✓Material is too high in viscosity
✓Material is too cold
Page 12
Clean up
!C A U T I O N !
As with any type of sprayer, this unit will not function
satisfactorily if the unit is not clean. If the product being
sprayed is intended to cure or set up after application, the
Sprayer must be cleaned and flushed after EACH use.
Flush with Xylene for 60 seconds or more. Leave Xylene in
pump until next use.
Failure to clean the unit after using these types of materials
will result in failure of the unit and loss of warranty
coverage.
DO NOT USE THE PUMP TO PURGE THE SPRAY
HOSE. Running the Pump dry over 1 minute will destroy
the gears and void the warranty. Disconnect the Hose on
each end and drain manually using gravity.
Chemical Compatibility
The magnetically coupled gear pump has no seals or
gaskets in the fluid path and therefore will not leak. The
only material coming in contact with the fluid being sprayed
is 316 Stainless Steel, Ceramic and PEEK
(Polyetheretherketone) Gears.
The only solvents which will attack PEEK are concentrated
nitric acid and sulphuric acids.
Muriatic/Hydrochloric Acid must be limited to 30% to
prevent damage to Polypropylene Inlet Filter.

Page 11
!C A U T I O N !
IT IS YOUR RESPONSIBILITY TO ENSURE THAT THE
MATERIAL YOU ARE SPRAYING IS COMPATIBLE WITH
THE PUMPS COMPONENTS.
!C A U T I O N !
If the product being sprayed is intended to cure or
set up after application, the Sprayer must be
cleaned. Flush with Xylene for 60 seconds or more.
Leave Xylene in pump until next use. Failure to
clean the unit after using these types of materials
will result in failure of the unit and loss of warranty
coverage.
Do not run dry or use abrasives
Never use without Intake Filter
If Switch light flickers, reduce pump speed
Attempting to spray liquids below the manufactures
recommended temperatures may affect the sprayers
ability to adequately perform. Low temperatures
may affect your materials viscosity.
Do not submerge or expose to excessive moisture
Do not spray liquids with high solids (0ver 35%) or
abrasive additives as this will destroy the pumps
gears and will void the warranty. This Sprayer is
intended for and was tested with Chemicals used for
curing and sealing applications. If you are unsure of
the suitability of the product you want to spray
contact SMK at 515-202-0052 for assistance.
Page 4
Warranty
!C A U T I O N !
DO NOT ATTEMPT TO SERVICE THE UNIT BY REMOVING
THE COVER. REMOVAL OF THE UNIT COVER WILL VOID
THE WARRANTY. CALL THE SERVICE CENTER.
SMK Industries warrants this product to be free from
material or workmanship defects for a period of 60 days
from the date of manufacture. Alternatively, 60 days from
purchase, not to exceed one year from date of
manufacture.
Warranty does not apply when:
•Unit is not used within the guidelines of this
manual.
•Product or Parts are used or installed outside
the SMK authorized service center.
•Incompatible fluids are used.
•Misuse or Abuse.
•Improper or inadequate cleaning of unit after
use.
In the event you need to utilize this warranty, the product or
part must be returned for examination, postage prepaid,
direct to the SMK Industries service center as instructed by
calling 515-202-0052. Proof of purchase date and an
explanation of the claim must accompany the

merchandise. If inspection discloses a defect, SMK will
either repair or replace the product with like equipment at
SMK’s expense. If no defect is found during the
inspection, or if the defect resulted from causes not within
the scope of SMK’s limited warranty, then the user must
assume all costs incurred returning and/or storing the
product.
All products and parts will be tested using SMK testing
criteria. Units found to be damaged, altered or otherwise
mistreated will not be covered under this warranty. Units
found not to be defective are subject to charges to be paid
by the returnee.
Page 5
Operating the Sprayer
Keeping all safety and operating measures in mind you are
now ready to begin spraying.
4. Prime the Sprayer
a. Squeeze the Spray Gun Handle
b. Turn the Power Switch On (depress white square)
c. The Pump is self priming and should begin spraying
in a few seconds.
d. IMPORTANT - When Power Switch Light starts
flickering (pump is cycling on and off), turn the
Speed Control down (counterclockwise) until the
light is steady on (pump is not cycling on and off).
e. After liquid is flowing and all air is purged from the
lines, release the Handle and the Sprayer will turn
off.
f. If the pump does not prime within 20 seconds, turn
off the power and check to see that all fittings are
tight and the Intake Filter is not clogged.
g. Running the Pump dry over 1 minute will destroy the
gears and void the warranty.
The pump is designed for continuous duty when proper
operating criteria are met.
!C A U T I O N !
BEFORE REMOVING THE SPRAY HOSE, TURN THE
POWER OFF AND RELIEVE ANY PRESSURE IN THE
SPRAY HOSE BY SQUEEZING THE SPRAY HANDLE.
Page 10
Assembly (Cont)
5. Set the Sprayer unit on top of the container by guiding
the inlet tube into the hole in top of container.
6. Set the Power Switch to the off position
7. Insert the Battery into the receptacle, DO NOT FORCE.
When properly aligned it will slide in easily. When fully
inserted it will contact the Sprayer housing and you will
hear a click indicating the Safety Switch has been
activated.
8. Check the sprayer trigger handle to make sure the
lever is not locked in the open/ on position.

9. Turn the Speed Control to Hi (fast) by turning
completely clockwise. It is located on the top front of the
Sprayer, next to the Power Switch.
Page 9
SMK shall in no event be liable for death, injuries to
persons or property or for incidental, contingent, special or
consequential damages of any kind by the reason of use or
sale of any defective product or part. This limited warranty
covers units distributed in the United States of America
only.
This limited warranty is in lieu of all other warranties,
expressed or implied, and no other person is authorized to
give any other warranty or assume obligation or liability on
behalf of SMK Industries, Inc.
Products and parts must be flushed free of all fluids prior to
returning to SMK for warranty inspection.
PROOF OF PURCHASE
Please retain your dated sales receipt as proof of purchase
to validate the warranty period.
SPECIFICATIONS
Pump TOPSFLO® MG213XK/DC24WI
Pump Voltage 24 Volts
Chassis Powder Coated Steel
Spray Gun TeeJet®AA30L-1/4
Wand TeeJet®6671-24
Wand tips TeeJet®XR8001-VS, 5500-X8
Approved batteries Dewalt®18V
or Interstate® 18V
Flow Rate 1.0 GPM (free flow)
Battery Life 30 Gallon Minimum (w/cone tip)
Pressure 60 PSI up to 0.8 GPM
Page 6
Operation
!W A R N I N G !
Carefully read through this entire manual before attempting
to use your new product. Pay close attention to the safety
alerts symbols, warnings and cautions.

Contents of Carton
Contents of Carton include:
1. Cordless Sprayer Assembly
2. Spray Gun
3. 24 Inch Curved Wand
4. 6 Ft Spray Hose Assembly with Quick Disconnects
5. Intake Tube for 5 Gallon Bucket
6. Tip Kit
7. Adjustable Cone Tip
8. Tapered Fan Tip 8001
9. Check Valve with 100 mesh Screen for Wand
10. Nozzle Cap Hex Nut
11. 2 O-Rings
12. Gasket
13. Operator’s Safety and Service Manual
Batteries and Bucket not included.
Examine all parts to ensure that everything is accounted
for and no damage has occurred during shipment.
Page 7
Assembly
To prepare the unit for operation, assemble the sprayer as
follows:
1. Spray Tip
a. The Wand comes preassembled with an
Adjustable Cone Tip.
b. An optional 0.1 GPM Tapered Fan tip and Check
Valve with Screen is provided in a Shipping Bag.
2. Assemble Spray Hose
a. Attach Spray Hose to the Spray Gun and
Sprayer Unit. Both ends are the same.
b. Slide the spring loaded, knurled collar on the
Hose Coupler towards the Hose, push on to the
Nipples on Sprayer & Spray Gun and release.
Pull on the hose to make sure it is attached.
3. Attach Desired Intake Tube
a. 5 Gallon Bucket Intake Tube
i. Attach by hand to the Garden Hose
Fitting on the Bottom of the Sprayer.
4. Remove the pouring spout lid from the 5 Gallon Bucket
of material that you intend to spray.
Page 8
Table of contents
Other SMK Paint Sprayer manuals


Popular Paint Sprayer manuals by other brands


Toro
Toro SprayMaster Max 34240 Operator's manual

The Fountainhead Group
The Fountainhead Group FIELD KING 190723W instruction manual

WAGNER
WAGNER WallPerfect Flexio 867 manual

DeVilbiss
DeVilbiss SB-E-APOLLO-L-A Operation manual

Smith
Smith SR-25 Sulky Driver Operation and repair manual

Graco
Graco HTX 313888B Operation manual


