Snap Appliance Snap Disk 10 User manual

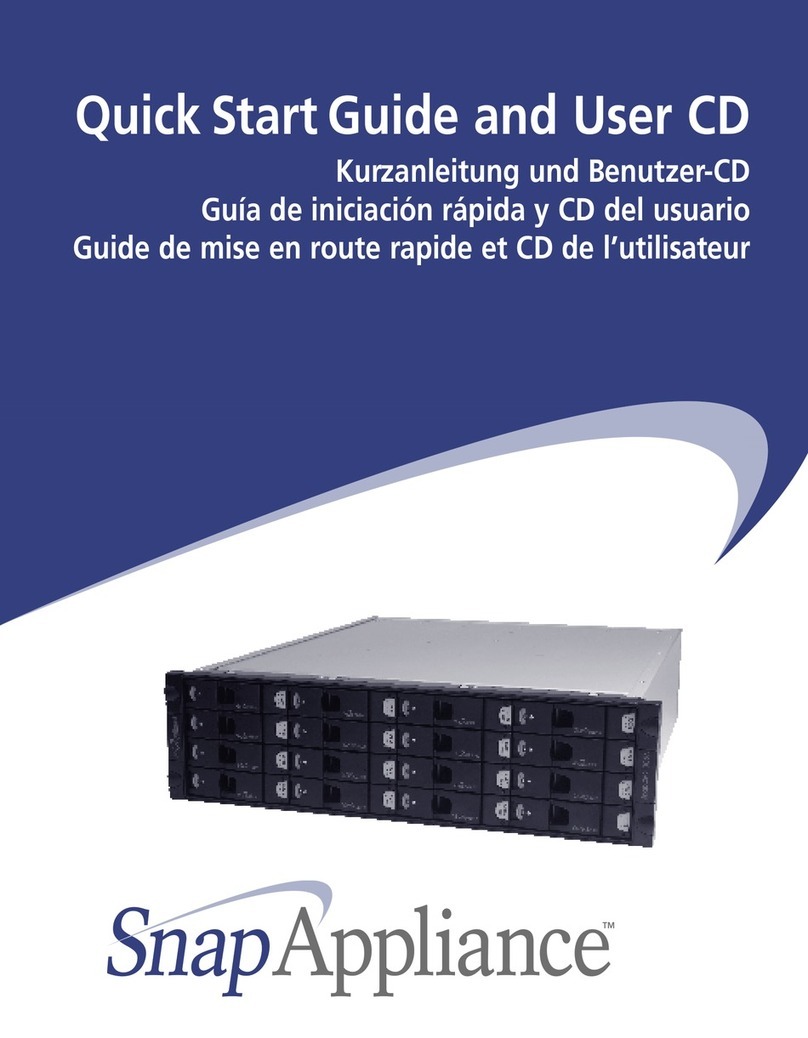
Quick Start Guide and User CD
Kurzanleitung und Benutzer-CD
Guía de iniciación rápida y CD del usuario
Guide de mise en route rapide et CD de l’utilisateur

About This Guide
The Snap Disk 10 storage subsystem is a 1U expansion array with four ATA disk drives and a single Serial ATA
connector. This Quick Start Guide shows you how to quickly install and connect a Snap Disk 10 to a Snap Server®
4500. The installation procedures are summarized below:
1 Obtain the Snap Appliance Serial ATA card (not included) to be installed in the Snap Server from an
authorized Snap Server reseller.
2 If you are attaching a Snap Disk 10 to an existing Snap Server running GuardianOS version 2.5 or earlier,
you must upgrade the GuardianOS. For details, see the GuardianOS upgrade procedure included in this
guide.
3 Install the Serial ATA PCI card in the Snap Server 4500.
4 Install the Snap Server and expansion array(s) into a rack.
5 Connect the power cables and the Snap Disk 10 to the Snap Server 4500.
6 Use the Administration Tool to verify that the Snap Disk 10 is online.
Tip The Serial ATA card has two connectors. A second expansion array can be attached to an existing Serial
ATA card if it has an available port.
Upgrading the GuardianOS on the Snap Server 4500
If you are attaching a Snap Disk 10 to an existing Snap Server, you may need to upgrade the GuardianOS.
The Snap Disk 10 is designed to work only with Snap Servers running GuardianOS version 2.6 or higher.
To determine your OS version, click the Snap Appliance logo in the upper-left corner of the browser-based
Administration Tool.
Caution You must upgrade the GuardianOS before you install the Serial ATA card or connect the Snap Disk 10
to the Snap Server.
The GuardianOS image (GuardianOSImage.gsu) is available on the User CD included with this document. You
can upgrade the GuardianOS using the Administration Tool:
1 Insert the User CD into a client computer accessible to the Snap Server over the network.
2 Log into the Administration Tool as the administrator.
3 Navigate to the Maintenance > OS Update screen, click Browse and select GuardianOSImage.gsu from the
root level of the User CD.
4 Click Update. The Snap Server updates the current GuardianOS and then reboots.
After you have completed the upgrade procedure, remove the Snap Server from the rack to install the PCI card
and complete the connection procedure for the Snap Disk 10.

Hardware Features
1 System status lights 6 Serial number label 11 Power connector
2 Bezel release latches (two) 7 Hot-swappable disk drives (four) 12 Rack mount screws (ten)
3 Disk drive status lights 8 Front bezel 13 Serial ATA cable
4 Stacking clips (four) 9 Power cables 14 Quick Start Guide
5 Serial ATA card* 10 Serial ATA connector 15 Rack mount brackets (ears)
*The Serial ATA card is ordered and shipped separately from the Snap Disk 10

PCI Installation
The Serial ATA card must be installed into the lower PCI card slot of the Snap Server 4500. Installing this card
requires three procedures: (1) taking the Snap Server ofine for hardware modications; (2) removing the cover
and SCSI card (if installed); and (3) installing the Serial ATA card and reinserting the SCSI card.
Taking the Snap Server Ofine for Hardware Modications
Improper shutdown may lead to loss of data or hardware damage. Before you begin the following procedures,
shut down the Snap Server, remove all power, network and SCSI cables, and remove it from the rack. Position the
server on a clean surface with ample room to the front and rear.
Caution There are static-sensitive electronics inside the server. Before you handle any parts, make sure you are
working at a static-controlled workstation and that you are properly grounded.
Removing the Top Cover and SCSI Card
1 Remove the top cover of the Snap Server by turning the cover retention screw at the back of the server
counterclockwise until it loosens.
2 Standing in front of the server, press down rmly on the cover with both hands and push the cover backwards
with a short, forceful thrust. Slide the cover off the rear of the server and set it aside.
3 Remove the plastic PCI retention clip from the right rear corner of the server by lifting it out of the chassis.
4 If a SCSI card is installed, remove the card and set it aside.
Avoid contact with metal surfaces on the card.
Installing the Serial ATA Card and Reinserting the SCSI Card
Caution PCI cards are seated properly only when you hear a
distinct snap sound.
1 Remove the metal protective plate from the bottom PCI port
opening by using your thumb to slide the plate towards the
corner of the server and lifting it out of the chassis.
2 Remove the Serial ATA card from its protective packaging.
Avoid contact with metal surfaces on the card.
3 Install the Serial ATA card into the lower (PCIX) slot by
grasping only the edges of the card and pressing rmly until it
is properly seated and you hear it snap into place.
4 Do one of the following:
• If reinserting the SCSl card into the upper (PCI) slot, grasp
only the edges of the card and press rmly until it is
properly seated and you hear it snap into place.
• If you do not have a SCSI card, be sure to replace the metal
protective plate in the top PCI port.
5 Replace the plastic PCI retention clip in the server chassis.
6 Replace the top cover of the Snap Server by lowering it onto the server and pushing it forward until it is rmly
seated. To secure the cover, tighten the screw at the rear of the server. Do not operate the Snap Server without
the top cover in place.
7 DO NOT restore power at this time. Proceed to the next sections to install the Snap Server and expansion
array(s) in a rack and connect the cables to the Snap Disk 10.
PCIX
PCI
PCI
PCIX

Rack Installation
Use this procedure to install the Snap Server 4500 and the expansion array(s) in a rack. The expansion array
uses the same rack installation hardware as the Snap Server 4500.
The Snap Disk 10 ships with two L-shaped rack mount brackets. You can attach them in one of two
ways: (1) to the front of the server for mounting to the front posts of a four-post rack; or (2) to the
middle or front of the server for mounting to both posts of a Telco rack. Expansion arrays must be rack
mounted within 7U of the Snap Server due to cable length restrictions. The Serial ATA cable included is
18” long; other lengths are not available.
Caution The following procedure applies to standard EIA racks; other racks may not be able to support the
server using only the front posts. If you are using a non-EIA rack, Snap Appliance recommends that you secure
the server using slide rails, available from Snap Appliance or a Snap Appliance reseller.
1 Make sure you have the following items necessary for rack installation:
• Two (left and right) front
rack mounting brackets
• Six rack ear screws to attach
the brackets to the server
• Four rack mounting screws
to attach the brackets to the
rack posts
• One Phillips screwdriver
2 If mounting the L-shaped brackets
to the front of the server (as shown in
the illustration), use the six screws provided.
If mounting to the middle of the server (not shown) for
installation into a Telco rack, only four screws are used.
3 Insert the server into the rack and attach the server to the posts using the remaining four screws. You may need
a second person to support the server while tightening the mounting screws.
For slide rail installation instructions refer to the documentation on the CD that comes with the slide rail installation
hardware kit.

Connecting the Cables on the Snap Disk 10
Up to two expansion arrays can be connected to the Snap Server’s Serial ATA card. When connecting two
expansion arrays to a Snap Server, use the Serial ATA 1 connector for the rst array, and the Serial ATA 2
connector for the second array. A Snap Disk 10’s capacity is only available through the Snap Server to which it is
connected; no direct network cabling is possible.
Connecting the Snap Disk 10 to the Snap Server 4500
1 Attach labels (not provided) to the expansion array(s) and Serial ATA cable(s).
2 Connect the Serial ATA cable to the Serial ATA 1 connector at the rear of the Snap Server, and then tighten the
locking screws on either side of the Serial ATA connector.
3 Connect the other end of the cable to the Serial ATA connector at the rear of the Snap Disk 10, and then
tighten the locking screws on either side of the Serial ATA connector.
Caution Only the Snap Appliance Serial ATA cable provides connectivity to the Snap Disk 10. DO NOT attempt
to use a longer length SCSI cable to connect the expansion array to the Snap Server; a connection will not be
established and hardware damage may occur.
Connecting the Power Cord
Snap Servers are optimized to work with APC-brand, network-based UPS devices. Snap Appliance strongly
recommends you connect both the Snap Server and the Snap Disk 10(s) to a power source via the same UPS
device. This allows the UPS device to synchronize the shutdown of all systems, thereby maximizing data integrity
should a power outage occur.
1 Plug the power cord (female end) into the power connector.
2 Plug the other end (male end) of the power cord into a UPS (recommended) or properly grounded electrical
outlet.
Powering On the Snap Disk 10
The Snap Server and its attached expansion arrays will be powered on by pressing
the power button on the Snap Server 4500. Press the power button on the front of the
Snap Server until one or both of its network lights come on, and the power lights on
both the server and expansion systems are green.
The power status of the Snap Disk 10 mirrors the power status of its host Snap Server 4500.

Verifying that the Snap Disk 10 is Online
You should ensure that all the Snap Disk 10’s drives are active before utilizing the expansion array.
1 Launch a Web browser and enter the host Snap Server 4500’s name or IP address.
2 Click the Administration link and log in as the administrator.
3 Navigate to the Storage > Devices screen.
Each drive in the expansion array(s) will appear following the drives in the host Snap Server. Drives external to
the host have an extension to their title of EXTN1 or EXTN2 showing their external location.
Tip When accessed from a client, the Snap Disk 10 appears as a new share on the Snap Server it is attached to.
By default, it is congured as a RAID 5 with a single volume and share, with full access to the share by all users
across all protocols. If required, you can change the RAID conguration, access permissions, and protocols that
have access from the browser-based Administration Tool on the Snap Server that hosts the Snap Disk 10.
Copyright © 2003-2004 Snap Appliance, Inc. All rights reserved
worldwide. All other product names or company names are the
property of their respective owners.
Copyright © 2003-2004 Snap Appliance, Inc. Alle Rechte weltweit
vorbehalten. Alle anderen Produktnamen und Firmennamen sind
Eigentum der jeweiligen Unternehmen.
Copyright © 2003-2004 Snap Appliance, Inc. Reservados todos los derechos en
el ámbito internacional. Todos los otros nombres de productos o de compañías
son propiedad de susrespectivos priopietarios.
Copyright © 2003-2004 Snap Appliance, Inc. Tous droits réservés
dans le monde entier. Tous les autres noms de produit ou de société
appartiennent à leurs détenteurs respectifs.
Snap Appliance
2001 Logic Drive
San Jose, CA 95124 USA
888.310.SNAP (7627)
www.snapappliance.com
70990639-001 Rev. B
Table of contents
Other Snap Appliance Storage manuals
