SnapPad EQ Round User manual
RV SNAPPAD
EQ ROUND
INSTALLATION INSTRUCTIONS
1-866-923-9538 | INFO@RVSNAPPAD.COM | RVSNAPPAD.COM 4E | EQ0SP4

Congratulations on
joining the SnapPad family!
EQ ROUND INSTALLATION INSTRUCTIONS RV SNAPPAD 01
SnapPad EQ Round
Installation Instructions
Very Important Notes:
It is critical that you install the correct SnapPad on the proper foot. Please triple check prior to installing
your SnapPads. Permanent damage could result from trying to install on the wrong landing foot,
resulting in your warranty being voided. Your EQ Round pads are designed to work with 10” round jack
feet that are commonly found on Equalizer® leveling systems.
*Trademark is owned by mark owner. SnapPad and its goods are not ailiated with or endorsed by the
mark owner.
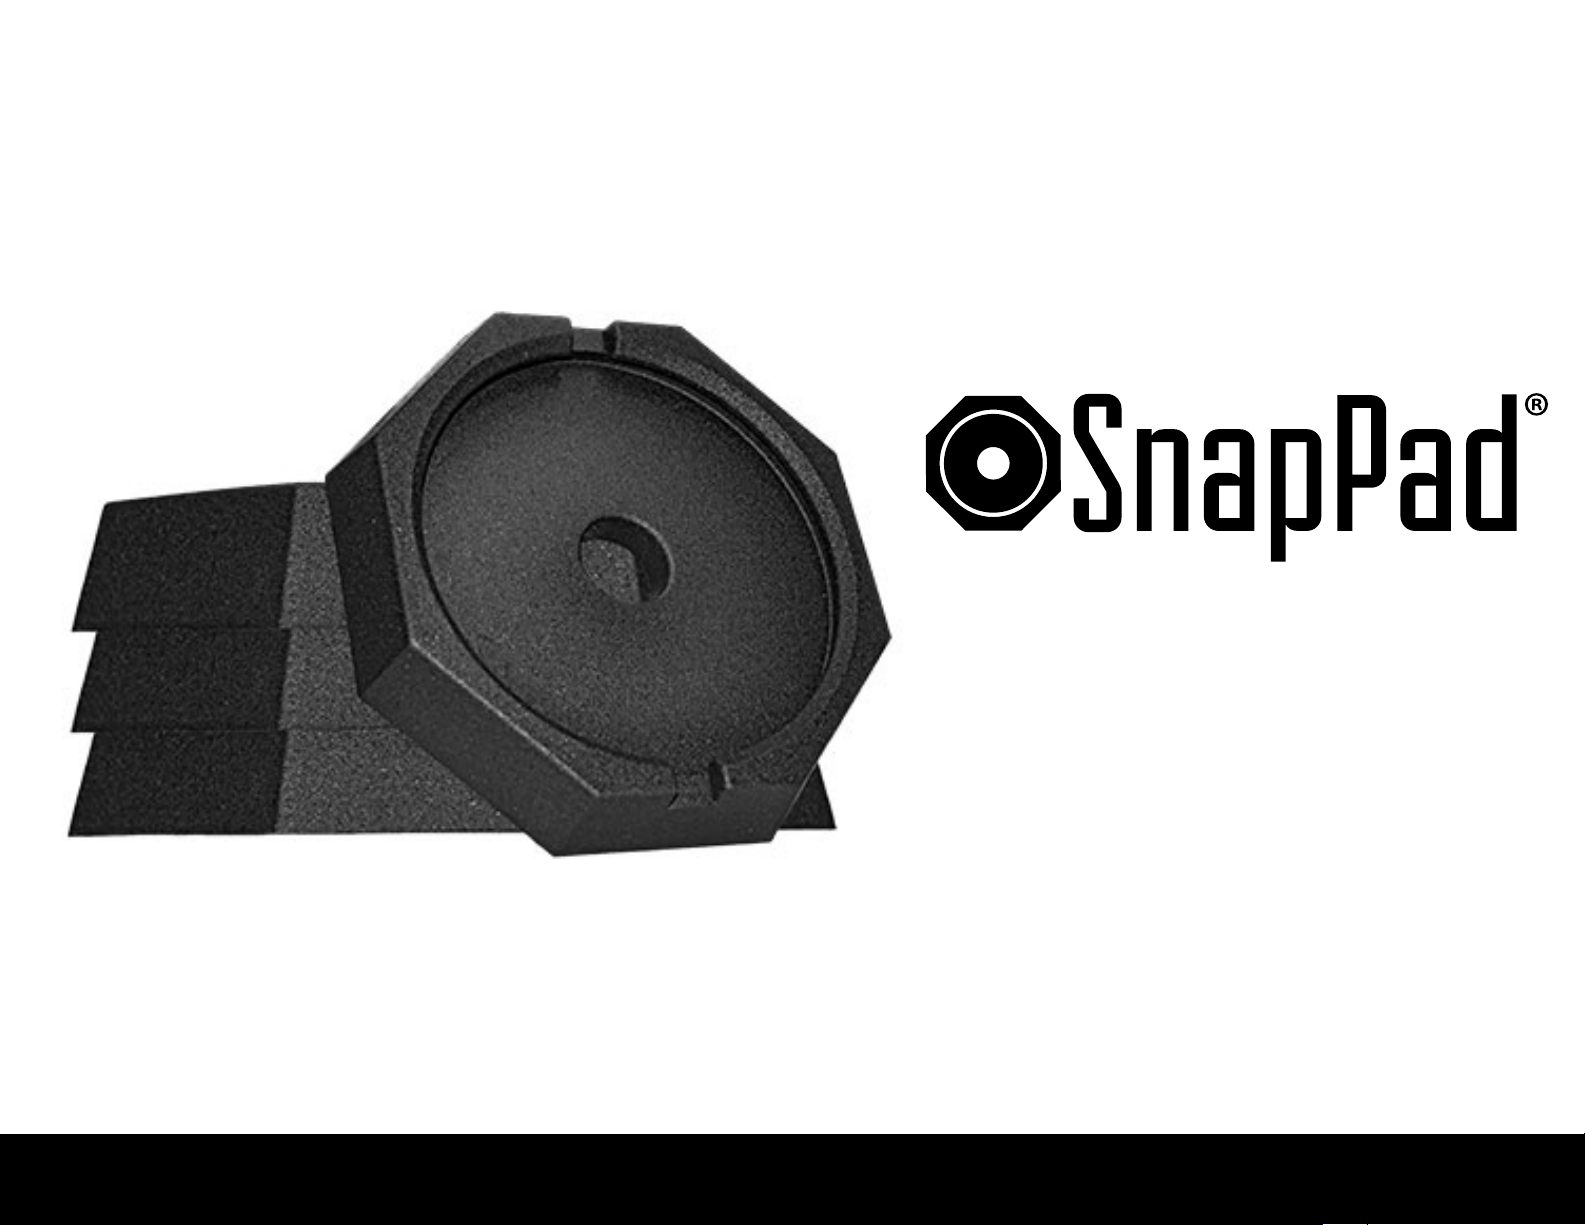
The SnapPad for the 10” round foot, is
designed with two drainage channels
on the lip:

Motorhome Detailed Installation Instructions
EQ ROUND INSTALLATION INSTRUCTIONS RV SNAPPAD 02
INSTALLATION TIME: 3 - 6 MINUTES PER PAD.
• SnapPad installation is best performed on a level or near level surface – preferably a hard surface (concrete or asphalt). Wheel chocks
can be placed in front of and behind the RV wheels for additional safety.
• Be sure to thoroughly clean and dry your landing feet prior to installing your SnapPads.
• Spread a small bead of concentrated dish soap around the lip of the SnapPad and metal landing foot to aid installation. Do NOT use
any petroleum based lubricant, such as WD-40®, as it may negatively react with the binder in your SnapPads.
• Most motorhomes will release their airbags prior to engaging the jacks. This will lower the entire RV at the beginning of the leveling
process. You may place your first SnapPad prior to this, however, be careful to not get caught underneath your RV during the
lowering process!
• Typically one side will level first. Take note which side that is and start there. Install one SnapPad at a time and/or use the manual
jack operation if possible. Refer to your owners manual for instructions.
• Most jacks are 18”- 24” under your RV. A tool such as a broomstick to align/adjust your SnapPads may be necessary.
• Once aligned, begin lowering your jack. Keep an eye on the landing foot as it extends. Stop extending when the foot is about 2 to 3
inches from the SnapPad. Double check to make sure it is centered, re-align if necessary and then continue extending the landing
gear to complete installation. KEEP YOUR FINGERS AND ANY FOREIGN OBJECTS CLEAR WHEN LOWERING THE
JACK INTO PLACE.
• You should hear a distinctive “snap” as the lip engages. Visually confirm the lip is fully engaged around the perimeter of the landing
foot.
• If your lip hasn’t fully engaged raise your jack and place a shim (small piece of wood no thicker than 1/4”) under the side that hasn’t
engaged. Lower your jack again until that side snaps into place.
• Wipe oany excess soap and repeat the installation process, in sequence, on your remaining jacks.
INSTALLATION TIME: 3 - 6 MINUTES PER PAD.

SnapPad EQ Round
Info & Statistics
• Dimensions: 11.75” wide x 2.00” thick.
• Once installed they add about an inch to your jack thickness.
• 5.6 pounds per pad.
• You’re helping our environment! SnapPads are made from American recycled tires. That means
SnapPads are not only durable and versatile but environmentally friendly too.
• Will work on any type of surface, level or unlevel, including: asphalt, concrete, grass, mud, sand, resin,
ice, and snow.
• Scientifically tested to maintain integrity at over 120°F down to -40°F and remain attached at over 50x
the force of gravity.
• Generally, it takes 1,300 pounds of vertical pressure to install your SnapPads. This ensures no matter
how far othe beaten path you venture, your SnapPads will be there with you.
• Proudly made in the USA.
• It’s best (and easiest) to install your SnapPads one at a time on a level, hard surface.
• Each leveling system will have it’s own manual operation function. Please refer to your owners manual for specific directions.
• Grab a helper! It's safer, faster, and more eicient with two people.
• Use your phone or another person to relay the information between the installer and the person working the controls.
• Install each SnapPad individually and visually confirm the reinforced lip has engaged on the complete diameter. It is critical your SnapPad has been installed fully and
correctly.
• Standing water? No problem! Your SnapPad EQ Round pads have built-in drainage channels.
• Your SnapPads come with a handy bolt-access hole in the center. You can use this to remove the jack with the SnapPad still attached if needed.
• Installation is easier in warm weather (50°F or more).
While not required, we recommend double protecting your jacks by covering the landing feet with a rubberized protectant such as Flex Seal®. Make sure to cover your jack
cylinders prior to applying and coat the bottom of your landing feet as well. Do this prior to installing your SnapPads and allow the protectant to cure for 24 hours. Do not
spray your SnapPads with the sealant (it will not adhere to the rubber).
HELPFUL HINTS & TRICKS FOR EQ ROUND
EQ ROUND INSTALLATION INSTRUCTIONS RV SNAPPAD 03

Origen RV Accessories LTD oers a 2-year manufacturer’s warranty on both performance and defects in material and workmanship. Should your product fail within a 2-year
time frame, Origen RV Accessories LTD will replace your pad free of charge. Warranty coverage does not extend to Acts of god, misuse of product, improper installation, and
damage from external events like accidents.
WARRANTY INFORMATION
• You must register your product warranty first in order to be able to file a claim later on, if necessary. For more information, visit
https://rvsnappad.com/pages/general-warranty
• Origen RV Accessories LTD will replace any defective products within the acceptable 2-year window, starting from the purchase date.
• To submit your warranty claim please visit https://rvsnappad.com/pages/file-a-claim.
• Proof of purchase is required for any warranty redemption on your pads.
• If you need to return your UNUSED pads within 30 days of purchase please contact our Customer Service Agents at info@rvsnappad.com
• Be advised the product must be shipped back to Origen RV Accessories LTD at your cost, meaning you pay the shipping charges for returning any pads.
• Once shipped, email your tracking number to info@rvsnappad.com for confirmation and then your refund will be issued.
Please note: If your SnapPads were purchased from an RV Dealer, Amazon, or other online source we encourage you to contact them for your replacement/refund.
CONDITIONS
• SnapPads are an aermarket RV accessory, and as such, it is the responsibility of the RV owner to ensure they are an appropriate and safe addition to their RV.
• Each RV has unique design considerations. It is the responsibility of the RV owner to confirm their SnapPads have adequate clearance for any moving parts and will not
hinder the functionality of any other system.
• Origen RV Accessories LTD shall not be liable for any special, incidental, indirect or consequential damages whatsoever (including but not limited to, labor, installation,
charges, damage to associated equipment, RV, trailer, towing or following vehicle) arising from the use or inability to use or install the product.
• Use extreme caution when installing and using SnapPad. Origen RV Accessories LTD is not responsible or liable in any way for any indirect or direct injury sustained
during installation or future use of the product.
• Installing SnapPad products on non-compatible leveling systems will result in the voiding of the warranty and can lead to product failure, property damage, or injury.
Origen is not responsible for any issues arising from the use of our products on non-compatible systems.
• SnapPads are designed to be installed once. Do not remove and re-install as this will void your warranty. *Unless performed by an authorized dealer. Picture
confirmation may be necessary to confirm successful reinstallation.
DISCLAIMERS
RV SNAPPAD 04
This manual suits for next models
1
Table of contents
Popular Automobile Accessories manuals by other brands


ULTIMATE SPEED
ULTIMATE SPEED 279746 Assembly and Safety Advice

SSV Works
SSV Works DF-F65 manual

ULTIMATE SPEED
ULTIMATE SPEED CARBON Assembly and Safety Advice

Witter
Witter F174 Fitting instructions

WeatherTech
WeatherTech No-Drill installation instructions

TAUBENREUTHER
TAUBENREUTHER 1-336050 Installation instruction