6 of 12 Ref No. 043498-2-EN-S (Iss. Oa)
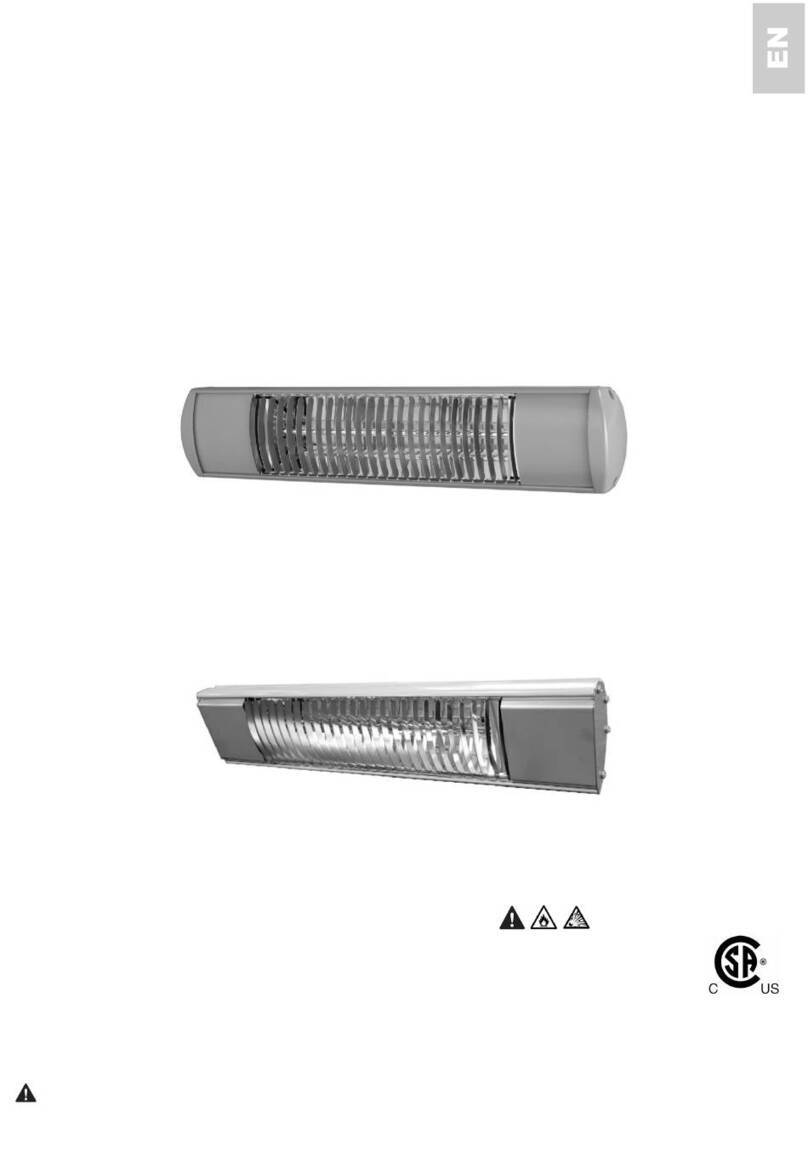
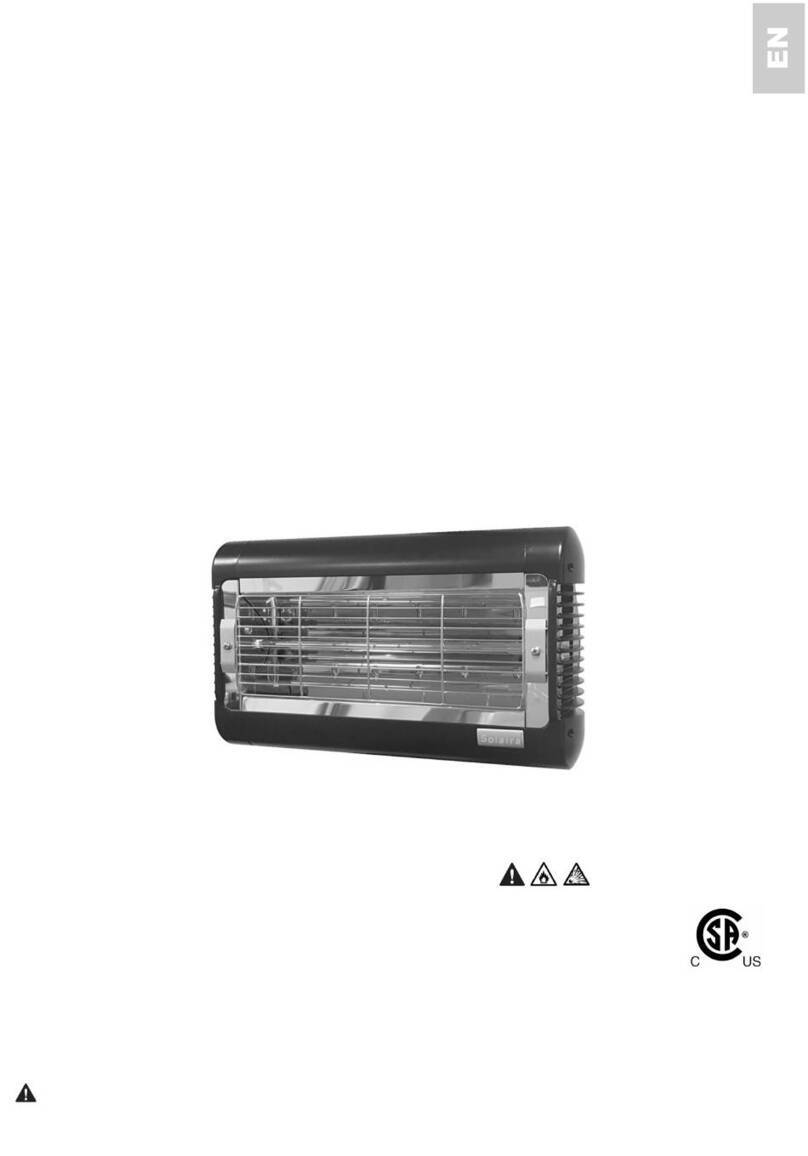
The Solaira Cosy XL heater can be mounted in a
horizontal (Fig. A) or angled manner (Fig. B) with the
standard L-shaped bracket supplied.
1. Securely fasten the Solaira Cosy XL bracket to the
mounting surface using the fixing holes in the bracket.
Please refer to the specification table for recommended
positioning of the heater.
2. Fix in the required angular position by tightening the
fixing bolt on the bracket at the rear of the heater.
3. The Solaira Cosy XL bracket can be used to adjust the
direction of the heater up and down (see Fig. C). This is
done by loosening the bolts fixing the heater to the
bracket, and then retightening once the correct position
is achieved.
4. Secure the supply cable so the cable is directed away
from the heater and is not resting on the body or
obstructing the air-vents.
Fig. B
ANGLE MOUNTED UNIT
C AU T I O N
M O U N T I N G
Always isolate the heater from the mains supply
when mounting or adjusting the heater position.
CAUTION: When mounting the heater horizontally,
do not position the heater at an angle more than 50°
or less then 45° as shown in Fig. A.
CAUTION: The heater should be mounted with the
minimum clearances adhered to. Please refer to
Table 1 for the recommended positioning of the
heater. Do not install the heater in a corner!
CAUTION: When mounted the heater at an angle, ensure the back of the heater is
parallel to the mounting surface (See Fig. B). The heater should always be angled
downwards when mounting this way with the terminal box at the bottom of the heater -
see Fig. B.
CAUTION: Always allow the heater to cool before attempting to reposition/move. Never
attempt to move the heater while it is switched on!
CAUTION:
Observe the minimum safe distance between the heater body and
inflammable surfaces and objects when mounting (see specification table).
ORIZONTAL MOUNTED UNIT
Fig. A
Fig.
MIN. 45°
SEE TABLE 1 FOR MIN. HEIGTHT
GROUND LEVEL
INDENT
PREVENTS
DROP DOWN
MOVEMENT
MAX. 50°
TERMINAL
BOX
MAX. 45°
MIN. 30°


