Solar Royal SR1800 Series User manual

SOLAR ROYAL SR1800 SERIES QUICK INSTALL GUIDE
ank you for purchasing a Solar Royal SR1800. e following is a quick guide to installing your attic fan. You may nd the full
installation guide at manual.solarroyal.com. Please make sure to register your product, as this is necessary for activating your
warranty. Once again, it is crucial that the end user registers the products installed within ninety days or your product will not be
covered by our warranty. You may register with the enclosed form or online at reg.solarroyal.com.
Prior to the Installation:
Tools Required:
• Safety Goggles • Stud Finder
• Measuring Tape • Drill w/Phillips Bit
• Marking Pencil • Flat Pry Bar
• Utility Knife • Caulk Gun
• Screws (Provided) • Reciprocating Saw
• Caulk (MP1 or similar) • String and 2 Nails (Recommended)
REVIEW INSTALLATION OVERVIEW:
Step 1: Measure and Cut the Hole
On either 24” or 16” center construction, we recommend cutting a 15” round hole between the ra ers. We recommend installing
the SR1800 between the ra ers but if not possible it is OK to install the SR1800 over a ra er.
Step 2: Insert the Flashing
Once the hole as been made, trim away shingles as needed to accommodate the metal base ashing so that you have a clean and
tight t. Normally, if you cut a clean 15” hole, we recommend trimming away from the top rows of shingles an additional 1” (one
inch) to allow the base ashing to slip under the top row(s) of shingles and over the bottom row(s). Slip the at metal base under
the top rows of shingles and center the unit over the opening. e base is square so it does not matter which side is installed rst.
Before attempting to slide in the ashing, remove any roo ng nails or other obstructions. Avoid scratching the powder-coating.
Installing an attic fan is fairly easy but Solar Royal, LLC recommends that if you have
no experience working with these materials or are not familiar with working on a
roof, you should hire an insured and bonded professional to install anything on your
roof, including a solar attic fan.
Measuring the hole e hole cut out
Removing
obstructions
Flashing aer
sliding in
warranty. Once again, it is crucial that the end user registers the products installed within ninety days or your product will not be
covered by our warranty. You may register with the enclosed form or online at
reg.solarroyal.com
.
Installing an attic fan is fairly easy but Solar Royal, LLC recommends that if you have
no experience working with these materials or are not familiar with working on a
roof, you should hire an insured and bonded professional to install anything on your
• Caulk (MP1 or similar) • String and 2 Nails (Recommended)
REVIEW INSTALLATION OVERVIEW:
https://www.youtube.com/user/solarroyal

Step 3: Seal and Secure the Flashing
Once the metal ashing is in place, gently li the lower exposed metal base ashing and apply sealant (caulk) generously under the side and
lower edges, but not so much that it oozes out. If sealant starts to ooze, just wipe off excess before it hardens. e bottom part of the ashing
will be exposed and sits on top of the shingles. Drill 8 mounting holes (along bottom and exposed sides). Use the eight (8) 1” panhead screws
provided to mount the unit while making sure the unit is properly squared with the roof edge or side before securing the second screw. Not
having the unit properly squared will make for an uneven look from the ground so it’s important to align it carefully.
A er properly mounting the SR1800 to the roof, utilize the exterior grade, high-heat, waterproof sealant (caulk) by applying generously over
the screws as needed over or on the sides of the shingles. Re-check the status of the oozing or lack of sealant on the exposed metal
ashing underside. Now is the time to do it right and make sure the installation is watertight. Also seal any scratches or loosened paint.
Step 4: Attach and Congure the Hood
e SR1800 comes with a 36” thermostat wire (thermoball) attachment. is is designed to hang down into your attic. You can adjust the
length of the thermostat with a cable tie or tape. e ermoball is designed to allow the fan to run once the temperature is above 78° F (
+/- 5° ). Carefully set the SR1800 down (centered) on the metal base ( ashing) making sure the thermoball/cable is not being pinched and
is hanging down within the attic space. IT IS CRUCIAL TO MAKE SURE THE THERMOBALL/CABLE IS NOT HANGING DOWN IN
A WAY THAT IT CAN BE CAUGHT OR PULLED INTO THE FAN BLADE AS THIS WILL CUT THE CABLE AND THE FAN WILL
CEASE TO WORK, WHICH IS NOT A WARRANTY REPAIR. Depending on the roof pitch/slope how the cable is hanging down must be
inspected. We recommend making sure the hanging cable is on the down-side of the pitch/slope of the roof or installed in a way that keeps
the thermoball/cable away from the spinning blade. If you want to have your solar panel at an angle, remember to take into consideration
where and how the hood is placed. e SR1800, when placed on the base, should be slightly off and not exactly squared with the metal base
unit until the unit is turned to the le and clicked into place. You will hear a very distinct ‘Click’ which is the metal clips locking the solar
attic fan into place. If you have found that you have placed it incorrectly, you will then need to remove the four screws from the sides, li ing
off the top portion of the solar attic fan. Be careful not to pinch or sever the wiring. You will then nd two metal thumb-spring plates which
you will slightly li . To turn the lower portion of the solar attic fan to the right so it can be removed and reattached to the top part of the unit.
Step 5: ** IMPORTANT ** Serial Number & Warranty Registration
e SR1800 has matching serial numbers on the box, hood, solar panel and motor. is is a great to time to remind your customer or if you
are the customer to verify your serial number(s) so that you can register right away. Warranty is only valid if registered within 90 days of
installation or purchase invoice date, whichever is rst.
Secure the ashing Sealing the ashing
Attaching the Hood Raising the solar panel
Updated 2018.9 rs/jh
Table of contents
Other Solar Royal Solar Panel manuals
Popular Solar Panel manuals by other brands
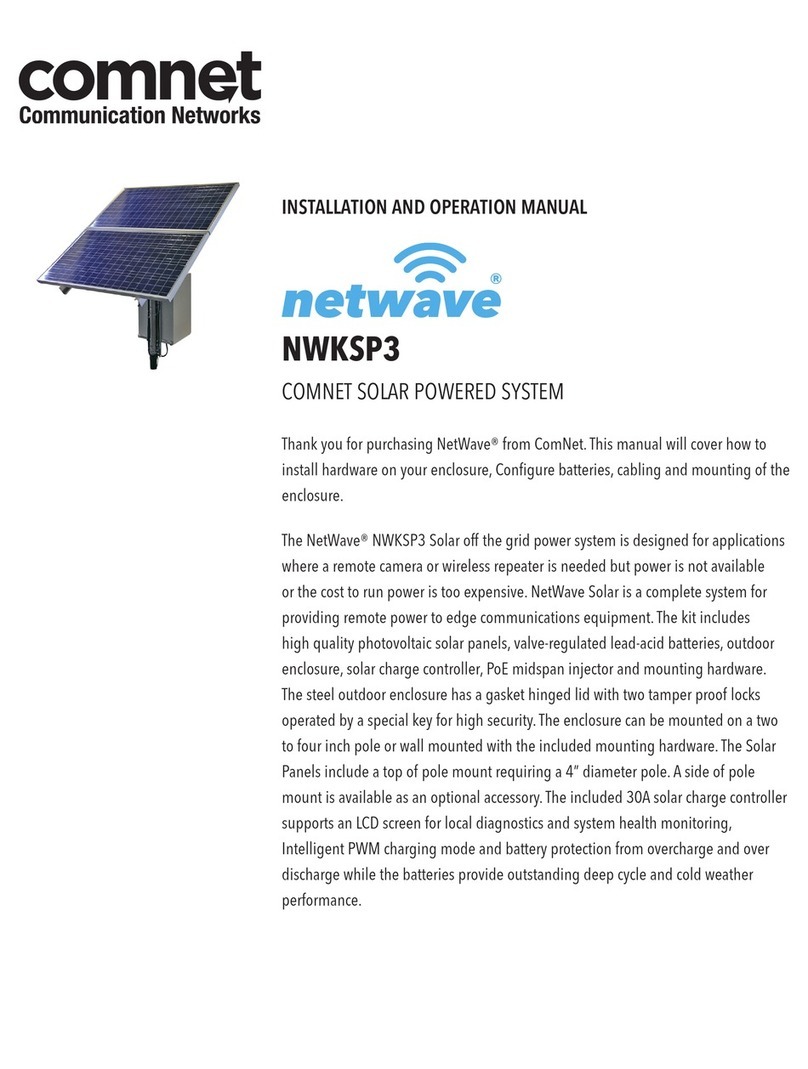
Comnet
Comnet netwave NWKSP3 Installation and operation manual
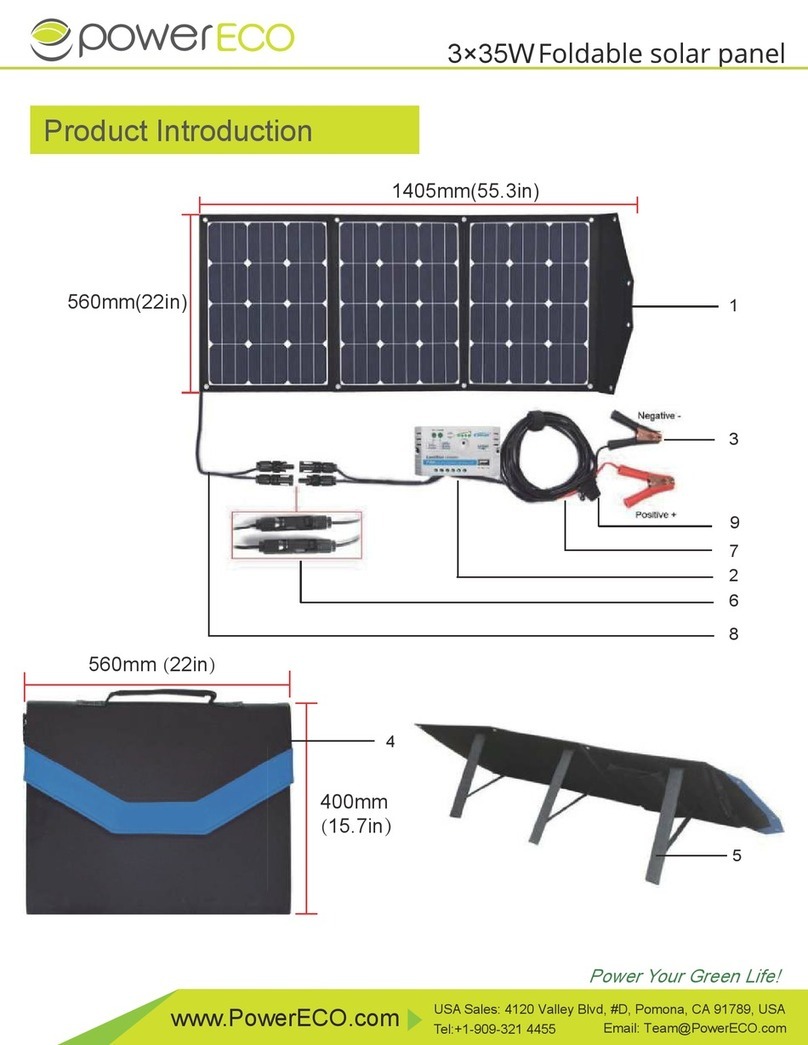
Powereco
Powereco PE-LTK-3x35W manual

Viessmann
Viessmann VITOSOL 200-F Installation instructions for contractors

Viessmann
Viessmann Vitosol 300-T installation instructions
Adventure Kings
Adventure Kings 160W Folding Solar Panel user manual

Projecta
Projecta SPM25 manual

TP-Solar
TP-Solar 100W Foldable Solar Panel instruction manual

Pvinergy
Pvinergy PVES300 user manual
Simu
Simu 9014736 instructions

Chicago Electric
Chicago Electric 96350 25W Operation instructions

Phono Solar
Phono Solar diamond series installation instructions
PowerWave
PowerWave M2-60 series installation manual


