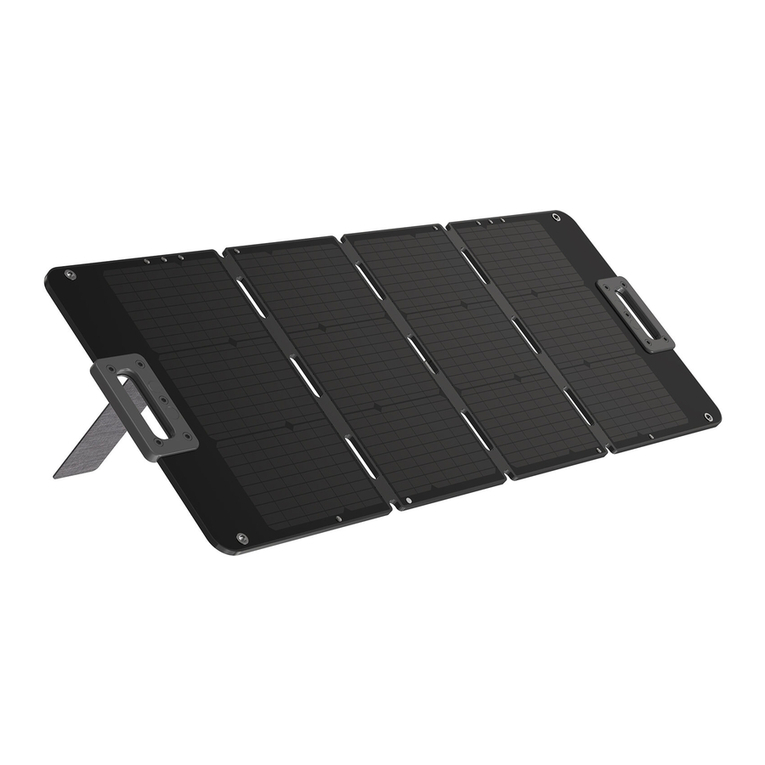
Hello and thank you very much for purchasing a SolarGo2 portable foldup solar panel.
If cared for this panel will provide years of service and plenty of power to charge your
12v leisure batteries. Please have a quick read through this manual to make sure you
get the very best from this product. If you have any questions not covered in this manual,
please check out our website www.SolarGo2.com or give us a call 01684 607002.
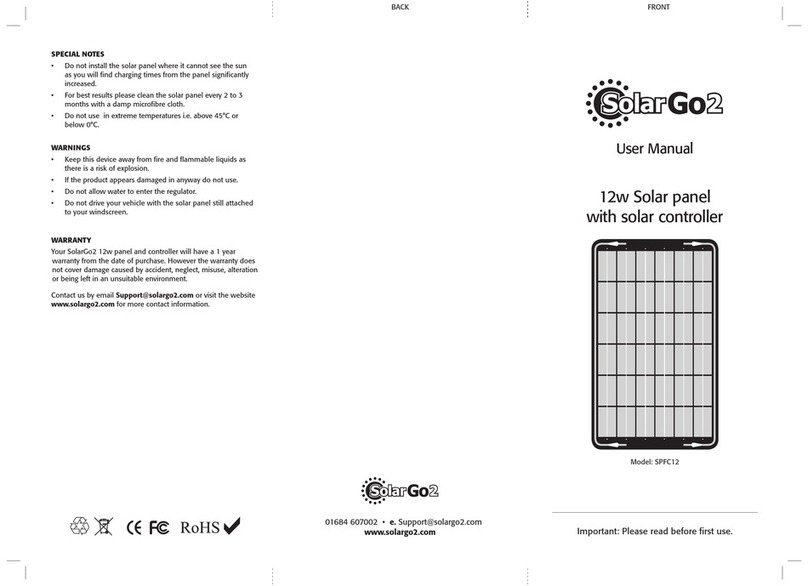
INCLUDED PARTS
A. 2 or 3 panels depending on
model selected (110x or 165w)
B. Straps supporting legs
C. Peg / strap loops
D. Accessories bag
(behind panel)
E. 5m cable with Anderson
connections
F. Crocodile clip cable
G. Charge controller
(if selected at time
of purchase)
SPECIFICATIONS
MAINTENANCE
To care for your product, we recommend cleaning with a damp microfibre cloth that should be able
to remove any dirt and dust from the solar panels. A soft sponge with fabric cleaning solution can be
used on the fabric parts of the unit. Please do not store this unit if it’s wet. Always make sure the unit
is fully dry before storage.
FAQ
Can I bypass / not use the controller?
We do not recommend connecting the panel directly to a battery as there will be no control of the
power coming from the panel and it could cause damage and even an explosion.
I have connected the panel and controller to my battery, but I don’t have any display on my
controller.
It sounds like you have a bad connection or the fuse near the battery has blown. Please check both.
How can I tell if it’s all working?
Please read the instructions for the controller as this will show you how to check the power coming
from the panel and getting to your battery.
Can the panel and controller stay out if it’s raining?
Yes, both the solar panel and the controller are designed to cope with rain but not to be submerged
in water.
Can I get an extension cable so I can place the panel further away from my battery?
Yes, please give us a call and we can make one up to suit.
Finally...
...we are always looking for photographs of our products
in use. If you have a great photograph of this product
and if selected for use in our social media or advertising
we will send you a FREE solar security light WL007.
Panel size
mm
Number
of panels
Weight
Kg
Max Power
(W)
Voltage Open
Circuit (VOC)
Max power
voltage (VMP)
Short circuit
current (ISC)
Max Power
current (IMP)
565x550x3 23.5 110 22.36 19.8 5.97 5.64
565x550x3 35.5 165 22.36 19.8 8.95 8.46
.
Stormproof
PWM 15A Solar
Controller
Anderson
Connectors
Anderson
Connectors
In-line Fuse
30Amp
SETTING UP THE PANEL
When setting this panel up, please find a position that’s as south facing as possible to get the most
solar input (not sure what way is south, then look for the compass app on most smartphones). If
placing on the ground the ‘legs’ on the rear of the panels will then fold out to hold the solar panel at
a convenient angle and the loops can be used if required to peg the panel down. Or if required you
can also use the loops to strap the panel down.
CONNECTING IT ALL TOGETHER
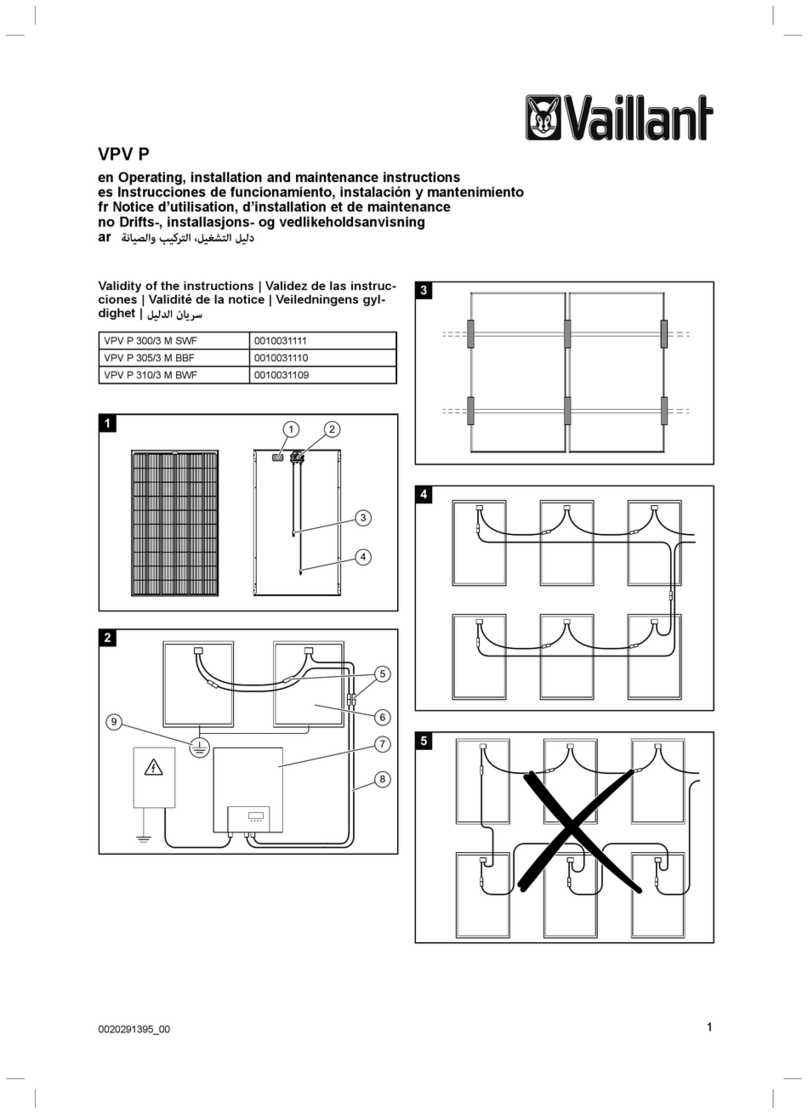
Remove the charge controller and cables form the pouch at the rear of the panel and connect the
panel to the solar side of the controller with the supplied connections. Then on the battery side of
the controller clip the connector in and connect the cable to the leisure battery red to positive (+)
and black to negative (-). Once complete this will start up the controller and then if required you can
select the batteries chemistry on the controller. Please see the included controller instructions for
more information on this.
A
C
B
D
E
GF

