manuals.online logo
Brands
  1. Home
  2. •
  3. Brands
  4. •
  5. Soleus Air
  6. •
  7. Air Conditioner
  8. •
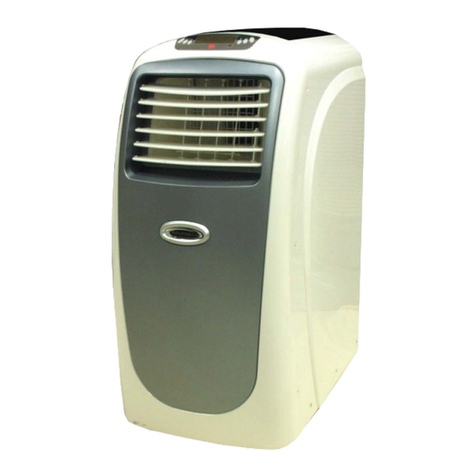
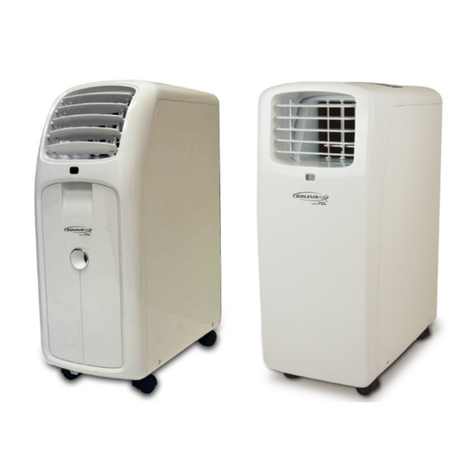
  9. Soleus Air LX-140 User manual

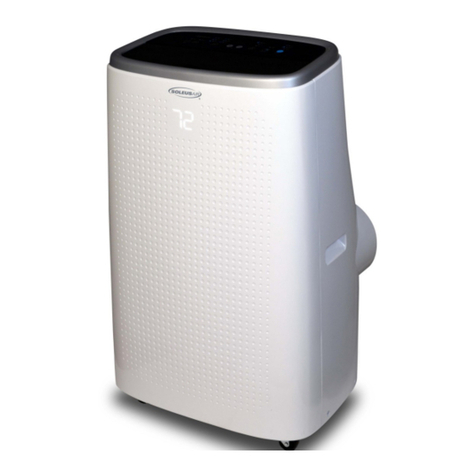
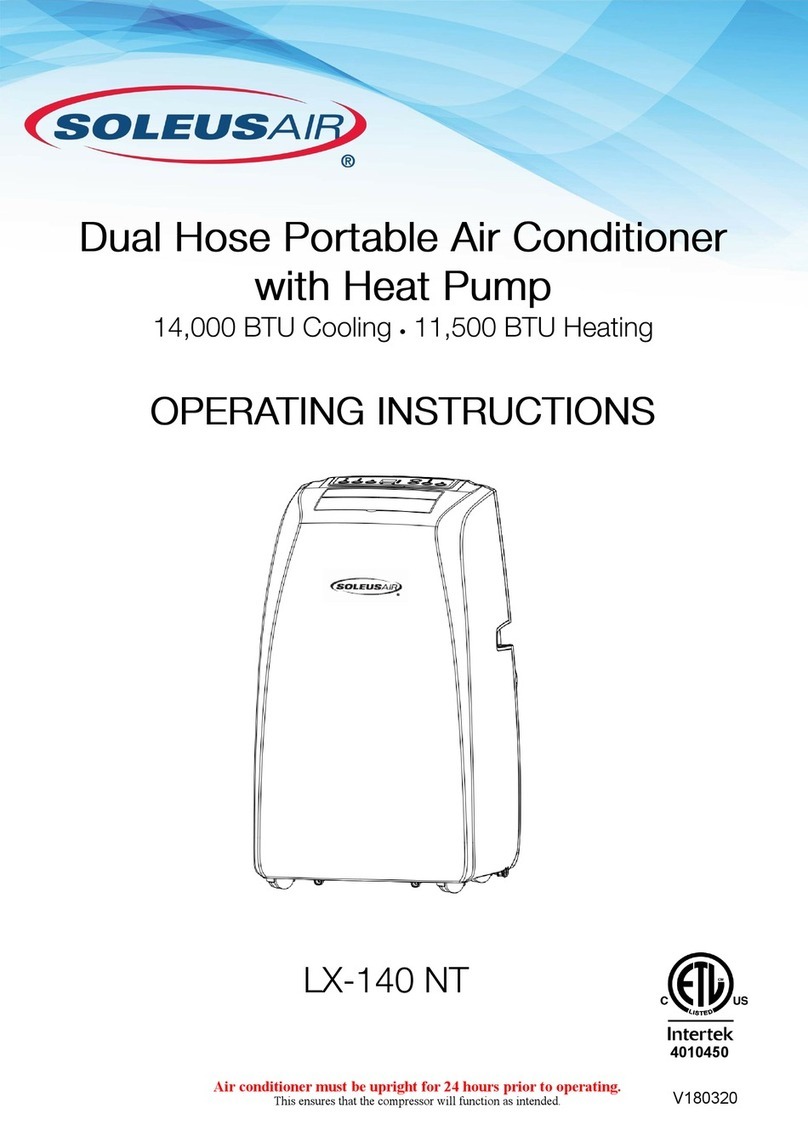
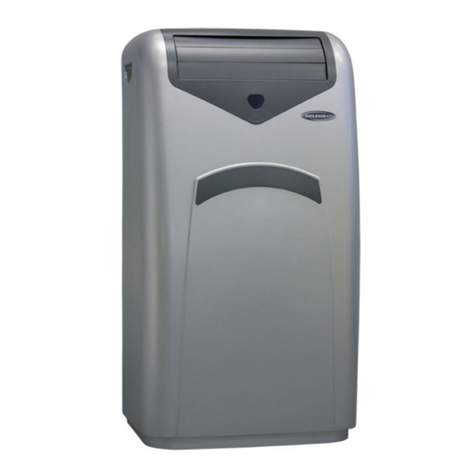
Soleus Air LX-140 User manual

Other manuals for LX-140

6

Other Soleus Air Air Conditioner manuals

Soleus Air TTW-SLG User manual

Soleus Air

Soleus Air TTW-SLG User manual

Soleus Air PH4-12R-01 User manual

Soleus Air

Soleus Air PH4-12R-01 User manual

Soleus Air HCC-C09H26-A User manual

Soleus Air

Soleus Air HCC-C09H26-A User manual

Soleus Air KY-34 User manual

Soleus Air

Soleus Air KY-34 User manual

Soleus Air GM-PAC-10E2 User manual

Soleus Air

Soleus Air GM-PAC-10E2 User manual

Soleus Air PH5 Series User manual

Soleus Air

Soleus Air PH5 Series User manual

Soleus Air WS1-15E-02 User manual

Soleus Air

Soleus Air WS1-15E-02 User manual

Soleus Air Soleus LX-100 LX-100 User manual

Soleus Air

Soleus Air Soleus LX-100 LX-100 User manual

Soleus Air PH4-10R-01 User manual

Soleus Air

Soleus Air PH4-10R-01 User manual

Soleus Air PE2-07R-62 User manual

Soleus Air

Soleus Air PE2-07R-62 User manual

Soleus Air HCB-R135-A-ID User manual

Soleus Air

Soleus Air HCB-R135-A-ID User manual

Soleus Air KY-34 User manual

Soleus Air

Soleus Air KY-34 User manual

Soleus Air PE3-12R-03 User manual

Soleus Air

Soleus Air PE3-12R-03 User manual

Soleus Air KY-32U User manual

Soleus Air

Soleus Air KY-32U User manual

Soleus Air GM-PAC-08E3 User manual

Soleus Air

Soleus Air GM-PAC-08E3 User manual

Soleus Air WS2-15E-201 User manual

Soleus Air

Soleus Air WS2-15E-201 User manual

Soleus Air HCB-P11-A User manual

Soleus Air

Soleus Air HCB-P11-A User manual

Soleus Air HCC-C09HP-A User manual

Soleus Air

Soleus Air HCC-C09HP-A User manual

Soleus Air KFCHP5-09-ID User manual

Soleus Air

Soleus Air KFCHP5-09-ID User manual

Soleus Air GM-WAC-06SE-C User manual

Soleus Air

Soleus Air GM-WAC-06SE-C User manual

Soleus Air SG-TTW-10ESE User manual

Soleus Air

Soleus Air SG-TTW-10ESE User manual

Soleus Air PSH-09-01 User manual

Soleus Air

Soleus Air PSH-09-01 User manual

Soleus Air KFHHP-22 Specification sheet

Soleus Air

Soleus Air KFHHP-22 Specification sheet

Soleus Air WS1-05M2-02 User manual

Soleus Air

Soleus Air WS1-05M2-02 User manual

Popular Air Conditioner manuals by other brands

Fujitsu ASYG 09 LLCA installation manual

Fujitsu

Fujitsu ASYG 09 LLCA installation manual

York HVHC 07-12DS Installation & owner's manual

York

York HVHC 07-12DS Installation & owner's manual

Carrier Fan Coil 42B Installation, operation and maintenance manual

Carrier

Carrier Fan Coil 42B Installation, operation and maintenance manual

intensity IDUFCI60KC-3 installation manual

intensity

intensity IDUFCI60KC-3 installation manual

Frigidaire FAC064K7A2 Factory parts catalog

Frigidaire

Frigidaire FAC064K7A2 Factory parts catalog

Sanyo KS2432 instruction manual

Sanyo

Sanyo KS2432 instruction manual

LG MultiV Series installation manual

LG

LG MultiV Series installation manual

CLIMAVENETA a-CHD U-2T 606+2209 OPERATING AND INSTALLATION Manual

CLIMAVENETA

CLIMAVENETA a-CHD U-2T 606+2209 OPERATING AND INSTALLATION Manual

Midea EWK06CW5 user manual

Midea

Midea EWK06CW5 user manual

Pioneer FAB Series installation manual

Pioneer

Pioneer FAB Series installation manual

SPT WA-1511S user manual

SPT

SPT WA-1511S user manual

Mitsubishi Electric Mr.Slim MSZ-A24NA operating instructions

Mitsubishi Electric

Mitsubishi Electric Mr.Slim MSZ-A24NA operating instructions

Mitsubishi Electric PUHZ-RP50VHA4 Service manual

Mitsubishi Electric

Mitsubishi Electric PUHZ-RP50VHA4 Service manual

Panasonic CS-S18HKQ Service manual

Panasonic

Panasonic CS-S18HKQ Service manual

Panasonic CS-E15NKE3 operating instructions

Panasonic

Panasonic CS-E15NKE3 operating instructions

Gree GWH18TC-K3DNA1B/I Service manual

Gree

Gree GWH18TC-K3DNA1B/I Service manual

Friedrich ZoneAire Compact P08SA owner's manual

Friedrich

Friedrich ZoneAire Compact P08SA owner's manual

Daikin R32 Split Series installation manual

Daikin

Daikin R32 Split Series installation manual

manuals.online logo
manuals.online logoBrands
  • About & Mission
  • Contact us
  • Privacy Policy
  • Terms and Conditions

Copyright 2025 Manuals.Online. All Rights Reserved.

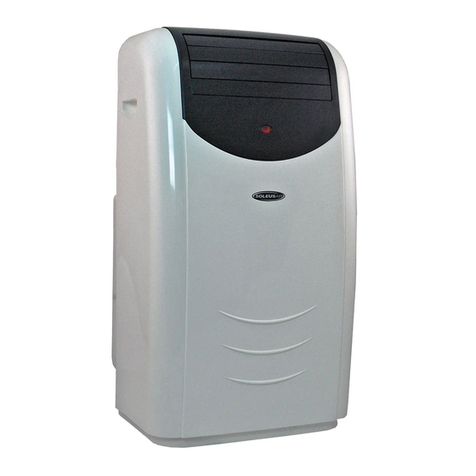
14,000 BTU Portable Air Conditioner
12,000 BTU Heat Pump
Operating Instructions
© 2006 Soleus Air International
Model No. LX-140
®
2
Thank you for choosing a Soleus Air LX-140 ortable Air Conditioner & Heat ump. This owner’s
manual will provide you with valuable information necessary for the proper care and maintenance of
your new product. lease take a few moments to thoroughly read the instructions and familiarize
yourself with all the operational aspects of your new Soleus Air ortable Air Conditioner with Heat
ump technology.
For your own records, please attach a copy of your sales receipt to this manual. Also, write the store
name/location, date purchased, and serial number below:
Store Name: ____________________________________________________
Location: ______________________________________________________
Date urchased: _________________________________________________
Serial Number (located on back of unit): ______________________________
IMPORTANT INSTRUCTIONS
Before installing and using your portable air conditioner, please read this owner’s manual carefully. Store this
manual in a safe place for future reference.
1) Always place the unit on a level surface.
2) Never use or store gasoline or other flammable vapor or liquid near this unit unless instructed by this
manual.
3) Maintain at least 10 inches (25 cm) clearance space around this unit. Do not block or cover air inlet or
outlet grilles.
4) The unit must be connected to a correctly grounded power supply.
5) Do not start or stop the unit by inserting or pulling out the power plug.
6) Do not use an adapter plug or extension cord.
7) Do not use the unit in the immediate surroundings of a bath, a shower or a swimming pool.
8) Do not insert anything into the air outlet. Do not obstruct air inlet or outlet grills unless instructed by this
manual.
9) Do not let children play near this unit.
10) Always inspect the cord for signs of damage before use. If the power cord is damaged, it must be replaced
by the manufacturer or a qualified service technician.
11) When cleaning the unit, always turn the unit off and unplug the power cord.
3
WARNIN : This unit has a voltage rating of 115
volts. The cord has a plug as shown in A. An adapter as
shown in C is available for connecting three-blade
grounding-type plugs to two-slot receptacles. The
grounding lug extending from the adapter must be con-
nected to a permanent ground such as a properly
grounded outlet box. The adapter should not be used if
a three-slot grounded receptacle is available.
DO NOT DEFEAT THE SAFETY UR OSE OF
THE GROUNDED LUG.
SPECIFICATIONS
• The cooling capacity is meas-
ured at an ambient temperature
of DB 86 °F, WB 78 °F.
• Noise level is measured at a
distance of 3.28 ft away from
the front of the unit, when the
unit is in cooling mode.
• ower consumption is meas-
ured when the fan runs at the
highest speed setting.
• These specifications are for
reference only. For actual data,
please refer to the rating label
on the back of the unit.
• If the environment temperature
is higher than the max operat-
ing temperature or lower than
the minimum operating tem-
perature, the air conditioner
may not work properly.
PACKAGE CONTENTS
MODEL L -140
COOLING CAPACITY 14,000 BTU/H
HEATING CAPACITY 12,000 BTU/H
DEHUMIDIFYING CAPACITY 60 pts/Day
POWER
COOLING 1350W
HEATING 1350W
AIR FLOW VOLUME 225 CFM
POWER SOURCE 115 V~ 60 HZ
12/12 AMP HEATING/COOLING
SOUND PRESSURE LEVEL 46 dB(A)
NET WEIGHT 82 Lbs
OPERATING
TEMPERATURE
COOLING 60.8℉-108℉
HEATING 23℉-89.6℉
DIMENSIONS
ASSEMBLED 17.7” W ×32.9” H ×18.9” D
PACKAGE 19.9” W ×34.5” H ×22.5” D
REFRIGERANT R22
ortable Air Conditioner
Exhaust Hoses (2)
Hose Adapters (2)
Window Kit Adapter (2)
Remote Control
AAA Batteries (2)
Window Kit - 4 Sliding anels (1 dual hose panel, 1 single hose panel, 2 extension panels)
Air Intake and Outlet Covers (2)
Owner’s Manual
4
PRODUCT DIAGRAM
Casters
Louvers
Signa Receptor
Contro Pane
Air Intake Cover/Fi ter
Fi ter Compartment
5
PARTS & ASSEMBLY
PARTS
EXHAUST HOSE
WINDOW KIT
ASSEMBLY & INSTALLATION
INSTALLATION
When the unit is operating as an air conditioner, heater, or dehumidifier, the unit draws in fresh outdoor air and exhausts
hot air (in AC or dehumidifier mode) or cool air (in Heat mode) out of the room to complete the air exchange. When the
unit is operating in fan mode, no outdoor air exchange takes place. The window kit and exhaust hose do not need to be
installed when the unit is used as a fan.
NOTE: The supplied window kit can be installed in sliding windows and sliding glass doors up to 8 ft. long
(approximate length).
MOUNTING THE EXHAUST HOSES
• Choose a suitable location, near a grounded electrical outlet and suitable window or door. Remove
packaging and locate components.
• Extend both ends of the exhaust hoses approximately 6 inches.
• Screw the window kit adapter onto one end of the exhaust hose clockwise. Screw the hose adapter onto
the other end of the exhaust hose clockwise. Repeat on the other exhaust hose.
• Remove outlet covers from the back of the unit by screwing them counter-clockwise, then lifting up.
• Mount the exhaust hoses onto the back of the unit by locking the hose adapters into place.
6
DUAL HOSE WINDOW KIT INSTALLATION - To quickly and efficiently cool a large area.
7
SINGLE HOSE EXHAUST & WINDOW KIT INSTALLATION
When you want quick spot cooling, install the LX-140 using the single hose window kit installation.
For Sing e Hose Insta ation
Install only the left exhaust hose over the circular air outlet (this outlet will be on the left side of the unit when
you are facing the back of the unit). Cover the right circular air intake using the exhaust intake cover. After
installing the hose remove the square air intake cover on the back of the unit and install the square air intake
vent with removable/washable filter.
For Sing e Hose Window Kit Insta ation
To install the window kit, follow the same directions on page 6 for dual hose installation, but instead of using
the dual hose window kit panel, use the single hose panel pictured below.
Exhaust Hose insta ed
onto circu ar air out et
on eft side
Exhaust cover insta ed
over circu ar air intake on
right side
Air Intake Cover Air Intake Vent
Sing e Hose Window Kit Pane
8
CONTROL PANEL, DISPLAY, & OPERATING INSTRUCTIONS
CONTROL PANEL & MULTI-COLOR DISPLAY
CONTROL PANEL
MULTI-COLOR DISPLAY
POWER BUTTON
MODE BUTTON
TIMER BUTTONS
TEMP & TIMER SELECTION
FAN SPEED BUTTON TEMP SELECT
AUTO A/C DEHUM. FAN HEAT
FAN SPEED
TIMER ON
TIMER OFF
TEMPERATURE
AND TIMER
INDICATOR
OSCILLATION ON/OFF COMPRESSOR ON/OFF SLEEP MODE ON/OFF BUCKET FULL
9
OPERATING INSTRUCTIONS
CONTROL PANEL BUTTONS (Refer to the images on page 8)
1) Power On and Off - ress the POWER button once to manually turn the unit on. ress the POWER
button once more to turn the unit off.
2) Mode Se ection - ress the MODE Button repeatedly to cycle between the different modes: Auto mode,
Air Conditioner, Dehumidifier, Fan only, and Heater.
3) Fan Speed Contro - ress the FAN SPEED Button to cycle through the different fan speeds: High,
Medium, and low. The fan speed can be visually distinguished by the speed of the digital air segments
progressing out from the windmill fan image on the Multi-color display. There is an additional auto speed
setting that is enabled in only heating and cooling modes. This speed is next setting after low when press-
ing the speed control button. The speeds will cycle through in this order: Low, Medium, High, Auto. Each
change in speed will be associated with a “beep” sound from the unit.
4) Temperature - Select the desired temperature by pressing either ▼ or ▲ key when using the unit in
cooling or heating mode. The temperature indicator flashes to display the desired temperature setting. After
the temperature is set, the unit will display this temperature setting until it is changed by the user. The
Multi-color display shows temperature in Celsius or Fahrenheit. ress the °F/°C button on the control
panel to select the desired temperature setting.
5) Timer - To program the timer, press the TIMER ON button until the display shows a flashing “ ”.
ress the ▲ or ▼ buttons to change the clock to the desired time for the unit to automatically turn on.
ress the TIMER OFF button and the display on the unit will flash “ ”. ress the ▲ or ▼
buttons to change the clock to the desired time for the unit to automatically turn off. The TIMER OFF
indicator will flash for 3 seconds to activate the times you programmed.
NOTE: The timer will also remember your settings when it is set. If you set the timer while in Air Condition-
ing mode, the timer will automatically turn the unit on and off in air conditioning mode according to the de-
sired programmed times. The timer will also remember the temperature settings, fan speed, and oscillation set-
ting. The timer works when the unit is in Air Conditioner mode, Heating mode, Dehumidifier mode, Fan
mode, and Auto mode
OPERATING THE UNIT USING THE CONTROL PANEL
Air Conditioner Mode
1) Install the exhaust hoses and window kit properly (see pages 6 & 7).
2) lug the ower Cord into an electrical outlet.
3) Turn on the unit by pressing the POWER button on the control panel.
4) ress the Mode button until the “ ” icon appears on the Multi-color display
5) ress the ▲ or ▼ buttons until the desired room temperature appears on the control panel
display. The temperature ranges from 61°F - 88 °F (16 °C - 31 °C).
6) Select the desired fan speed by pressing the FAN button.
10
NOTE: During hot days, the unit will cool the room most efficiently by setting the temperature at the lowest
setting and the fan speed on high. Reducing the length of the exhaust duct, insulating the exhaust hose and
window kit, and keeping direct sunlight to a minimum will also improve the cooling efficiency.
NOTE: When the unit is running on cooling mode, the exhaust hoses are required and must be
vented outside using the supplied window kit.
Dehumidifier Mode
1) Install the exhaust hoses and window kit properly (see pages 6 & 7).
2) lug the ower Cord into an electrical outlet.
3) Turn on the unit by pressing the POWER Button on the control panel.
4) ress the MODE button until the “ ” appears on the control panel display.
NOTE: The unit operates at low fan speed during dehumidifier mode. The unit cools room slightly during
the dehumidification. Keep the windows and doors closed to aid the effectiveness of the unit in removing the
moisture from the room.
NOTE: When the unit is running on dehumidifier mode, the exhaust hoses are required and must
be vented outside using the supplied window kit.
NOTE: The unit will not perform in dehumidifier mode when the room temperature is lower than 61°F .
Fan Mode
1) lug the ower Cord into an electrical outlet.
2) Turn on the unit by pressing the POWER button on the control panel.
3) ress the MODE button until the “ ” icon appears on the control panel display.
4) Select the fan speed by pressing the FAN button.
5) To circulate more air, press the SWIN button on the remote control. The louvers will oscillate in our
exclusive WAVEFLO® pattern; back and forth and up and down, spreading more air throughout the
room.
NOTE: It is not necessary for the exhaust hoses and window kit to be installed to operate the unit in fan mode.
Heating Mode
1) Install the exhaust hoses and window kit properly (see pages 6 & 7).
2) lug the ower Cord into an electrical outlet.
3) Turn on the unit by pressing the POWER button on the control panel.
4) ress the MODE button until the “ “ icon appears on the control panel display.
5) ress the ▼or ▲ buttons until the desired room temperature appears on the control panel display. The
temperature ranges from 61°F - 88 °F (16 °C - 31 °C).
6) Select the fan speed by pressing the FAN button. It is recommended to set the fan speed to low.
NOTE: When heat mode is selected, the unit will shut down for 3-5 minutes, then start in heating mode.
NOTE: When the unit is running on heating mode, the exhaust hoses are required and must be
vented outside using the supplied window kit.