manuals.online logo
Brands
  1. Home
  2. •
  3. Brands
  4. •
  5. Soleus Air
  6. •
  7. Air Conditioner
  8. •
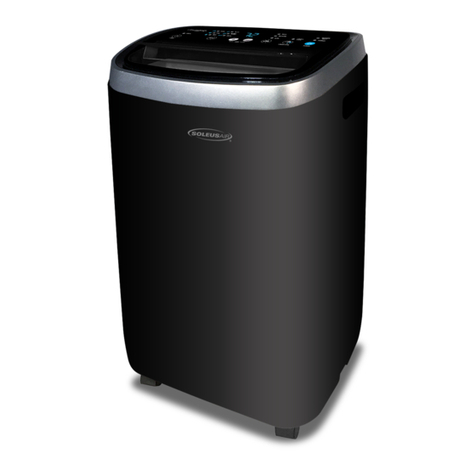
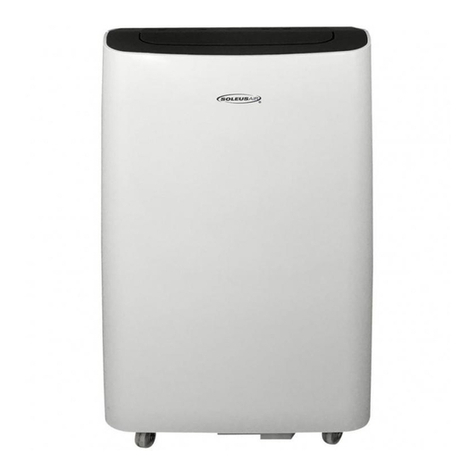
  9. Soleus Air PSH-08-01 User manual

Soleus Air PSH-08-01 User manual

This manual suits for next models

1

Other Soleus Air Air Conditioner manuals

Soleus Air KY-32E User manual

Soleus Air

Soleus Air KY-32E User manual

Soleus Air TTW-SLG User manual

Soleus Air

Soleus Air TTW-SLG User manual

Soleus Air GH-PAC-10E5 User manual

Soleus Air

Soleus Air GH-PAC-10E5 User manual

Soleus Air KFH-18 User manual

Soleus Air

Soleus Air KFH-18 User manual

Soleus Air PH4-10R-01 User manual

Soleus Air

Soleus Air PH4-10R-01 User manual

Soleus Air PH-3-12R-03 User manual

Soleus Air

Soleus Air PH-3-12R-03 User manual

Soleus Air PE4-11R-03 User manual

Soleus Air

Soleus Air PE4-11R-03 User manual

Soleus Air TTWM1-10-01 User manual

Soleus Air

Soleus Air TTWM1-10-01 User manual

Soleus Air HP-12 User manual

Soleus Air

Soleus Air HP-12 User manual

Soleus Air KFHHP-18 User manual

Soleus Air

Soleus Air KFHHP-18 User manual

Soleus Air PE1-09R-30 User manual

Soleus Air

Soleus Air PE1-09R-30 User manual

Soleus Air PS08-01 User manual

Soleus Air

Soleus Air PS08-01 User manual

Soleus Air KC-45H Specification sheet

Soleus Air

Soleus Air KC-45H Specification sheet

Soleus Air PH4-13R-01 User manual

Soleus Air

Soleus Air PH4-13R-01 User manual

Soleus Air TTWM1-10-01 User manual

Soleus Air

Soleus Air TTWM1-10-01 User manual

Soleus Air WS2-06E-201 User manual

Soleus Air

Soleus Air WS2-06E-201 User manual

Soleus Air WM1-12E2-01 User manual

Soleus Air

Soleus Air WM1-12E2-01 User manual

Soleus Air KY-32E User manual

Soleus Air

Soleus Air KY-32E User manual

Soleus Air HCC-W12ES-A1 User manual

Soleus Air

Soleus Air HCC-W12ES-A1 User manual

Soleus Air Mobile Comfort KY-80G User manual

Soleus Air

Soleus Air Mobile Comfort KY-80G User manual

Soleus Air SG-PAC-10E5 User manual

Soleus Air

Soleus Air SG-PAC-10E5 User manual

Soleus Air GH-PAC-12E1 User manual

Soleus Air

Soleus Air GH-PAC-12E1 User manual

Soleus Air TM-PAC-08E3 User manual

Soleus Air

Soleus Air TM-PAC-08E3 User manual
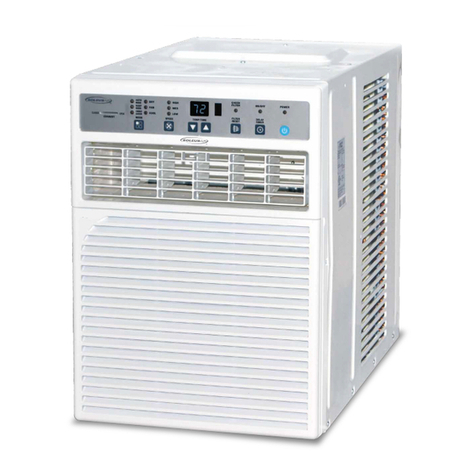
Soleus Air KFCHP5-09-ID User manual

Soleus Air

Soleus Air KFCHP5-09-ID User manual

Popular Air Conditioner manuals by other brands

Fujitsu ASYG 09 LLCA installation manual

Fujitsu

Fujitsu ASYG 09 LLCA installation manual

York HVHC 07-12DS Installation & owner's manual

York

York HVHC 07-12DS Installation & owner's manual

Carrier Fan Coil 42B Installation, operation and maintenance manual

Carrier

Carrier Fan Coil 42B Installation, operation and maintenance manual

intensity IDUFCI60KC-3 installation manual

intensity

intensity IDUFCI60KC-3 installation manual

Frigidaire FAC064K7A2 Factory parts catalog

Frigidaire

Frigidaire FAC064K7A2 Factory parts catalog

Sanyo KS2432 instruction manual

Sanyo

Sanyo KS2432 instruction manual

LG MultiV Series installation manual

LG

LG MultiV Series installation manual

CLIMAVENETA a-CHD U-2T 606+2209 OPERATING AND INSTALLATION Manual

CLIMAVENETA

CLIMAVENETA a-CHD U-2T 606+2209 OPERATING AND INSTALLATION Manual

Midea EWK06CW5 user manual

Midea

Midea EWK06CW5 user manual

Pioneer FAB Series installation manual

Pioneer

Pioneer FAB Series installation manual

SPT WA-1511S user manual

SPT

SPT WA-1511S user manual

Mitsubishi Electric Mr.Slim MSZ-A24NA operating instructions

Mitsubishi Electric

Mitsubishi Electric Mr.Slim MSZ-A24NA operating instructions

Mitsubishi Electric PUHZ-RP50VHA4 Service manual

Mitsubishi Electric

Mitsubishi Electric PUHZ-RP50VHA4 Service manual

Panasonic CS-S18HKQ Service manual

Panasonic

Panasonic CS-S18HKQ Service manual

Panasonic CS-E15NKE3 operating instructions

Panasonic

Panasonic CS-E15NKE3 operating instructions

Gree GWH18TC-K3DNA1B/I Service manual

Gree

Gree GWH18TC-K3DNA1B/I Service manual

Friedrich ZoneAire Compact P08SA owner's manual

Friedrich

Friedrich ZoneAire Compact P08SA owner's manual

Daikin R32 Split Series installation manual

Daikin

Daikin R32 Split Series installation manual

manuals.online logo
manuals.online logoBrands
  • About & Mission
  • Contact us
  • Privacy Policy
  • Terms and Conditions

Copyright 2025 Manuals.Online. All Rights Reserved.

V200914
Air conditioner must be upright for 24 hours prior to operating.
This ensures that the compressor will function as intended.
4000234
Thank you for choosing a Soleus Air Portable Air Conditioner. This Owner’s Manual will provide
you with valuable information necessary for the proper care and maintenance of your new product.
Please take a few moments to thoroughly read the instructions and familiarize yourself with all the
operational aspects of your new Soleus Air Portable Air Conditioner.
For your own records, please attach a copy of your sales receipt to this manual. Also, write the
store name/location, date purchased, and serial number below:
Store Name: ____________________________________________________
Location: _____________________________________________________
Date Purchased: _________________________________________________
Serial Number (located on back of unit): ______________________________
Before installing and using your portable air conditioner, please read this owner’s manual carefully. Store this
manual in a safe place for future reference.
1) Always place the unit on a level surface.
2) Never use or store gasoline or other flammable vapor or liquid near this unit unless instructed by this manual.
3) Maintain at least 10 inches (25 cm) clearance space around this unit. Do not block or cover air inlet or outlet
grilles.
4) The unit must be connected to a correctly grounded power supply.
5) Do not start or stop the unit by inserting or pulling out the power plug.
6) Do not use an adapter plug or extension cord.
7) Do not use the unit directly by a bathtub, shower or swimming pool.
8) Do not insert anything into the air outlet. Do not obstruct air inlet or outlet grills unless instructed by this
manual.
9) Do not let children play near this unit.
10) Always inspect the cord for signs of damage before use. If the power cord is damaged, it must be replaced by
the manufacturer or a qualified service technician.
11) When cleaning the unit, always turn the unit off and unplug the power cord.
12) Do not mix old and new batteries in the remote control.
Do not mix Alkaline, Standard (Carbon - Zinc) or Rechargeable (Nickel - Cadmium) Batteries.
IMPORTANT INSTRUCTIONS
PURCHASE INFORMATION
Portable Air Conditioner (1)
Exhaust Hose (1)
Exhaust Hose Connector (1)
Window Kit Panel (3)
Window Kit Adapter (1)
Wing Nut (2)
Optional Drain Tube (1)
Remote Control (1)
AAA Battery (2)
Owner’s Manual (1)
• Noise level is measured at a distance of 3.28 ft away from the front of the unit, when the unit is in cool-
ing mode.
• Power consumption is measured when the fan runs at the highest speed setting.
• These specifications are for reference only. For actual data, please refer to the rating label on the back
of the unit.
• If the environment temperature is higher than the max operating temperature or lower than the mini-
mum operating temperature, the air conditioner may not work properly.
PACKAGE CONTENTS
Model Number PSH-08-01 PSH-09-01
Cooling Capacity (SACC) 8,000 BTU/Hr
Meets DOE & California
Energy Standards
9,000 BTU/Hr
Meets DOE & California
Energy Standards
Dehumidification 65 pts/Day 75 pts/Day
Cooling Power Usage 1110 Watts
9.8 Amps
1180 Watts
10.4 Amps
Air Flow (H/M/L) 235/212/177 CFM 235/212/177 CFM
Power Source 115 V / 60 HZ 115 V / 60 HZ
Noise Level dB(A) 52/50/49 52/50/49
Product Weight 68.3 lbs 70.5 lbs
Operating Temperature 61° - 88° F 61° - 88° F
Product Dimensions
(W x H x D) 18.9” x 30.7” x 15.4” 18.9” x 30.7” x 15.4”
Refrigerant R-410A R32
SPECIFICATIONS
This air conditioner is equipped with an LCDI (Leakage Current Detection and Interruption) power cord
and plug as required by US National Electric Code 440.65. This cord consists of a length of shielded flex-
ible cord with no termination on the load side and a LCDI attachment plug on the line side.
The LCDI power cord and plug will remove the supply source via electrical disconnect (circuit trip) if the
nominal current leakage between the cord shield and either load conductor exceeds a predetermined val-
ue. The cord will remain de-energized until the device has been manually reset. This is intended to reduce
the risk of a fire in the power cord or combustible materials nearby. The cord shields are not grounded
and they must be considered a shock hazard if exposed. The cord shield must not be connected to ground
or to any exposed metal.
The test and reset buttons on the LCDI Plug are used to check if the plug is functioning properly. To test:
1. Plug power cord into wall outlet, the LED light will turn on.
2. Press TEST Button, circuit should trip, cutting power to the air conditioner. When this occurs,
the LED light will turn off.
3. Press RESET button to restore power to the unit. Once power is restored, the LED light will
turn on again.
If test button is pressed and unit can still be turned on, current leakage has been detected. Do not use the
air conditioner or attempt to reset the LCDI Plug. Contact Customer Service for troubleshooting recom-
mendations.
Note: Your unit’s power cord may
differ from the one shown.
WARNING:
1. DO NOT press the TEST button while the air conditioner is operating.
2. The TEST and RESET buttons should not be used as “ON” and “OFF” switches.
3. The cord and plug are not intended to offer protection to externally connected loads or supply circuits.
4. The cord and plug are intended for indoor use only.
RESET
TEST
POWER CORD AND PLUG
1. Control Panel
2. Manual Control Louver & Air Outlet
3. Carry Handle
4. Casters
5. Air Filters
6. Continuous Drain Port
7. Air Discharge Opening
8. Air Intake Grilles
9. Condensation Drain Hole
10. Exhaust Hose
11. Exhaust Hose Connector
12. Window Kit Adapter
13. Window Kit Panels
14. Wing Nuts & Screw
15. Optional Drain Tube
16. Remote Control
17. Batteries
PRODUCT DIAGRAM MODEL# PSH-08-01/PSH-09-01
1
2
3
76
9
4
5/8
10 11 12
13
14
15
16
17
WINDOW VENTING KIT
ASSEMBLY & INSTALLATION
When the unit is operating in air conditioning mode, the unit draws in indoor air and exhausts hot air out of the room
to complete the air exchange. The Window Kit must be installed when operating the unit in air conditioning, dehu-
midification. When the unit is operating in Fan Mode, no outdoor air exchange takes place. The window kit and ex-
haust hose do not need to be installed when the unit is used as a fan.
The supplied window kit can be installed in sliding windows and sliding glass doors up to 5 ft. long
(approximate length). When installed, be sure to keep the exhaust hose as short and straight as possible for
maximum efficiency.
PARTS & ASSEMBLY
WINDOW KIT ASSEMBLY
1. Unscrew the Wing Nut from the base. Insert the Wing
Nut base into the small hole found on panel A
2. Screw the Wing Nut onto the Wing Nut Base until
slightly loose. (Will tighten in an upcoming step.)
3. Slide panel B inside panel A and over the
Wing Nut Base.
5. Tighten Wing Nut to secure both panels.
4. Panel A and B should now be connected.
PORTABLE AIR CONDITIONER
The window venting kit must be installed in order for the unit to work correctly. The window venting kit has been de-
signed to fit into most vertical and horizontal window openings and sliding glass doors up to 5 feet.. *The window kit
included with your purchase may vary slightly from what is shown below.
2. Twist the Exhaust Hose Connector
onto Exhaust Hose.
1. Open the window or door to adjust the length of the Window
Kit Panels to fit the opening. If necessary, mark the kit and cut
one end down to properly fit the opening.
3. Twist the Exhaust Hose Connector over the discharge opening
on the back of the unit and extend the Exhaust Hose. (Keep the
exhaust hose as short and straight as possible)
WINDOW KIT INSTALLATION
5. Attach the Window Kit Adapter to the opening in
the Window Panel. Then, attach the Screw to se-
cure the Window Kit Adapter to the Window Panel.
4. Twist the Window Kit Adapter onto the Exhaust Hose. (Keep
the exhaust hose as short and straight as possible)
5
4
Screw
OPERATING INSTRUCTIONS FOR CONTROL PANEL BUTTONS
1) Power On and Off - Press the POWER button once to manually turn the unit on. Press the
POWER button once more to turn the unit off.
2) Mode Selection - Press the MODE button repeatedly to cycle between the different modes:
Air Conditioner (Cool) mode, Fan-only mode, Dehumidifier (Dry) mode, and Auto mode. Each
press of the MODE button will light up a different indicator on the control panel. The exhaust
hose and window kit must be installed when the unit is in Air Conditioner, Dehumidifier mode,
Auto mode, and Sleep mode. When using the unit as a fan, the window kit is not required.
3) Mirage Display - Press the MIRAGE button to activate the Mirage Display on the front of the
unit. The Mirage Display conveniently shows the ambient temperature from across the room or
the temperature setting on the control panel.
4) Temperature - Select the desired temperature by pressing either the + or - button when using
the unit in Air Conditioner mode. The temperature indicator flashes to display the desired tem-
perature setting. After the temperature is set, the unit will display this temperature setting until
it is changed by the user. The temperature indicator display shows temperature in Fahrenheit.
While the unit is on, press the + and - buttons simultaneously to switch between Celsius and
Fahrenheit.
5) Fan Speed - Press FAN SPEED button to choose fan speed in Quiet, High or Low.
6) Timer - Press TIMER button to set the unit automatically turn ON or OFF. Use the + and - but-
tons to program the hour increment.
7) Turbo Cool - When Turbo Cool is activated, the unit will cool at 61°F on fan high for 10
minutes and then return to the original settings.
8) Bucket Full - When the unit cannot evaporate the collected moisture fast enough, the excess
water will collect in a backup water tank located inside the unit. The BUCKET FULL indicator
will light up.
Sleep Mode
Indicator
Quiet Mode
Indicator
Auto Mode
Indicator
Air Conditioner
Mode Indicator
Fan Mode
Indicator
Power
Indicator
Bucket Full
Indicator
Turbo Cool
Indicator
Timer
Indicator
Dehumidifier Mode
Indicator
CONTROL PANEL
Mirage Display
Indicator
Fan Speed
Indicators
LCD DISPLAY
POWER BUTTON
TIMER/TEMP DECREASE
CHILD LOCK BUTTON
SLEEP BUTTON
TIMER BUTTON
TURBO COOL BUTTON
°C/°F SWITCH BUTTON
FAN SPEED
MY TEMP BUTTON
REMOTE CONTROL
MODE BUTTON
MIRAGE DISPLAY BUTTON