manuals.online logo
Brands
  1. Home
  2. •
  3. Brands
  4. •
  5. Solight
  6. •
  7. Weather Station
  8. •
  9. Solight TE80 User manual

Solight TE80 User manual

EN WIRELESS WEATHER STATION Solight TE80
User's Manual
Dear customer, thank you for purchasing our product. If you want to safely make full use of the features, please carefully read these instructions and follow
them. This way, you will avoid incorrect use or damage. Prevent unauthorized use of this device and always respect all rules regarding the handling of electrical
devices. Please, keep the manual for future use. The main unit should be as close to a window as possible.
We recommend using alkaline batteries with a nominal voltage of 1.5 V to achieve the
correct luminosity of the LCD display. NiMh accumulators usually have a voltage of 1.2 V
causing the LCD luminosity to be inferior.
Main Unit
If the unit is to be powered by batteries open the battery compartment cover and insert two alkaline AAA batteries. Mind the indicated polarity. When
powering up, for a moment, all of the LCD segments light up and the device makes a beep sound. It then goes into the standard temperature and humidity
measurement mode. The sensor is powered by two alkaline AAA batteries.
When the device is powered by an AC/DC adapter connect the power connector to the input socket on the weather station and then connect the adapter to a
power socket.
To reset the device, remove and reinsert the batteries or disconnect the adapter for at least five seconds. This will delete all settings and memory. When
powered by batteries, the display stays lit for eight seconds after each activation. When powered by the adapter, it stays lit continuously.
Default Settings: 24-hour time format showing 00:00 and temperature in °C
1. BUTTON FUNCTIONS
2. MAIN FUNCTIONS
 Weather forecast symbols: sunny, partly cloudy, overcast, rainy
 RCC signal reception mode: DCF
 Calendar span: 2000-2099, displaying date and day of the week
 Time format 12/24 hours
 Temperature in °C or °F
 Room temperature display. Measurement accuracy: +/– 1°C, measurement range -20 °C + 60 °C
 Room humidity display. Measurement accuracy: +/- 1%, measurement range 20% - 95%
 Outside temperature display. Measurement accuracy: +/– 1°C, measurement range -20 °C + 60 °C
 Outside transmitter battery depletion indicator
 Alarm clock, snooze function (1-60 min)
 Highest and lowest temperature measured memory
 Daylight Saving Time (DST)
 Time zone shift setting
 Sensors transmit at a frequency of 433 MHz
Room Temperature
Measurement
0°C to +50°
Room Humidity Measurement
20% to 95%
Outside Temperature
Measurement
-
20°C to +60°C
Power supply
2x AAA 1.5V alkaline battery
AC/DC adapter 4.5
V/150
mA
Temperature Measurement
Accuracy
1
°C
Humidity Measurement Accuracy
1%
Controls
Features MODE ALARM ▼ ▲ WAVE LIGHT/SNZ
Standard
mode
Brief
push
Displays alarm
clock settings Turns the
alarm clock
on/off
Toggle
between °C/°F ----- Turns time
sync on/off Lights the display
HOLD
Access time and
date setting
mode,
Access alarm
clock setting
mode
RCC reception
mode
activation
Sensor signal
reception
activation ----- -----
Setting
Time
Brief
push Confirm setting ----- One step
forward One step back ----- -----
HOLD ----- ----- Fast forward Fast backward ----- -----
Setting the
Alarm Clock
Brief
push ----- ----- One step
forward One step back ----- -----
HOLD ----- ----- Fast forward Fast backward ----- -----
3. DEVICE FEATURES AND OPERATION
3.1 Setting Time
In standard mode, hold the MODE button for at least 2 seconds – this will take you to the time setting mode. Setting sequence: year → month → day → date
format MM/DD or DD/MM → day of the week language → snooze seng → me mode 24/12Hr → hours → minutes. Seng the values can be exited by
pressing the MODE button, resulting in the segments stopping to blink. By pressing ▲ or ▼ or you will move one step forward or backward.
3.2 Setting the Alarm Clock
In standard mode, briefly press the ALARM button – an alarm symbol is displayed in the time section. In standard mode, hold the ALARM button for at least 2
seconds – this will take you to the alarm clock setting mode. Settings sequence: hour → minute → snooze → exit. By pressing ▲ or ▼ you will move one step
forward or back, when holding the button, values change progressively faster. to exit the alarm setting mode, using the ALARM button move through the menu
until the segments being set stop blinking. Unless you press a button within 30 seconds, the device leaves the setting mode and the alarm time is stored. Turning
the alarm clock on or off: briefly push the ALARM button. Accessing the snooze mode: when the alarm sounds, press any button, after a preset period the alarm
will sound again. To exit the snooze mode, press the ALARM button, this will turn the alarm off.
3.3 Alarm Function
Pressing the LIGHT/SNZ button activates the snooze function, as long as it is active the display will show a blinking ZZ. Pressing any other button will turn the
alarm off. The alarm automatically turns itself off after two minutes. When the alarm is sounding, the RCC signal is not being received. Reception resumes after
the alarm is turned off. Using the snooze function, an alarm may be postponed indefinitely. The progression of the alarm sound is as follows: a) 0-10 seconds:
one beep per second, b) 10 – 20 seconds two beeps per second, c) after 20 seconds – three beeps per second. If you want to turn off the alarm completely, press
the ALARM button.
3.4 RCC Control Signal Reception
 RCC signal reception is activated automatically upon powering up or resetting.
 Forced RCC signal reception: press the WAVE button.
 Once signal reception is activated, a three-minute synchronization period commences. While synchronization is in progress, it is not possible to access
any functions, the weather station is not taking any measurements during this period.
 Daily automatic signal reception.
 The automatic reception takes place daily, at: 1:00, 2:00 and 3:00. If errors occur, signal reception is attempted again at 4:00 and 5:00. If the signal is
successfully received at 4:00, for the given day, reception is not repeated. If signal reception at 4:00 is unsuccessful, another attempt is made at 5:00
and regardless of whether it is successful or not, no other attempt is made that day. The control signal reception process lasts 7 minutes.
 In the RCC reception mode an icon is blinking.
 If the signal is weak or if the device is not able of isolating the correct signal, the tower symbol starts blinking, but the radio wave symbol is not
displayed.
 If the control signal has been received successfully, the full RCC reception icon is displayed and the device leaves the reception mode.
 If you want to exit the reception mode, briefly press the WAVE button.
 Unless a control signal is received within three days, the last reception attempt is made at 1:00 the next day.
 If, in the RCC signal reception mode, the alarm is set off, the device leaves the reception mode and enters the alarm mode.
 After reception of the DST signal, the a DST icon is displayed.
 After a reset, the RCC and DST symbols disappear.
3.5 Weather Forecast Function
The weather station generates weather forecasts for the next 12 hours. The measurement is based on monitoring the development of atmospheric pressure.
The forecast information is only of an indicative value. This weather station is not comparable to professional equipment or to satellite and computing
technology. To get objective weather forecasts, consult official sources.
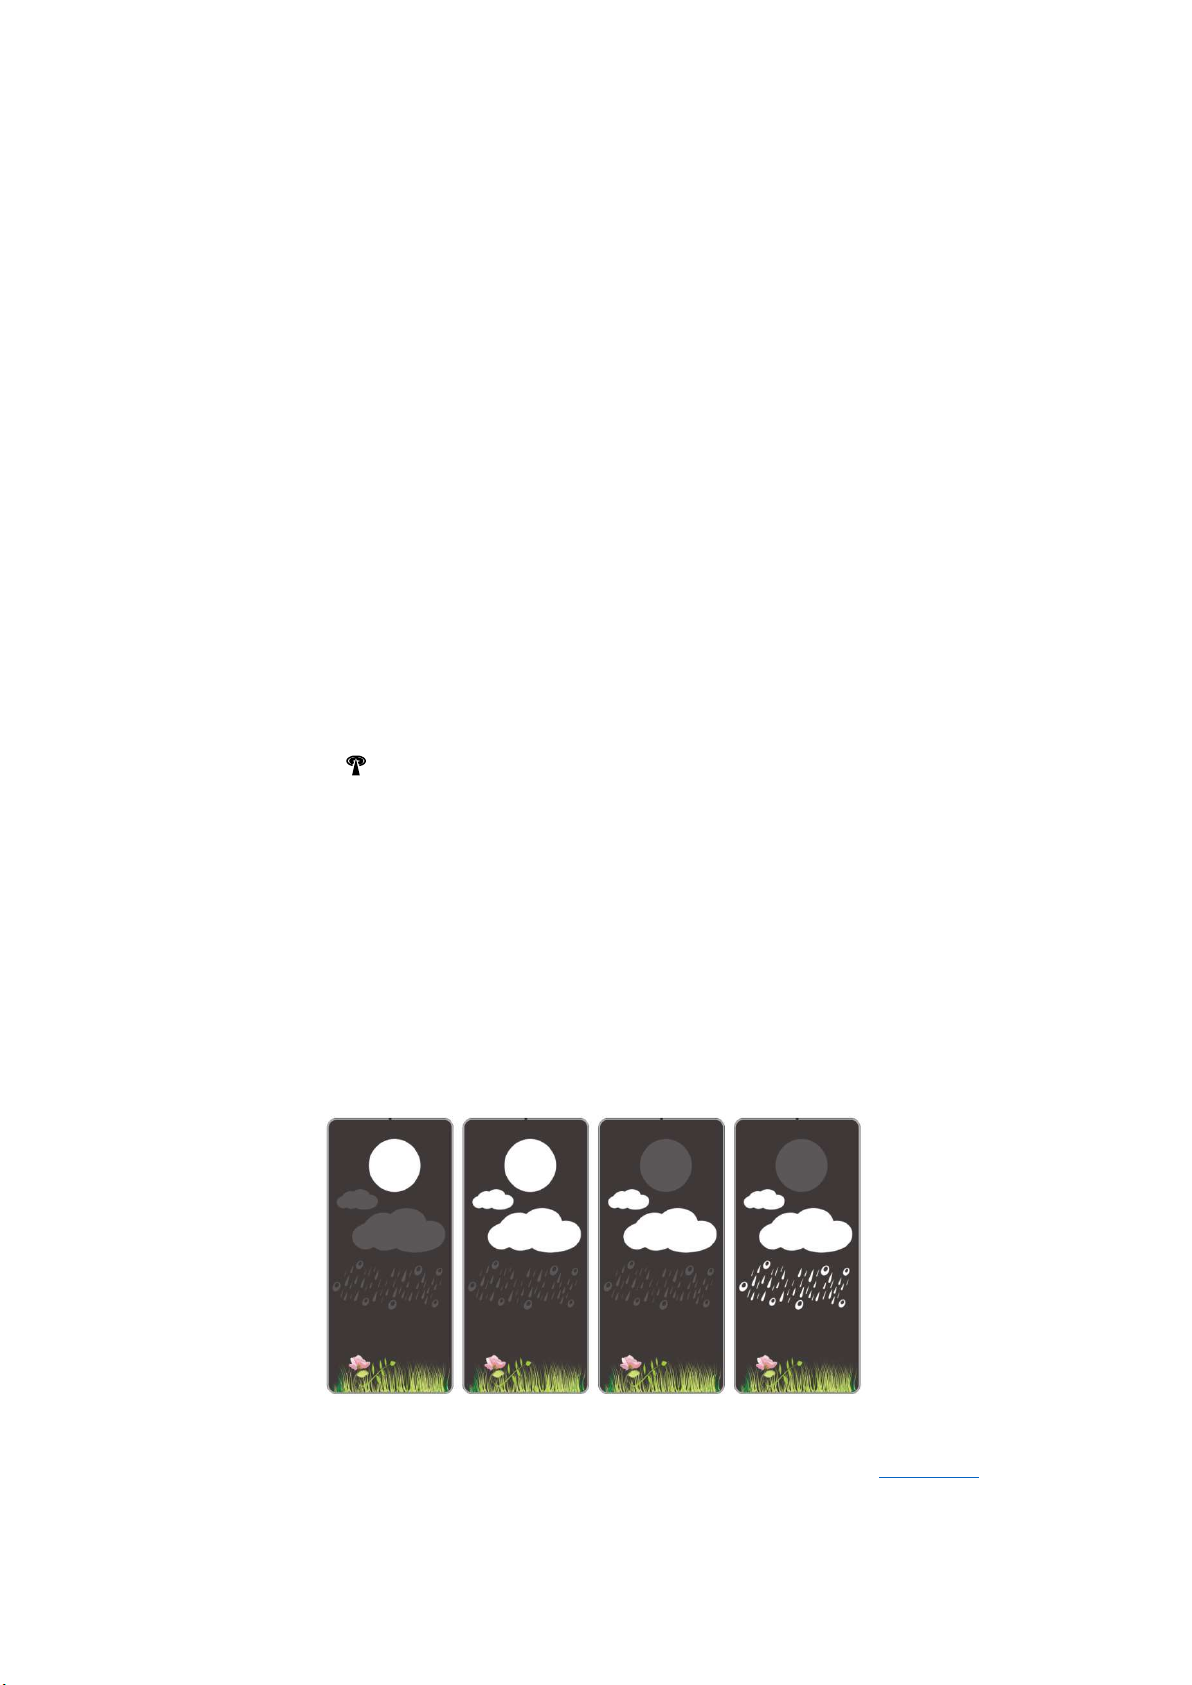
Four graphic forecast levels: sunny, half cloudy, overcast, rainy.
CLEAR SKIES HALF CLOUDY OVERCAST RAINY
The product is CE (Declaration of Conformity) certified, in accordance with current regulations. On request, at the importer: info@solight.cz, or for download at
shop.solight.cz.
Producer: Solight Holding, s.r.o., Na Brně 1972, Hradec Králové 500 06, Czech Republic

Other Solight Weather Station manuals

Solight TE81 User manual

Solight

Solight TE81 User manual

Solight TE76 User manual

Solight

Solight TE76 User manual

Solight TE81W User manual

Solight

Solight TE81W User manual

Solight TE84 User manual

Solight

Solight TE84 User manual

Solight TE81XL User manual

Solight

Solight TE81XL User manual

Solight TE81BK User manual

Solight

Solight TE81BK User manual

Solight TE81WiFi User manual

Solight

Solight TE81WiFi User manual

Solight TE90 User manual

Solight

Solight TE90 User manual

Solight TE85 User manual

Solight

Solight TE85 User manual

Solight TE86 User manual

Solight

Solight TE86 User manual

Popular Weather Station manuals by other brands

La Crosse Technology WS-2210 Operation manual

La Crosse Technology

La Crosse Technology WS-2210 Operation manual

Cresta DTX500 user manual

Cresta

Cresta DTX500 user manual

TFA 30.3013.IT instruction manual

TFA

TFA 30.3013.IT instruction manual

Logia LOWSC510WB user guide

Logia

Logia LOWSC510WB user guide

Columbia Magellan MX user manual

Columbia

Columbia Magellan MX user manual

Smartro SC93 instruction manual

Smartro

Smartro SC93 instruction manual

Columbia Weather Systems 10200-DECK2-B user manual

Columbia Weather Systems

Columbia Weather Systems 10200-DECK2-B user manual

La Crosse Technology 328-2314 Instructional manual

La Crosse Technology

La Crosse Technology 328-2314 Instructional manual

Youshiko YC9388 user manual

Youshiko

Youshiko YC9388 user manual

La Crosse Technology WA-1240U owner's manual

La Crosse Technology

La Crosse Technology WA-1240U owner's manual

Technoline WD 2000 instruction manual

Technoline

Technoline WD 2000 instruction manual

Youshiko YC9445 manual

Youshiko

Youshiko YC9445 manual

Thermor bios atmosphere 2.0 instruction manual

Thermor

Thermor bios atmosphere 2.0 instruction manual

Oregon Scientific Weather@Home BAR218HG user manual

Oregon Scientific

Oregon Scientific Weather@Home BAR218HG user manual

Ea2 BL501 user manual

Ea2

Ea2 BL501 user manual

Ambient Weather OBSERVER WS-1550-IP user manual

Ambient Weather

Ambient Weather OBSERVER WS-1550-IP user manual

Oregon Scientific BAR609HGA user manual

Oregon Scientific

Oregon Scientific BAR609HGA user manual

La Crosse Technology WS-9137 manual

La Crosse Technology

La Crosse Technology WS-9137 manual

manuals.online logo
manuals.online logoBrands
  • About & Mission
  • Contact us
  • Privacy Policy
  • Terms and Conditions

Copyright 2025 Manuals.Online. All Rights Reserved.