Solo 425 Classic Guide

9 452 161 english 05/2006
425 / 475 // 435 / 485 // 473D / 473P
Instruction manual /
Spare parts list
Attention!
Read this instruction manual carefully before first
operation and strictly observe the safety
regulations! At using the sprayer wear protective
gloves, goggles and breathing protection.
Backpack Sprayer

ENGLISH 2
Congratulations on the purchase of your new
SOLO Sprayer. We thank you for your wise choice and
are confident that you will be very happy with it.
The use of modern materials in conjunction with
SOLO Know-How over many decades guarantee
customer satisfaction with millions of SOLO machines
in all countries of the world.
In the best interest of continued technological
progress we reserve the right to change design and
configuration of any product without prior or other
notice. Therefore, please note that text and illustrations
of this manual are not to be considered binding and do
not constitute a basis for legal or other claims.
1. Safety
•Do not operate the sprayer while persons
(especially children) or animals are in close vicinity.
The operator is responsible for any damage or harm
to third parties.
•When using plant protection equipment and while
working with plant protection chemicals of any kind,
always observe the Safety Precautions prescribed
by the chemical manufacturer. The operator is to
observe Personal Safety Regulations (Safety
Clothing).
•Heavily dilute (approx. 1:10) surplus spray fluid left
over after treatment of field or garden, and spray the
solution over the area you have already treated.
•After every use and especially after the end of the
spraying season, clean and flush the sprayer, tank
as well as all parts which come in contact with
chemicals.
•Residues of plant protection chemicals may lead to
corrosion and damage of the sprayer.
•Clean and service wear parts such as nozzles,
filters, gaskets and seals.
•Never clean nozzles with hard objects.
•Any remaining excess spray solution can be
heavilydiluted (approx. 1:10 ratio) and applied over
the already treated area.
•Damaged parts should be replaced without delay.
Always use Original Parts.
•Always release all pressure in the tank or spray line
before commencing service or maintenance work
on the machine.
We recommend the SOLO horticultural equipment
cleaner in 500 ml bottles; part no. 49 00 600
•When removing the spray tube from the machine
always point the end of the tube away from yourself.
•For safety reasons, the sprayer should not be used
forth application of:
oaggressive liquids (sanitizers, disinfectants and
preservatives)
oliquids above 40 °C temperature
oflammable liquids with a flashpoint below 55 °C
2. General Information
The SOLO Pressure Sprayer is designed for the
application of approved plant protection chemicals in
agriculture, horticulture, viticulture and forestry. All
Accident Prevention Regulations and all generally
recognized Safety Precautions are to be adhered to.
Spray solutions other than approved plant protection
materials may only be used if any detrimental effect to
the machine or harm to persons, animals and
environment can be excluded. For the operator and
possibly the chemical manufacturer to test the material
resistance to certain chemicals, the product
manufacturer will provide details of the type of
materials used for the Pressure Sprayer. Any
unauthorized modification or changes made to the
Pressure Sprayer will automatically exclude liability
claims against the manufacturer.
3. Check list for completeness
•1 piece Pressure Sprayer (assembled with Pressure
tube and handle )
•1 piece LX-lever
o2 pieces disc 16,5 x 24 x 1
o1 piece Screw M8 x 30
o1 piece disc 8,4
o1 piece nut M8
•1 piece spray tube (complete assembled)
•1 piece Tank Lid
•1 piece Pressure Tank Plug with O-Ring 16 x 3 (not
Model 473)
•1 piece Operators Manual
•1 piece Hollow Cone Nozzle with Swirl Plate and
Gasket
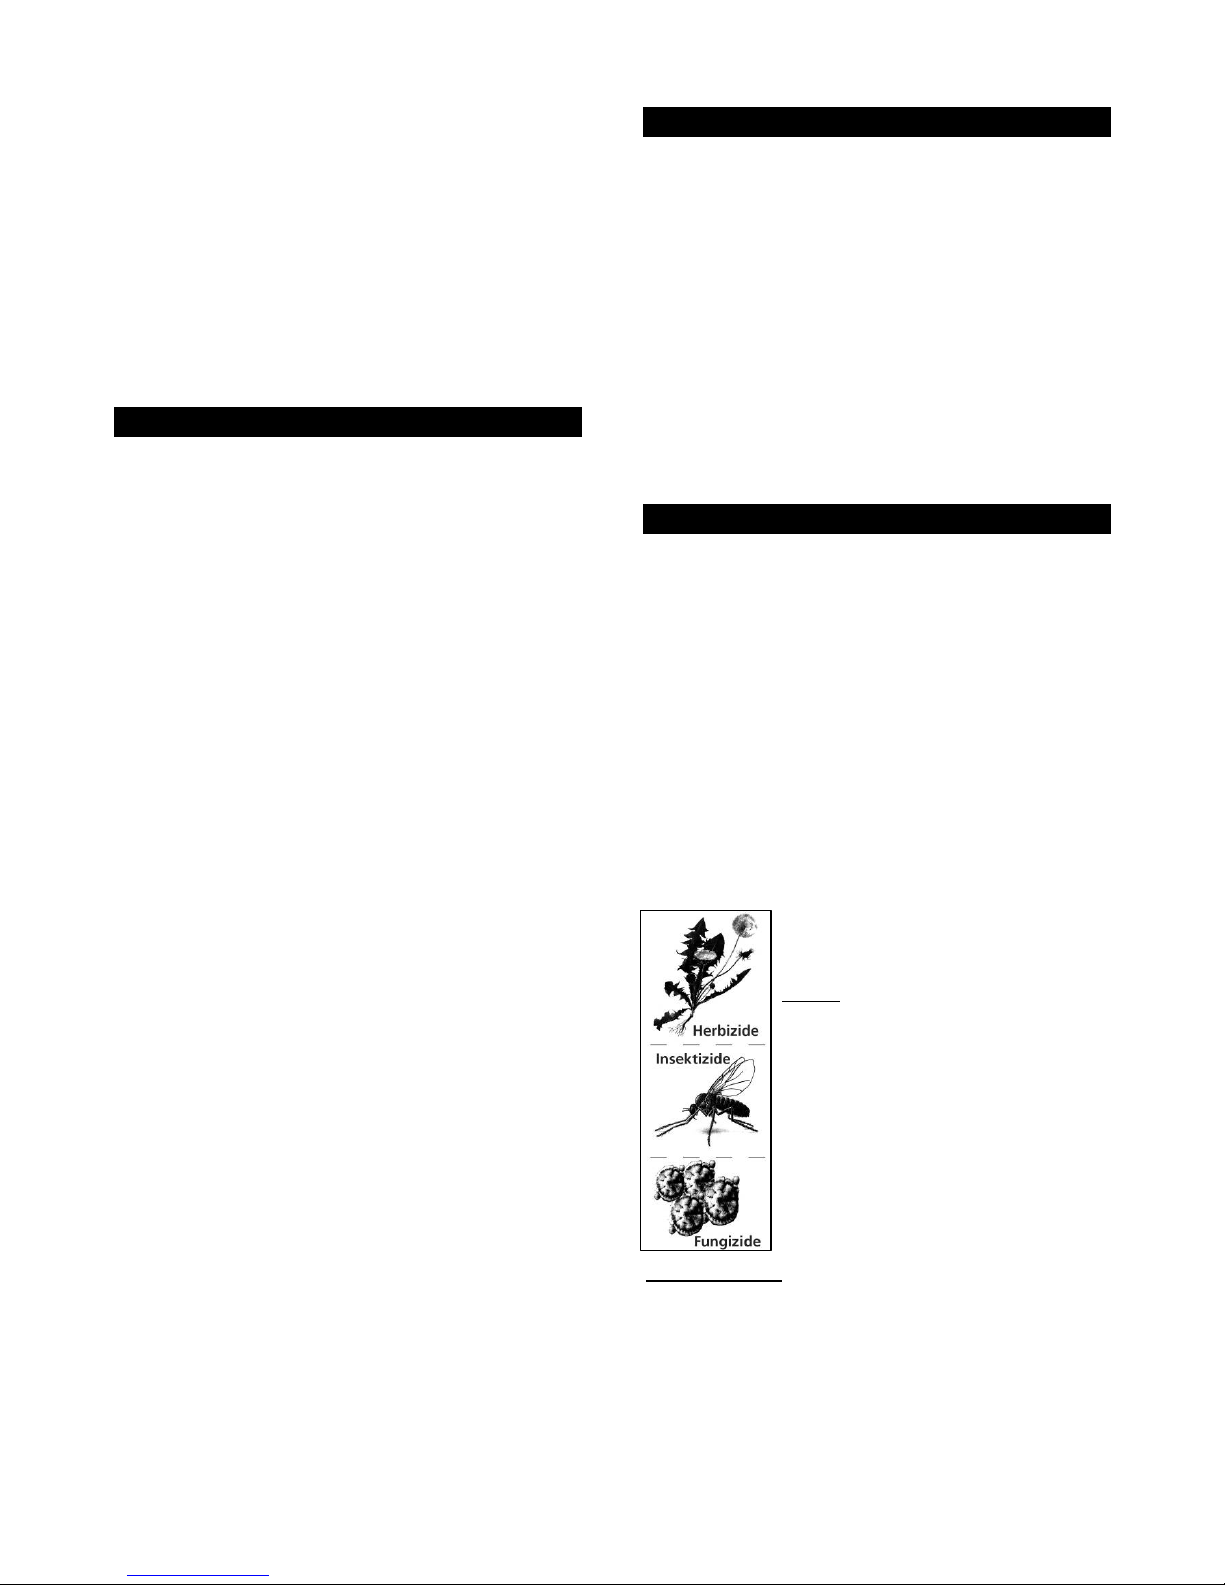
•1 pc. each symbolic label for
container content: herbicide,
fungicide and insecticide.
NOTE:
Affix the appropriate label to identify
the container content.
PLEASE NOTE:
Never pour different agents at the same time into the
container. Before using a different agent, thoroughly
clean out the container and all parts in contact with the
spray agent, then flush with plenty of water. We
recommend the SOLO horticultural equipment cleaner
in 500 ml bottles; part no. 49 00 600

ENGLISH 3
4. Assembly
The Sprayer is assembled except for the pump lever
which can be attached to either side. (discharge hose
and lever grip already fitted) 1-off lever grip (LX lever
model). The pressure sprayer is supplied with fittings
for assembly of the lever grip (LX lever) preattached on
the left-hand side (facing towards the tank inscription).
If you prefer the lever grip (LX lever) to be mounted on
the opposite side, reposition the safety clips (a) on the
r.h. side.
When fitting the LX lever, the retaining tube (b) of the
LX lever should be facing upwards and back (facing
towards the tank inscription).
If you prefer the lever grip (LX lever) to be mounted on
the opposite side, reposition the safety clips (a) on the
r.h. side.
To store the device, raise the pump handle (C) of the
LX lever in the retaining tube (b) and suspend the
spray tube in both clips (d).
To work the pump handle (c),lower it again in the
retaining tube (b).
The spray tube is connected to the shut-off valve by
means of screw cap.
5. Correct choise of
The spray tube is connected to the shut-off valve by
means of screw cap (e).
For the treatment of shrubs, bushes and trees (three
dimensional distribution) we recommend the use of the
hollow cone nozzle (f) . For area treatment (two
dimensional distribution) we recommend the use of a
flat spray nozzle (g).
For the treatment of tall bushes or trees, a brass tree
lance (150cm length) is available as an accessory (part
no. 49 00528).
6. Pressure adjustment
To regulate the output quantity/ droplet size, the spray
pressure can be adjusted in steps from 1-4 bar.
The pressure is adjusted prior to filling the tank by
turning the adjuster cap (h) on top of the pressure tank.
After any pressure in the pressure tank has been
released via the shutoff valve, press down adjuster cap
and locate the selected pressure marker tooth over the
tooth on the pressure tank.
Should spray pressure in excess of 4 bar be required
we recommend to replace the pressure valve with the
pressure plug (i)(part no. 42 00 215) which is supplied
with the unit. Release any pressure in the pressure
tank first before replacing the valve. A spanner width of
24 mm is required.

ENGLISH 4
7. Volume of spray solutions
Prepare spray solution according to the instructions
provided by the chemical manufacturer. Prepare only
as much solution as is required for the job. nate the
environment or water mains network.
Medium Volume Guide for Plant Protection:
•Ground Plants 0.3 - 0.5 ltr. for 10 m2
•Espalier trees, pencil bushes 0.5 - 1.0 ltr. per plant
•Taller bush trees 2.0 ltr. per plant.
•Older, free standing trees 3.0 - 5.0 ltr. per tree
•Small Shrubs 1.0 - 1.5 ltr. for 10 m2
8. Preparing spray solution
Prepare solution outside, never within living areas,
stables or n storage area for foodstuff.
Prepare solution with powder chemicals in a separate
container. Mix well and then transfer to sprayer tank.
NOTE:
If necessary, the solution can be re-agitated in the tank
by stirring with the spray tube.
With liquid plant protection chemicals (if full tank is
required), fill sprayer tank 1/4 full with water, add pre-
diluted chemical and then add remaining water as
required.
When applying organic spray solutions please filter the
solution as or before pouring into the spray tank.
Always observe the Safety Notes provided bythe
chemical manufacturer!
9. Filling
When filling the spray tank always use the filter
provided with the machine and observe the total filling
process.
Avoid a direct connection between water hose and
spray tank.
Spray Chemical may not reach the water mains.
When filling ensure that no spray chemicals will
contaminate the environment or water mains network.
Avoid any overflow from the tank and any
contamination of public waterways, drainage and water
channels.
10. Spraying
Prime the pump with a few up and down strokes of the
pump lever. By squeezing the shut-off trigger valve,
liquid will be forced through the spray nozzle. When the
shut-off trigger valve is released, the spray will stop.
11. Maintenance and care
The SOLO Backpack Sprayer is almost maintenance
free. If the tank lid becomes hard to tighten or open,
apply all to the lid gasket.
Proper Maintenance also includes:
•Regular check of the spray tank,
•Regular check of spray line and screw connectors,
•Clean all filters and check for any damage,
To protect piston, cylinder and piston collar (models
425/435/ 473P) from impurities in the spray solution, an
additional filter is fitted on the inlet side of the pressure
tank. This filter can be cleaned by vigorously shaking
the tank when flushing it.
With models 425/435/473P: After disassembly of pump
components or after replacing the piston collar, use
water resistant grease to lubricate the piston and the
collar.
In case of unexpected problems please refer to your
SOLO Dealer.
12. Storage
Even through the tank is manufactured from UV-
stabilized material we recommend that the unit is
protected from direct sunlight and stored in a dry room,
away from children and animals. In areas subject to
frost, always drain all the liquid from tank, pressure
tank and hoses. Please always use SOLO Original
Replacement Parts available from your SOLO Partner.

ENGLISH 5
13. Technical specifications
Typ 425 435 473P 473D 475 485
Weight empty kg ca. 4,3 ca. 4,6 ca. 3,9 ca. 3,9 ca. 4,3 ca. 4,6
Tank capacity l 15 20 12 12 15 20
Pump system Piston pump Diaphragm pump
Pressure tank volume l 1,3
Stroke volume cm3 80
Operating pressure max. bar 4 ; with pressure plug 6 bar 4
Dimensions with lever
Height mm
width mm
depth mm
520
400
240
580
440
280
540
360
220
540
360
220
520
400
240
580
440
280
Hopper mesh width mm 1,5
Mesh width of filter screen in spray
tubing mm
0,8
14. Workshop service, replacement parts and guarantee
Maintenance and repair:
Maintenance and repair of modern motorized devices, as well as their safety-relevant assemblies, require quali- fied,
specialized training and a workshop equipped with special tools and test devices. Thus SOLO recommends that you
have a specialized SOLO workshop carry out all work that is not described in these operating instructions. Your SOLO
specialist has the required training, experience, and equipment at his disposal to provide you with the most cost-
effective solution and can help you in many ways with advice and service.
Replacement parts:
Dependable operation and the safety of your device also depend on the quality of the replacement parts that you use.
Use only original SOLO replacement parts. Only original parts come from the production of the device and thus
guarantee the highest possible material quality, dimensional accuracy, function, and safety. Original replacement parts
and accessory parts are available from your dealer. He also maintains the requisite replacement part lists to determine
the required replacement part numbers, and he is constantly provided with information concerning detail improvements
and innovations in the replacement part offering. Please note as well that guarantee performances from SOLO are not
possible if parts other than SOLO original parts are used.
Guarantee:
SOLO guarantees problem-free quality and will assume the costs for defect remediation by replacing the defective parts
in the case of material or manufacturing defects that occur within the guarantee period after the date of purchase.
Please note that specific guarantee conditions apply in some countries. Ask your sales person if you have any
questions. As vendor of the products he is responsible for the guarantee. We request your understanding that no
guarantee can be assumed for damages due to the following:
• Non-compliance with the operating instructions.
• Neglecting required maintenance and repair work.
• Normal wear and tear.
• Using non-approved cutting bar and chain lengths in the case.
• Damages caused by overheating due to dirt build up on the ventilator casing.
• Intervention by non-specialized persons, or improper repair attempts.
• Using unsuitable fuel or fuel that has been stored too long.
• Damages that can be traced to implementation conditions from the rental business.
Cleaning, care, and adjustment work are not recognized as guarantee performances. All guarantee work must be
carried out by a SOLO dealer.

ENGLISH 6
15. List of spare parts

*) Standard equipment **) Accessories ENGLISH 7
Pos Order-No. Type Specification
20 44 00 278 425/435/473P cyli.+piston+connecting
25 44 00 203 425/435/473P piston pump, compl..
55 44 00 221 475/485/473D diaphragm pump, compl.
75 42 00 162 425/475 tank-frame, 15 l
75 42 00 201 435/485 tank-frame, 20 l
75 42 00 401 473P/ 473D tank-frame, 12 ll
90 42 00 166 25 filler basket
95 42 00 242 25 tank lid, (incl.: gasket, vent cap, valve plate)
98 43 00 340 carrying strap, (incl.: plastic hook)
112 48 00 196 25 pump lever, LX, (incl.: grip, clip)
116 00 64 234 Hose 10x3x1300 mm
125 49 00 356 Accessories pressure gauge
130 49 00 440 shut-off valve set
133 49 00 391 spray tube 500 mm
135 49 00 448 Accessories nozzle kit incl.: 3 Flat spray Tipp, 3 Hollow cone jet, 2 No-Drift
140 49 00 442 425/435/473P gasket kit
140 49 00 443 475/485/473D gasket kit
16. Specification of nozzle tips
Specification Order-No. Delivery
l/min
Pressure
bar
Angle Applications
Hollow Cone Tip 1 mm
orifice grey *)
49 00 209 0,4
0,55
1,0
2,0
50° - 70°
Hollow Cone Jet 1,4 mm
orifice black
**)
49 00 252 0,64
0,91
1,11
1,0
2,0
3,0
50° - 70°
Hollow Cone Jet 1,8mm
orifice blue
**)
49 00 322 0,88
1,25
1,53
1,0
2,0
3,0
50° - 70°
For treatment of shrubs, bushes
No-Drift DT 1,0 yellow
**)
40 74 385 0,46
0,65
0,80
0,93
1,0
2,0
3,0
4,0
105°
No-drift DT 1,0 red
**)
40 74 386 0,91
1,29
1,60
1,85
1,0
2,0
3,0
4,0
105°
Adjustable nozzle brass
**)
49 00 206 0,44 - 1,10
0,55 - 1,45
0,66 - 1,75
0,75 - 1,95
1,0
2,0
3,0
4,0
Mainly for herbicides at low pressure
Flat Spray Tip green
**)
40 74 504 0,49
0,60
0,69
2,0
3,0
4,0
80°
Flat Spray Tip yellow
**)
40 74 501 0,65
0,80
0,92
2,0
3,0
4,0
80°
Flat Spray Tip red *) 40 74 263 1,31
1,60
1,85
2,0
3,0
4,0
110°
Areal and row treatment

Made in Germany
SOLO
Postfach 60 01 52
D 71050 Sindelfingen
Tel. 07031-301-0
Fax 07031-301-130
SOLO
P.O.Box 60 01 52
D 71050 Sindelfingen
Germany
Phone+49-7031-301-0
Fax +49-7031-301-149
Other manuals for 425 Classic
11
This manual suits for next models
5
Table of contents
Other Solo Lawn And Garden Equipment manuals