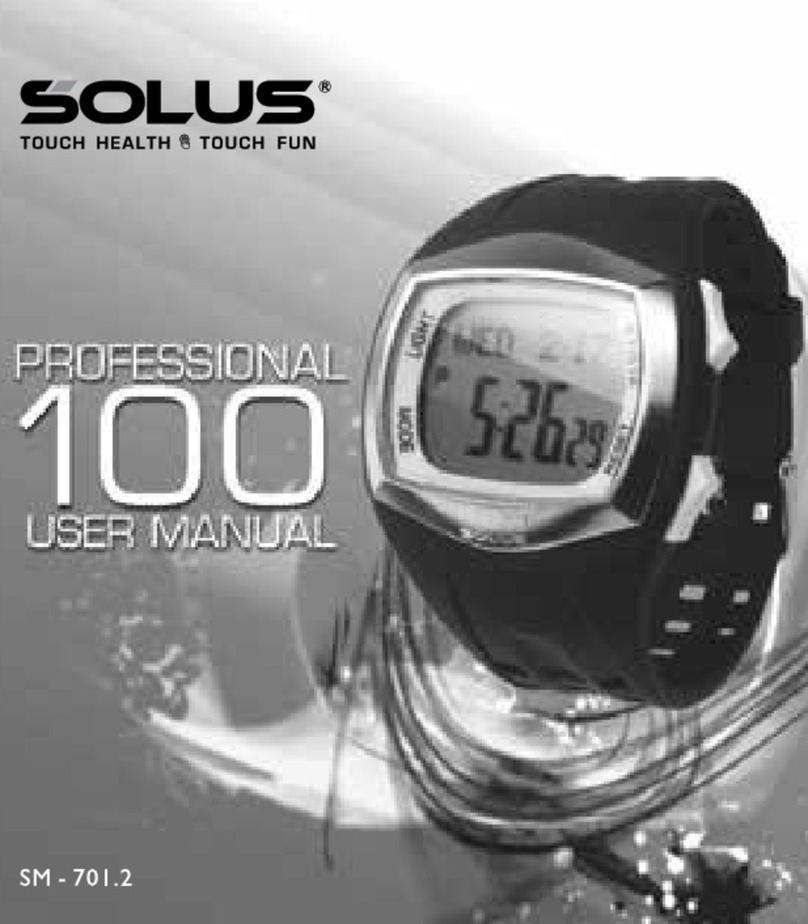
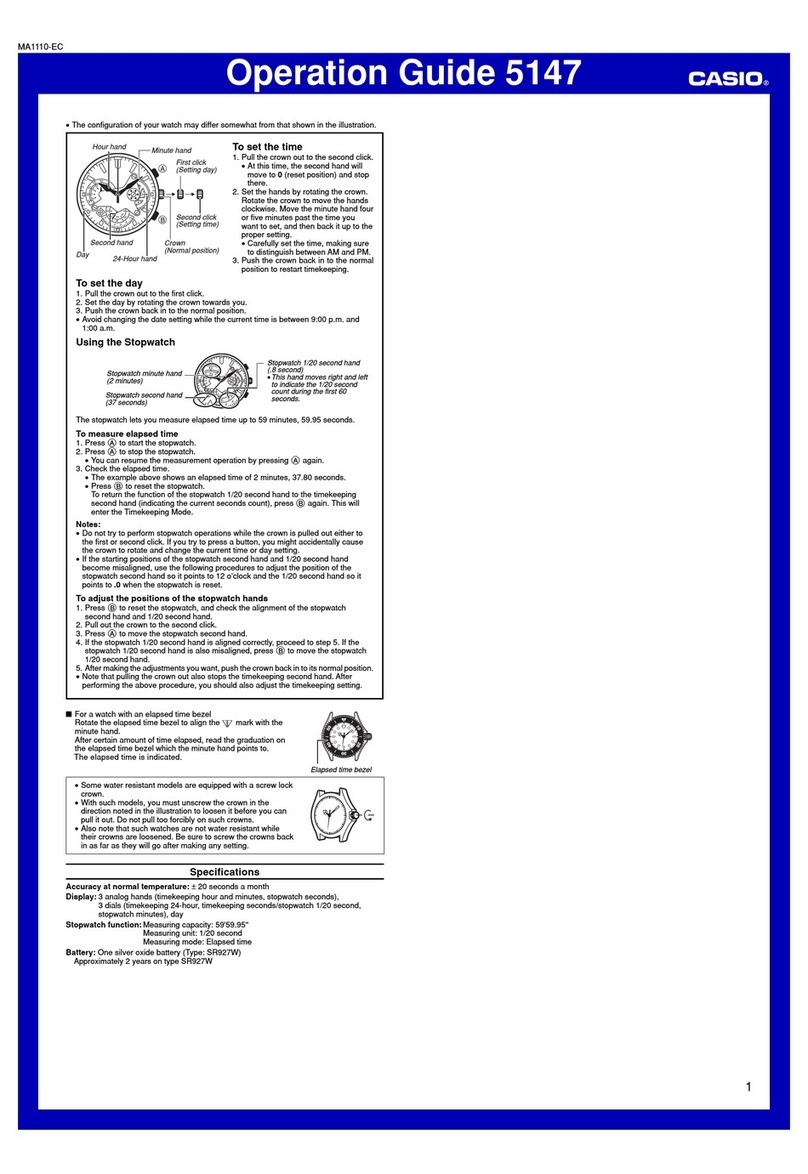
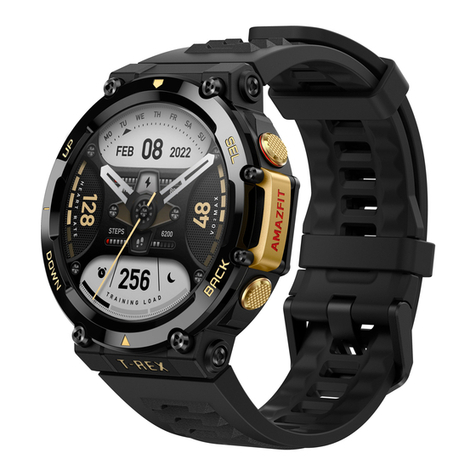
Solus Professional 100 User manual

Instruction Manual
DUO - HEART RATE MEASUREMENT
SM - 701.2
WWW.SOLUSWATCH.COM

1.0 General Guide
Thank you for purchasing this watch. With this watch, you can get
pedometer function and electrocardiogram heart rate without using a
chest strap.
Simply put the watch on your wrist, place your finger on the metal contact
located on the face of the watch, and read your heart rate in the digital
window within seconds!
Also, this watch can be applicable with heart rate chest strap (Not included
in the package) during your training process.
IMPORTANT Notes
1) Do not use this watch for commercial or professional purposes.
2) Make sure that you read this manual thoroughly and fully understand
the functions and limitations of this watch before using it.
3) This watch is a supplementary device for measuring heart rate; it is not
a substitute for medical devices. Yo u should periodically compare the heart
rate reading acquired by this watch with the reading from your doctor.
4) Do not use heart rate measurement under water.
2.0 Care and Maintenance
3.0 Precautions for Water Resistance & Battery
1) This watch contains electronic components. Never attempt to
open the case or remove the back cover.
2) Avoid exposing the watch to extreme temperature, chemicals which will
damage the watch.
3) Keep the watch away from the conditions of strong electric field and
static electricity.
4) Avoid rough usage or severe impact. The watch is designed to
withstand impact under normal use. It is advisable to subject it to severe
impact or rough usage.
5) Clean your watch occasionally with a soft moistened cloth only. Avoid
using chemicals, especially soap as the waterproof gasket will corrode.
6) with mild soapy water only and not to
apply perfume or moisturizers around your wrist as the chemicals can
erode th .
7) There may be discoloration for light colors and transparent straps after
normal wear for some time. An original replacement on straps is possible
to be re-ordered through an authorized service center.
8) Store the watch in a dry place when it is not in use.
For PU straps, please wash them
em
4.0 Specifications
Time Mode
- Hour, minute and second
- 12 / 24 hour format selectable
- Hourly chime on the hours
Daily Alarm Mode
- Daily Alarm: 1 daily alarm
- Alarm duration: about 30 seconds
Heart Rate Mode
- Measuring range: 40 to 240 beats per
minute
- Support finger touch & chest strap heart
rate measurements
Exercise Mode
- Distance, step and speed display
- In-zone, above-zpne and below-zone timer
- Calorie consumption
Chronograph Recall Mode
- Resolution: 1/100 second
- Counting range: 23 hours, 59 minutes, 59.99
seconds
- Lap memory: 100 lap memory
Calorie Consumption
- Range: 0 to 9999 kilo-calorie
Timer Mode
- Resolution: 1 second
- Setting limit: 99 hours 59 minutes 59
seconds
Others
- 5 ATM water resistance
*Water-related usage for 5 ATM:
Light spray perspiration, light rain,
bathing, etc.
- Electro-luminescent backlight
- Alarm sound: 1 beep per minute at last
10 minutes, 1 beep per 10 seconds at last
minute, 1 beep per second at last 5
seconds, 3 beep for 30 seconds when
reached time
- Extend Timer Function
Logbook
- 7 daily logbook
- 4 weekly logbook
*The illumination provided by the
backlight may be hard to see when
viewed under direct sunlight
Water Resistance
Water damage may occur if the push buttons are pressed under
water. Should water or condensation appear in the watch, please
check the watch immediately as corrosion of electronic parts
can occur inside the case.
Battery Life
The battery in your SOLUS watch is estimated to last for 2
years, depending on frequency and use of certain features.
Battery Replacement
If the display dims or the EL backlight is dim, you are
recommended to go to the authorized SOLUS service center
for correct battery replacement in order to retain a valid
warranty and avoid any damage on the water resistance function.
WARNING!
Always keep watch batteries away from children. If swallowed,
contact a doctor immediately. Batteries contain chemical
substances. They should be disposed of properly according to
local regulations.

Mode Button [M]
!Press to select one of the functional modes.
!In functional modes: Hold to select the setting display.
!In any setting display: Press to choose between different settings.
!Press and hold the button to exit the setting sequence.
Start/ Stop Button [S/S]
!In Chronograph, Timer and Exercise Mode: Press to start the counting or stop counting.
!In the setting displays: Press to change the settings.
Reset Button [R]
!In Exercise Mode: Press to select sub-functional modes. When the counting is stopped, hold to reset
display to zero.
!In Timer Mode (Stop Counting): Press to reset the timer to target time.
!In the setting displays: Press to change the settings.
Heart Rate Sensor [HR1]
!Press for heart rate measurment.
!In any modes/displays, press to turn ON the EL backlight for about 3 seconds.
Light Button [EL]
Note: The button operations are summarized above, for detailed operating instructions, please continue
reading.
Light
Button
[EL]
Start/Stop
Button
[S/S]
Reset
Button
[R]
Mode
Button
[M]
Display
Heart Rate Sensor
[HR1]
5.0 Design of the Watch
6.0 Major Functional Modes
Exercise Mode
[R]
[M]
Timer Mode
Chrono Mode
[M]
[M]
Alarm Mode
[M]
[M]
Dual Mode
Daily Logbook
Weekly Logbook
Current Time Mode
[M]
[M]
7.0 Current Time Mode
second
Day
Hour
Month
Year
Increase[S/S] /
Decrease[R] the
setting by 1
Scroll
the setting
faster
hold
[M]
hold
[M]
[M]
[S/S] or [R]
hold
[S/S] or [R]
[M][M]
[M][M] [M]
[M]
[M]
[M]
[M]
[M]
Date
format
Minute
Keytone
ON/OFF
Gender
Ye a r of
birth
LCD
Contrast
[M]
Time
format
Day of week
Date
Current Time Display
Current time
7.1 Setting the Current Time
To Set the Current Time Mode
!To set the current time, date, and other settings, press and hold [M] for
about 2 seconds to select the setting display (the second digits will start
flashing).
The Setting Sequence
!When the second digits start flashing, press [M] to move the flashing
following the setting sequence of the diagram in the previous page or press
[S/S] or [R] to reset the second digits to zero.
!If one of the settings (minute, hour, year, month, day, birth year) is flashing,
press [S/S] or [R] to scroll through the setting (hold the button down to
scroll the setting at a faster pace).
!When the '12Hr' or '24Hr' icon is flashing, press [S/S] or [R] to switch
between '12Hr' (12-hour format) and '24Hr' (24-hour format).
!When the key tone 'ON' or 'OFF' icon is flashing, press [S/S] or [R] to turn
ON or OFF.
!When the Gender 'F' or 'M' icon is flashing, press [S/S] or [R] to switch
between 'F' (Female) and 'M' (Male).
!When the LCD Contrast 'Digit' is flashing, press [S/S] or [R] to switch
between the digit from 1 to 16.
!When the setting is completed, press and hold [M] for about 2 seconds to
exit the setting sequence.
[M]
KM

Daily Alarm Setting Sequence
Hold
[M]
[S/S] or [R]
hold
[S/S] or [R]
Increase[S/S] /
Decrease[R] the
setting by 1
Scroll
the setting
faster
Hour Minute
[M]
[M]
Hold
[M]
[S/S]
Alarm ON/OFF
[R]
ChimeON/OFF
9.2 Chronograph Mode - Laps Recall
9.1 Chronograph Mode - Operation
9.0 Chronograph Mode
Chronograph Display
Chronograph time
(hours, minutes, seconds)
3. Lap times
time
[S/S]
[S/S]
[S/S]
[S/S]
[L/R] [L/R] [L/R]
[S/S] [S/S]
[S/S]
0102030
300
20
10 10100
10010
lap 1lap 2lap 3
2. Accumulative elapsed time
1. Elapsed time
3. Lap time
time
[S/S]
[S/S]
[S/S] [L/R]
[S/S]
0102030
300
20
10 10100
10010
lap 1
lap 1lap 1
lap 1
lap 2lap 3
2. Accumulative elapse time
1. Elapse time
Elapse time, Accumulative
Elapse time and Lap time
[S/S] [S/S] [S/S]
[L/R] [L/R]
8.0 Setting the Daily Alarm
Daily Alarm Display
Daily alarm time
(hours, minutes)
Daily alarm is ON.
This icon will appear
while the chime is on.
NOTE
!When the Chronograph is reset, the
record will also be reset.
Hold [R]
[S/S]
Chronograph Stopped Counting Display
[R]
[S/S]
Chronograph 'Zero' Display
Running
Chronograph Counting Display
[S/S]
Lap Taking Display
[S/S]
Split
Time
Lap Time
10 seconds
How to Recall the Lap Memory?
.Hold down [M] for about 2 seconds
to enter the recall mode.
Press [S/S] or [R] to view the acquired
lap time one by one following the
adjacent diagram.
When the recall is completed, hold
down [M] to exit the recall display.
.
.
Chronograph Mode
hold
[M]
Lap Time Recall Sequence
Lap 1
[S/S] [S/S]
[R]
[S/S]
Other
lap time
hold
[M]
To t a l Accumulative
Elapsed Time
[R]
[R]
[S/S]
Lap time
Split time
Total Lap

10.0 Setting the Timer Mode
10.1 Normal Timer Mode 11.0 Setting the Dual Time Mode
10.2 Extend Timer Mode
Timer
(hours, minutes, seconds)
How to Set the Countdown Timer?
.Hold down [M] for 2 seconds in
Countdown Timer Display:
In the setting display, press [M] to move
the flashing following the adjacent
When hour, minute or second is flashing,
press [S/S] or [R] to increase/decrease
the setting value (Hold down to change
at a higher speed).
When the setting is completed, hold
down [M] to exit the setting display.
Setting Sequence
Increase[S/S] or
decrease[R]
the setting
value
Increase[S/S] or
Decrease[R]
the setting
value
at a higher
speed
[S/S]/[R]
Hold [S/S]/[R] Minute
[M]
[M]
[M]
Second
hold
[M]
Target Time
.
.
.
diagram.
Normal Extend
hold
[M]
[S/S]/[R]
Hour
[M]
Select 'NORMAL' in setting (chapter
10.0) before operates.
To Use the Timer
!Press [S/S] once to start the
counting. When it is counting, press
[S/S] to stop the counting.
!When timer reaches zero, audible
alert will be heard for 30 seconds.
To Reset the Timer
!When the timer is stopped, press [R]
to reset the timer (ready for a new
counting).
hold [R]
Timer
Counting Display
Timer Display
Running
[S/S]
Timer
Stopped Counting Display
[S/S]
hold
[R]
Extend Timer
Counting Display
Extend Timer Display
Counting
down
Extend Timer
Stopped Counting Display
[S/S]
Extend Timer
It can be used for any kinds of matches
or ball games's penalty purposes.
an
It has
auto-count up function.
.
Count up
Stopped
counting
[S/S]
Extend time
countdown
to zero
Select 'EXTEND' in setting (chapter 10.0)
before operates.
*See adjacent diagram for the operation.
When target time or extend time reaches
zero, audible alert will be heard for 30
seconds.
Match
Time
Target
Time
Count Up
Animation
Bar Target time
countdown
to zero
Count Up
Extend Time
count down
Stopped
counting
Counting
down
[R]
in case
match is
suspended
[R]
in case
match is
resumed
Dual time
(hours, minutes, seconds)
Dual time
Setting Display
Dual Time
Display
flashing
Hold [M]
[S/S] or [R]
hold
[S/S] or [R]
Increase[S/S] /
Decrease[R] the
setting by 1
Scroll
the setting
faster
Hold [M]
To Use the Dual
!Hold [M] to set the dual. Press [S/S]
or [R] to increase or decrease the
setting.
!Hold [S/S] or [R] to scroll the setting
faster.
!When the setting is completed, hold
down [M] to exit the setting display.
[S/S]

Date
(month, day)
Logbook
number
Daily Logbook
To Use the Daily Logbook
!This watch includes some features
which provides 7 daily logbooks to
users for recording their workout
data.
12.0 Daily Logbook
Weekly Logbook
[R]
[S]
[M]
13.1 Weekly Logbook - Memories Recall
Week ly Logbook
13.0 Weekly Logbook
To Use the Weekly Logbook
!This watch includes some features
which provides 4 weekly logbooks to
users for recording their workout
data.
Date
(month, day)
Logbook
number
12.1 Daily Logbook - Memories Recall
Daily Logbook
Work
Time
Max.
Speed
Avg.
Speed
[R]
[R]
In Zone
Time
Distance
[S]
Logbook
2 - 7
[R]
Step
[R]
[R]
[R]
[R]
[R]
[R]
Above
Zone Time
Below
Zone Time
Avg.
HeartRate
[R]
Max.
HeartRate
[R]
Calorie
[R]
[M]
Logbook
2 - 4
[S/S]
[S/S]
[S/S]
[S/S]
[S/S]
[S/S]
[S/S]
[S/S]
[S/S]
Work
Time
Max.
Speed
Avg.
Speed
[R]
In Zone
Time
Distance
[R]
Step
[R]
[R]
[R]
[R]
[R]
[R]
Above
Zone Time
Below
Zone Time
Avg.
HeartRate
[R]
Max.
HeartRate
[R]
Calorie
[R]
[S/S]
[S/S]
[S/S]
[S/S]
[S/S]
[S/S]
[S/S]
[S/S]
[S/S]
[S/S]
[S/S]
[S/S]
[S/S]

14.0 Exercise Mode
Current Time Mode
In-zone
Time
Target
Zone
[R]
[R]
Calories
Distance
[R]
Step
Speed
[R]
[R]
[R]
[R]
[M]
Home
Time
[R]
[S/S]
hold [R]
Start/stop
counting
Save this event
yes / no
[R]
The Heart Rate Chronograph
Mode and Instant Heart Rate
Mode show the current heart
rate in terms of:
!Heart Rate (e.g 78) : The
number of heart beats per
minute (bpm)
!
(e.g
40%): The percentage of the
acquired heart rate with
respect to one's estimated
maximum heart rate.
Percentage of Estimated
Maximum Heart Rate
Percentage of Estimated
Maximum Heart Rate
!It is a useful figure for analysing
the cardio- fitness of a person.
!It can be used to define a heart
rate zone for cardio-fitness
training.
!Consult your doctor for more
information on the implications
of percentage of estimated
maximum heart rate.
NOTE: Yo u MUST input your age and
gender into the watch ahead, otherwise
this figure is not correct. Please refer to
chapter 7.0 for the details on age and
gender setting.
15.0 Heart Rate Measuring - EMHR and %EMHR
Heart Rate
Chronograph Mode
Heart
Rate
in bpm
Percentage
of Estimated
Maximum
Heart Rate
Estimated Maximum Heart Rate
(EMHR):
!EMHR = 220 - user age.
!Example: What is Tom's EMHR at his age
of 27?
!EMHR = 220-27 = 193.
NOTE: This watch can calculate the EMHR
for user at the age up to 99.
Percentage of Estimated Maximum
Heart Rate (%EMHR):
!%EMHR =
Acquired heart rate / EMHR X 100%
!Example: What is if has
Tom's %EMHR he
acquir a heart rate 78
ed of ?
!%EMHR=78 / 193 X 100% = 40%
Work
Time
14.1 Setting the Exercise Mode
Wal k
Stride
Weight
[M]
Run
Stride
HR Zone
Low Limit
[M]
HR Zone
UP Limit
Unit
[M]
[M]
[M]
Hold [M]
Activity
[M]
Exercise Mode
[M]
KM
Zone Alert
ON/OFF
[M]
Sensitivity
[M]
[M]
Pedometer
Sleep Time
Hold [M]
Increase[S/S] /
Decrease[R] the
setting by 1
Scroll
the setting
faster
[S/S] or [R]
hold
[S/S] or [R]
Press [S/S] to start the exercise,
corresponding exercise data will be
updated yet during this period. Press
[S/S] can stop the exercise. When
exercise is started, pedometer will be
automatic activated and indicated by ' '
icon.
In order to reset or save into
daily/weekly logbook, hold [R] for about
2 seconds and prompt "save this event?"
will be shown. Press [S/S] to select YES
or NO. Press [M] to confirm. If select
YES, exercise data will save into
daily/weekly logbook.
Exercise Mode
KM
NOTE:
Sleep Time
Pedometer will be automatic stop if no
motion is detected for specific period.
Sensitivity Level
The lower the value, the lower the
sensitivity and vice versa.
The activity level is based on your own self - assessment of
the amount of exercise you regularly perform.
Low = Unfit
Medium = Yo u do physical training 2 to 3 times a week
up to a total of approximate one hour.
High = Yo u are regularly involuted in
highly effective physical training.
Note:
Yo u must enter the activity level to calculate the calories
burned and fitness index.
14.2 Exercise Mode - Activity Level

15.2 Heart Rate Measuring - Finger Touch Measurement
Measuring Heart Rate by
Finger Touch
!Following the below steps, you
can measure your heart rate
instantly by touching the sensor
on the watch without using a
chest strap:
(1) Make sure the sensor on the
back of the watch sits firmly
on your skin.
(2) Place your index finger on the
metal bezel (Optional).
(3) Place your thumb or index
finger on the bezel touch
sensor [HR1] and keep
holding for about 5 seconds.
When the heart rate is
detected, the result will be
shown on the screen.
the heart rate result
flashing
segments
Resulted Heart Rate
Display
Heart Rate is sampling
15.1 Heart Rate Measuring - Heart Rate Zone Alert
The Below Heart Rate Zone
The Different Heart Rate Zones and
the Corresponding Indications
Audio
Indication
The Desirable Heart Rate Zone
'2 beeps’
'3 beeps’
'1 beep'
Heart rate
(beats per minute)
Visual
Indication
The Above Heart Rate Zone
The upper
limit
The lower
limit
*Zone Alert: When zone alert is ON, it will alert 2,1, 3 beeps for
below-zone, in-zone, above-zone and pedometer respectively.
Elastic band
Battery door
Soft belt
Connector
release slot
Front view
Contacts
Back view
Heart
beat
signal
Radio
frequency
signal
This product can support heart rate chest strap(not included in the
package) during your training process. Please follow the below
instructions when using chest strap with the watch.
Note:
As chest strap heart rate
is receiving, finger touch
heart rate function will
be disabled.
15.3 Getting a Heart Rate Reading with Chest Strap
(not include in the package)
15.4 Heart Rate Measuring - Chest St rap Measurement
How to ghr
rwith chest strap
+When enter Exercise Mode,
after a few seconds, icon ' '
is shown on the display, the
watch scanning heart rate
data from the chest strap.
+When a heart rate is
acquired, the heart rate and
the percentage of estimated
maximum heart rate will be
shown on the display.
et a eart ate
eading
Wear the
watch on
your wrist.
heart rate
(beats
per minute)
heart rate
(percentage
of estimated
maximum
heart rate)
Chest strap
scanning
Heart rate
is acquired
Select the
Exercise
Mode, and the
connection
between the watch
and strap will start
automatically.
Place the Chest
Strap on your
chest, and make
sure that the
contacts are in
firmly contact
with your skin.
NOTE: If no heart rate
reading or long
response time, check
the possible causes and
solutions at chapter
16.0, and then repeat
the above steps to get
your heart rate.
KM
5 to 8
seconds

4) Cause: Dead skin on the wrist.
Solution: Usually rubbing your skin with a towel
will help.
5) Cause: A thin layer of body grease can insulate the
electrocardiogram signal from the back sensor on
the watch.
Solution: Wipe the wrist and the back of
watch with a tissue or a soft towel.
6) Cause: Hairy arms.
Solution: Apply conductive gel to the wrist area.
7) Cause: Irregular heart beats.
Solution: N/A
It is difficult to consistently pick up a reading for
those with irregular heart beats.
Inconsistent response times are expected for
those with arrhythmia.
16.0 Potential Causes for NO Heart Rate
Reading or Long Response Time
16.0 Potential Causes for NO Heart Rate
Reading or Long Response Time
1) Cause: Dry skin.
Solution: Apply conductive gel or saliva thoroughly
to fingers and the wrist area. (Even water will help if
conductive gel is not available).
2) Cause: Fingers are not placed firmly over the
sensors.
Solution: Make sure fingers (not the tips) lay flat
and firmly over the sensors and the watch is placed
securely on the wrist. Do not use the very tips of your
fingers (e.g. visualize tip toeing with your
fingertips). Fingertips do not allow for enough
contact, therefore, electrocardiogram will not be
picked up.
3) Cause: Muscle tremors, caused by:
A) Pressing down too hard on the sensors with
fingertips. B) Person is in motion and hold the
watch in an awkward manner.
Solution: It is best to place your index finger on the
''front'' contact [HR1]. This will ensure good and
consistent readings even while walking or
jogging with arms swung naturally.
17.0 Power Saving Mode and
Low Battery Indicator
Power Saving Mode
This watch has a Power Saving Function which can turn off the LCD
display so that the battery can last longer.
While in the Power Saving Mode, the watch function is still working
normally. (i.e. The timekeeping function is still running during Power
Saving Mode.)
How to enter/exit the Power Saving Mode
To enter the Power Saving Mode, hold down [R] in Current Time
Mode for about 5 seconds and the LCD display will be turned off.
Press any key during Power Saving Mode will exit the mode and the
LCD display will be resumed.
Low Battery Indication
When battery is weak, low battery indicator ' 'will be shown.
However, if the appearance of battery-low indicator is caused by
using the watch under very cold condition, the indicator will be
disappeared when normal temperature returns.
It is recommended to complete the battery replacement by a
certified service agency, because this watch contains precise
electronic sensors and components.
Other manuals for Professional 100
1
Other Solus Watch manuals
