SONIQ D100-AU User manual


Safety Information
................................................................................................................ 2
Features
.................................................................................................................................. 5
About disc
.............................................................................................................................. 6
Before operation
................................................................................................................... 8
Preparations before operation .......................................................................................... 10
Front Panel ........................................................................................................................... 10
Rear Panel ............................................................................................................................ 11
Names and Layout of Remote Controls ................................................................................ 12
Connections
......................................................................................................................... 13
Basic operations
................................................................................................................. 14
Play Discs ............................................................................................................................. 14
Menu
...................................................................................................................................... 15
OSD ...................................................................................................................................... 15
Fast Play ............................................................................................................................... 15
Play/Pause ............................................................................................................................ 16
Select Audio Language ......................................................................................................... 16
Playing a desired scene .................................................................................................... 17
To skip scenes in a disc ........................................................................................................ 17
Directly moving to a desired title(DVD) ................................................................................. 17
Playing a disc containing MP3 files....................................................................................... 18
Repeat Play .......................................................................................................................... 19
Select a Subtitle Language................................................................................................... 20
Program................................................................................................................................. 21
Search.................................................................................................................................... 22
Setup ..................................................................................................................................... 22
Play discs in various ways
................................................................................................. 23
Select Angle .......................................................................................................................... 23
Zoom Play ............................................................................................................................. 23
Function setting
................................................................................................................... 24
Others
.................................................................................................................................... 30
Divx
......................................................................................................................................... 32
Troubleshooting .................................................................................................................... 30
Technical Specifications ....................................................................................................... 31
Table of contents
Safety Information
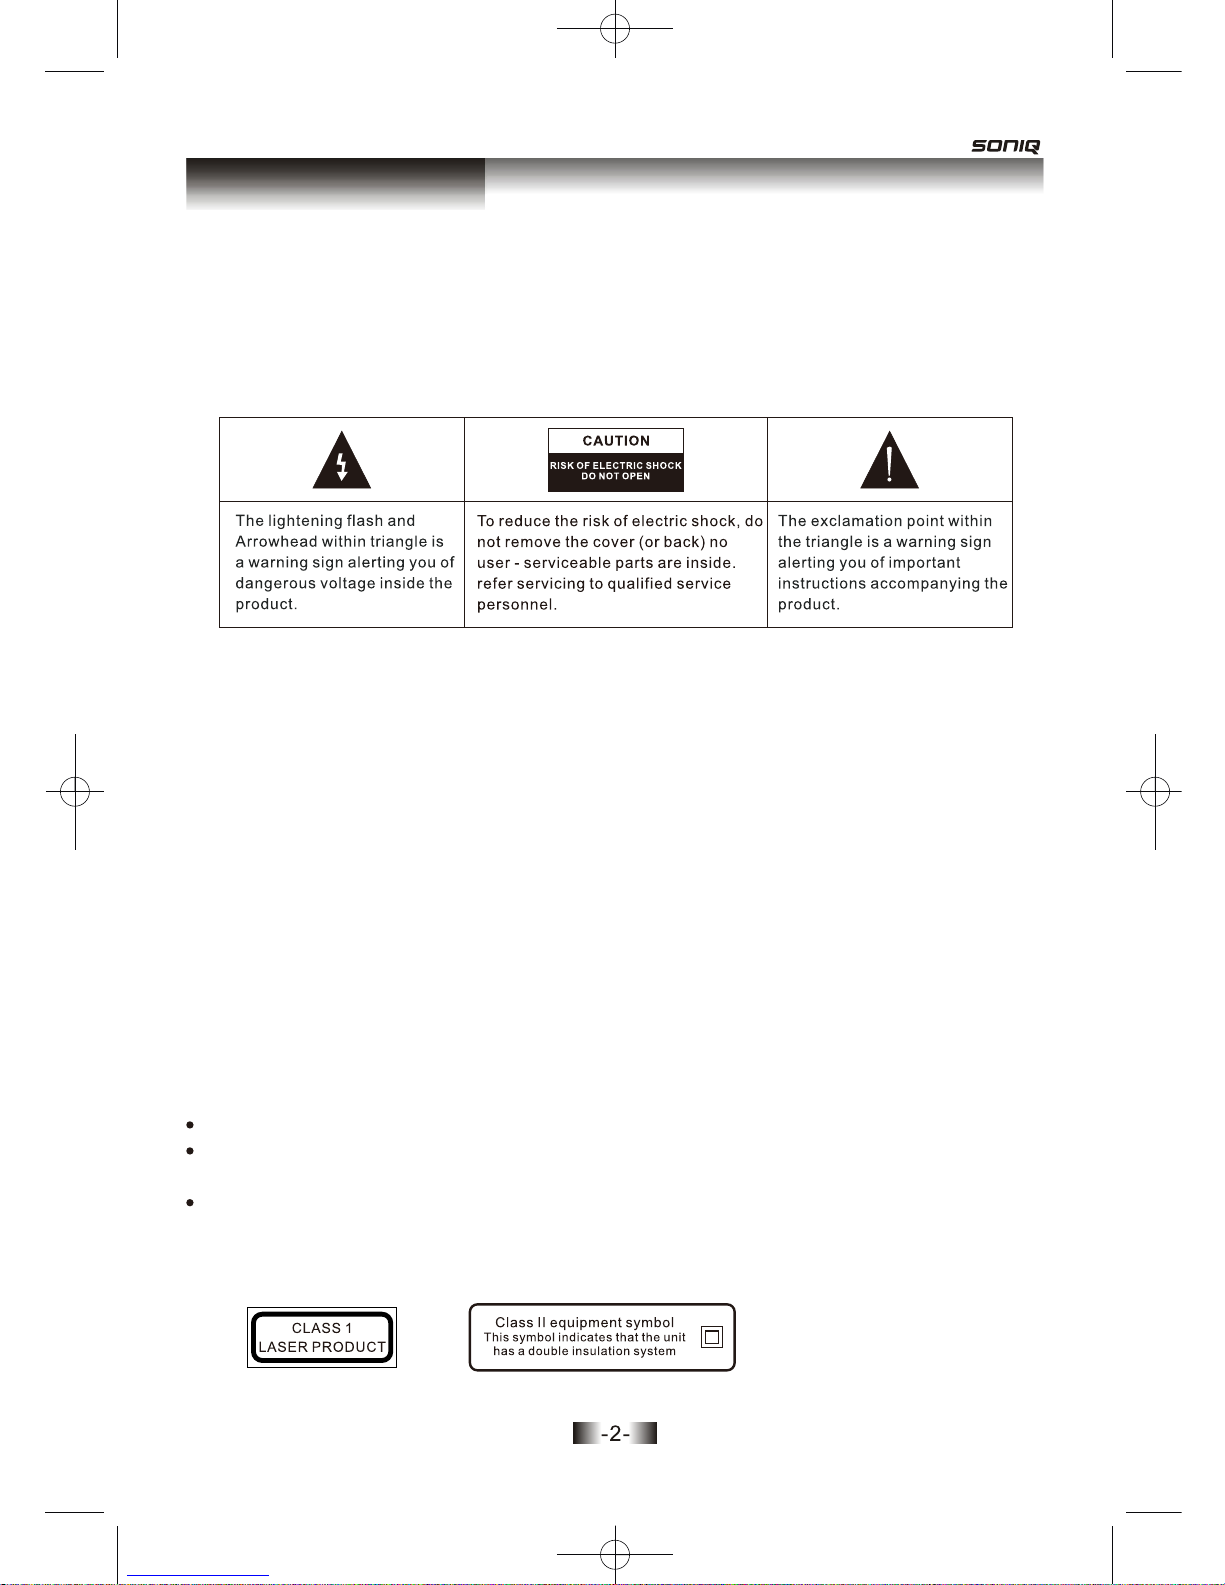
Warning
Warning
Warning
CLASS 1 LASER PRODUCT
Caution
Caution
TO REDUCE THE RISK OF ELECTRIC SHOCK, DO NOT REMOVE THE COVER (OR
BACK). NO USER - SERVICEABLE PARTS ARE INSIDE. REFER SERVICING TO
QUALIFIED SERVICE PERSONNEL.
Please read the manual carefully before using this BD player, and keep it safe for future
reference.
This player may malfunction if it is modified or repaired by unauthorized persons.
The player shall not be exposed to dripping or splashing and no objects filled with liquids,
such as vases, shall be placed on the product.
Must be shown how can operate the product via the MODE and Vol+ and Vol- button for
the unit complete the function.
If the player is moved from a cold to warm environment condensation may develop on the
lens of the laser. To ensure correct operation switch the unit off and leave it for one hour
before using.
This BD player has a laser system.
Please note that hazardous radiation leakage may be caused if the player is misused
in anyway. Do not defeat the safety interlocks.
Do not open the case of the player. The laser light will become visible when the case
is opened.
In order to prevent the risk of fire or electric shock, do not expose the machine to rain
or any moisture. Do not open the case of the unit because of the risk of electric shock.
Repair work must be undertaken by qualified personnel.
This set has been designed and manufactured to assure
personal safety. Improper use can result in electric shock
or fire hazard. The safeguards incorporated in this unit will
protect you if you observe the following procedures for
installation, use and servicing. This unit is fully transistorize
and does not contain any parts that can be repaired by the
user.
All the safety and operating instructions should be
read before operating.
1 READ INSRUCTIONS
The safety and operating instructions should be
retained for future reference.
2 RETAIN INSTRUCTIONS
should be moved with care. Quick stops, excessive
sorce, and uneven surfaces may cause the video
product and cart combination to overturn.
9 VENTILATION
10 POWER SOURCES
11 GROUNDING OR POLARIZATION
12 POWER-CORD PROTECTION
13 LIGHTNING
All warnings on the unit and in the operating
instructions should be adhered to.
3 HEED WARNINGS
All operating and use instructions should be followed.
A unit and cart combination
PORTABLE CART WARNING
(symbol provided by
RETAC)
4 FOLLOW INSTRUCTIONS
Do not place this unit on an unstable cart, stand,
tripod, bracket, or table. The unit may fall, causing
serious injury to a child or adult as well as serious
damage to the unit. Use this
unit only with a cart, stand,
tripod, bracket, or table
recommended by the
manufacturer.
8 PLACEMENT
8A
Do not use this unit near water-for example, near a
bath tub, wash bowl, kitchen sink or laundry tub, in
a wet basement, or near a swimming pool.
7 WATER AND MOISTURE
Do not use attachments unless recommended by the
unit’s manufacturer as they may cause hazards.
Caution: Apparatus shall not be exposed to dripping
or splashing and no objects filled with liquids,
such as vases, shall be placed on the appratus.
6 ATTACHMENTS/ACCESSORIES
Unplug this unit from the wall outlet before cleaning.
Do not use liquid cleaners or aerosol cleaners. Use
a damp cloth for cleaning.
5 CLEANING
Safety Information
Safety Information
14 DISC TRAY 21 REPLACEMENT PARTS
22 SAFETY CHECK
23 HEAT
15 OVERLOADING
16 OBJECT AND LIQUID ENTRY
17 BURDEN
18 DISC
19 SERVICING
20 DAMAGE REQUIRING SERVICE

OUTSTANDING SOUND QUALITY
Dolby Digital system developed by Dolby Laboratories
features high quality surround sound which can be played
in DVD or CD disc at home, to reproduce high quality sound effects.
UNIQUE FUNCTIONS
Multi-angle and multi-language bring unique trick functions.
Parent lock makes it easy to control the content of discs.
SCREEN
Ordinary screen and wide screen (16:9) are available.
COMPATIBILITY
The unit can play DVD-video discs, and is compatible with CD, CD-R, CD-RW,
PIC-CD, MP3 discs also can do DVD-R, DVD+R, DVD-RW, DVD+RW of video
format.
ZOOM
It can enlarge pictures.
MULTI-FUNCTIONS
Fast forward, fast reverse, forward and reverse slow, frame play, repeat play and
program play.
It can memorize the position where the disc is stopped and resume playback.
Scart (RGB), Composite (Standard video), Component (Y,Pb,Pr), S-video.
TIME SEARCH
It can search a specific part on a disc, especially good for watching movies.
RESUME PLAY
VIDEO OUTPUT
AUDIO OUTPUT
Analog audio output, coaxial digital audio output, can be connected with
USB
There is a USB port on the player. You can choose among USB and DISC.
the approriate amplifier to enjoy high-quality sound effects.
Features

About Discs
DVD-video Region number 4
DVD-R/+R DVD video
DVD-RW/+RW DVD video
The images or music of a DVD are divied into some units, among which title is the
biggest one.
When playing a DVD, the movie is the title.
When playing a CD, the combined tracks make up the title.
CD-R/ CD-RW Digital audio/ MP3/ JPEG format files
JPEG/MP3/MPEG4 Eachfile of JPEG: under 2M
DVD-video
DVD-ROM Files for PC application / Data files
Files for PC application / Data files
Different region number
CD-ROM
All format
DISC DISC
TRACK
TITLE
CHAPTER
DVD-RAM
PRINCIPLES FOR WRITING
PLAYAB LE DISCS
NONE PLAYABLE DISCS
STRUCTURE OF DVD
TITLE
STRUCTURE OF CD
This manual mainly introduces how to use buttons on the remote control.
You may operate the unit if the buttons to the unit have the same or similar
names as or to those on the remote control.
About Discs
It is smaller than title among the units of a DVD. A title is made up of several
chapters , and each chapter has a number for search. But some discs may not
have numbered chapters.
TRACK
In a CD, each track has a number to enable search functions.
REGION MANAGEMENT INFORMATION
This unit is designed and manufactured to respond to the Region Management
information that is recorded on a DVD disc. The region number of this player is
“4”. If the region number described on the DVD discs does not correspond to the
Region number of this player, the player will not play this disc. This player will
play DVD discs made for “4” regions. Therefore, this player will play DVD discs
marked with labels containing the region number “4” .
(Region 4)
4
SCENE
The menu pictures, motion and motionless pictures of a CD can be divided into
some parts, these parts are scenes. Each scene has a number for search.
CHAPTER
Before operation
CLEANING DISC
•Before playback, wipe the disc outward from the centre with clean cloth.
•Do not use any type of solvent such as thinner, benzine, commercially
available cleaners or antistatic spray.
HANDLING DISC
•To keep the disc clean, do not touch the playsides of the disc.
•Do not attach paper or tape to the disc.
•Keep the disc away from direct sunlight or heat sources.
•Store the disc in a disc case after playback.
CLEANING
•Use a soft cloth with a little neutral detergent to wipe the cabinet, panel and
controls.
Never use abrasive paper, polishing powder, solvent like alcohol or gasoline.
CONDENSATION
Moisture will appear on the pickup lens in the following cases:
•The unit is suddenly moved from a cold place to a warm place.
•The unit is put in a room with a heater, or in cold air from an-conditioner.
•The unit is suddenly moved from a cold place to a warm place.
•Using the unit in a humid place. In these cases, the unit can not work.
Unload the disc and leave the unit on for about one hour to evaporate
the moisture.
PLACEMENT
•Put the unit where ventilation is good enough to prevent overheating.
•Never put the unit in direct sunlight or near heat sources.
•Put the unit in horizontally, never put any heavy object on the unit.
•To protect the pickup, do not put the unit where there is dust. If there
is dust on the pickup, use a cleaning disc to clean it. Paying particular
attention to the operating instructions of the cleaning disc.
SCEURITY
•Before operation, check if the voltage of the unit is in line with the local voltage.
•Hold the plug to disconnect it from the mains outlet. Do not pull the power cord.
•Do not open the cabinet as laser rays employed by the unit may damage eyes.
Any servicing should be done by qualified service personnel.
•When the plug of the unit is connected to the mains outlet, the unit will be still
connected to AC even if the power is turned off.
•Disconnect the plug as soon as liquid or objects enter the unit. The unit can not
be used until being checked by experts.

USE REMOTE CONTROL
1 Open the battery compartment.
2 Insert two AAA batteries, make sure to match "+" and "-" of the batteries to
the marks in the battery compartment.
3 Close the battery compartment.
4Point the remote control at the remote sensor.
1.Batteries can last for about 6 months generally. Change the batteries if that does not work.
2.If the remote control is not used for a long time, remove the batteries to prevent battery
leakage.
Note:
3.-Do not mix old and new batteries.
4.-Do not mix alkaline, standard(carbon-zinc), or rechargeable (ni-cad, ni-mh. etc) batteries.
5.The batteries shall not be exposed to excessive heat such as sunshine, fire or the like.
6.Remove the battery cover on the rear of the remote control and remove the batteries.
These batteries must be disposed of at your local recycling point.
Before operation

ON/OFF - MIC VOL + MIC 1 MIC 2
USB
Preparations Before Operation
98
31 2 4 5 6 7
10 11
FRONT PANEL
2. DISC Tray
5. STOP
9. - MIC VOL +
8. USB port
10. MIC 1
11. MIC 2
1. ON/OFF
To switch the unit on or off when connected to AC power outlet.
3. OPEN/CLOSE button
To open or close the disc tray.
6. PREV
To skip back from the current chapter or track.
7. NEXT
To skip forward to the next chapter or track.
4. PLAY/PAUSE
To play the loaded disc. Press this button to go to the preferred item when the
menu is displayed on the TV screen. Press this button again to pause current
playback.

Preparations Before Operation
3
1 2
4 5 6
REAR PANEL
Note: When connect Y、Pb/Pr、Cb/Cr、S-V at the same time, the picture of S-V is partial
dark and the picture of Y、Pb/Pr、Cb/Cr、S-V is partial dark and yellow.
1. COMPONENT (Y. Pb. Pr)
Connects to TV or monitor equipped with Component input. In order to achieve
a sharper and cleaner picture than when connected via VIDEO OUT (composite
video).
2. VIDEO OUT
Connects composite video signal to input AV or PHONO sockets of TV or monitor
to achieve high fidelity colour reproduction.
3. AUDIO OUT (L/R)
4. DIGITAL AUDIO COAXIAL OUT
Connects digital audio under play mode into an AV amplifier or receiver equipped
with digital audio decoder for you to enjoy the theatre-quality sound in your home.
5. S-VIDEO OUTPUT
Connects to TV or monitor equipped with S-VIDEO input. In order to achieve a
sharper and cleaner picture than when connected via VIDEO OUT (composite
video).
6. POWER Cord Socket

* After setting the mode by using SETUP menu (for example, NTSC select in NTSC
/PAL/AUTO setup), the setting is kept though you swith the unit off and turn it on.
NAMES AND LAYOT OF REMOTE CONTROLS
OPEN/CLOSE
V-MODE
OSD
SUBTITLE
SEARCH
SETUP
ARROW KEYS
VOLUME CONTROL
STEP
STOP
POWER
NUMERIC BUTTONS
USB
MENU
ENTER
PROGRAM
A-B REPEAT
FAST FORWARD
NEXT
AUDIO
PREVIOUS
MUTE
ANGLE
PLAY/PAUSE
FAST BACKWARD
ZOOM
REPEAT
TITLE
Preparations Before Operation
SETUP MENU
ZOOM REPEAT A-B RPT PROG
MUTE AUDIO
ANGLE
V-MODE
OSD
SEARCH
10+
STEP
TITLE
SUBTITLE
ENTER
USB
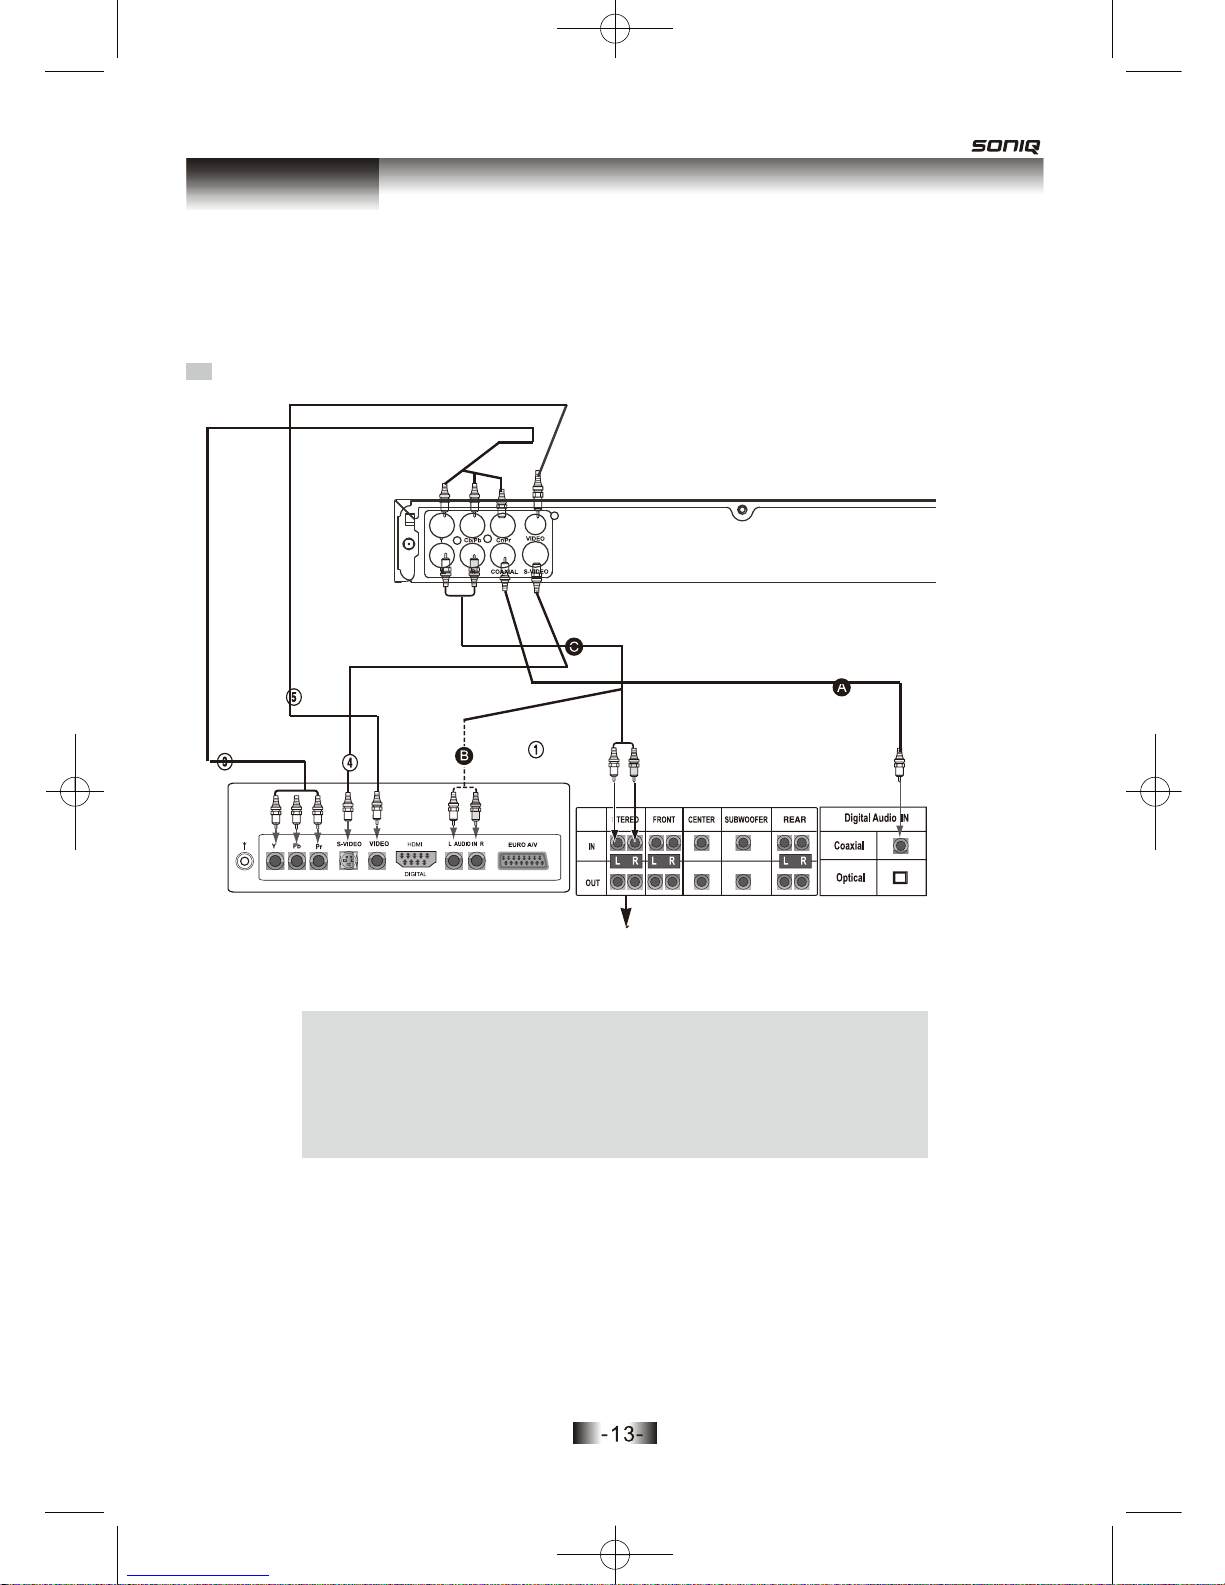
CONNECTED TO A TV AND AN AUDIO AMPLIFIER
Turn off all equipments before operation.
The unit has many kinds of output modes like A/V output, S-VIDEO output and digital signal
output (COAXIAL). You may select as you need.
Manufactured under license from Dolby Laboratories."Dolby" and the double-D
symbol are trademarks of Dolby Laboratories. Confidential Unpublished works.
©1992-1997 Dolby Laboratories, Inc. All rights reserved.
"DTS" and "DTS Digital Out" are trademarks of Digital Theater Systems, Inc.
Pb
TV
Amplifier
2 Speakers
Connections

Basic Operatiions
Select the correct audio input on the amplifier.
• Each amplifier is different from another,
please refer to the manual for the amplifier.
(e.g.,connect the audio output of the DVD
player to the DVD audio input of an amplifier.)
Press “ON/OFF” button on the front panel to turn the unit on.
Press “OPEN/CLOSE” button to open the disc tray and insert the
disc with its label upward. Press “OPEN/CLOSE” button again to close
the disc tray. The unit begins to read the disc. The TV screen shows
the DVD menu and title menu.
• When playing a DVD, DVD menus and titles are displayed on TV
screen.
• In the case of CD, the disc plays in order of itstrack number.
Stop playback.
Press .
5
Press OPEN/CLOSE to remove the disc.
6
TV/VIDEO
DVD/LD
N
Note:
Press “ON/OFF” button on the TV and audio
system, Press “TV/VIDEO” button on the TV,
select VIDEO mode (TV).
Select S-VIDEO mode if using an S-VIDEO
connection.
PLAY DISCS
The Step2 can be
cancelled if you
do not
connect it to the
amplifier.
1
2
3
4

Basic Operations
OSD
disc type, total chapter, current play chapter and so on.
During the playback,Press the OSD to show disc information, such as
OSD
When playing disc, you may play it forward fast or reverse it fast to find
Press to play forward fast. Each
time you press the button, the speed of
picture changes like the right sides.
1
Press to reverse the disc fast.
Each time you press the button, the
speed of picture changes like the
right sides.
15
2
Press PLAY toplay
normallywhen
playingfast.
ThemarkedFAST
PLAY speedon
owner’smanual
andreal fastplay
speed canbe
different
dependingon
which discyou
play.
X2
X4
1
2
3
4
5
1
2
3
4
5
Note:
FORWARD
FORWARD
X8
FORWARD
X20
FORWARD
PLAY
X2
X4
BACKWARD
BACKWARD
X8
BACKWARD
X20
BACKWARD
PLAY
what you need.
Note:
FAST PLAY
MENU
During DVD playback,press this button, the unit will directly back
to root menu.

Basic Operations
PLAY/PAUSE
Press PLAY to
play normally.
N
Note:
SELECT AUDIO LANGUAGE
Please select the AUDIO language in the SETUP menu to keep the
setting!!!
1. Different discs have different languages.
2. You can press the “AUDIO” button to choose the language
you want when playing multi-language DVD discs.
Attention:
N
Note:
2CHIN 2CH
Press the “PLAY/PAUSE” button during playback to pause playback.
AUDIO
When playing a multi-language DVD, you can choose which language
to playback in.
Press the “AUDIO”button,
then select the language
you would like for playback.
rted
You can choose among USB, DISC by pressing
•Select the USB item, you can enjoy the media files in the
USB device.
USB
16
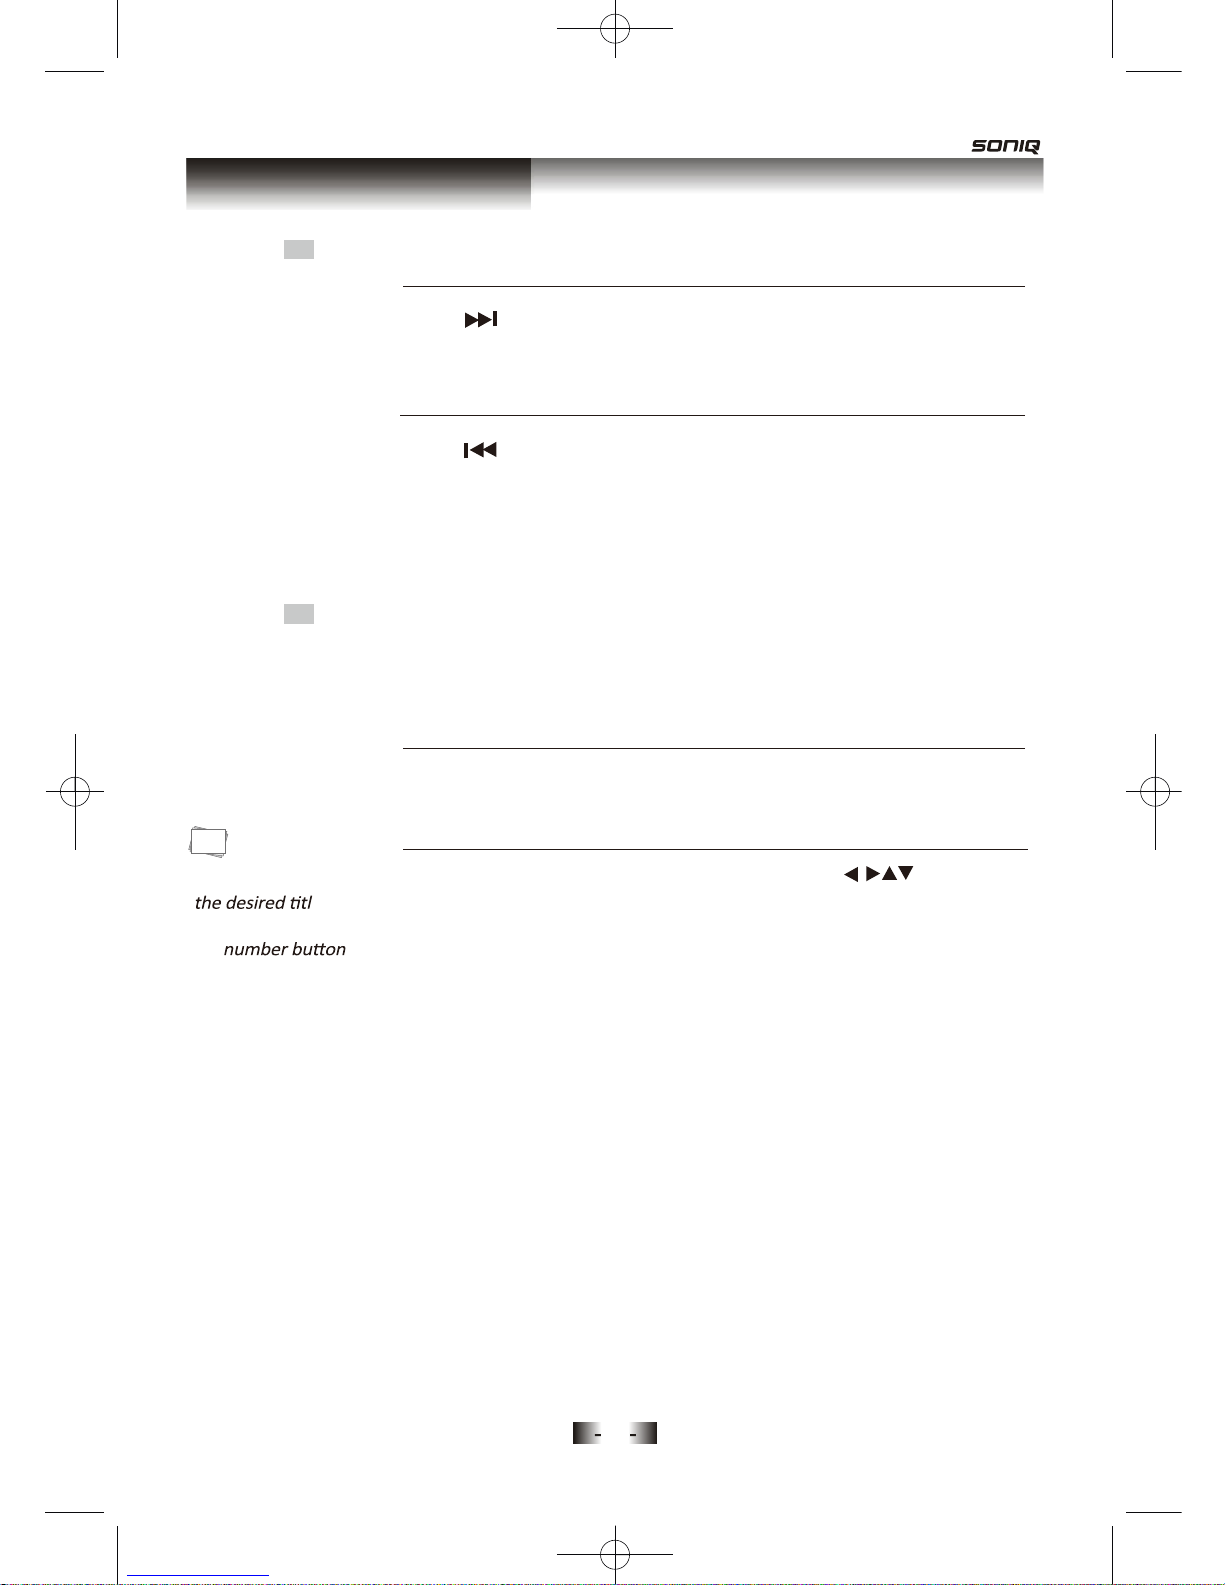
Playing a desired scene
TO SKIP SCENES ON A DISC
Press to move to the next chapter (or track).
The current chapter (or track) moves to the next chapter (or track).
1
Press to move to previous chapter (or track).
2
DIRECTLY MOVING TO A DESIRED TITLE (DVD)
1
2
You can select
e
directlyby usings.
the
N
Note:
some movie discs may contain multiple titles. If the disc has a movie title
menu recorded on it, the “TITLE” button can be used to select the movie
title. Details of operation may differ depending on the disc used.
The current chapter (or track) moves to the previous chapter (or
track) or the first scene of the
Press the “TITLE”
A list of the titles on the disc is displayed.
Press the “ENTER” button after pressing the “ ” or number
buttons to select the desired title.
The selected title now starts playing.
current chapter (or track).
17

When a MP3 disc is loaded, the MP3
menu screen is displayed
automatically depending on the MP3
disc’s folder structure.
1
Using the “ ” buttons to select
the folder you want to play (from the screen on the left), then
press the “ ENTER ” button.
2
Using the
“ ”
buttons to select an MP3 file. Press the “ ENTER ”
button and playback will start automatically. If you know the MP3 file number,
enter the MP3 file number using the numeric buttons on the remote
control.
3
Press on the remote control to choose the next file. Press
If you know the MP3 file number, enter the MP3 file number using the
numeric buttons on the remote control.
4
This button allows you to see the file lists under the folder.
▲
▲
▲
▲
▲
▲
▲
▲
▲
▲
▲
▲
on
the remote control to choose the previous file.
PLAYING A DISC CONTAINING MP3 FILES
Playing a desired scene
18

Playing a Desired Scene
For the case of
VCD disc, repeat
playback starts
only in PBC OFF
mode.
N
Note:
When play a disc, this function can be used to repeatedly
play a title, chapter or disc.
Press “REPEAT” button, the screen shows orderly.
REPEAT
REPEAT : [CHAPTER]
REPEAT : [TITLE]
- DVD -
- VCD-
•Chapters : Current chapter will play repeatedly.
•Titles : Current title will play repeatedly.
• 1 : Current single will play repeatedly.
• OFF : Repeat playback will be cancelled.
ALL: The unit will repeat playback all contents.
•
REPEAT : [OFF]
REPEAT : [1]
REPEAT : [ALL]
REPEAT : [OFF]
REPEAT: [ALL]
REPEAT PLAY
19
Table of contents
Other SONIQ DVD Player manuals

SONIQ
SONIQ D301-AU User manual

SONIQ
SONIQ QPi600B User manual

SONIQ
SONIQ Qplay 901 User manual

SONIQ
SONIQ D300-AU User manual

SONIQ
SONIQ QMD91GB Qmedia User manual

SONIQ
SONIQ Qplay QPD555B User manual

SONIQ
SONIQ Qplay QPD100B User manual

SONIQ
SONIQ D101 User manual

SONIQ
SONIQ Qplay QPD560B User manual

SONIQ
SONIQ QMD78DS Qmedia User manual


