Sonitrol iCLASS User manual

Sonitrol Corporation, 211 North Union Street, Suite 350, Alexandria, VA 22314, U.S.A.
Tel +1 877 SONITROL (+1 877 766-4876) Web www.sonitrol.com
User Guide
Standard and iCLASS Enhanced Keypad
19810016 REV C
April 2009

Standard and iCLASS Enhanced Keypad 19810016 REV C
Page ii
Copyrights and Trademarks
Copyright Information
Copyright © 1998-2009 by Sonitrol Corporation, Alexandria, VA.
All rights reserved. No part of this work covered by the copyright hereon may be reproduced or used
in any form or by any means graphic, electronic, or mechanical, including photocopying, recording,
taping, or information storage and retrieval systems without permission of Sonitrol Corporation.
Printed in the United States of America.
Trademarks
Sonitrol is a Registered Trademark of Sonitrol Systems Corporation.
All other products are trademarks of their respective manufacturers. All registered and unregistered
trademarks are the sole property of their respective companies.

19810016 REV C Standard and iCLASS Enhanced Keypad
Page iii
Table of Contents
1. Introduction.................................................................................................................................... 1
1.1 Your Security System ................................................................................................................ 1
1.2 Overview.................................................................................................................................... 1
1.3 LCD Display and Keypad Buttons ............................................................................................. 1
1.3.1 Numerical Buttons............................................................................................................ 2
1.3.2 LED Status Indicators....................................................................................................... 2
1.3.3 SELECT Button................................................................................................................ 2
1.3.4 TEST Button..................................................................................................................... 2
1.3.5 ARM/DISARM Button....................................................................................................... 2
1.3.6 ENTER Button.................................................................................................................. 2
1.3.7 Navigation Buttons........................................................................................................... 2
1.4 Security Levels .......................................................................................................................... 2
1.5 Access Control Keypad ............................................................................................................. 3
2. Using Your System........................................................................................................................ 3
2.1 Arming Your System.................................................................................................................. 3
2.2 Disarming Your System............................................................................................................. 4
2.3 Quick Arm Option...................................................................................................................... 4
2.4 Problems Arming Your System ................................................................................................. 4
2.5 Invalid Keypad Entry.................................................................................................................. 5
2.6 Emergency 911 and Duress Codes........................................................................................... 5
2.7 Accessing the System Menus ................................................................................................... 5
3. System Modes ............................................................................................................................... 6
3.1 Occupied Security Levels (Delayed or Instant) Mode................................................................ 6
3.2 Occupied Mode ......................................................................................................................... 6
3.3 Chime Mode.............................................................................................................................. 6
3.3.1 Enabling Chime Mode...................................................................................................... 6
3.3.2 Disabling Chime Mode..................................................................................................... 6
3.4 Remote Partition........................................................................................................................ 7
3.5 Toggle An Output ...................................................................................................................... 7
3.6 Event History ............................................................................................................................. 8
3.7 Delete A User ............................................................................................................................ 8
3.8 False Alarms.............................................................................................................................. 8
4. FCC ................................................................................................................................................. 9

Standard and iCLASS Enhanced Keypad 19810016 REV C
Page iv
This page is intentionally left blank.
19810016 REV C Standard and iCLASS Enhanced Keypad
Page 1
1. Introduction
1.1 Your Security System
Thank you for selecting one of the most advanced security systems on the market today. Your
system offers versatility and flexibility combined with superior performance and service. You will use
the keypad to turn your system off and on, as well as to set system options and identify problems.
Your keypad features a four-line screen which displays system conditions and instructions. The text
of each line will vary depending upon the current security level and features in use. This guide
explains the various system features and keypad functions. Keep this guide in a convenient, secure
location for future reference.
Some features contained in this booklet may not apply to your system configuration.
Note: These instructions describe the use of an iCLASS Enhanced Keypad. The Standard Keypad
is not compatible with the use of an access control card or FOB.
1.2 Overview
The Standard Keypad is the main display, programming, and user interface to the SonIP iBase and
FlexiBase Systems. The iCLASS Enhanced Keypad has the same functionality as the Standard
Keypad but has an integrated HID iCLASS Access Card Reader that can be configured as an
Arm/Disarm reader or an access control door reader.
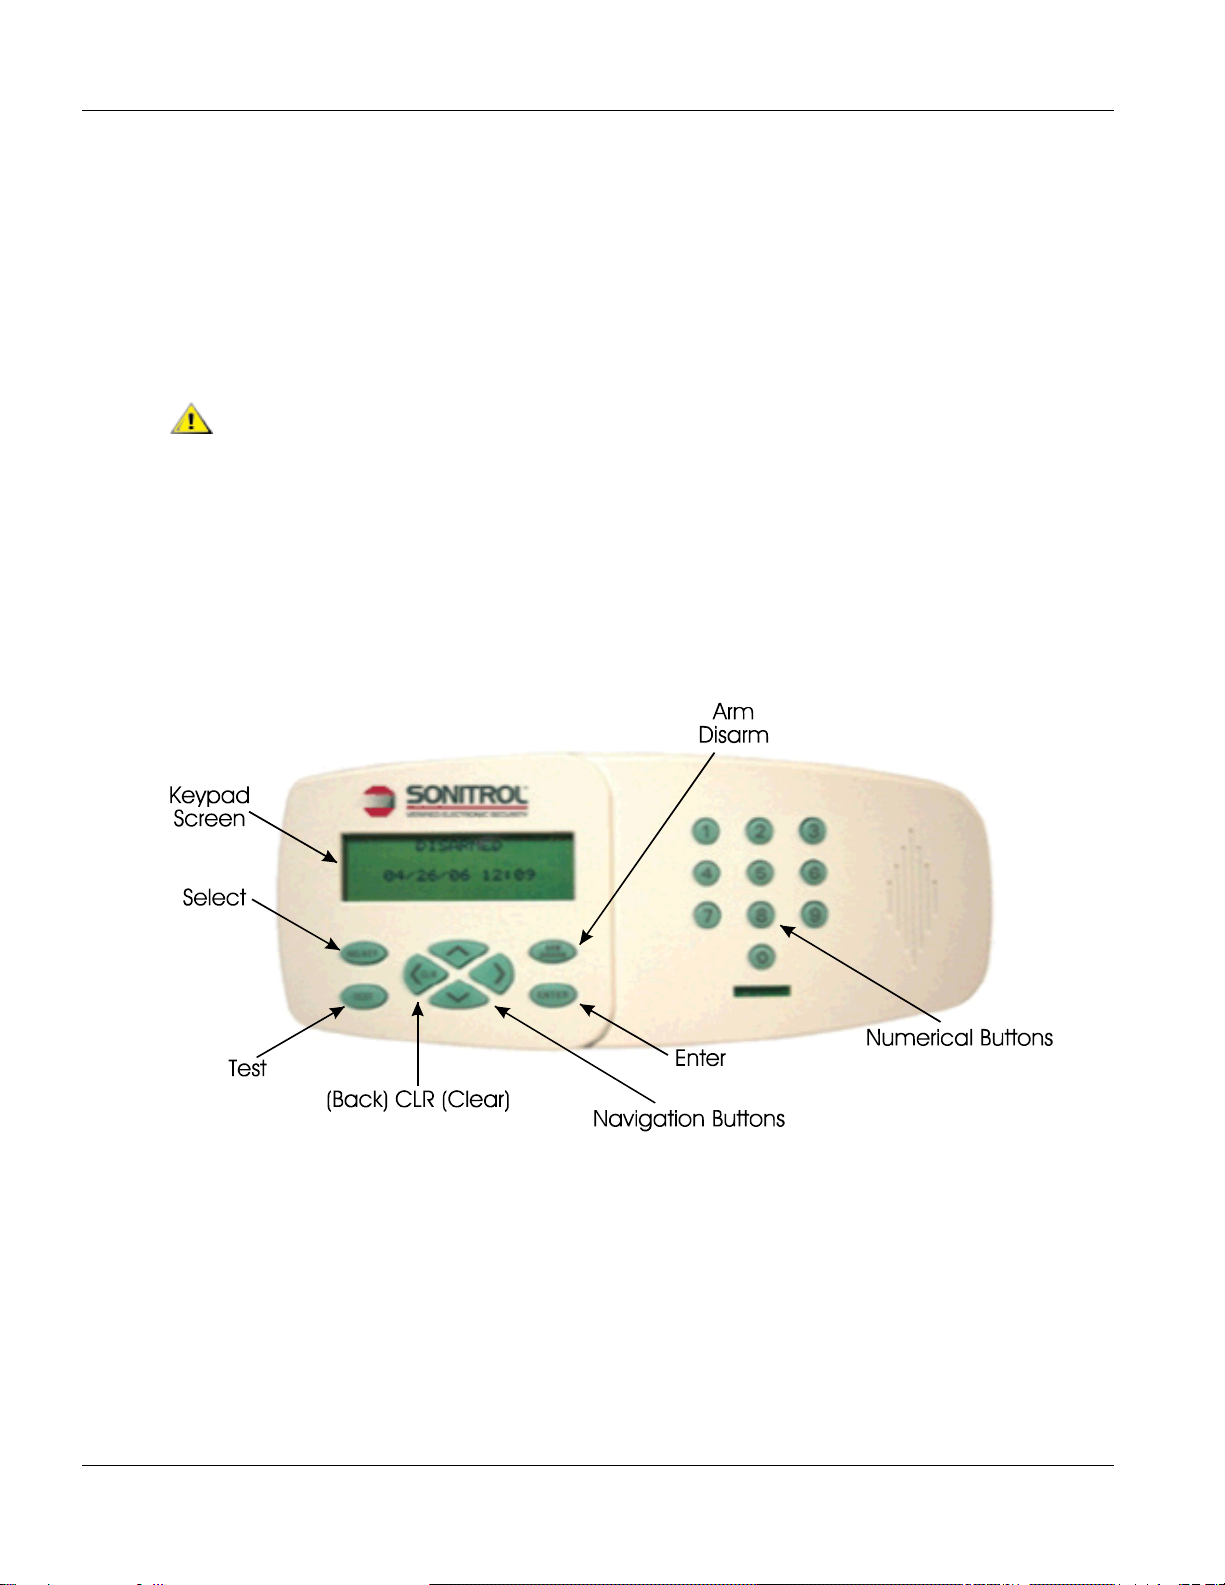
1.3 LCD Display and Keypad Buttons
Figure 1. Keypad Buttons
The Standard and iCLASS Enhanced keypads are each an 18 button wall-mounted keypad. The
LCD Display screen contains a four line Liquid Crystal Display (LCD) that shows the system's status
in plain English or Spanish. Text never exceeds 20 characters per line. System menus scroll when
there is too much information to fit in the default screen.
Note: Language selection, English or Spanish, is specific to each user. Language selection must
be programmed by the Central Station.
Note: The Standard and iCLASS Enhanced keypads are only compatible with the iBase and
FlexiBase Panel.
Note: An up or down arrow displayed on the right-side of the screen indicates a scrolling menu.

IP iBase Standard and iCLASS Enhanced Keypad 19810016 REV C
Page 2
1.3.1 Numerical Buttons
The Numerical Buttons are used to enter any numerical values when prompted via the LCD menu.
1.3.2 LED Status Indicators
The LED on the right side of your keypad changes colors depending on your system status. It
flashes when there is an alarm no matter what color or arm state.
RED: System is ON (Armed)
GREEN: System is OFF (Disarmed)
YELLOW: Occupied Security Level
Flashing LED: An alarm has
occurred
Note: A beeping keypad indicates that the system is in alarm or incapable of reporting alarms.
Keypad beeping sequence:
Seconds On Seconds Off Alarm Type
0.125 0.125 Valid Request at Keypad (3 beeps annunciated)
1.250 0.750 Loss of communications
3.000 3.000 Aborted Alarm (occurs after loss of communications)
0.125 4.875 Loss of Battery Power
Always N/A Burglar Alarm
2.750 0.250 Tamper (e.g. Security Cabinet door opened)
0.125 2.875 Trouble Alarm
1.3.3 SELECT Button
The Select Button is used to access the system menus.
1.3.4 TEST Button
Initiates communications between the iBase or FlexiBase Panel and the Central Station. Only active
from the default screen (Disarm state screen).
1.3.5 ARM/DISARM Button
This button is used when arming or disarming the system.
1.3.6 ENTER Button
Enter your code directly from the default screen then press the Enter Button to access menus, arm,
and or silence alarms. Also used to complete a menu selection or entry of an Access Code.
1.3.7 Navigation Buttons
The Navigation Buttons are used to scroll System Menus up and down. The left navigation button
also acts as a clear or backspace button.
1.4 Security Levels
There are three security levels available on your system. They are: Armed, Occupied, and
Disarmed.
•Armed: This is selected to arm your security system and monitor all devices. The protected
area should not be occupied.

19810016 REV C Standard and iCLASS Enhanced Keypad
Page 3
•Occupied Security: This allows predefined areas of your premises to be protected (i.e.
exterior doors, windows, etc.) while the interior of the building remains occupied. There are
two levels of occupied security available:
– Instant: Sends an alarm immediately to the monitoring console if predefined areas of
your premise are violated.
– Delay: Entry/Exit delay allows for authorized persons to leave or enter through
designated doors before sending an alarm to the monitoring console. All other exterior
protection will generate immediate alarms when violated.
•Disarmed: Selected to disarm your security system and only monitor devices such as Hold-
up, Temperature Control, etc.
1.5 Access Control Keypad
The LED status on the keypad will be red when the door is locked, green when the door is unlocked,
and amber when either a card is swiped that does not exist in the system or the user does not have
authority.
Note: Keypads used as Arm/Disarm keypads are unable to access system menus.
Note: Keypads used as Arm/Disarm keypads can only be used as entry keypads and not exit.
1. For access through a door using a keypad for access, the user should either enter their access
code and press ENTER or swipe their card. Upon verification, the door can be opened.
2. If 911 is enabled, the user can press 911 and then press ENTER if an emergency occurs.
3. If a duress code is enabled, the user can press the ARM/DISARM button enter the duress code
and press ENTER to alert the Monitoring Center of duress while changing the state of the
partition from ARMED to DISARMED or from DISARMED to DISARMED. If the duress code is
entered without pressing the ARM/DISARM button, the Monitoring Center will receive the duress
alarm and the partition state will remain the same.
2. Using Your System
2.1 Arming Your System
1. Press the ARM/DISARM Button.
2. When prompted present Card/Key fob or enter access code and press ENTER.
Note: Your Access Code should be 1-8 digits.
Note: If there is only one partition, skip to step 5.
3. Select the partition you want to arm:
•THIS PARTITION: arms the local partition
•MY PARTITIONS: arms only the partitions your Access Code is programmed to control
4. Press ENTER.
•The keypad briefly displays: PLEASE WAIT WHILE ARMING...
5. When the keypad displays: ARMED XXX SEC TO EXIT. The Keypad sounder will begin beeping,
exit the door or building and verify the door is closed and locked.
Note: The keypad will display Armed when in the Armed State.
Loss of communications, over IP or Telephone, will NOT allow the system to Arm.

IP iBase Standard and iCLASS Enhanced Keypad 19810016 REV C
Page 4
2.2 Disarming Your System
1. Press the ARM/DISARM Button.
2. When prompted present Card/Key fob or enter access code and press ENTER.
Note: If there is only one partition, steps 3 and 4 are not required.
3. Select the partition you want to disarm:
•THIS PARTITION: disarms the local partition
•MY PARTITIONS: disarms only the partitions your Access Code is programmed to control
4. Press ENTER.
Note: The keypad will display Disarmed when in the Disarmed State.
2.3 Quick Arm Option
This option is used to expedite the arming of that partition in a facility. It is useful when there are
cleaning crews or other temporary employees working in the facility.
1. If the Quick Arm option is enabled: when the user presses the ARM/DISARM Button the system
will prompt the user to press ENTER to arm the optioned partition in the system.
Example: If a facility has a total of six (6) partitions (A-F), only the partition where the keypad is
located, and programmed for Quick Arm, will arm when Quick Arm is initiated.
Note: Quick Arm will not enable if there is a violation on any optioned partition.
Note: The Quick Arm option can only be enabled by the Central Station.
2. If any alarm loop is in violation, the user will automatically receive the list of violations for those
partitions.
2.4 Problems Arming Your System
Prior to arming your system, all monitored devices (such as doors or windows) must be secured. If
a violation exists when you are attempting to turn your system on, the screen will display a list of the
unsecured devices. Use the up/down navigation keys to scroll through the list. Once the violated
devices have been secured, continue with the normal arming procedure.
If any monitored device is in violation and prevents you from arming, you may BYPASS it. BYPASS
will disable the device in violation and allow you to continue the arming process. The device will be
enabled again once it returns to its normal condition.
Note: Use of the BYPASS feature is limited to “Master” Level users.
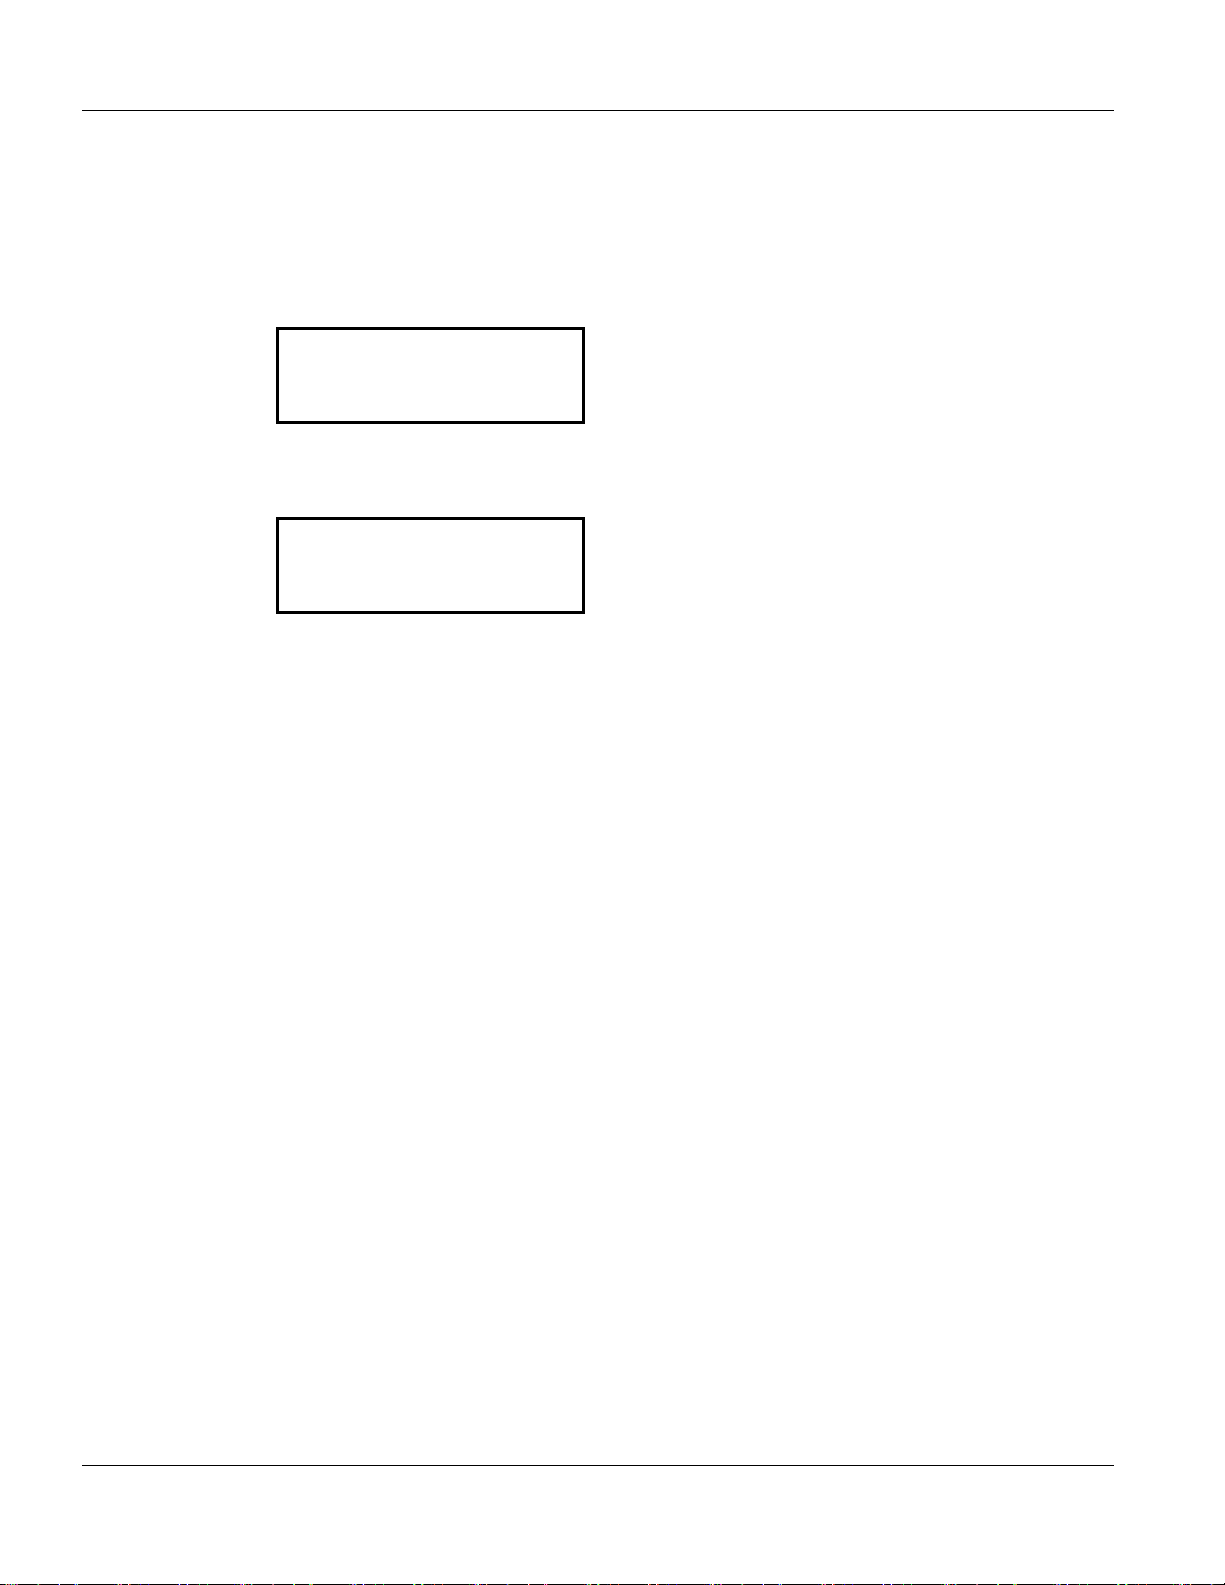
1. When the cursor is pointing at the violation you want to view, press ENTER.
SYSTEM NOT READY
> FRONT DOOR
BACK ROOM AUDIO ▼
2. With the alarm displayed, the system will ask if you want to bypass the violation. Press ENTER to
bypass.
FRONT DOOR
I-B , INPUT 01
> BYPASS?
3. The system bypasses the violation. Press the <CLR (back) button to return to the alarm violation
list.
FRONT DOOR
I-B , INPUT 01
> BYPASSED!

19810016 REV C Standard and iCLASS Enhanced Keypad
Page 5
4. Continue through the list and either clear the violation, by securing the door, window, etc. in
violation or bypass each violation.
Note: If the BYPASS option is used in any monitored device that failed to clear, it is recommended
that it be reported to the Central Station.
Note: If your system is scheduled to Arm Automatically and fails to do so, there is a device in
violation somewhere within your facility. The keypad’s event history displays the activity in order of
occurrence, starting with the most recent event. Once you clear the violations, your system will
allow you to arm.
2.5 Invalid Keypad Entry
When prompted to enter your Access Code, the screen does not change until after you have
pressed ENTER. If an invalid code is entered, the screen will display the following message:
UNABLE TO VERIFY
Press the <CLR (back) button to return to the Armed, Disarmed, or Occupied default screen.
Three attempts to enter a valid code are allowed, then the keypad will display message:
PLEASE STANDBY
The user interface will lock-out for two minutes.
2.6 Emergency 911 and Duress Codes
1. If 911 is enabled, the user can press 911 and then press ENTER if an emergency occurs.
Note: Pressing 911 will NOT contact the Police Department. However, it will send an
Emergency Duress Alarm to the Central Station.
911 will NOT be enabled for UL Listed Applications.
2. If a duress code is enabled, the user can press the ARM/DISARM button enter the duress code
and press ENTER to alert the monitoring center of duress while changing the state of the
partition from ARMED to DISARMED or from DISARMED to ARMED.
3. If duress occurs and the partition’s state does not need to be changed, the user can just enter
the duress code and press ENTER. The Monitoring Center will be alerted of the duress but the
partition will remain in its current state.
2.7 Accessing the System Menus
1. With the keypad displaying DISARMED on OCCUPIED - INSTANT or OCCUPIED - DELAYED,
key in an access code and press the ENTER or for iClass keypads you can swipe your card. The
system menus will then be displayed.
2. Use the navigation buttons to scroll through the various menus and press ENTER to make your
selection.

IP iBase Standard and iCLASS Enhanced Keypad 19810016 REV C
Page 6
3. System Modes
3.1 Occupied Security Levels (Delayed or Instant) Mode
The Occupied security mode allows you to arm predefined areas of your premises (such as exterior
doors, windows, etc.) while the interior of the building remains occupied.
Two Occupied security levels are available:
•Delayed: Select this feature when the premises are occupied and someone is expected to
enter. When the assigned delay door is opened, an "entry delay" time begins, allowing the
user ample time to enter the proper code into the keypad. The keypad beeps during this
time, reminding the user to enter a code.
•Instant: Select this feature when the premises are occupied, and no one else is expected to
enter. If someone does enter through the delay door (or other predefined areas of your
premises) an alarm is immediately sent to the monitoring console.
3.2 Occupied Mode
1. Press ENTER while the cursor is pointing to OCCUPIED MODE.
2. While displaying OCCUPIED MODE, use navigation buttons to select either OCCUPIED -
INSTANT or OCCUPIED - DELAYED.
OCCUPIED MODE
>OCCUPIED - INSTANT
OCCUPIED - DELAYED ▼
3. While displaying SELECT PARTITION, use navigation buttons to select either THIS PARTITION
or MY PARTITIONS and press ENTER.
4. Keypad briefly displays PLEASE WAIT WHILE ARMING.... When armed, displays OCCUPIED -
INSTANT or OCCUPIED - DELAYED.
Note: XXX SEC TO EXIT will only display if the OCCUPIED - DELAYED has been
selected/optioned.
OCCUPIED - INSTANT
11/08/06 11:08
Note: MY PARTITIONS selection will attempt to arm to the Occupied Security Level only those
Partitions your access code has been programmed to control.
3.3 Chime Mode
When Chime Mode is enabled, the system will annunciate the violation of pre-selected devices while
security is disarmed.
3.3.1 Enabling Chime Mode
2.1 Use the navigation buttons to select TURN CHIME ON and press ENTER.
2.2 While displaying SELECT PARTITION, use navigation buttons to select either THIS PARTITION
or MY PARTITIONS and press ENTER.
Note: Keypad displays CHIME on the second line on the default screen when enabled.
3.3.2 Disabling Chime Mode
1. Use the navigation buttons to select TURN CHIME OFF and press ENTER.
2. While displaying SELECT PARTITION, use navigation buttons to select either THIS PARTITION
or MY PARTITIONS and press ENTER.
Note: Keypad will no longer display CHIME on the second line on the default screen.
19810016 REV C Standard and iCLASS Enhanced Keypad
Page 7
3.4 Remote Partition
Use this selection to check or change the current status of any Partition (User permissions may limit
the Partition selections available).
1. Press SELECT. Keypad Displays: READ IN BADGE OR KEY IN CODE FOR SYSTEM MENUS.
2. Present a valid card or key in your access code and press ENTER.
3. Use the navigation buttons to choose REMOTE PARTITION and press ENTER.
SYSTEM MENUS
TURN CHIME ON ▲
>REMOTE PARTITION
TOGGLE AN OUTPUT
4. Use the navigation buttons to view the current status of each Partition.
5. To change the current security level status of a specific Partition, select the Partition to be
changed and press ENTER.
>REMOTE PARTITION
>A :Dis
B :Disc ▼
Note: Keypad will return to the default screen after 10 seconds of inactivity.
A small “c” following the armstate indicator for each partition (any armstate) indicates chime is
enabled for that partition.
6. After selecting the partition where the keypad is located, choose an arming status:
•DISARMED
– Keypad will now show DISARMED.
•OCCUPIED-INSTANT
– Keypad will now show PLEASE WAIT WHILE ARMING.
•OCCUPIED-DELAYED
– Keypad will now show PLEASE WAIT WHILE ARMING.
•ARMED
– Keypad will now show PLEASE WAIT WHILE ARMING.
Note: If the selected partition is remote, the system will return you to the Remote Partitions screen
after the PLEASE WAIT WHILE ARMING message with the partition status updated.
Note: The new arm state will then be displayed unless there are violations. If there are violations,
see section “Problems Arming Your System”. If there were no violations, a countdown will begin and
the Keypad will display XXX SEC TO EXIT, if OCCUPIED - DELAYED or ARMED was selected.
3.5 Toggle An Output
Toggle an output gives a user the ability to turn an already programmed Auxiliary Output ON and
OFF. The purpose of Toggle an Output is to allow “Master” level users to toggle Aux Output ON
(apply power) and OFF (remove power) to ensure that whatever device that is wired to that Aux
Output is being powered and functioning as expected.

19810016 REV C Standard and iCLASS Enhanced Keypad
Page 8
3.6 Event History
1. Use the navigation buttons to select EVENT HISTORY and press ENTER.
SYSTEM MENUS
TOGGLE AN OUTPUT ▲
>EVENT HISTORY
DELETE A USER ▼
2. Use the navigation buttons to scroll through the recent event history.
3. Press ENTER on a particular event to get a detailed description.
4. Press <CLR button to exit.
3.7 Delete A User
1. Use the navigation buttons to select DELETE A USER and press ENTER.
SYSTEM MENUS
TOGGLE AN OUTPUT ▲
>EVENT HISTORY
DELETE A USER ▼
2. Key in the access code to be deleted when prompted.
3. Press ENTER. Keypad will display: ENTER to confirm
4. Press ENTER again to confirm deletion of the selected user. The User has been deleted.
Note: Keypad automatically returns to the main display.
User Note: Users with high level permissions can perform additional functions from the keypad.
3.8 False Alarms
The cause of most False Alarm reporting is user error. Be sure to train anyone who may be using
your system, such as employees, cleaning staff or real estate agents.
Other causes for false alarms include:
•Noise sources (i.e., compressors and time clocks)
•Drafts that move plants and curtains
•Open, unlocked or loose-fitting doors and windows
•Banners/signs
•Helium-filled balloons
1. Methods to avoid false alarms
Before activating/arming your system:
–
Turn off all noise sources - radios, compressors, televisions, printers, etc.
–
Lock all protected doors and windows.
–
Keep banners/signs, balloons and fan heaters away from motion sensor areas.
–
Know how to cancel the alarm if the system activates.
–
Allow Sonitrol technicians to check and service your system regularly. Routine maintenance can
help prevent many false alarms from occurring.
–
Notify Sonitrol immediately if you think your system is not working properly.
–
Make sure everyone who uses your security system understands how it works. Anyone who has a
key to your facility should know how to operate your system.

19810016 REV C Standard and iCLASS Enhanced Keypad
Page 9
2. What if my alarm goes off accidentally?
False Alarm can occur at any time. However, your system’s configuration will also play a role in
determining which alarms can be transmitted to the monitoring console at a given time. Please
review Section 1.4 Security Levels for a better understanding of the monitoring status of each level.
•Armed - Monitors all devices
•Occupied
oInstant – Monitors the facility’s perimeter and alarms are transmitted instantly
oDelay – Monitors the facility’s perimeter and Entry/Exit delay allows for authorized
persons to leave or enter through the designated doors before sending an alarm to
the monitoring console.
•Disarmed - Monitors devices that are programmed on a 24Hr security level, such as Hold-up,
Temperature Control, Tamper switch, etc.
–
Determine if there really is an actual break-in, or a malfunctioning device.
–
Don't panic - remember your code.
–
If the alarm was accidental (while in the Arm or Occupied State) disarm your system.
–
Carefully press each number of your code. Practice, be prepared to reset.
–
After you've reset the system, call Sonitrol to report the accidental activation.
–
If your Sonitrol system is tying up your phone line, wait several seconds and try again or use an
alternate phone.
–
Don't leave your facility until you've spoken with Sonitrol personnel.
3. Recommendations to prevent False Alarms
–
Rehearse alarm cancellation with anyone who might use your system.
–
Make sure that anyone with a key to your facility knows how to operate your system.
–
Tell all users who to call when the alarm activates.
–
Keep your Sonitrol system instruction book and phone number handy.
–
Cancel all alarms that don't need emergency response.
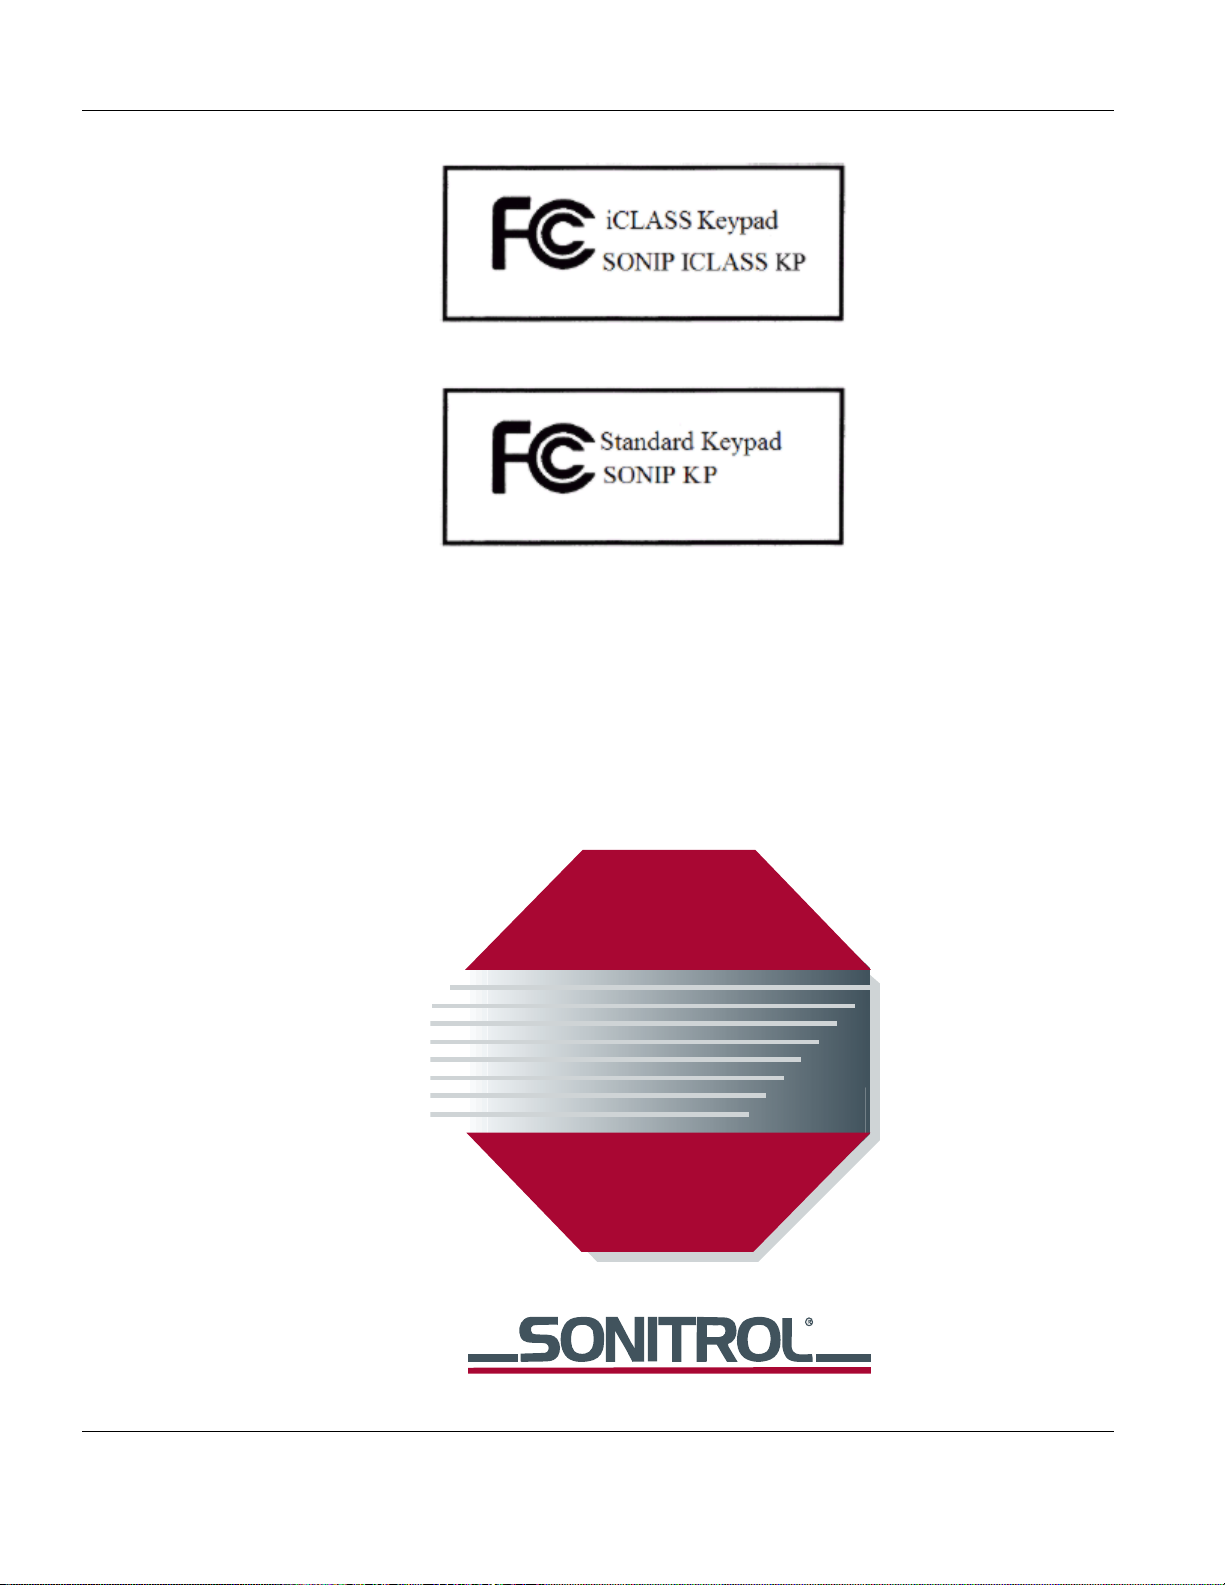
4. FCC
This product has been evaluated and complies with all A.C.T.A. requirements specified in 47 CFR
part 68 Telecommunications and Telephone Terminal Equipment.
US:241AL01B29013101
IC:7309A-29013101
19810016 REV C Standard and iCLASS Enhanced Keypad
Page 10
Table of contents


