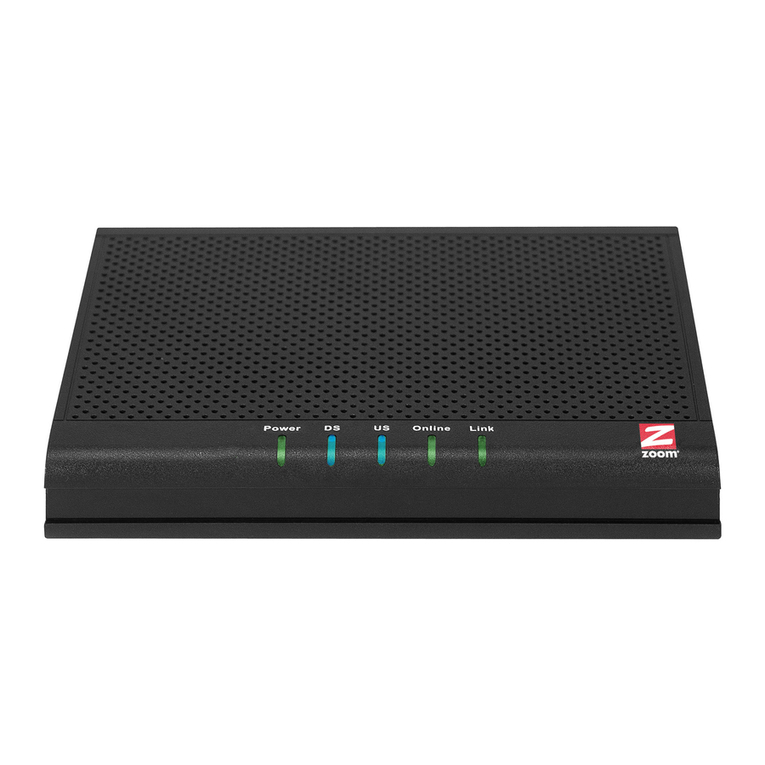
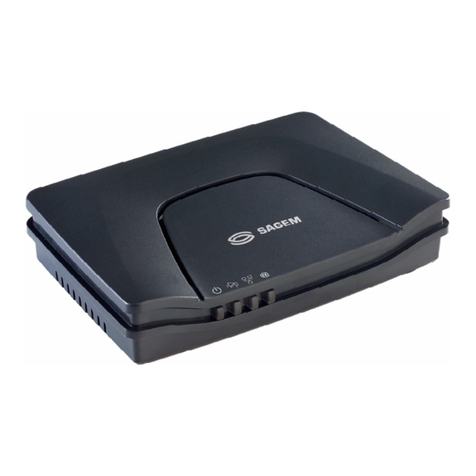
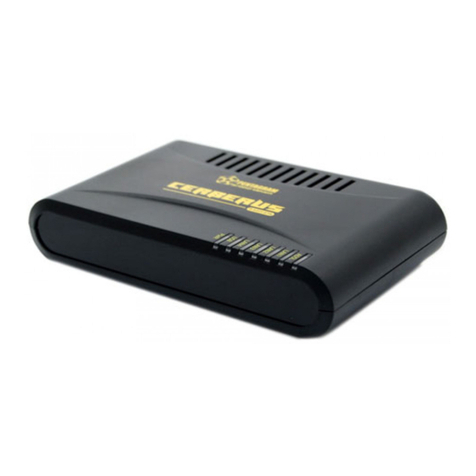
Sonitrol Cradlepoint IBR600 Series User manual

Note
Trouble Connecting?
Try using the Cradlepoint
firmware version 5.3.0
http://resource.sonitrol.com/library/
asset/document/cradlepoint-ibr600-
firmware-version-530
12VDC
Figure 4
Questions? |Contact the DASH Line
M-F 8:30AM –7:00PM EST
P: 800.654.6061
Email: [email protected]
Requirements:
Quick Install Guide
Cradlepoint IBR600
FlexIP, iBase & FlexiBase
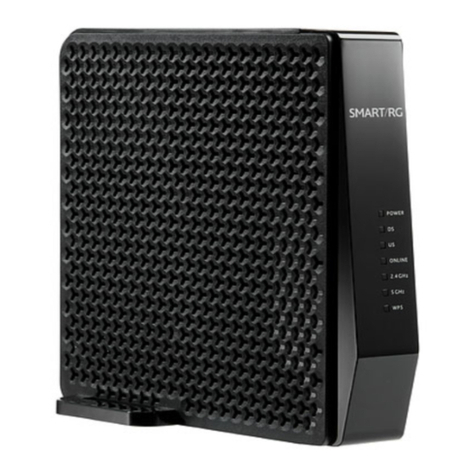
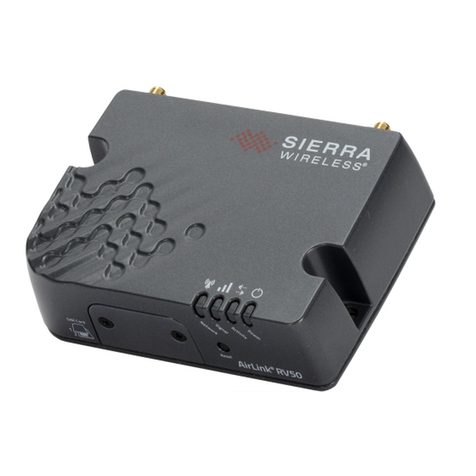
1Cradlepoint® IBR600E-SP or IBR600LE2-SP Modem (Fig. 1)
Sonitrol FlexIP, iBase, or FlexiBase control panel with Keypad (Fig. 2)
1.5A @ 12VDC available power
Personal computer with LAN adapter (Fig. 3)
Cradlepoint® configuration files:
· ”192 IBR600 dual LAN Rev A.bin”
· ”192 iBase ONLY alternate config Rev C.bin”
· “10 iBase ONLY alternate config Rev C.bin”
UL Required Hardware:
Altronix® Power Supply PN: AX-300ULXPD8
Figure 2
Figure 3
Figure 1
Pre-Install Signal Check:
2
q Insert the activated SIM card, if applicable (IBR600LE2-SP only)
q Power up the IBR600 and connect to PC via Ethernet cable. See Figure 4.
q On your PC, open a web browser and Go to the URL 192.168.0.1
q Enter the default password; found on the bottom of the IBR600. (CASE SENSITIVE)
q From the Dashboard, confirm that the Internet State = Connected.
Recommended Version Requirements:
-FlexIP 0A.07 (Boot A.03) or higher
-iBase 0A.57 (DAS “Blackfin” 0A.09) or higher
-FlexiBase 0A.17 (Boot A.03) or higher
-Keypad 0A.27 or higher
-SONIP version 3.1.47.1 or higher
Gerry Portela: Technical Support Lead
Email: [email protected]
(888) 215-1005
Josh Brown: Regional VP Sales
Email: [email protected]
(603) 422-2658
Wireless Innovations (Sprint™ Partner)
Cell connectivity, service and device technical support, and general questions.
For more information on service plans, see: PB14-0021 . Sonitrol Cell Backup and Primary with Cradlepoint IBR600
Router Configuration:
3
q Log into the IBR600. (see Step 2)
q Find the System Settings drop down.
q Select System Software.
q In the ‘System Config Save/Restore’ field, select Upload from file button.
q Select the Choose File button.
q Browse your PC for the Cradlepoint® router configuration file, named: ”192 IBR600 dual LAN.bin”
q Click the Restore Settings button.
Mounting the IBR600:
41. Install the two included modem antennas to the top antenna ports (marked with ▲) of the IBR600.
(Figure 7). Ensure they are NOT parallel to the ground; they should point towards the sky or ground.
2. With the IBR600 powered, the IBR600’s signal strength LED’s shall be used to verify signal
strength. (Figure 5)
3. Mount the IBR600 in a secure location with strong signal strength using the mounting bracket
hardware that comes included. (Figure 6)
Extra Antennas: The bottom antenna ports are for Wi-Fi
and don’t need to be installed. Leave
these antennas inside of the enclosure
so they may be used in the future if needed.
Location: DO NOT mount the IBR600 inside of the
alarm panel enclosure; signal strength will be
greatly reduced!
Figure 7
Both modem antennas shall be
connected to the top facing
ports “▲”, pointed towards the
ground or sky
Figure 6
Figure 5
Minimum of 2
bars required!
SGNL
After completing this step:
Ø IBR600 Gateway (login
URL) is changed to
192.168.0.17
Ø IBR600 password is
changed to 65535
1/13/2015 19810075 Rev A . Cradlepoint IBR600 Quick Guide 1/3

Wiring:
Questions? |Contact the DASH Line
M-F 8:30AM –7:00PM EST
P: 800.654.6061
Email: [email protected]
Quick Install Guide
Cradlepoint IBR600
FlexIP, iBase & FlexiBase
5
iBase
q Connect the iBase WAN to either Ethernet port on the IBR600
using an Ethernet cable.
NEVER connect a Module, or Keypad to the router in iBase installations!
FlexIP & FlexiBase
q Connect the FlexIP \ FlexiBase LAN to either Ethernet port on the
IBR600 using an Ethernet cable.
q Use the remaining Ethernet port to connect a module or Keypad.
Optional - Customer IP Primary w/ Cell Backup: The iBase
configuration is able to use the WAN port for a wired network connection as
primary communication, automatically making the cellular service a backup.
Customers firewall must be configured for this –See Sonitrol iBase
Installation Manual (PN:19810005) for firewall details. Refer to Step 8 of this
guide for full details on utilizing the WAN port for wired iBase network
connections.
5A Select a method below to power the IBR600. (UL or Standard)
5B Connect the IBR600 to the FlexIP, iBase or FlexiBase.
12VDC
12VDC Customer’s IP
(Optional)
Required Altronix® supervised installation:
q Cut the IBR600’s power supply cable near the transformer.
q Identify the DC polarity of each wire!
q USE CAUTION while securing the cut wires to a 12VDC Out
terminal on your AX-300ULXPD8 supervised power supply.
q Wire AC and Battery Fault loops to Sonitrol panel. Have CS
program these accordingly.
Standard power methods (2):
1. Plug the IBR600’s included transformer into a UPS.
2. Plug the IBR600’s included transformer into a 120VAC outlet.
WARNING: If AC power to the IBR600 transformer fails while using
method 2 above and no phone line is configured for Sonitrol panel, the
only way to identify the failure will be a No Contact Alarm one hour after
the panel misses its next scheduled Contact Check.
Customer’s
IP
for FlexIP
WARNING: If the IBR600 fails
for any reason (including power
outage), modules which pass
data through the IBR600 to the
FlexIP / FlexiBase will go down
while the IBR600 is down. A
battery backup is always
recommended. Refer to 5A for
details on battery backup.
Panel Programming:
6Enter your Technician Code to access the
‘System Menus\Programming Mode\Comms
Info’ menu.
In ‘Comm Sequence’
select the choice that
applies to your
installation and
ensure that Central
Station has
programmed the
same option as you.
q Enter your account information, and your Central Stations unique NNC#, RX
IP 1, RX PORT 1, SONIP IP 1, SONIP IP 2.
q iBase, or FlexIP connected via WAN port: DHCP = 1
Leave DHCP = 0 if using FlexiBase, or Comm Sequence 5, 6, or 7.
q Exit the Keypad System Menus.
Ensure that Central Station applies the following programming values to the account:
q Provide CS with MEID (back of router) and ICCID if applicable (on SIM card)
q In SonIP: Polling Frequency = 75, ACK Wait = 40 (Non-UL Certified)
q In D6200: Panel Poll = 315, Ack Wait = 40 (Non-UL Certified)
q Download panel options from SonIP Central Station.
Value 1st Path 2nd Path 3rd Path
2IP - -
3 Modem IP -
4IP Modem -
5* IP Cell -
6* IP Cell Modem
7* Cell - -
*Only available on FlexIP.
Comm Sequence
(Optional)
Connect to FlexIP’s WAN
instead of LAN, if using
Comm Sequence 3.
1/13/2015 19810075 Rev A . Cradlepoint IBR600 Quick Guide 2/3

Questions? |Contact the DASH Line
M-F 8:30AM –7:00PM EST
P: 800.654.6061
Email: [email protected]
Test:
Quick Install Guide
Cradlepoint IBR600
FlexIP, iBase & FlexiBase
7
q Central Station must Reset the Panel.
q Remove all other communications from the panel, leaving only the Cellular.
q Send a Test Signal from a keypad. Ensure that Central Station receives this.
q Arm a partition and send an Audio Activation. Ensure the Central Station can hear the audio clearly.
q Central Station must Reset the Panel and confirm that there are no alarms reporting.
q Reconnect all communication paths.
q Log into router via web browser, and save a screenshot of the Status/Dashboard for your records.
Using wired internet through the IBR600 to the iBase:
8
WARNING
While servicing, downloading,
or uploading a Cell equipped
panel, disconnect the
Cradlepoint router so that
data usage does not exceed
the wireless data limit!
8A. Obtain a valid IP address, Gateway, Subnet Mask, and DNS Server from the customer’s network administrator.
iBase ONLY STEP (Not applicable on FlexiBase)
8B. Apply the necessary Cradlepoint configuration file.
1. Unplug the iBase WAN cable from the IBR600 LAN port and
connect your PC in its place.
2. Log into the router:
· Open a web browser on your PC and go to address: 192.168.0.17
· Enter the password: 65535
3. Find the System Settings drop down.
4. Select System Software.
5. In the ‘System Config Save/Restore’ field, select Upload from file
button.
6. Select the Choose File button.
7. Browse your PC for the Cradlepoint® router configuration file,
named: “10 iBase ONLY alternate config Rev C.bin”.
Note: If IP address provided falls within the range of
10.0.0.1 –10.0.127.255 , use the file
”192 iBase ONLY alternate config Rev C.bin”instead.
8. Click the Restore Settings button.
8C. Assign the IP Address to the IBR600
1. In a web browser, go to “192.168.0.17” or “10.0.0.17".
2. Log into the router using the password 65535.
3. Expand the Internet tab, and select Connection Manager.
4. In the WAN Interface area, select Ethernet: Ethernet 1.
5. Select the Edit button.
6. In the WAN Configuration window, select the Ethernet Settings tab.
7. Change the Connection Method drop-down to Static (Manual).
8. Fill in the blank fields using the information provided from the
customer.
Note: If no Primary DNS Server was provided, then use a public DNS
such as: 8.8.8.8.
9. Select the Submit button.
10. Verify successful network connection:
q Go to the Connection Manager window
q Ensure that a green circle is beside Ethernet: Ethernet 1
q Ensure the State column shows Connected.
8D. Test the new WAN connection.
1. Disconnect the RJ-11 dial modem cable from the iBase if connected.
2. Connect the iBase WAN to the IBR600's LAN
3. Connect the wired internet connection to the IBR600's WAN Port (right)
4. Log into router, from Internet>Connection Manager, un-check the enabled checkbox for everything except “Ethernet: Ethernet 1".
(Cell must be disabled to test the wired network).
5. Ensure that your iBase is able to :
6. Restore all communication paths to your panel, including those cell paths that were disabled from the IBR600's web interface.
7. Log into router via web browser, and save a screenshot of the Status/Dashboard for your records.
q Send a Test Signal
q Receive an Options Download
q Arm
q Send Audio for more than 75 seconds continuously
q Accept a Reset Panel command from SonIP
1/13/2015 19810075 Rev A . Cradlepoint IBR600 Quick Guide 3/3
This manual suits for next models
2
