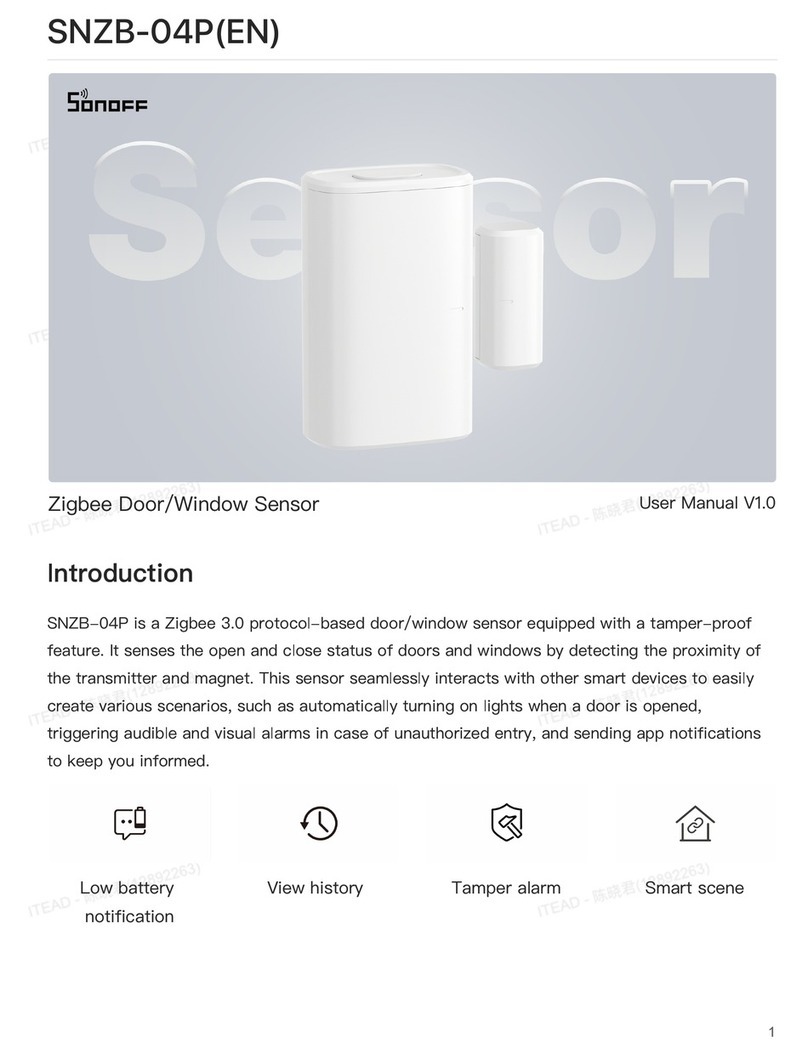
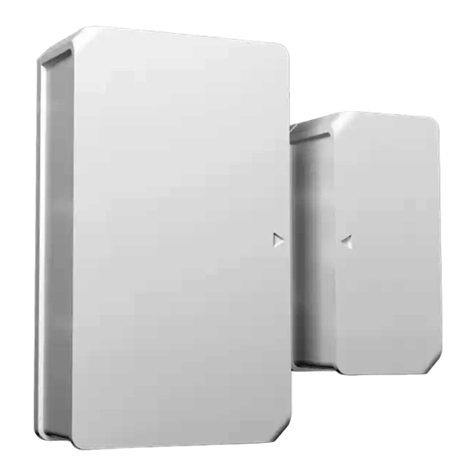
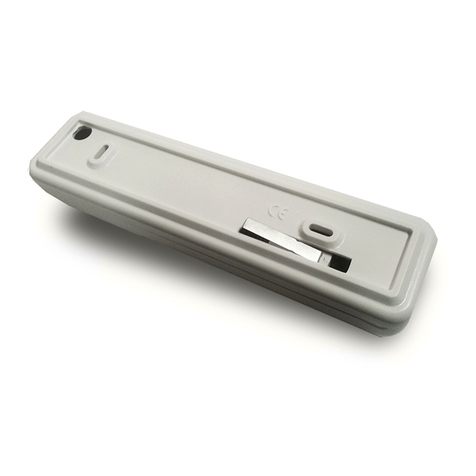
Sonoff DW2-Wi-Fi User manual

DW2-Wi-Fi
Instrukcja V 1.0
Bezprzewodowy sensor Wi-Fi
na drzwi/okna
PL > EN > DE > ES > FR > IT > RU > PT

1
eWeLink
eWeLink
Pobierz aplikację
Download APP
APP herunterladen
Descargar la aplicación
Télécharger l'application
Scarica la APP
Cкачать приложение
Baixe o APP
1

Zamontuj akumulator
2Install batteries
Batterien einbauen
Coloque las baterías
Installer les piles
Installazione delle batterie
Установка батареек
Instale as baterias
2-1
2
Wyjmij tylną pokrywę nadajnika.
Remove the back cover of the transmitter.
Entfernen Sie die Rückwand des Senders.
Quite la tapa trasera del transmisor.
Retirer le couvercle arrière de l'émetteur.
Rimuovere il coperchio posteriore del
trasmettitore.
Удалите заднюю крышку передатчика.
Remova a tampa de trás do transmissor

2-2
3
Insert batteries into the battery compartment
based on identifiers of positive and negative
poles.
Batterien in das Batteriefach einlegen anhand
der Kennzeichnung der Plus- und Minuspole.
Coloque las baterías dentro del compartimento
de batería En función de los identificadores de
polos positivos y negativos.
Insérer les piles dans le compartiment à piles en
fonction des identificateurs des pôles positif et
négatif.
Inserire le batterie nel vano batterie in base agli
identificatori dei poli positivo e negativo.
Вставьте батарейки в отсек для батареекс
учетом идентификаторов положительного и
отрицательного полюсов.
Insira as baterias no lugar adequado
identificando os polos positivos eosnegativo.
Włóż akumulatory do odpowiedniego
przedziału. Miej na na uwadze odpowiedni
kierunek biegunów.
>

3
4
Zamontuj urządzenie
Install the device
Installieren Sie das Gerät
Instale el dispositivo
Installer l'appareil
Installazione del dispositivo
Установите устройство
Instale o dispositivo
3-1
Schließen Sie die Rückabdeckung.
Cierre la tapa trasera.
Fermer le couvercle arrière.
Chiudere il coperchio posteriore.
Закройте заднюю крышку.
Close the back cover.
Coloque a tampa de novo.
2-3
Zamknij tylną pokrywę.

Intentealinear la línea del imán con la que se
encuentra en el transmisor durante la instalación.
Essayer d'aligner la ligne de repère sur l'aimant
avec celle du l'émetteur lors du montage.
Cercare di allineare la linea di riferimento sul
magnete con quella del trasmettitore, durante
l'installazione.
Zedrzyj folię ochronną z taśmy przylepnej 3M
Tear off the protective film of the 3M adhesive.
Die Schutzfolie des 3M-Klebstoffs abreißen.
Quite la lamina protectora del adhesivo 3M.
Déchirer le film protecteur de l'adhésif 3M.
Rimuovere la pellicola protettiva dell'adesivo 3M.
Оторвите защитную пленку наклейки 3M.
Retire o adesivo de proteção do 3M.
3-2
Try to align the mark line on the magnet with
that on the transmitter during installation.
Versuchen Sie die Markierungslinie auf dem
Magneten bei der Montage mit der auf dem
Sender auszurichten.
5
Dopasuj oznaczenie na magnesie do
oznaczenia na nadajniku.

Во время установки попытайтесь совместить
линию отметки на маг н и т е сл и н ией на
передатчике.
Tente alinhar a marca de linha do imã com a do
transmissor durante a instalação.
Zamontuj je osobno w strefie otwierania i
zamykania.
Install them in the opening and closing area
separately.
Installieren Sie sie im Öffnungs- und
Schließbereich getrennt.
Instálelos por separado en el área de apertura
y de cierre.
Install them in the opening and closing area
separately.
Installarli separatamente nell'area di apertura
e di chiusura.
Устанавливайте их в област и открытия и
закрытия отдельно.
Instale-os na área de abertura e fechamento
separadamente
6
3.3

Make sure the installation gap is less than 5mm when
the door or the window is closed.
Achten Sie darauf, dass der Einbauspalt bei
geschlossener Tür oder geschlossenem Fenster
weniger als 5 mm beträgt.
Asegúrese de que la brecha de instalación sea menor
a 5mm cuando la puerta o ventana esté cerrada.
S'assurer que l'espace d'installation est inférieur à
5 mm lorsque la porte ou la fenêtre est fermée.
assicurarsi che la distanza di installazione sia inferiore
a 5 mm quando la porta o la finestra sono chiuse.
зазор при у ста новке должен быть менее 5 мм,
когда за крыта две рь или ок но.
7
<5mm
Certifique-se de que o espaço da instalação, quando
portas ou janelas estiverem fechadas, seja de pelo
menos 5mm.
Upewnij że przerwa pomiędzy elementami jest
mniejsza niż 5mm po zamknięciu.

4Enter pairing mode
Kopplungsmodus eingeben
Entre en modo emparejamiento
Entrer en mode d'appariement
Entrare in modalità di accoppiamento
Вход в режим связывания устройств
Entre no modo de pareamento
Wejdź w tryb parowania
Long press the pairing button on the transmitter
for 5s with the eject pin until the LED indicator
flashes, then the device enters the pairing
mode.
Drücken Sie die Kopplungstaste am Sender
5 Sekunden lang mit dem Auswurfstift, bis die
LED-Anzeige blinkt, dann geht das Gerät in
den Kopplungsmodu.
8
Przytrzymaj przycisk parowania na nadajniku
przez 5s za pomocą igły aż dioda LED będzie
migać i urządzenie wejdzie w tryb parowania.

Appuyer longuement sur le Bouton d'appairage
du l ' é met t e ur p e n dan t 5 s av e c l a br o c he
d'éjection jusqu'à ce que le voyant LED clignote,
puis l'appareil passe en mode d'appairage.
Premere a lungo il Pulsante di accoppiamento
sul trasmettitore per 5 sec. con il pin di espulsione
fino a quando l'indicatore LED lampeggia, in
questo modo il dispositivo entra in modalità
di accoppiamento.
В ы п о л н я й т е д о л го е н а ж а т и е кн о п к а
сопряжения на передатчике в течение 5 с
выталкивающей шпилькой, пока не начнет
мигать светодиодный индикатор. После
эт о го ус т р о й с т в о пе р е х од и т в ре ж и м
связывания устройств.
9
P r e s s i o n e n o t r a n s m i s s o r o b o t ã o d e
pareamento por 5 segun dos com pino de
ejetar até que o indicador LED pisque, então
o dispositivo entrou em modo de pareamento.
Presione de manera sostenida el botón de
del transmisor durante 5 emparejamiento
segundos con el pin de expulsión hasta que
el indicador LED parpadee, luego el dispositivo
entra en modo de emparejamiento.

Dodaj urządzenie
Add the device
Gerät hinzufügen
Añadir el dispositivo
Ajouter l'appareil
Aggiungere il dispositivo
Добавить устройство
Adicione o aparelho
5
Qui ck Pairi ng
WIFI devices can be added in this mo
de(make sure the device is in pairing
mode).
Add D evice
Sca n QR code
GSM devices and devices with QR co
de can be added in this mode.
Bluetooth Connect
Con nect a bl uetoo th devi ce in thi s
mod e.
Comp atibl e Pairi ng Mode (AP)
Naciśnij "+" i wybierz "Bluetooth connect",
następnie podążaj według instrukcji.
Tap “+” and select “Bluetooth connect”, then
operate following the prompt on the APP.
Tippen Sie auf „+“, wählen Sie „Bluetooth
verbinden“ und arbeiten Sie dann gemäß der
Aufforderung auf der APP.
10

Tapez sur « + » et sélectionnez « Connexion
Bluetooth », puis suivez l'invite sur l'application.
Toccare “+” e selezionare “Connessione
Bluetooth”, quindi procedere seguendo le
indicazioni dell'APP.
Коснитесь «+» и выберите «Соединение
Bluetooth», затем выполняйте действия
после появления подсказки в приложении.
Toque “+” e selecione “conectar bluetooth”
então prossiga seguindo as instruções do
aplicativo.
Pulse “+” y seleccione “Conectar al Bluetooth”,
luego opere siguiendo las indicaciones de la
aplicación.
11

Escanee el código QR o visite el sitio web
para consultar la guía del usuario detallada.
Scannez le code QR o u visitez le s i te web
pour c onsulter l e guide détaillé.
Scansionare il codice QR o visita il sito web
per consultare la guida utente dettagliata.
Сканируйте этот QR-код или перейдите на
наш веб-сайт для просмотра подробного
руководство пользователя.
12
Scaneie o código QR ou visite o nosso website
para consultardetalhadamente o guia do usuário.
Scannen Sie den QR-Code oder besuchen Sie
d i e We b s i t e u m a u f d i e d e t a i l l i e r t e
Bedienungsanleitung zuzugreifen.
Instrukcja obsługi
https://www.sonoff.tech/usermanuals
Scan the QR code or visit the website to learn
about the detailed user guide.
Zeskanuj kod QR lub odwiedź stronę
internetową aby pobrać poszerzoną instrukcję.

14
Niniejszym, Shenzhen Sonoff Technologies
Co., Ltd. orzeka iż urządzenie radiowe DW2-
Wi-Fi jest zgodne z rozporządzeniem 2014/53/
EU. Pełny tekst deklaracji zgodności jest
dostępny pod adresem:
https://www.sonoff.tech/usermanuals

15
Shenzhen Sonoff Technologies Co., Ltd.
1001, BLDG8, Lianhua Industrial Park, Shenzhen,
GD, Chiny
ZIP code: 518000 Oficjalna strona: sonoff.tech
MADE IN CHINA
Częstotliwość TX:
WiFi:
Częstotliwość RX:
WiFi:
Częstotliwość BLE :2402-2480MHz
2412-2462MHz(802.11b)
2412-2462MHz(802.11b)
Wszelkie prawa zastrzeżone. Niniejsza
instrukcja jest własnością firmy INNPRO.
Kopiowanie i dystrybucja w celach
komercyjnych, całości lub części instrukcji bez
zezwolenia zabronione.
Other manuals for DW2-Wi-Fi
5
Table of contents
Other Sonoff Security Sensor manuals
