SET UP RADIO CD USB
Location of controls and basic operations /
Detaching the front panel
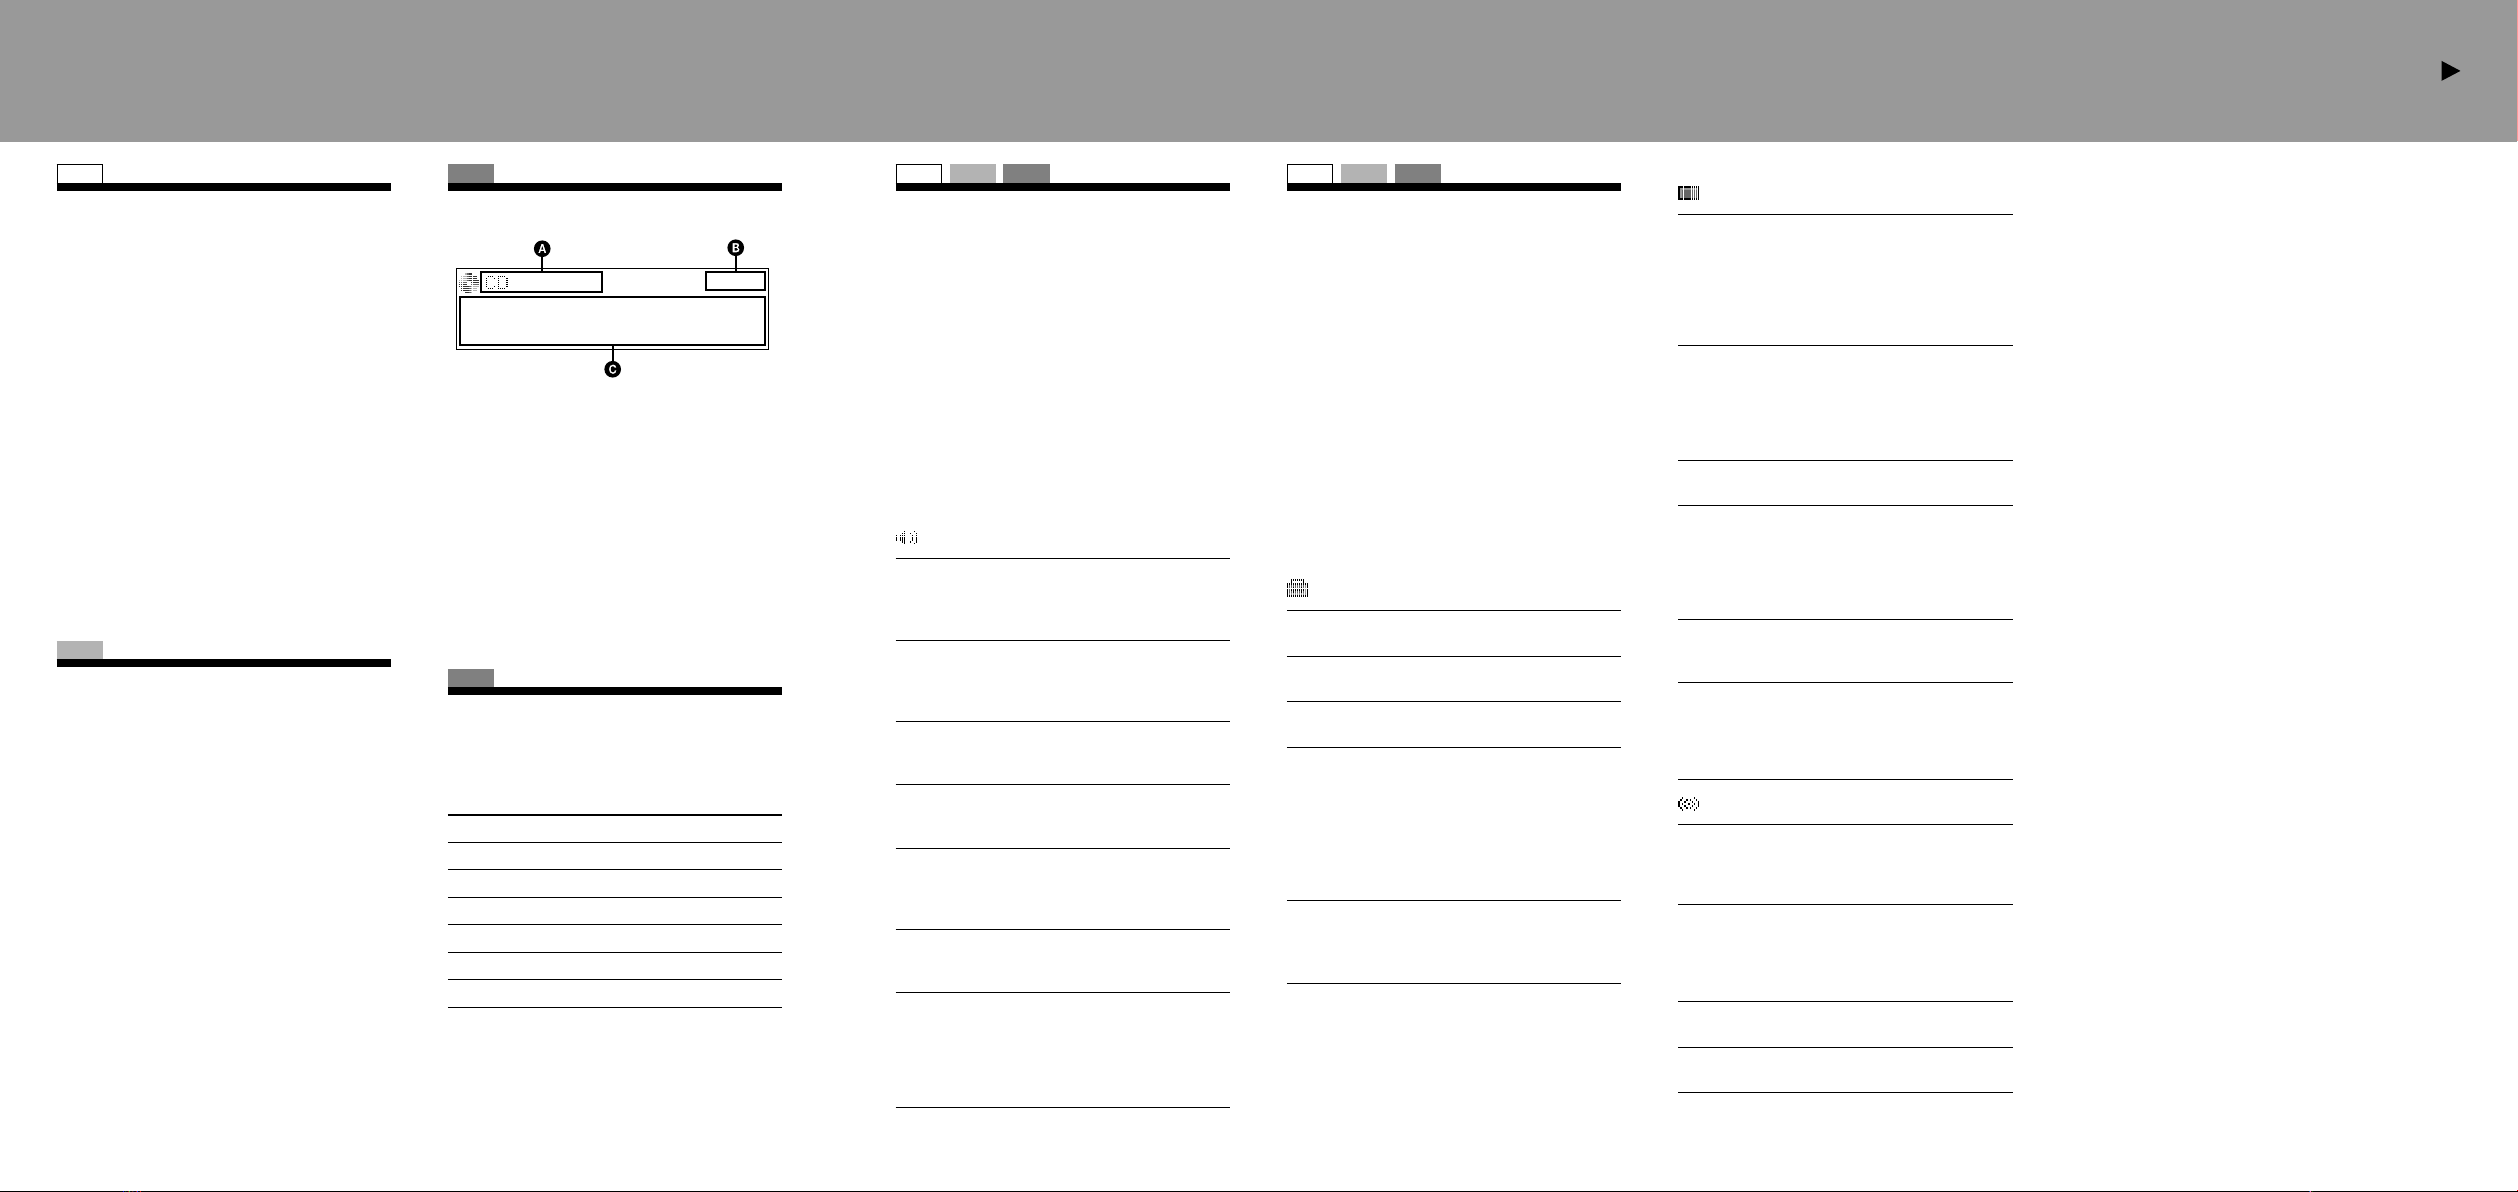
Display
Auto Image
To set various display images.
– “All”: to step repeatedly through the display
images in all display modes.
– “Movie” (): to display a movie.
– “SA”: to display the Spectrum analyzer.
– “off”: to not display any image.
Info (Information)
To display the items (depending on the source, etc.).
– “Simple” (): to not display any items.
– “All”: to display all items.
– “Clear”: to have items automatically
disappear.
Demo*1(Demonstration)
To set “on” () or “off.”
Dimmer
To change the brightness of the display.
– “Auto” (): to dim the display automatically
when you turn lights on.
– “on”: to dim the display.
– “off”: to deactivate the dimmer.
Illumination
To change the illumination color: “Blue” () or
“Red.”
Auto Scroll
To scroll long displayed item automatically
when the disc/album/group/track is changed.
– “on” (): to scroll.
– “off”: to not scroll.
Receive Mode
Local (Local Seek Mode)
– “off” (): to tune normal reception.
– “on”: to only tune into stations with stronger
signals.
Mono*2(Monaural Mode)
To improve poor FM reception, select monaural
reception mode.
– “off” (): to hear stereo broadcast in stereo.
– “on”: to hear stereo broadcast in monaural.
Regional*2
To set “on” () or “off.”
BTM
To store radio stations automatically.
*1 When the unit is turned off.
*2 When FM is received.
CD
Display items for CD
Source (CD/ATRAC/WMA/MP3/AAC)
indication
Clock
Track/album/group number, disc/artist/album/
group/track name, Elapsed playing time,
information
*Album/group number is displayed only when the
album/group is changed.
To change display items , press ;
scroll display items , press on the
card remote commander or set “Auto Scroll on.”
CD
Repeat and shuffle play
1During playback, press (REP)
or (SHUF) repeatedly until the
desired setting appears.
Select To play
Repeat Track track repeatedly.
Repeat Album*1album repeatedly.
Repeat Group*2group repeatedly.
Shuffle Album*1album in random order.
Shuffle Group*2group in random order.
Shuffle Disc disc in random order.
*1 When an MP3/WMA/AAC is played.
*2 When an ATRAC CD is played.
To return to normal play mode, select “Repeat
off” or “Shuffle off.”
Adjusting the sound
characteristics
1Press .
2Rotate the volume control dial until
the desired menu item appears, then
press .
3Rotate the volume control dial to
select the setting, then press .
The setting is complete.
After 3 seconds, the setting is complete and
the display returns to normal play/reception
mode.
The following items can be set:
“” indicates the default settings.
EQ3 parametric
To select an equalizer type: “Xplod,” “Vocal,”
“Edge,” “Cruise,” “Space,” “Gravity,” “Custom”
or “off” ().
DSO
To select the DSO mode: “1,” “2,” “3” or “off”
(). The larger the number, the more enhanced
the effect.
Balance
To adjust the balance between the right and left
speakers: “R10” – “0” () – “L10”
Fader
To adjust the balance between the front and rear
speakers: “F10” – “0” () – “R10”
Subwoofer
To adjust the subwoofer volume: “+10” – “0”
() – “–10”
( “–
8
” is displayed at the lowest setting.)
LPF (Low Pass Filter)
To select the subwoofer cut-off frequency: “off”
(), “125Hz” or “78Hz.”
AUX Level*
To adjust the volume level for each connected
auxiliary equipment. This setting negates the
need to adjust the volume level between sources.
Adjustable level: “+18 dB” – “0 dB” () –
“–8 dB”
*When AUX source is activated.
SET UP RADIO CD USB
Adjusting setup items — MENU
1Press .
2Rotate the volume control dial until
the desired menu item appears, then
press .
3Rotate the volume control dial to
select the setting, then press .
The setting is complete.
4Press .
The display returns to normal play/reception
mode.
Note
Displayed items will differ, depending on the source
and setting.
The following items can be set:
“” indicates the default settings.
Setup
Clock Adjust
To set the clock.
CT (Clock Time)
To set “on” or “off” ().
Beep
To set “on” () or “off.”
RM (Rotary Commander)
To change the operative direction of the rotary
commander controls.
– “NORM” (): to use the rotary commander in
the factory-set position.
– “REV”: When you mount the rotary
commander on the right side of the steering
column.
Auto Off
To shut off automatically after a desired time
when the unit is turned off: “NO” (), “30 Sec,”
“30 min” or “60 min.”
SET UP
Setting the clock
The clock uses a 24-hour digital indication.
1Press .
2Rotate the volume control dial until
“Clock Adjust” appears, then press
.
The clock adjustment display appears.
3Rotate the volume control dial to set
the hour and minute.
To move the digital indication, press
+/–.
4After setting the minute, press
.
The clock starts.
Tip
You can set the clock automatically with the RDS feature.
For details, see “Adjusting setup items” on this sheet,
and set to “CT on” (Clock Time).
RADIO
Storing stations automatically
— BTM
The unit selects strong signal stations and stores
them. You can store up to 6 stations per band
(FM1, FM2, FM3, MW, or LW).
Caution
When tuning in stations while driving, use Best
Tuning Memory (BTM) to prevent an accident.
1Press repeatedly until
“TUNER” appears.
To change the band, press
repeatedly. You can select from FM1, FM2,
FM3, MW or LW.
2Press .
3Rotate the volume control dial until
“BTM” appears, then press .
The unit stores stations in order of frequency
on the number buttons.
A beep sounds when the setting is stored.


