10 When Simple Mode is not Used
When Simple Mode
is not Used
Setting the projector
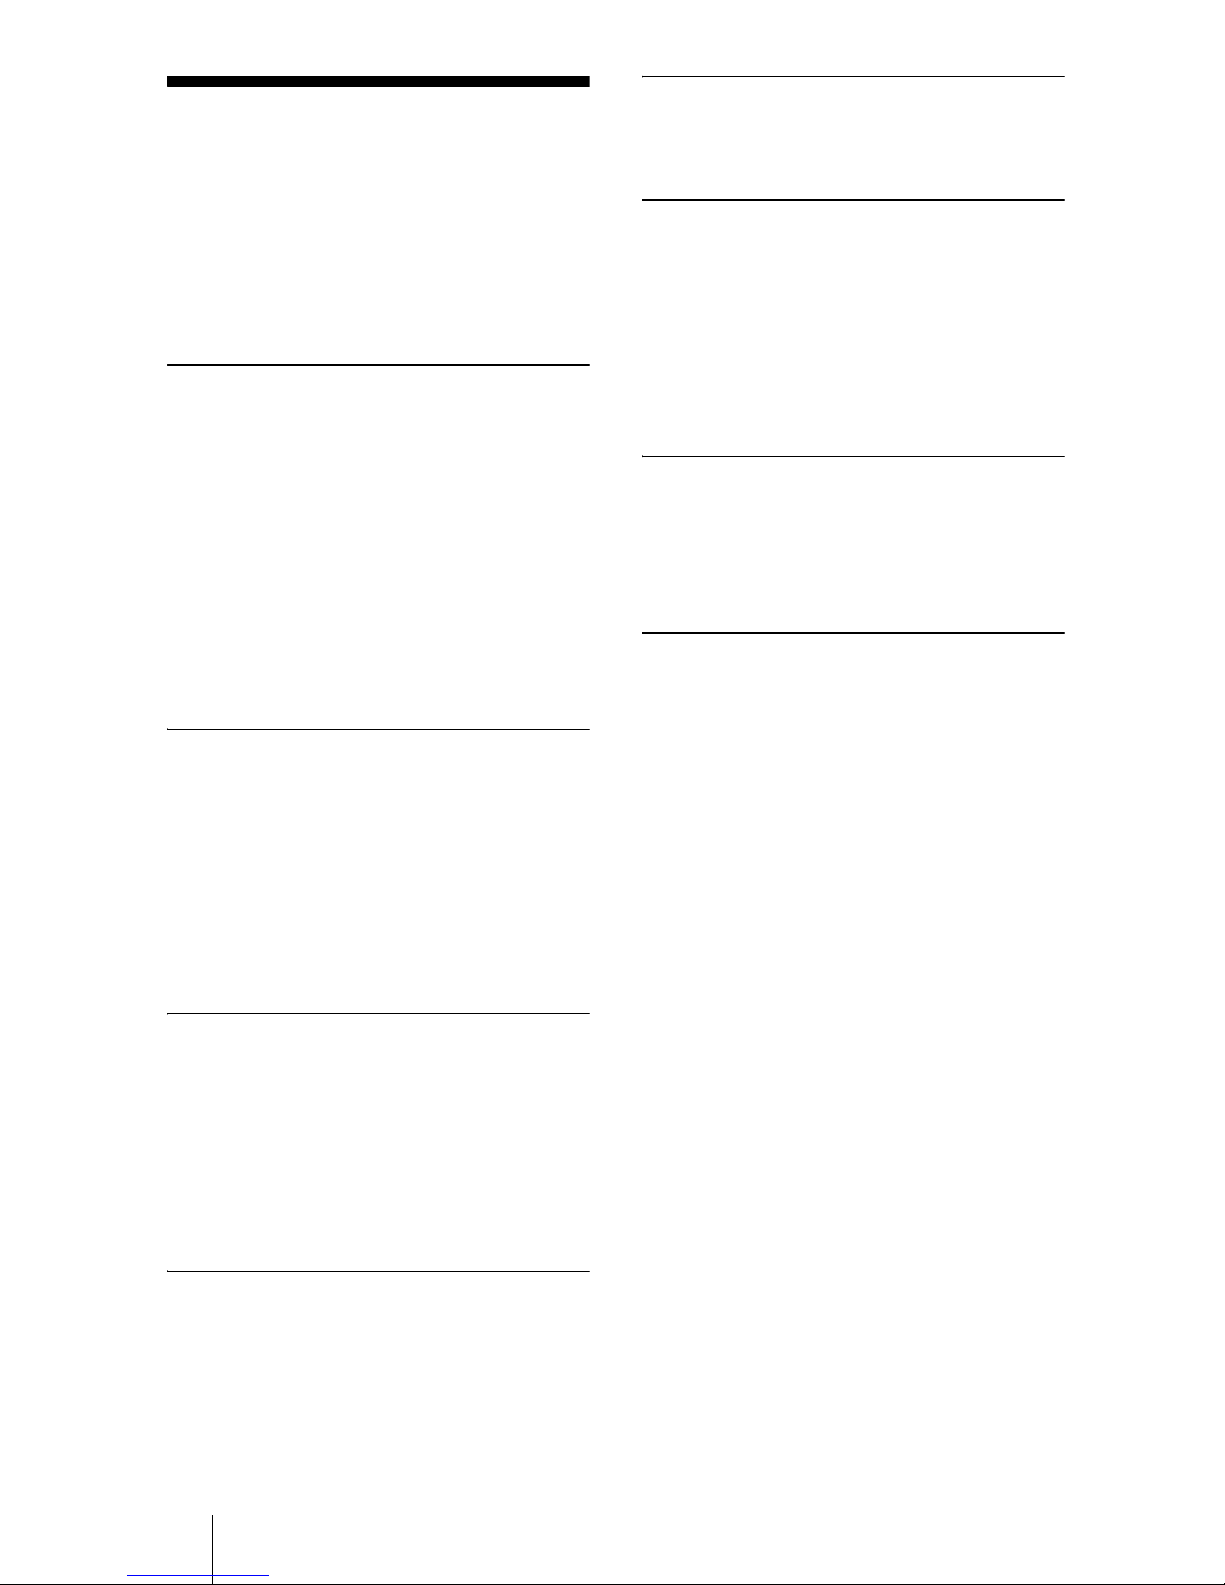
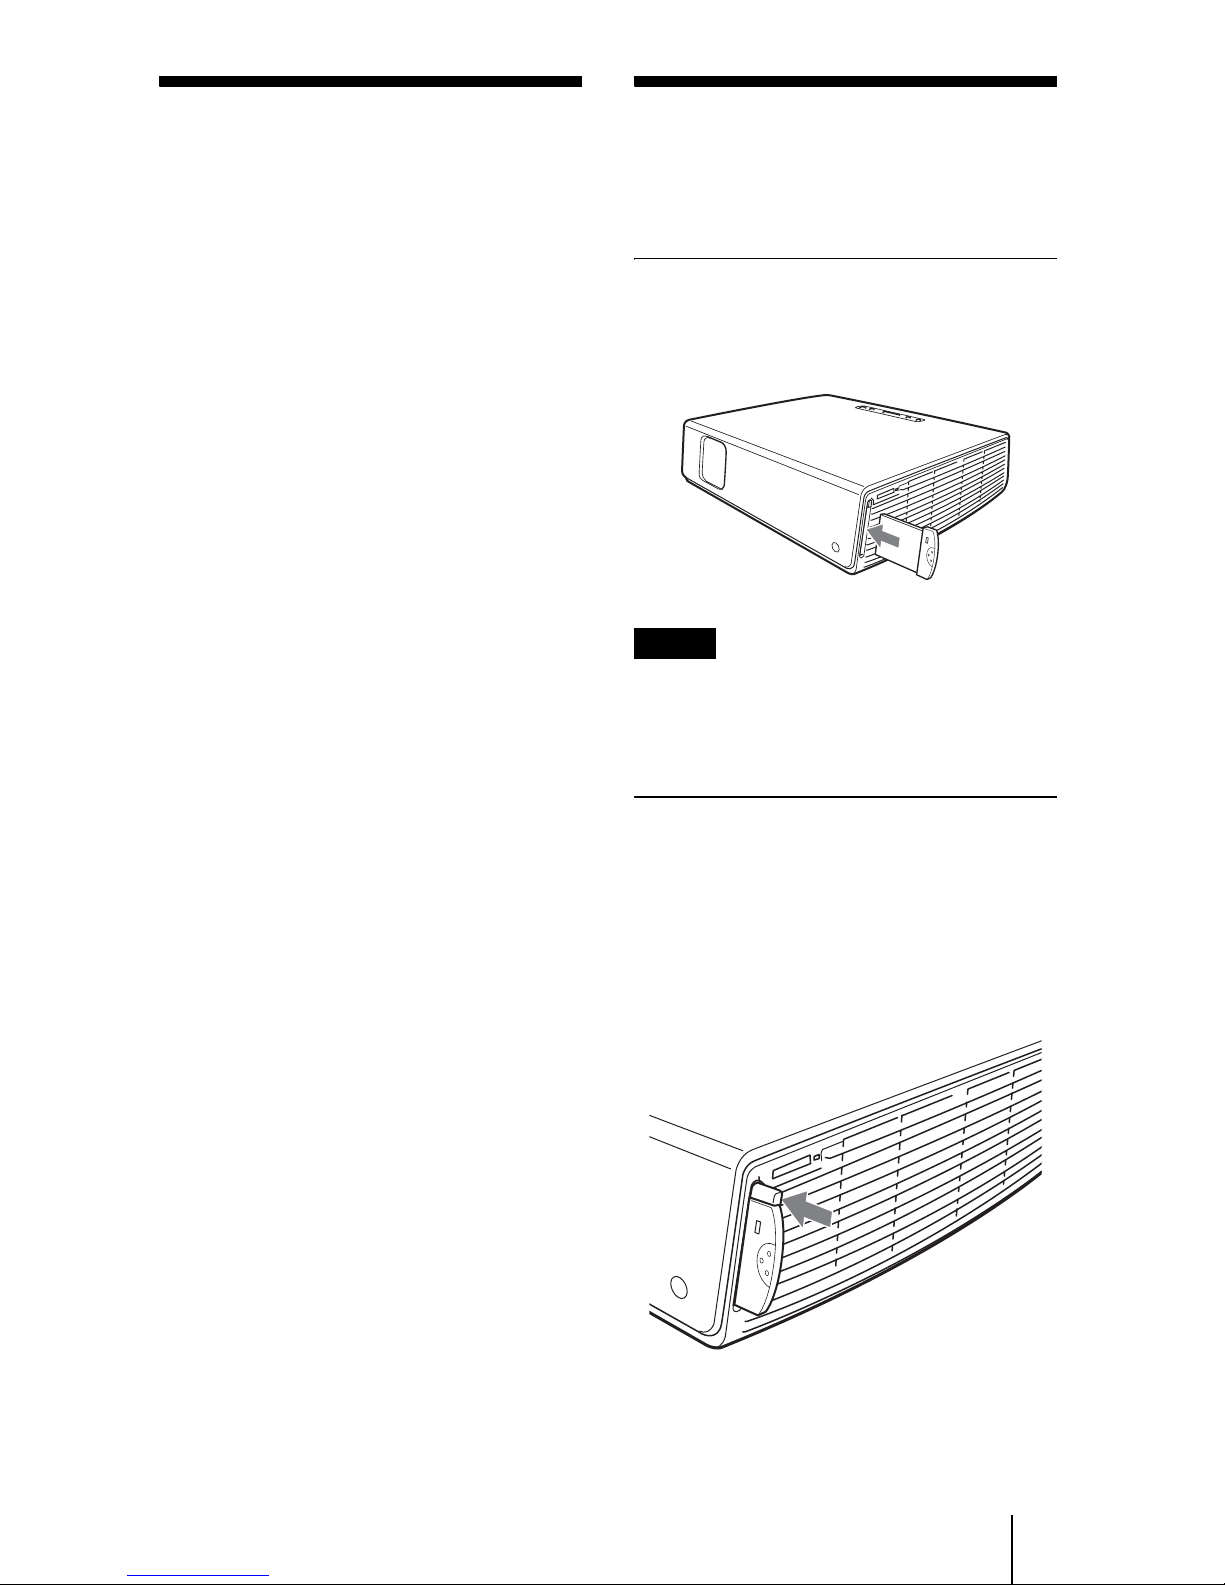
1Insert the supplied wireless LAN card
into the slot of the projector.
2Turn on the projector.
3Press the AIR SHOT key on the
remote commander.
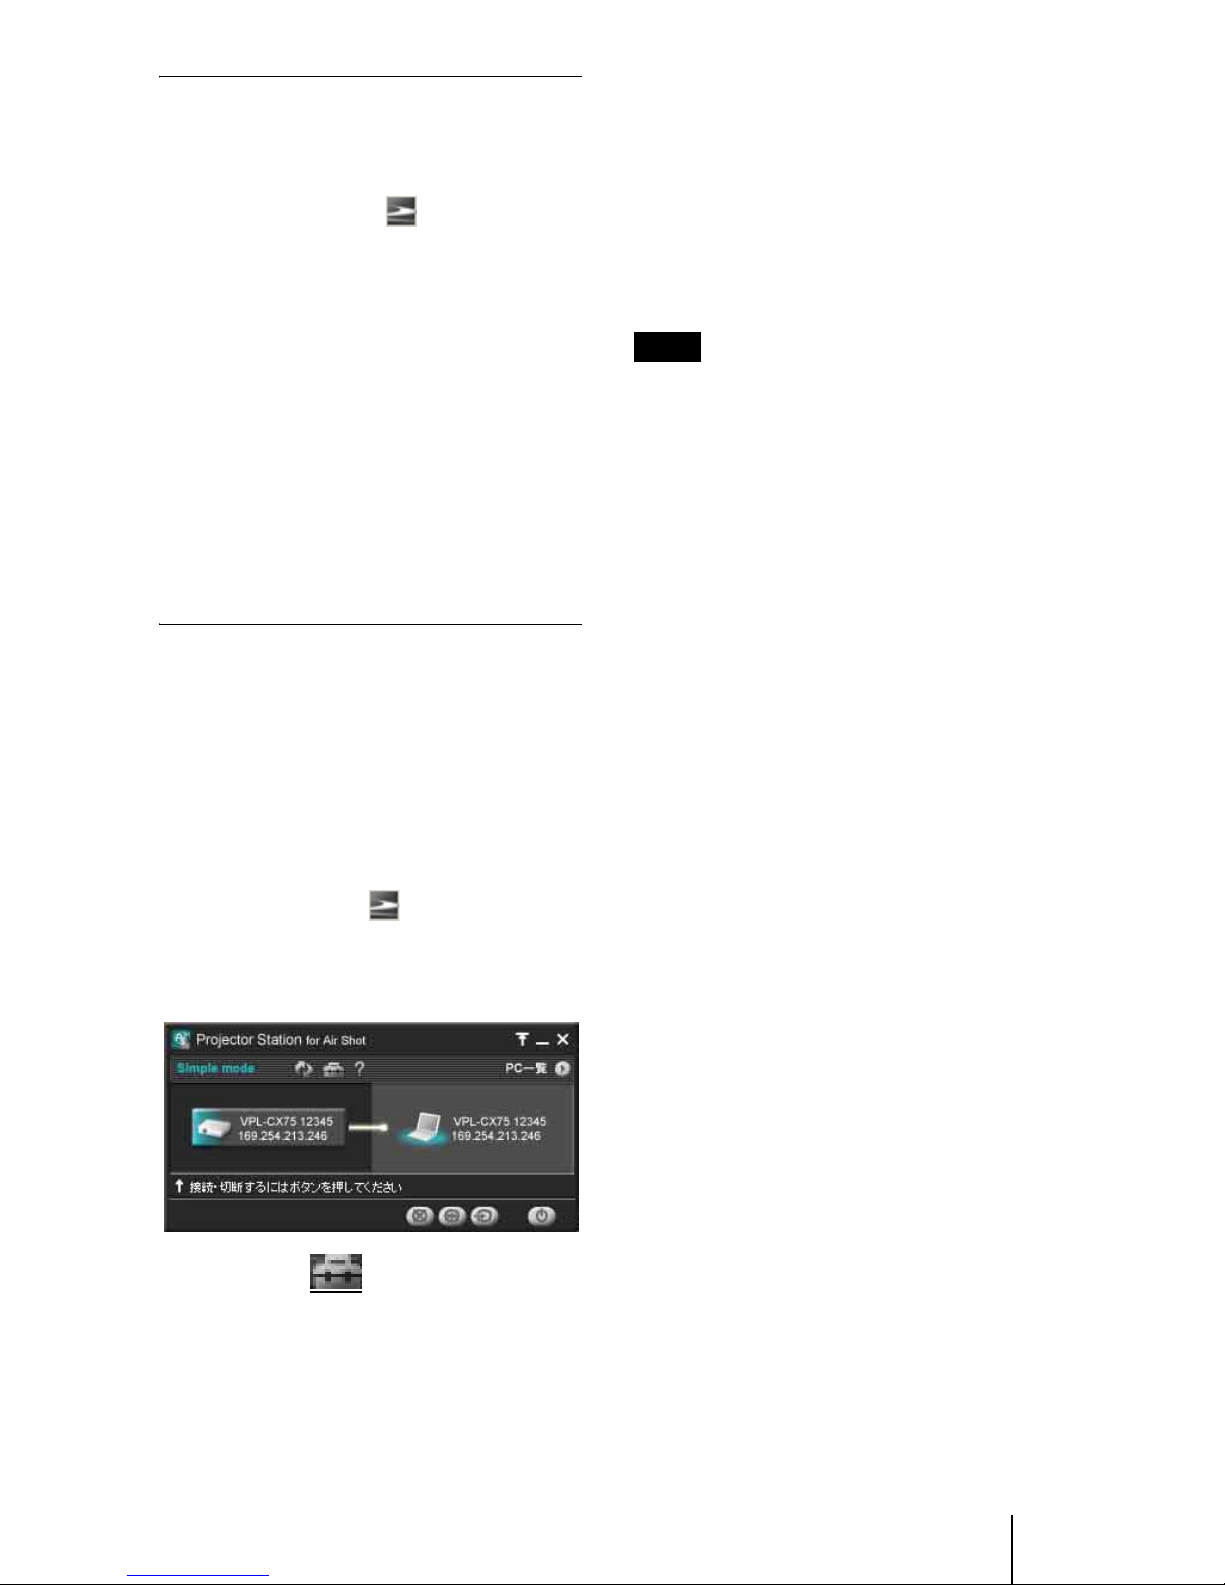
The home display of Air Shot appears.
If the home display does not appear,
select [Air Shot] in [INPUT C
FUNCTION] of the “SET SETTING”
menu.
For details of the “SET SETTING”
menu, see the attached Operating
Instructions.
4Press the ENTER key.
The setting menu display appears.
5Select [Off] in [Simple Mode] and set
[User Setting].
User Name: the settingitems can be saved.
There are five memories and you can
select from among [User 1] to [User 5].
When you want to change the user name,
see “Projector setting” on page 14
(“Setting/Operating the Projector from
the Computer (via Web)”).
Network Mode: select [Ad-hoc (Peer-to-
peer)] or [Wireless Access Point].
• Ad-hoc (Peer-to-peer): for wireless
LAN connection without the access
point
• Wireless Access Point: for wireless
LAN connection with the access point
Network Name (SSID): enter the same
network name as that of the connected
computer.
A maximum of 32 characters/numbers
can be entered.
Network Channel: when [Ad-hoc (Peer-
to-peer)] is selected in [Network Mode],
you can select from 1 to 11.
When [Wireless Access Point] is
selected in [Network Mode], [Auto] is
selected automatically.
• If the USB wireless LAN module is
connected to the computer, remove it before
setting.
• You may not be able to use some channel
according to the country.
Data Encryption (WEP): select the data
encryption system.
You can select from among [Off], [64
(40) bit ASCII], [128 (104) bit ASCII],
[64 (40) bit HEX], [128 (104) bit HEX].
When [Off] is selected, [Key] becomes
invalid.
Key: when [Data Encryption (WEP)] is
used, enter the key.
Enter the same key as that of the
computer.
The number of the characters/figures is
due to the setting of the [Data
Encryption (WEP)].
• 64 (40) bit ASCII: max. five
characters
• 128 (104) bit ASCII: max. 13
characters/numbers from 0 to F
• 64 (40) bit HEX: max. ten characters/
symbols
• 128 (104) bit HEX: max. 26
characters/numbers from 0 to F
IP Address Setting: select [Auto
(DHCP)] or [Manual].
When the [Manual] is selected, set [IP
Address], [Subnet Mask] and [Default
Gateway].
A DHCP server is needed to make DHCP
valid.
Simple Mode
Setting
Ok
Cancel
Off
User Name : User 1
Network Mode : Ad-hoc (Peer-to-peer)
Network Name (SSID) : VPL1234
Network Channel : 11
Data Encryption (WEP) : Off
Key :
IP Address Setting : Auto (DHCP)
IP Address : 192. 168. 0. 1
Subnet Mask : 255. 255. 255. 0
Default Gateway : 255. 255. 255. 255
MAC Address : 01-23-45-67-89-AB
Notes
Note