Sony PMC-DR45L User manual

Personal
Component
System
Operating Instructions page 2GB
Manual de instrucciones página 2ES
3-044-713-13 (1)
© 2000 Sony Corporation
PMC-DR45L
GB
ES

Introduction2GB
Warning
To prevent fire or shock hazard, do
not expose the player to rain or
moisture.
To avoid electrical shock, do not open
the cabinet. Refer servicing to
qualified personnel only.
Information
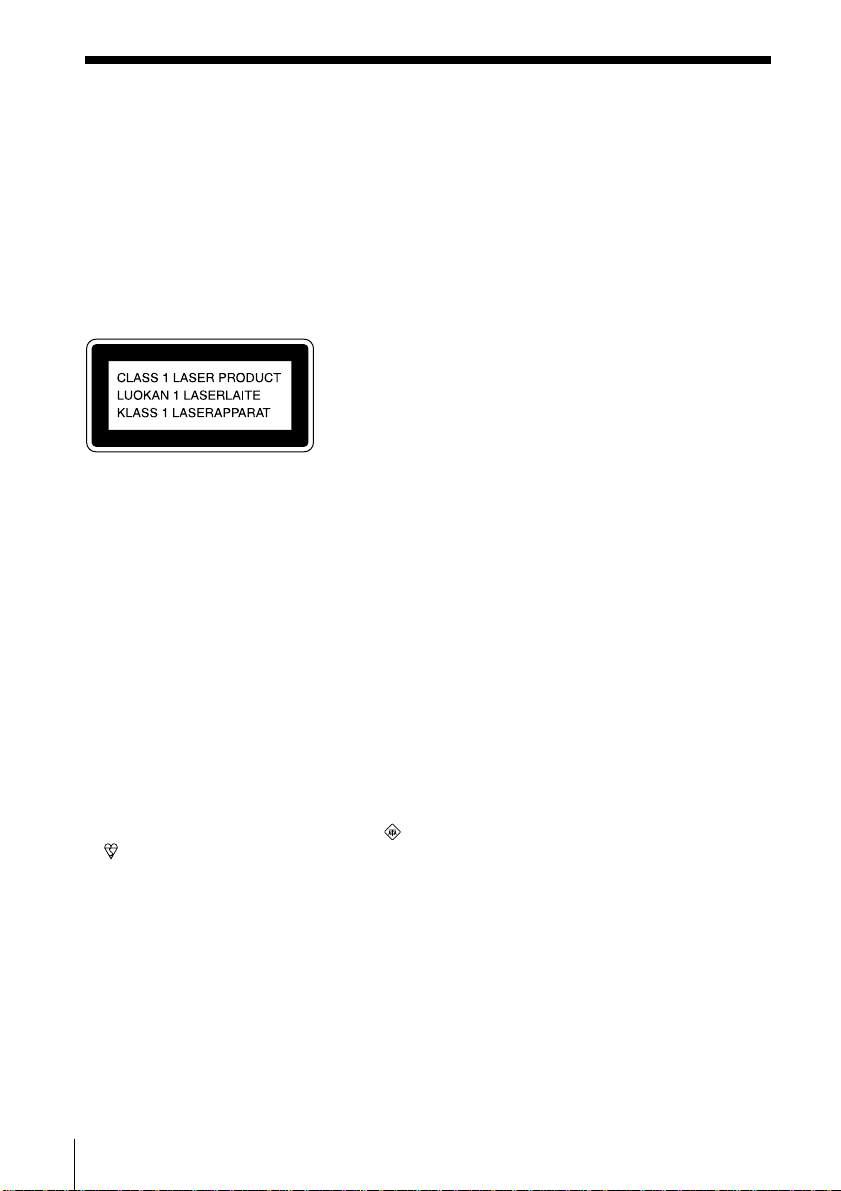
For customers in Europe
This Compact Disc player is classified as a
CLASS 1 LASER product.
The CLASS 1 LASER PRODUCT label is
located at the rear of the player.
Warning
Do not install the appliance in a confined
space, such as a bookcase or built-in cabinet.
Notice for customers in the United
Kingdom
A moulded plug complying with BS 1363 is
fitted to this equipment for your safety and
convenience.
Should the fuse in the plug supplied need to
be replaced, same rating fuse approved by
ASTA or BSI to BS 1362, (i.e. marked with
or mark) must be used.
If the plug supplied with this equipment has
a detachable fuse cover, be sure to attach the
fuse cover after you change the fuse. Never
use the plug without the fuse cover. If you
should lose the fuse cover, please contact
your nearest Sony service station.
CAUTION
• You can use this player on AC power
source only. You cannot use it on batteries.
When you use this player for the first time,
or when you have not used it for a long
time, leave it connected to AC power
source for about one hour to charge the
built-in backup battery for the clock, timer,
preset radio stations, etc. You can use the
player during charging. The player will
charge the battery automatically as long as
it is connected to a power source.
When you disconnect the mains lead after
charging, be sure to turn the power off
first. Once fully charged, the backup
battery will last for about 30 minutes
without being connected to any power
sources.
If the stored data are erased, reenter them
when you use the player again.
• The speakers and player are designed to be
used as a single unit. Never connect the
speakers and player to different
equipment. Doing so may cause the
connected equipment to malfunction.

Basic Operations
3GB
Introduction
GB
Table of contents
Basic Operations
4Playing a CD
6Listening to the radio
8Playing a tape
10 Recording on a tape
The CD Player
13 Using the display
14 Locating a specific track
15 Playing tracks repeatedly
(Repeat Play)
16 Playing tracks in random order
(Shuffle Play)
17 Creating your own programme
(Programme Play)
The Radio
19 Presetting radio stations
20 Playing preset radio stations
21 Using the Radio Data System
(RDS)
The Tape Player
27 Finding the beginning of a track
The Audio Emphasis
28 Selecting the audio emphasis
(SOUND/MEGA BASS)
The Timer
29 Setting the clock
31 Waking up to music
34 Timer-recording radio
programmes
37 Falling asleep to music
Setting Up
38 Hooking up the system
43 Saving power
44 Connecting optional components
Additional Information
47 Precautions
49 Troubleshooting
52 Maintenance
53 Specifications
54 Index

Basic Operations4GB
Playing a CD
Basic Operations
For hookup instructions, see pages 38 - 42.
1Press ZCD OPEN/CLOSE
(direct power-on) and place the
CD on the CD tray.
2Press u.
(On the remote, press Non the
CD section.)
The CD tray closes and the player
plays all the tracks once.
With the label side up
Display
Playing timeTrack number
21

Basic Operations
Basic Operations
5GB
Use these buttons for additional operations
Tip
Next time you want to
listen to a CD, just press
u. The player turns on
automatically and starts
playing the CD.
To Press
adjust the volume VOLUME +, –
(VOL +, – on the remote)
stop playback x
pause playback u
(Xon the remote)
Press again to resume play
after pause.
go to the next track >
go back to the previous track .
remove the CD ZCD OPEN/CLOSE
turn on/off the player OPERATE
u., >
ZCD
OPEN/CLOSE
VOLUME +, –
OPERATE
x

Basic Operations6GB
Listening to the radio
For hookup instructions, see pages 38 - 42.
1Press BAND•AUTO PRESET
until the band you want appears
in the display (direct power-on).
2Hold down TUNE TIME SET + or
– (TUNE + or – on the remote)
until the frequency digits begin to
change in the display.
The player automatically scans
the radio frequencies and stops
when it finds a clear station.
If you cannot tune in a station,
press the button repeatedly to
change the frequency step by
step.
Display
2
1
Indicates an FM
stereo broadcast.

Basic Operations
Basic Operations
7GB
Use these buttons for additional operations
Tips
• The “FM1” and “FM2”
bands have the same
functions. You can store
the stations you want
separately in “FM1” and
“FM2”.
• If the FM broadcast is
noisy, press MODE until
“MONO” appears in the
display and the radio
will play in monaural.
• Next time you want to
listen to the radio, just
press the BAND•AUTO
PRESET button. The
player turns on
automatically and starts
playing the previous
station.
To Press
adjust the volume VOLUME +, –
(VOL +, – on the remote)
turn on/off the radio OPERATE
To improve broadcast reception
FM:
Keep the FM lead aerial as horizontal as possible and
reorient it.
If the FM broadcast is still noisy, disconnect the FM
lead aerial and connect the FM outdoor aerial
(not supplied) (page 42).
MW/LW:
Keep the MW/LW loop aerial as far as possible from
the player and reorient it.
VOLUME +, –
MODE
OPERATE

Basic Operations8GB
Playing a tape
For hookup instructions, see pages 38 - 42.
1Press ZPUSH OPEN/CLOSE to
open the tape compartment and
insert a recorded tape. Use TYPE I
(normal), TYPE II (high position)
and TYPE IV (metal) tapes.
2Press ZPUSH OPEN/CLOSE to
close the compartment.
3Press N.
(On the remote, press TAPE N.)
The player turns on (direct
power-on) and starts playing.
Display
1, 2
3
With the side you want
to play facing up
Tape counter

Basic Operations
Basic Operations
9GB
Use these buttons for additional operations
To Press
adjust the volume VOLUME +, –
(VOL +, – on the remote)
stop playback x
play the reverse side n
fast-forward or rewind the tape TAPE Mor m
eject the cassette ZPUSH OPEN/CLOSE
turn on/off the player OPERATE
To select the direction mode of the tape
Press DIR MODE repeatedly.
To play Display shows
one side of the tape
both sides of the tape
from the upper side to reverse
side only
both sides of the tape repeatedly
Tips
• Press COUNTER RESET
to reset the counter to
“000”.
• Next time you want to
listen to a tape, just
press Nor n. The
player turns on
automatically and starts
playing the tape.
DIR MODE
n
x
VOLUME +, –
TAPE m, M
COUNTER RESET
OPERATE Z PUSH OPEN/CLOSE

Basic Operations10GB
Recording on a tape
For hookup instructions, see pages 38 - 42. To record on a
MiniDisc or DAT recorder, connect the component (see
page 44).
1Press ZPUSH OPEN/CLOSE to
open the tape compartment, and
insert a blank tape. Use TYPE I
(normal) tape only.
Press ZPUSH OPEN/CLOSE
again to close the compartment.
2Select the programme source you
want to record.
To record from the CD player:
Insert a CD (see page 4) and press
xon the CD section.
To record from the radio:
Tune in the station you want (see
page 6).
31
With the side you want
to record on facing up
Display
3 3

Basic Operations
Basic Operations
11GB
continued
3Start recording.
To record the whole CD
Press CD DUBBING.
When is displayed:
If the tape is reversed with the
recording of the track unfinished,
the player will record the track
again from its beginning on the
reverse side.
When is displayed:
If the tape reaches to its end, the
player stops.
To record the radio
(You can also record the CD
according to the following
procedure. Play the CD after the
tape starts recording.)
Press z/X and then N.
To record on the reverse side,
press n.
(On the remote, while keeping
z/X pressed, press TAPE Nor
n.)
m

Basic Operations12GB
Recording on a tape (continued)
Tips
• Adjusting the volume or
the audio emphasis
(page 28) will not affect
the recording level.
• When or is
displayed, recording
will be made on both
sides of the tape. To
record on one side, press
DIR MODE to display
.
• If the MW/LW radio
makes a whistling
sound after you’ve
pressed z/X in step 3,
press MODE to select
the position that most
decreases the noise.
Note
When you start
recording using CD
DUBBING, you cannot
set the player in pause.
Use these buttons for additional operations
To Press
stop recording xon the tape section
pause recording z/X
Press the button again to
resume recording.
turn on/off the player OPERATE
To erase a recording, proceed as follows:
1 Insert a tape you want to erase its recording into the tape
deck and press xon the tape section.
2 On the player: press z/X and then N.
On the remote: While keeping z/X pressed, press
TAPE N.
x
DIR MODE
MODE
OPERATE
n,
N
z/X

The CD Player
The CD Player 13GB
Using the display
You can check information about the CD
using the display.
The CD Player
DISPLAY
Checking the total track number and playing
time
Press DISPLAY in stop mode.
Total track number
Checking the remaining time
Press DISPLAY while playing a CD.
To display Press DISPLAY
the current track number once
and the remaining time
on the current track*
the number of tracks left twice
and remaining time on the CD
the current track number three times
and playing time
* For a track whose number is more than 20 the remaining
time appears as “– –:––”.
Total playing time

The CD Player14GB
Locating a specific
track
You can quickly locate any track using
the number buttons. You can also find a
specific point in a track while playing a
CD.
To locate Press
a specific track directly number button of the track.
a point while listening to .or >while playing
the sound and hold down until you
find the point.
a point while observing .or >in pause and
the display hold down until you find
the point.
Note
You cannot locate a
specific track if
“SHUF”or “PGM”is lit
in the display. Turn off
the indication by
pressing xon the CD
section.
Tip
When you locate a
track numbered over
10, press >10 first, then
the corresponding
number buttons.
Example:
To play track number
23, press >10 first, then
2 and 3.
Number
buttons
., >

The CD Player
The CD Player 15GB
Playing tracks
repeatedly
(Repeat Play)
You can play tracks repeatedly in
normal, single, shuffle or programme
play modes (see pages 16 - 18).
1Press xon the CD section.
“CD”appears in the display.
2Proceed as follows:
To repeat Do this
a single track 1 Press MODE until “REP 1”
appears.
2 Select the track by pressing
.or >, then press u.
all the tracks 1 Press MODE until
“REP ALL”appears.
2 Press u.
tracks in random order 1 Press MODE until “REP”
and “SHUF”appear.
2 Press u.
programmed tracks 1 Press MODE until “REP”
and “PGM”appear.
2 Program tracks (see step 3 on
page 17).
3 Press u.
To cancel Repeat Play
Press MODE until “REP”disappears from the display.
u
., >
MODE
x
On the remote
•Use N instead of u.
•When you’ve selected
“REP 1”, select the
track by pressing the
number buttons.

The CD Player16GB
Playing tracks in
random order
(Shuffle Play)
You can play tracks in random order.
1Press xon the CD section.
“CD”appears in the display.
2Press MODE until “SHUF”appears in the display.
3Press u.
To cancel Shuffle Play
Press MODE until “SHUF”disappears from the
display.
u
MODE
x
On the remote
Use N instead of u.

The CD Player
The CD Player 17GB
Creating your
own programme
(Programme Play)
You can arrange the playing order of up
to 20 tracks on a CD.
1Press xon the CD section.
“CD” appears in the display.
2Press MODE until “PGM” appears in the display.
3Press .or >to select the track you want to
programme, and press ENTER MEMORY.
Repeat this step.
4Press u.
Track number Playing order
continued
MODE
ENTER
MEMORY
u., >
x
On the remote
1 Press x.
2 Press MODE until
“PGM” appears in
the display.
3 Press the number
buttons for the tracks
you want to
programme in the
order you want.
4 Press N.

The CD Player18GB
To cancel Programme Play
Press MODE until “PGM”disappears from the
display.
To check the order of tracks before play
Press ENTER MEMORY on the player.
Every time you press the button, the track number
appears in the programmed order.
To change the current programme
Press xon the CD section once if the CD is stopped
and twice if the CD is playing. The current
programme will be erased. Then create a new
programme following the programming procedure.
Tips
•If you open the CD
tray, the programme is
erased.
•You can record your
own programme.
1 After you have
created the
programme, insert a
blank tape into the
tape compartment.
2 Press CD DUBBING.
Creating your own programme (Programme Play) (continued)

The Radio
The Radio
19GB
The Radio
Presetting radio
stations
You can store radio stations into the
player's memory. You can preset up to
40 radio stations, 10 for each band in any
order.
1Press BAND•AUTO PRESET to select the band.
2Hold down BAND•AUTO PRESET for 2 seconds
until “AUTO”flashes in the display.
3Press ENTER MEMORY.
The stations are stored in memory from the lower
frequencies to the higher ones.
If a station cannot be preset automatically
You need to preset a station with a weak signal
manually.
1Press BAND•AUTO PRESET until the band you
want appears in the display.
2Press TUNE TIME SET + or –to set the frequency to
the station you want.
3Press and hold ENTER MEMORY for 2 seconds.
4Press PRESET + or –until the preset number (1 to
10) you want for the station flashes in the display.
5Press ENTER MEMORY again.
On the remote
1 Press BAND to select
the band.
2 Press TUNE + or –to
set the frequency to
the station you want.
3 Press and hold the
number button that
you want to preset
the new station on
for 2 seconds.
BAND
AUTO PRESET TUNE TIME SET –, +
ENTER
MEMORY
PRESET –, +
Tip
If you automatically
preset the “FM1”or
“FM2”band, 10 radio
stations are stored in
“FM1”band and 10
more radio stations are
stored in “FM2”band.

The Radio20GB
Playing preset
radio stations
Once you've preset the stations, use
PRESET +, –on the player or the number
buttons on the remote to tune in your
favorite stations.
BAND
AUTO PRESET
1Press BAND•AUTO PRESET to select the band.
2Press PRESET + or –to display the preset number
of the station you want.
On the remote
1 Press BAND to select
the band.
2 Press the number
button to display the
preset number of the
station you want.
Preset number
PRESET –, +
This manual suits for next models
1
Table of contents
Languages:
Other Sony Speakers System manuals

Sony
Sony SSU-4000 User manual

Sony
Sony SA-VS350H User manual

Sony
Sony SRS-A202 User manual

Sony
Sony SRS-Z050V User manual

Sony
Sony SRS-D211 User manual

Sony
Sony HT-CT790 User manual

Sony
Sony SRS-PC21L User manual

Sony
Sony SRS-A5 Operating Manual... User manual

Sony
Sony HTX-8500CEK User manual

Sony
Sony SS-CR350 User manual

Sony
Sony SS-CR170 User manual

Sony
Sony HT-ST5 User guide

Sony
Sony SS-FCR4000 Installation instructions manual

Sony
Sony WAHT-SBP2 User manual

Sony
Sony SS-V130 User manual

Sony
Sony HT-S100F User manual

Sony
Sony SRS-A201 User manual

Sony
Sony HT-ST7 User manual

Sony
Sony SRS-GD50IP User manual

Sony
Sony SS-MB150H Instruction Manual