WARNING
_
To
prevent
fire
or
shock
hazard,
do
not
expose
the
unit
to
rain
or
moisture.
To
avoid
electrical
shock,
do
not
open
the
cabinet.
Refer
servicing
to
qualified
personnel
only.
NOTICE
FOR
THE
CUSTOMERS
IN
THE
UNITED
KINGDOM
The
mains
lead
plug
of
this
apparatus
is
2-pin
type
designed
to
be
connected
only
to
other
apparatus
equipped
with
a
suitable
socket
outlet.
lf
the
plug
cannot
be
used
in
this
way,
cut
off
the
plug
and
fit
an
appropriate
one
as
follows:
IMPORTANT
The
wires
in
this
mains
lead
are
coloured
in
accordance
with
the
following
code:
Blue:
Neutral
Brown:
Live
As
the
colours
of
the
wires
in
the
mains
lead
of
this
apparatus
may
not
correspond
with
the
coloured
markings
identifying
the
terminals
in
your
plug
proceed
as
follows:
The
wire
which
is
coloured
blue
must
be
connected
to
the
terminal
which
is
marked
with
the
letter
N
or
coloured
black.
The
wire
which
is
coloured
brown
must
be
connected
to
the
terminal
which
is
marked
with
the
letter
L
or
coloured
red.
WARNING
To
prevent
shock
hazard,
do
not
insert
the
plug
cut
off
from
the
mains
lead
into
a
socket
outlet.
This
plug
cannot
be
used
and
should
be
discarded.
i
~
]
DANGER
Invisible
laser
radiation
when
open
and
interlock
failed
or
defeated.
Avoid
direct
exposure
to
beam.
CAUTION
Use
of
controls
or
adjustments
or
performance
of
procedures
other
than
those
specified
herein
may
result
in
hazardous
radiation
exposure.
Laser
component
in
this
product
is
capable
of
emitting
radiation
exceeding
the
limit
for
Class
1.
Note
This
appliance
conforms
with
EEC
Directives
76/889
and
82/499
regarding
interference
suppression.
This
Compact
Disc
player
is‘
classified
as
a
CLASS
1
LASER
product.
The
CLASS
1
LASER
PRODUCT
label
is
located
on
the
rear
exterior.
CLASS
1
LASER
PRODUCT
Table
of
Contents
Getting
Started
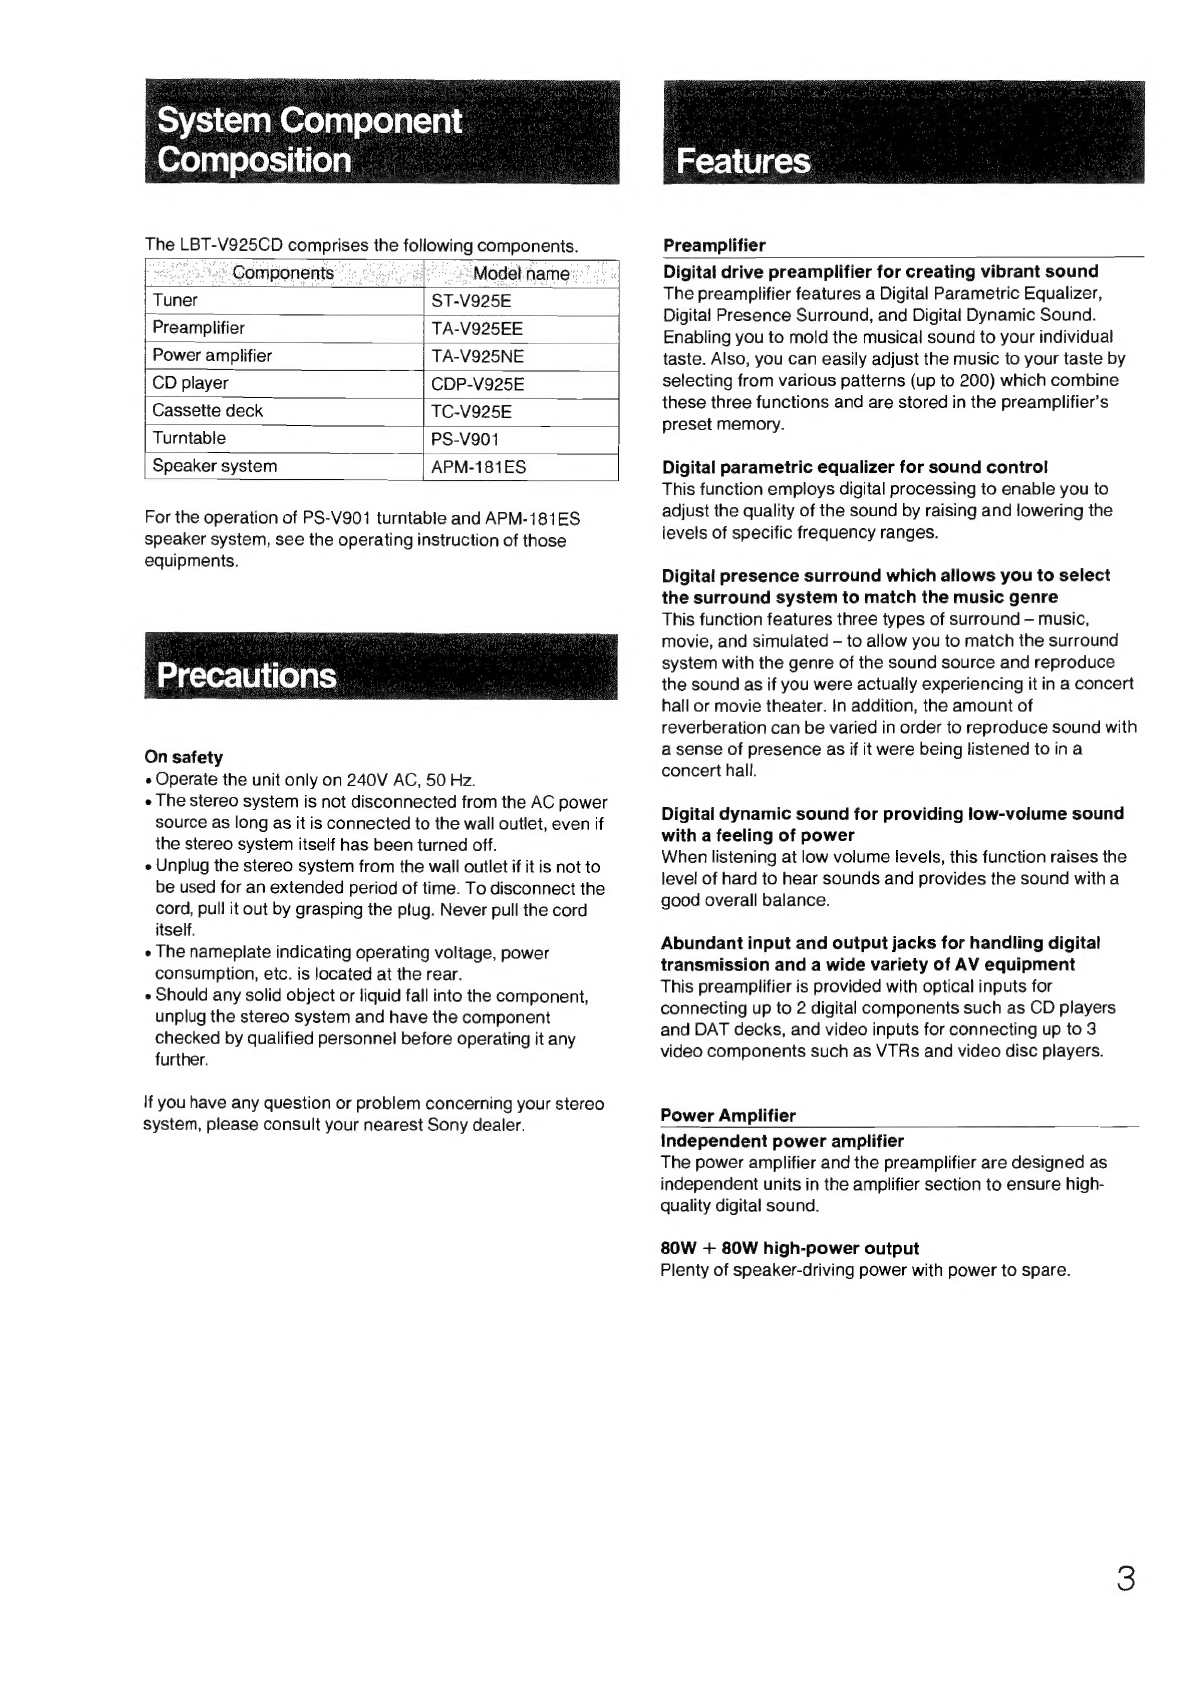
System
COMPONENt
COMPOSITION
ou...
eee
eee
eterna
PreGautiOnS:.
src
ediccecececcvage
cach
adaesetieaese
vie
a
cedteceeeenGaredtonceet
es
FiGatureS.
siscrrs
cai
ocs,
Sam
ateecteetetehes
i
heaatieeese
es
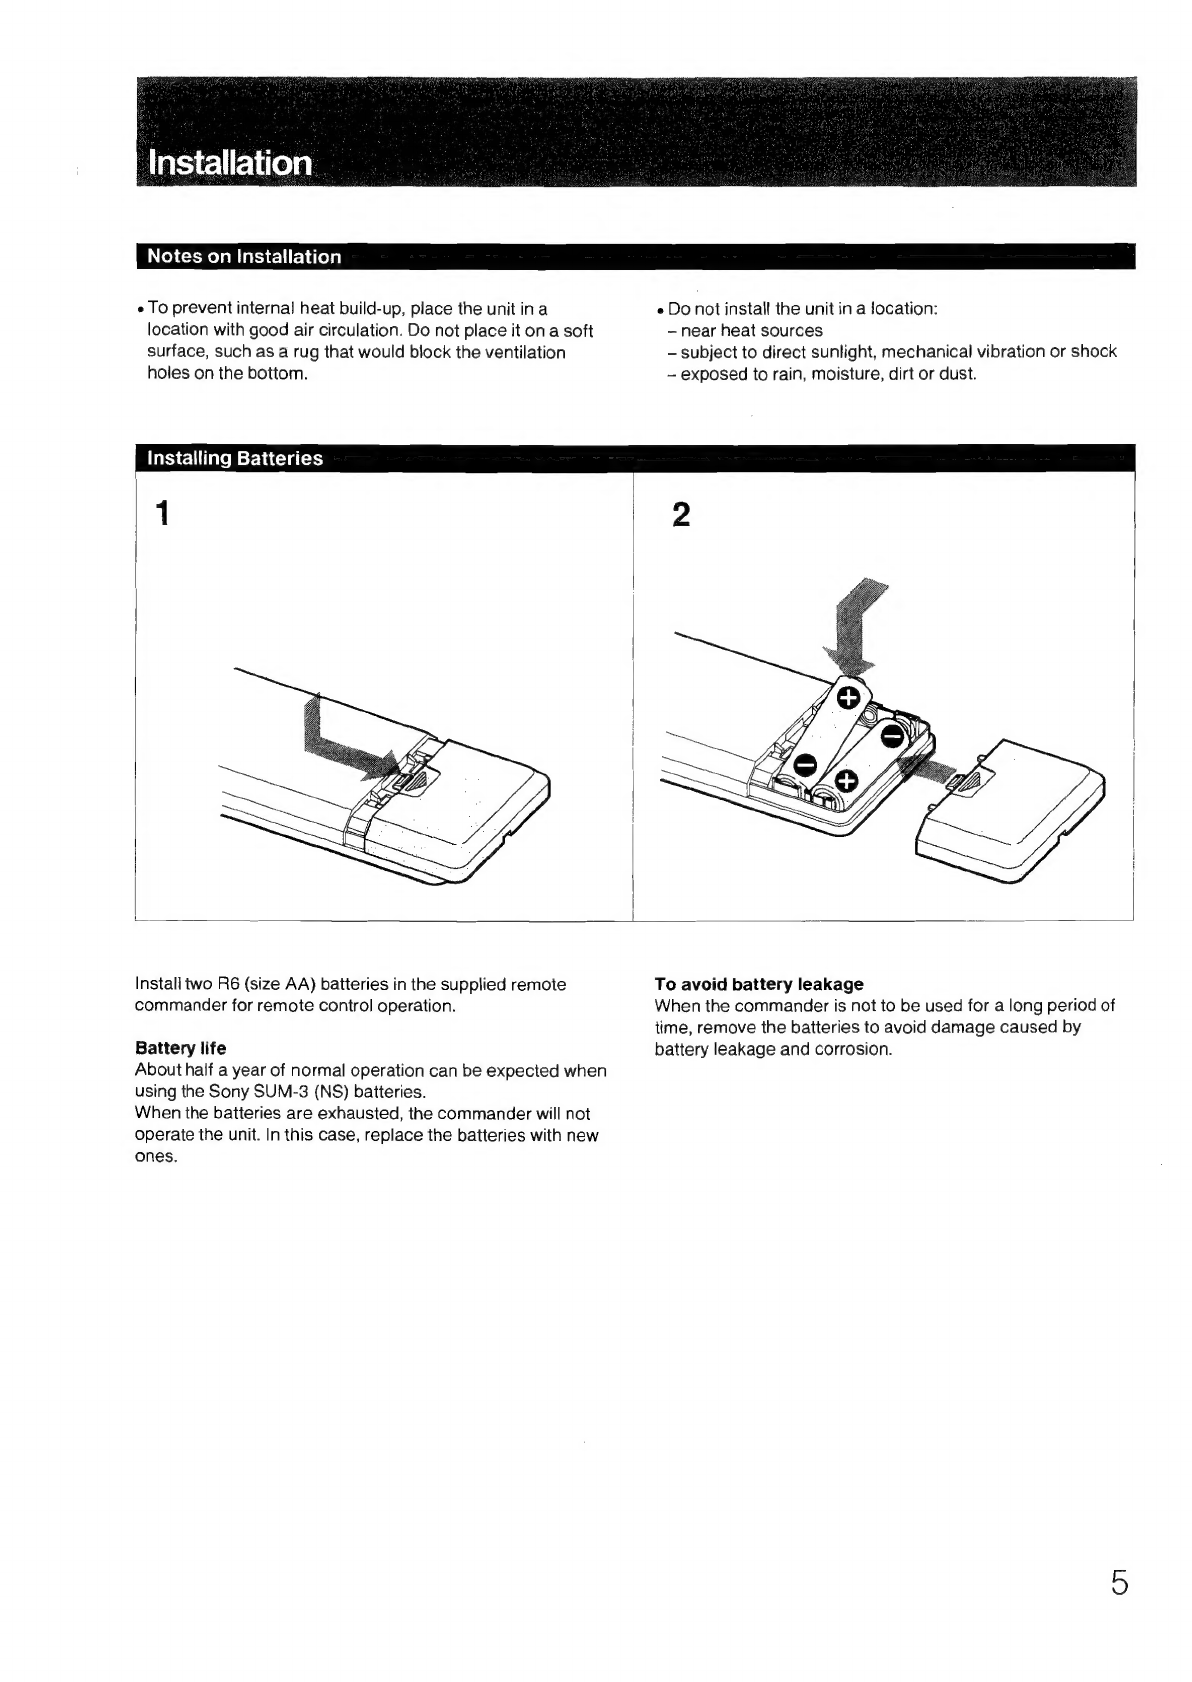
INStAIIATION
ects
hha
ceed,
dares
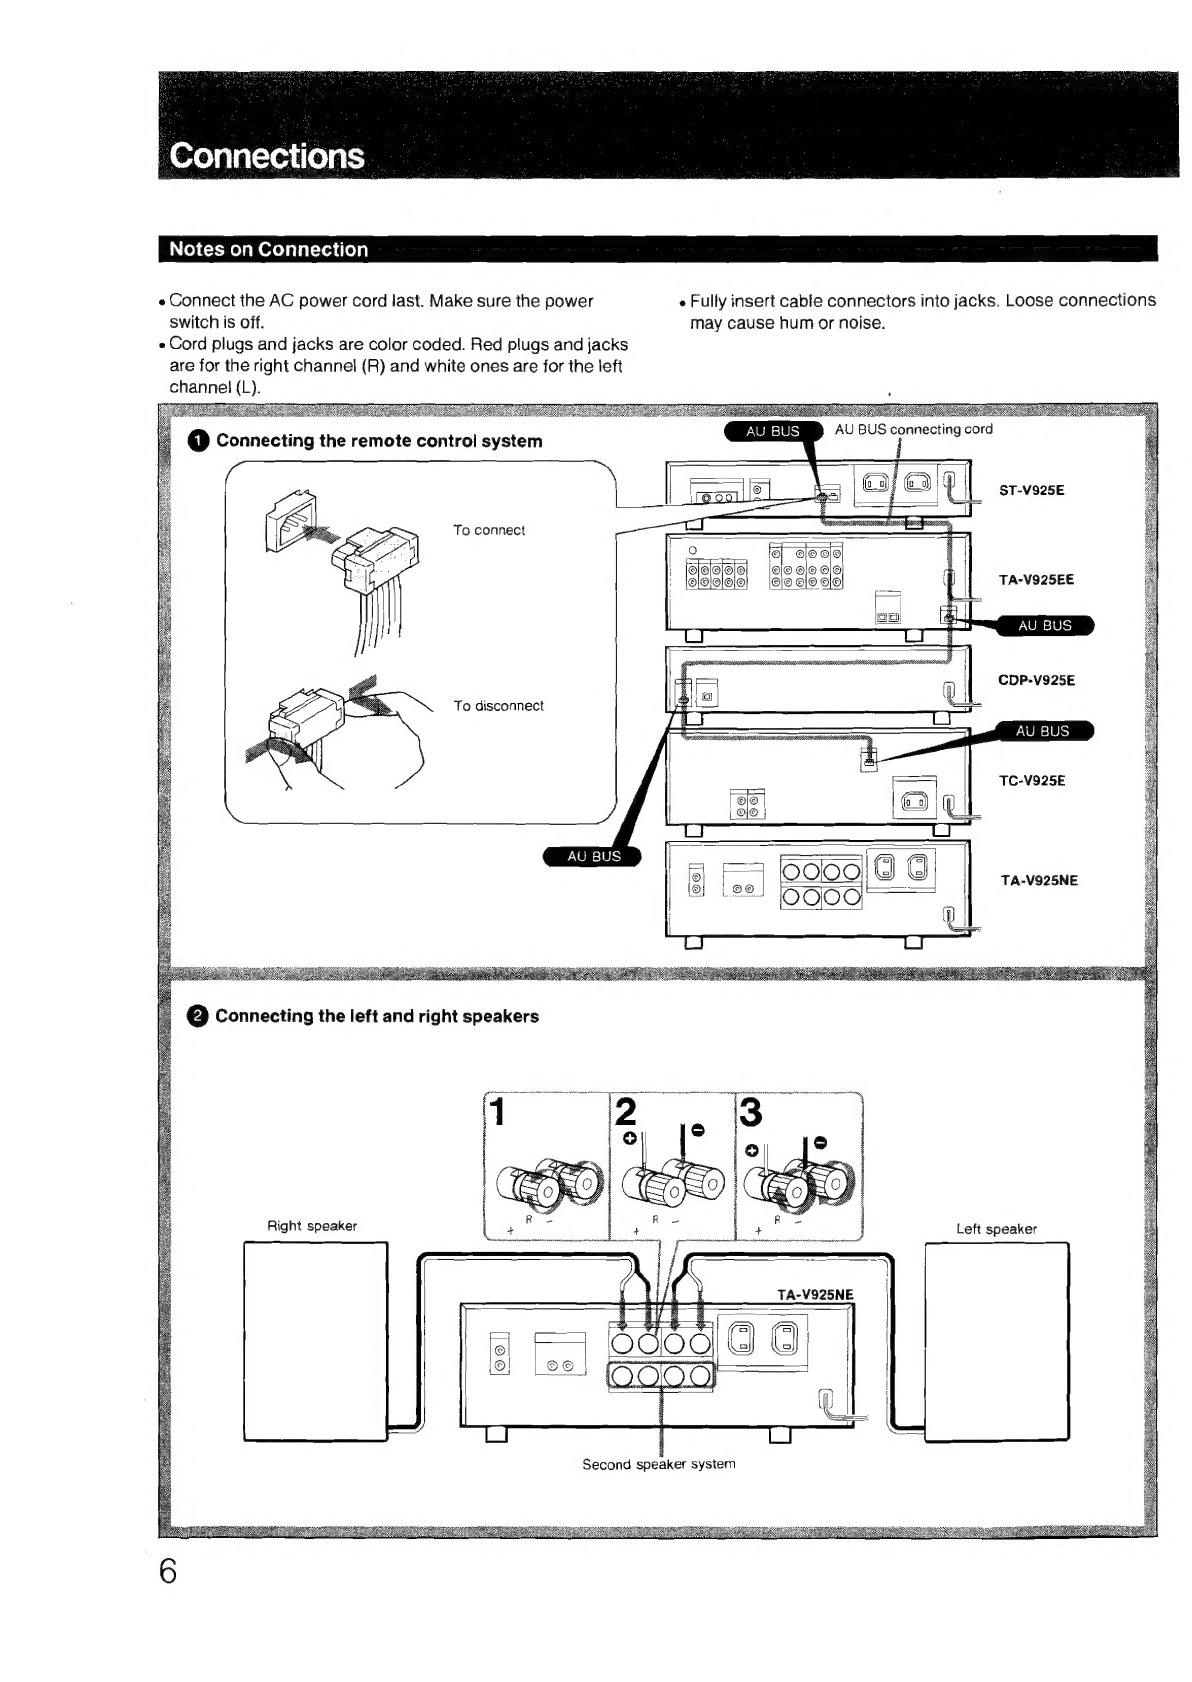
Connections
PartS
IG
@ntitiCation
-aic.cesccitsie
ss
caviseccetsceesstiveessitegncosesbededeoeseee
AUdIO
AGJUSTMENL
0...
eee
ec
ccceeeceteeeete
cere
test
ree
eenseeneeeeerseeesserena
Using
Your
Stereo
PLAYING
A
CISC:
fo.
seci.
ap
iyaieotettes
doveares
sa
caesvaaaateveenest
as
cnenzege
tinea
Playing
repeatedly
—
Repeat
play...
eee
eecescceeeeeeees
Playing
in
a
random
order
—
Shuffle
play
0.0...
eee
Playing
in
a
desired
order
-
Program
play
ON
CUSTOM)
TIES:
.:.3:ccessdsecndcedi
aie
dan
dtl
ienteeiieceriscarittless
Keeping
the
program
in
memory
—
Program
bank
FUNCTION
.0....
eects
e
cee
tece
crete
teeeeeeeee
25
Writing
a
comment
about
a
disc
-
Disc
memo
function
.....
26
Giving
a
disc
indexes
as
you
want
—
Custom
index
FUNCTION
oo...
cece
eee
eseereeerneceeeseteneeens
28
Broadcast
reception
Tape
playback
Tape
recording
Recording
from
CD
TADSAUODING
cscs
seers
ds
Heectaeee
led
cavnectesee
detactniye
eaasieee
Using
the
preamplifiers
sound
manipulation
features
.......
49
Adjusting
the
sound
using
the
digital
PArAMEtriC
CQUALIZET
oe
cee
cece
cee
te
tte
tees
eens
enenetereeey
53
Using
the
digital
presence
surround
effects
.........
cee
55
Providing
low-volume
sound
with
a
feeling
of
power
—
Digital
dynamic
SOUN
0.0...
eee
cece
ee
tneee
sees
ceeneeeeeeeaes
57
Digital
SOUNd
MENU
0...
eeeteeteeseteeeeaeeeeeseeseesatseeseteaesatseneees
58
Using
the
digital
sound
menu
settings
to
adjust
the
SOUNGsieheck
aici
livectescnstens
teachetesanseess
seceaane
tees
feat
sbeiets
60
Storing
your
individual
sound
effect
settings
Se
LISOPIMOMONY:
ssc.ciccecsceccshids
celbval
secs
cauceyecodsedgevectedasesnnscs
61
Combining
video
images
with
sounds
from
other
sources
and
performing
Video
Editing
.......
ccc
seeeeeeeeteneeees
63
MiCrOPhONE
MIXING
.......:..cceceeceeceeeecescceceseaeenersnteceeeeeeenseteseeeers
64
Maintaining
Your
Stereo
MAINTENANCE
oo.
ce
eee
cece
eee
ecceeeaecneeeteeea
ee
ceeenaueeneeeeeeenseeseeneeees
65
Troubleshooting
Troubleshooting
QUuide
«0.2.0...
ees
ceereenetetesseeeeeeaareeteneeeee
66
Getting
into
the
Details
SPe@cifiCAtiOMS
.-:.:.<desssss.scccees
bleed
ceateddeedscescateastduvescveetedenseentens
67
Using
the
Remot
Commander
How
to
use
the
remote
control
unit
(Preamplifier
SCCtION)
..........ceeeeeeeeeeereeeeeneees
Back
cover