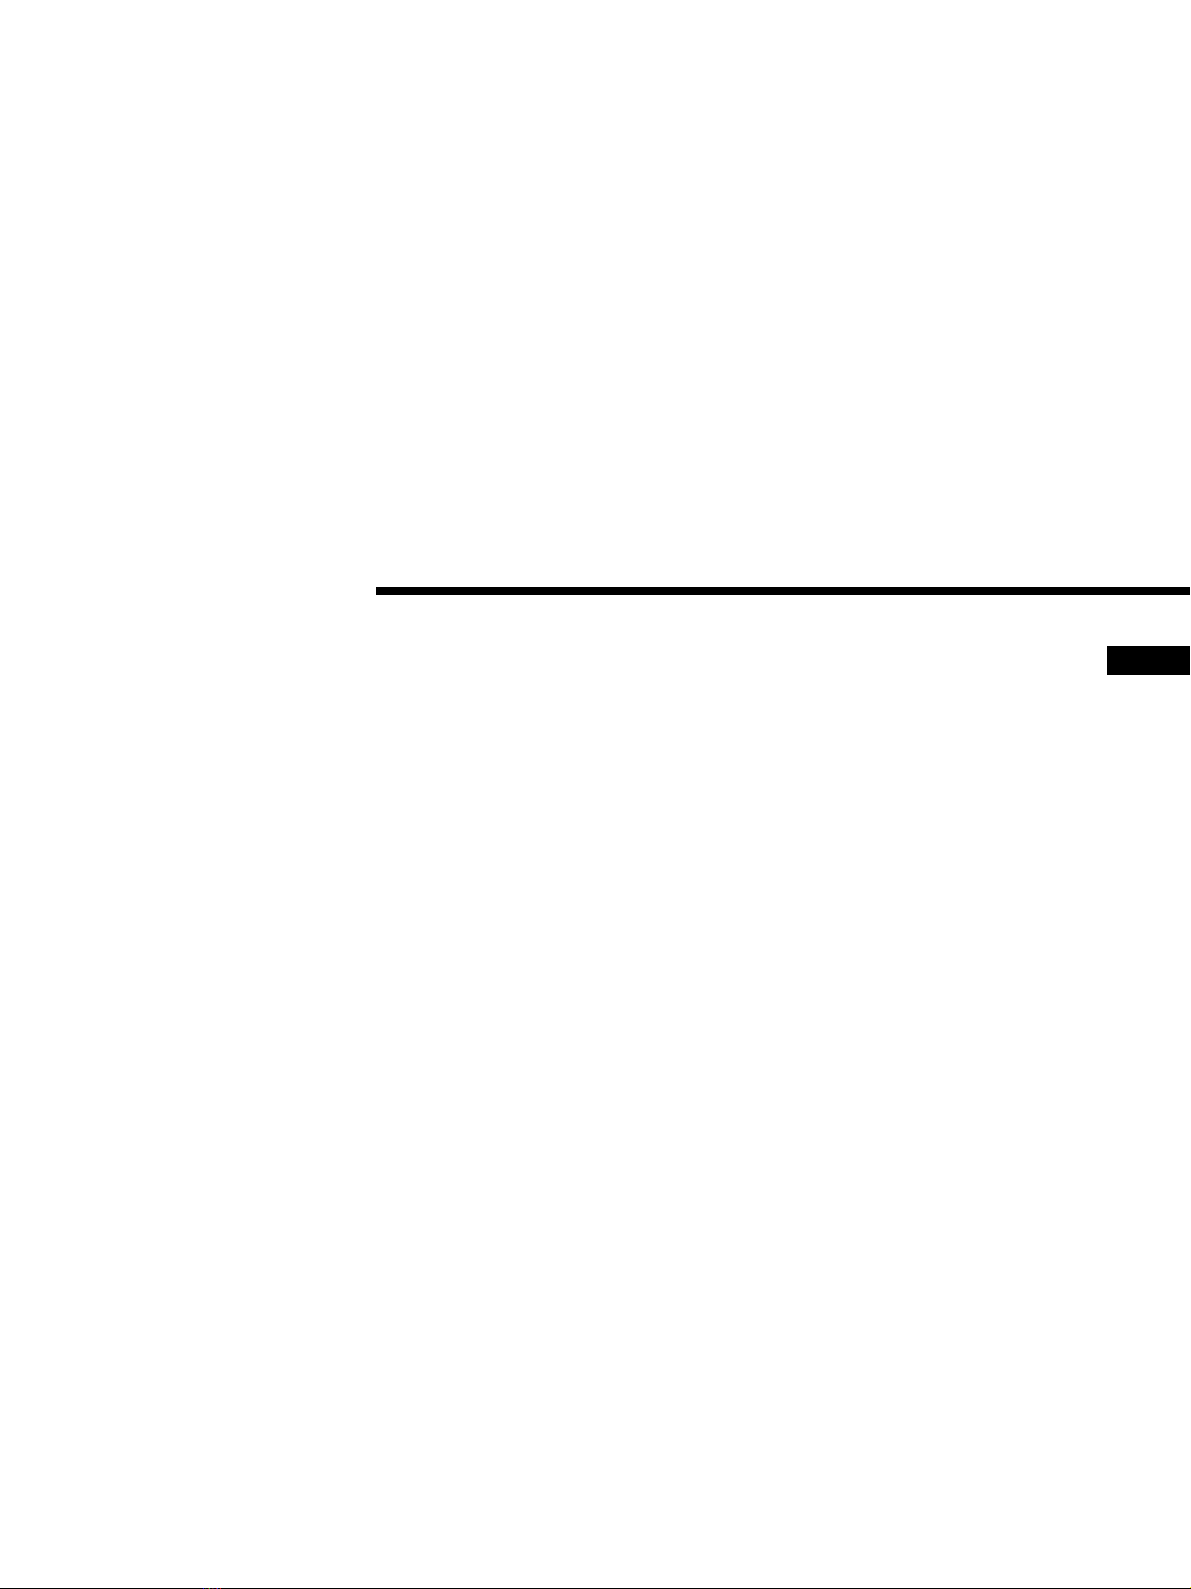
F:\M.Nakamura\4090407\4662835142\4662835142_LIB-162_GB_QSG\01GB02C01-WW.fm masterpage: Right
LIB-162
4-662-835-14(2)
Connecting to the Host Computer 7
Connecting to the Host
Computer
Connect the AIT library and the host computer with a
SCSI cable. This section explains general connecting
steps. Connect the library with the appropriate SCSI
cable, depending on the AIT drive.
• When the library is equipped with an AIT-3 or AIT-4
drive, use a commercially available Ultra 160 cable.
• When the library is equipped with an AIT-1 or AIT-2
drive, use a commercially available Wide Ultra LVD
SCSI cable that conforms to SCSI-3.
The library side uses the 68-pin half pitch connector.
When connecting other SCSI devices together with the
AIT Library, see “Connecting SCSI Peripheral Devices”
in “Installation” chapter 2, in the “Operating
Instructions” (PDF).
Caution
• Do not connect the AIT library to the High Voltage
Differential (HVD) SCSI bus. If connected, the library
or other devices on the SCSI bus may be damaged.
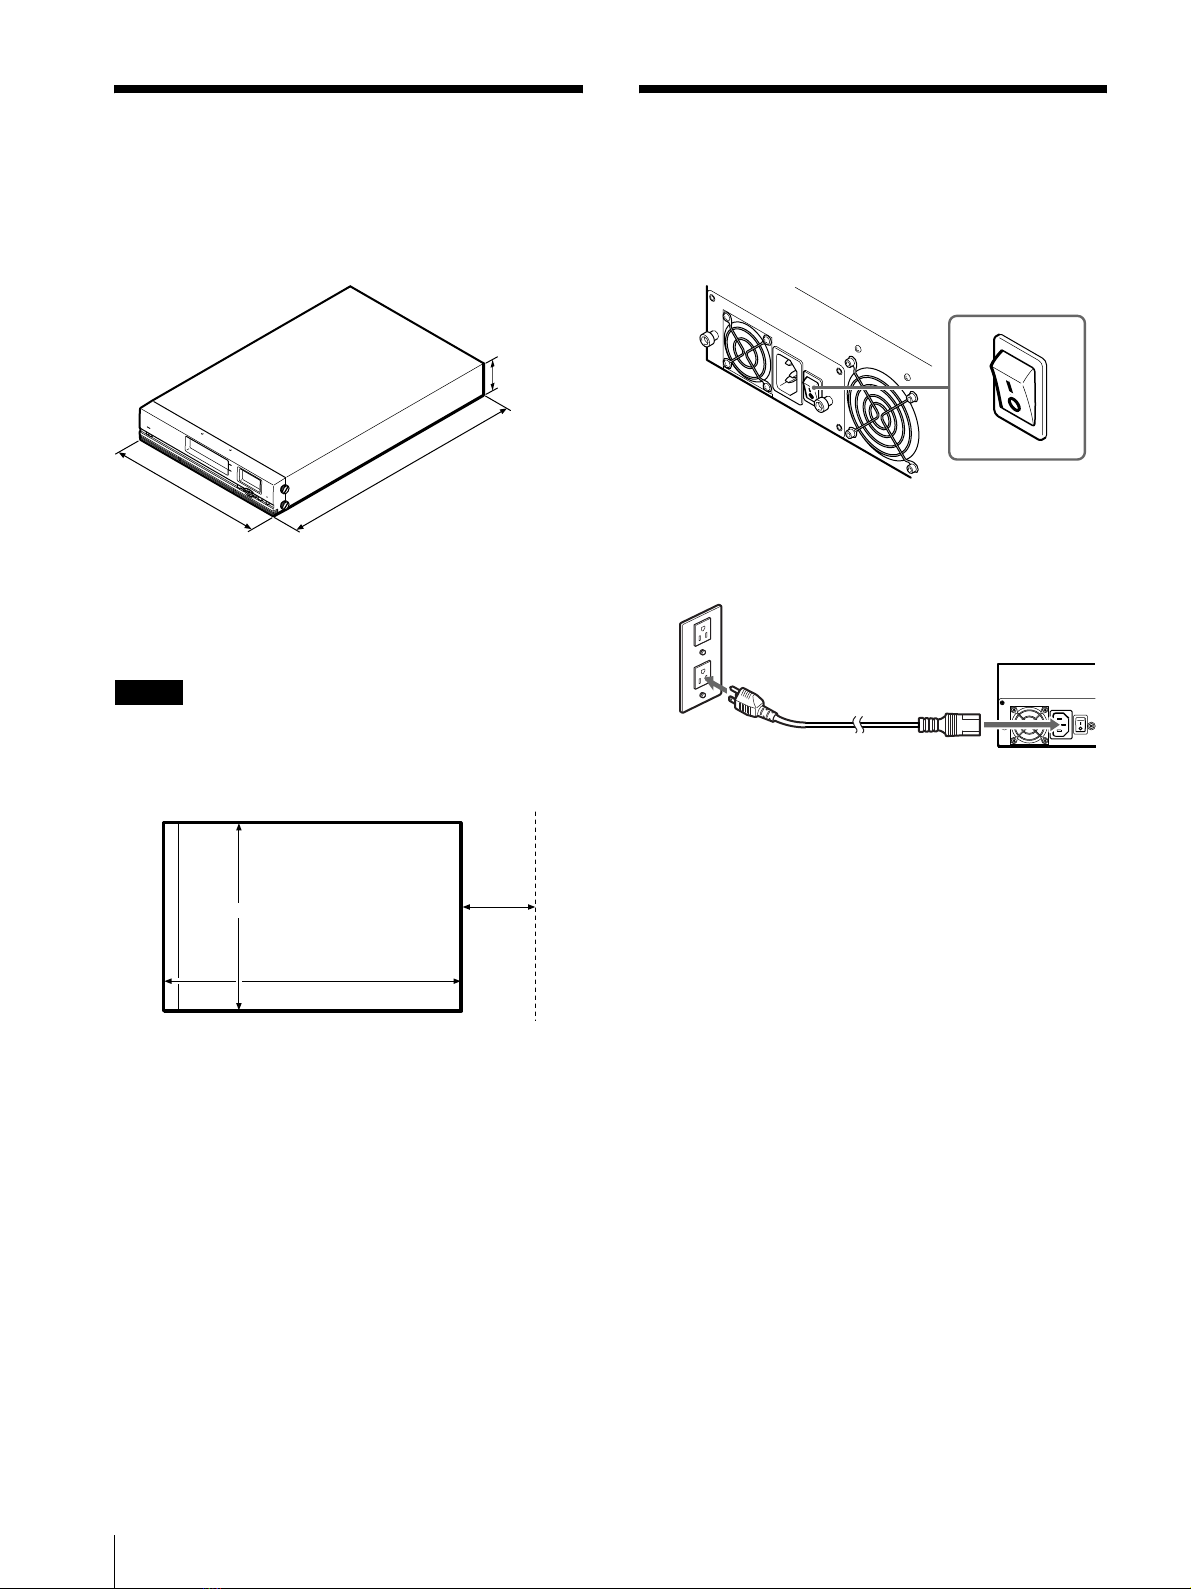
• When connecting a SCSI cable, turn off all the
connecting devices, including the host computer.
• When connecting the AIT library as the last device on
a SCSI bus, be sure to attach the provided terminator.
Also, if the host computer is equipped with a single-
end SCSI host adapter, use a terminator that supports
single-end. When the wrong terminator is used, the
device may be damaged.
• When using LVD (Low Voltage Differential) SCSI,
make the length of the SCSI cable that connects the
host computer and the device at the end of the SCSI
bus shorter than 12 m (39 ft. 4.4 in.). When connecting
the AIT library to a single-ended SCSI host adapter,
use a SCSI cable shorter than 1.5 m or 59 in.
• SCSI cables cannot be branched.
Notes
• For information about the SCSI bus, refer to “SCSI
Specifications” in the “Appendix” chapter, in the
“Operating Instructions” (PDF).
• Prepare the necessary SCSI cables. For information
about SCSI cable specifications, refer to “SCSI Cable
and Terminator Specifications” in the “Appendix”
chapter, in the “Operating Instructions” (PDF).
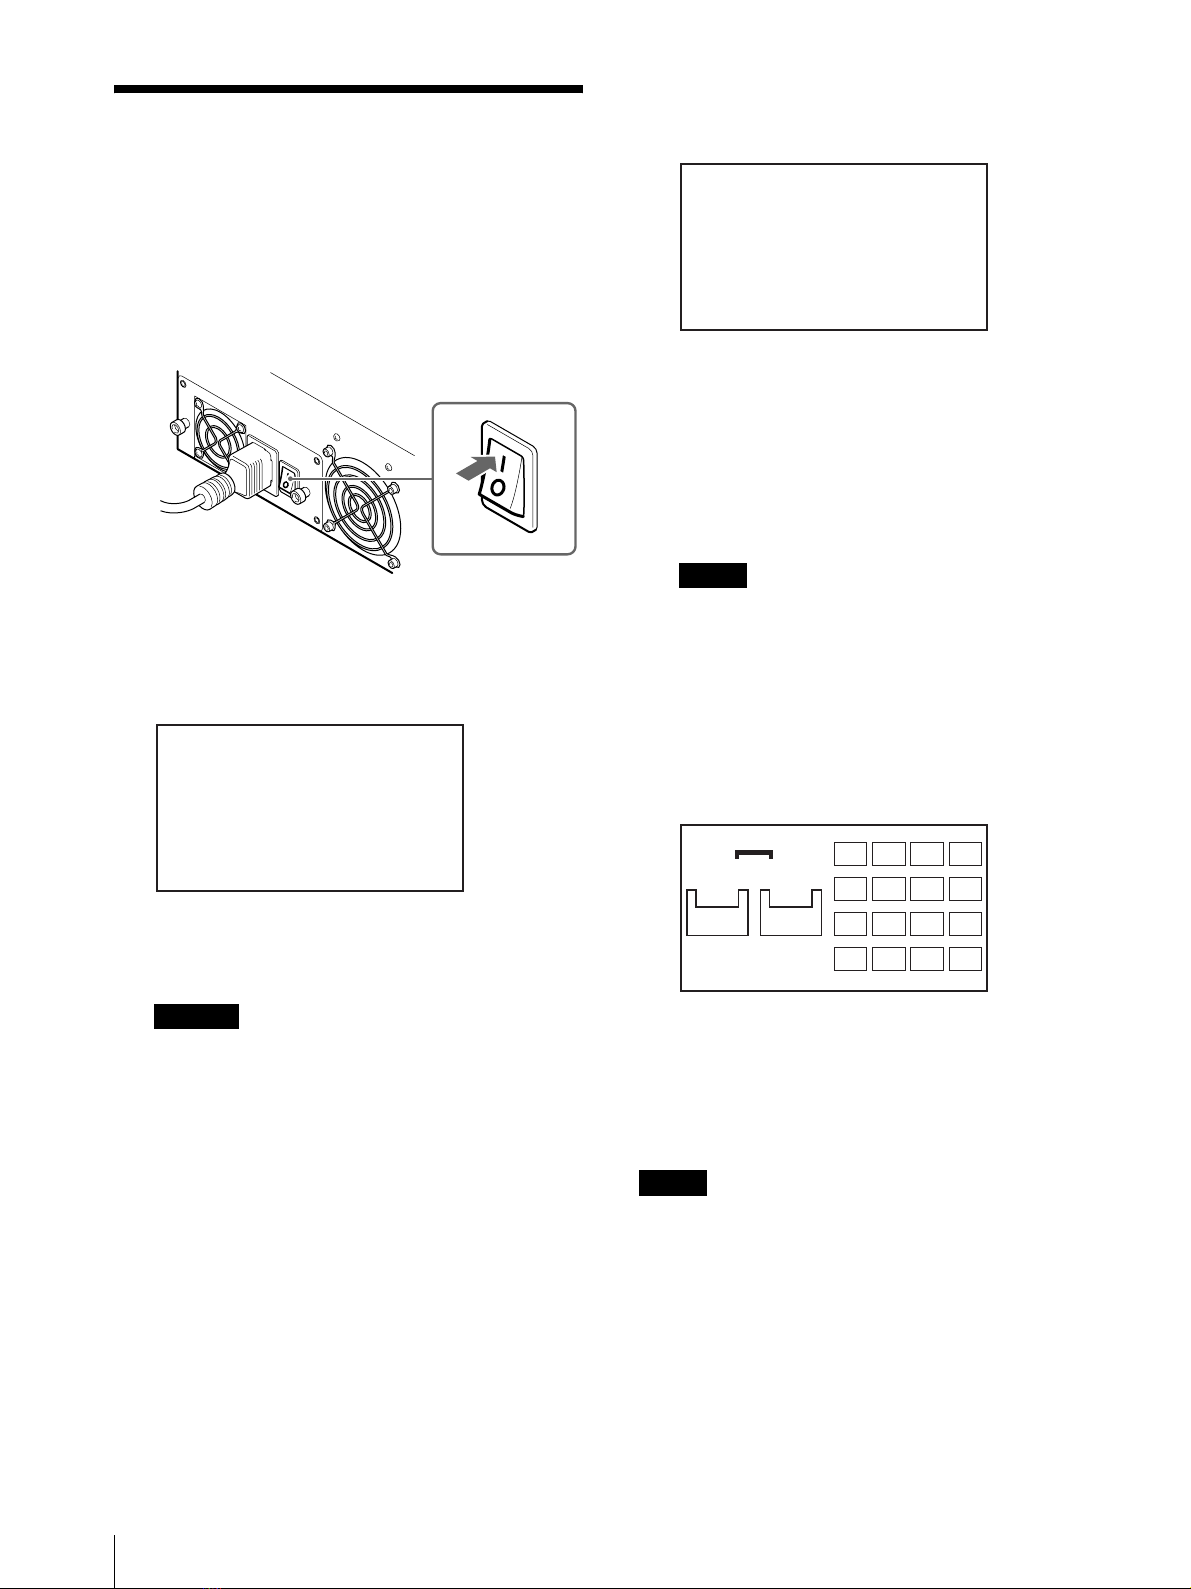
1
Confirm that the power to the host computer and
AIT library are turned off.
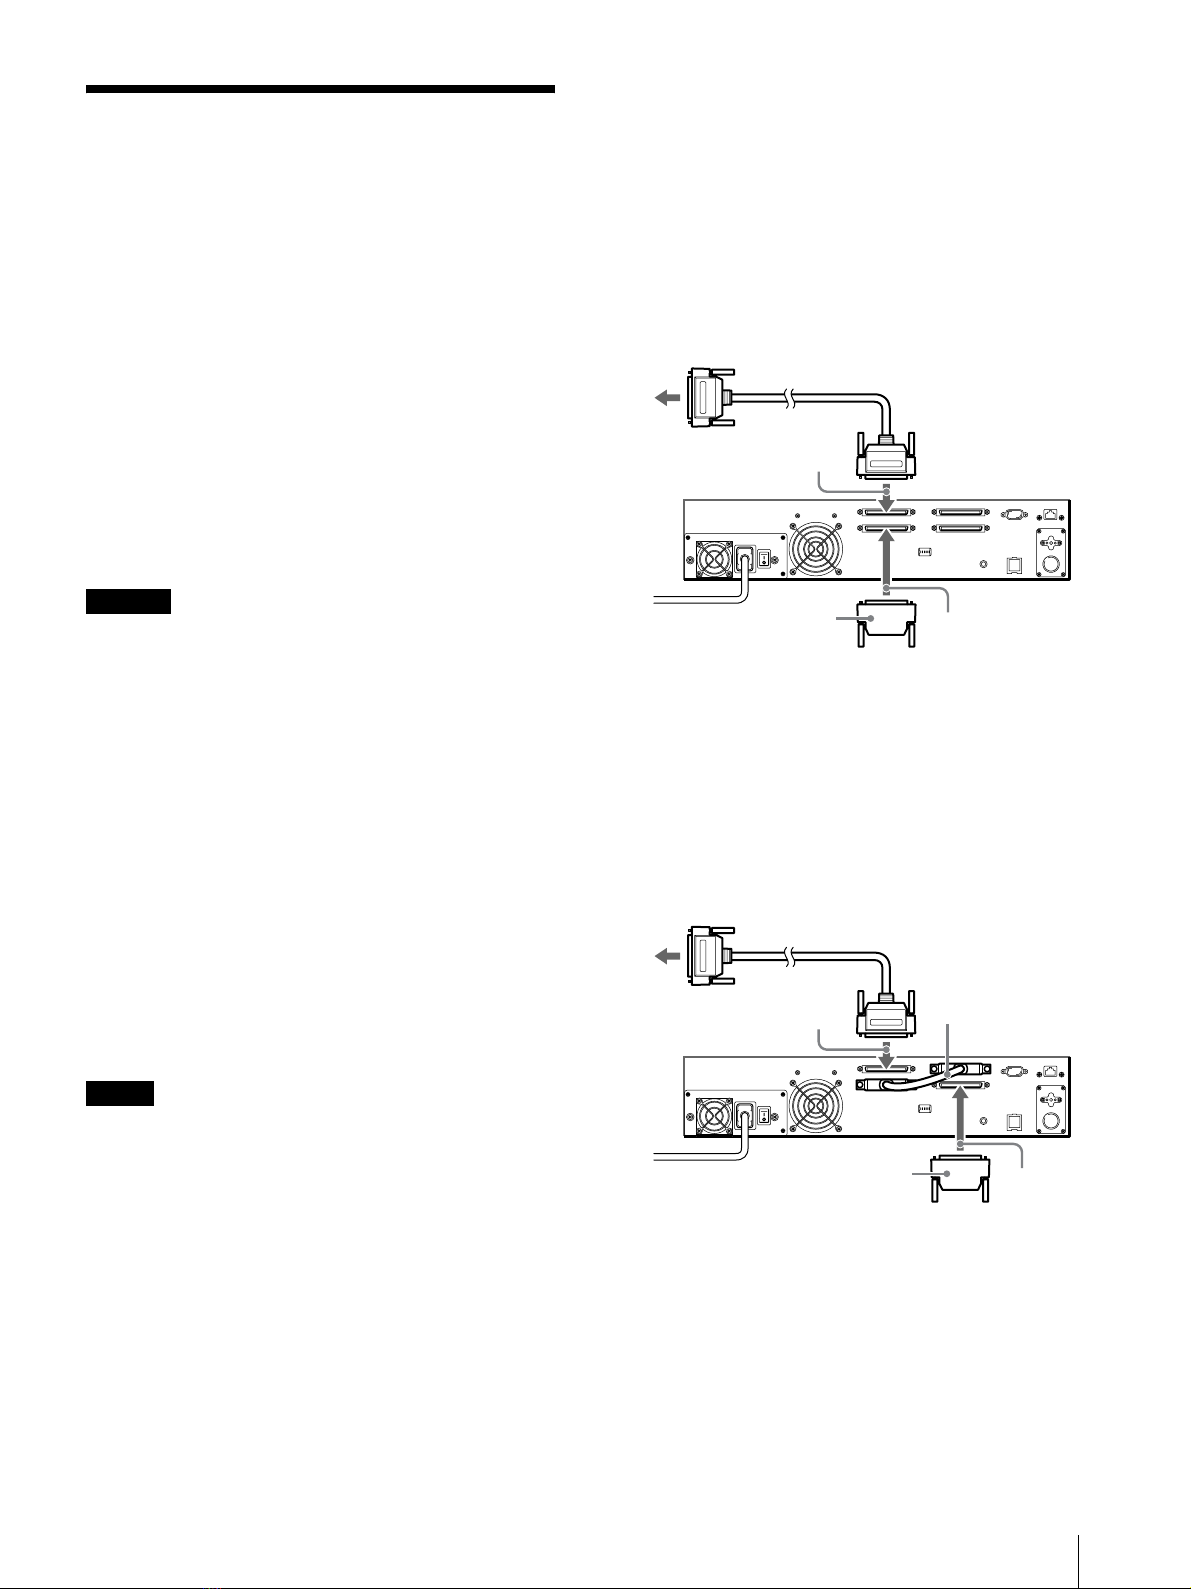
2
Attach the SCSI cable and terminator as shown in
the figure below.
The manner in which it is attached varies with the
number of internal drives.
When there is only one standard internal
AIT drive (AIT drive is not added):
1Use a SCSI cable (sold at stores) to connect the
AIT library to the host computer.
2Connect the SCSI cable to connector 1.
3Attach the provided terminator to connector 2.
Nothing is connected to connector 3 and
connector 4.
When an AIT drive is added (there are two
installed AIT drives):
1Use a SCSI cable (sold at stores) to connect the
AIT library to the host computer.
2Connect the SCSI cable to connector 1.
3Connect the SCSI cable supplied with the
supplementary AIT drive kit from connector 3 to
connector 4.
4Attach the provided terminator to connector 4.
2
1
Host
computer
Te r min a to r
2
3
1
Host
computer
Terminator