manuals.online logo
Brands
  1. Home
  2. •
  3. Brands
  4. •
  5. Sony
  6. •
  7. TV
  8. •
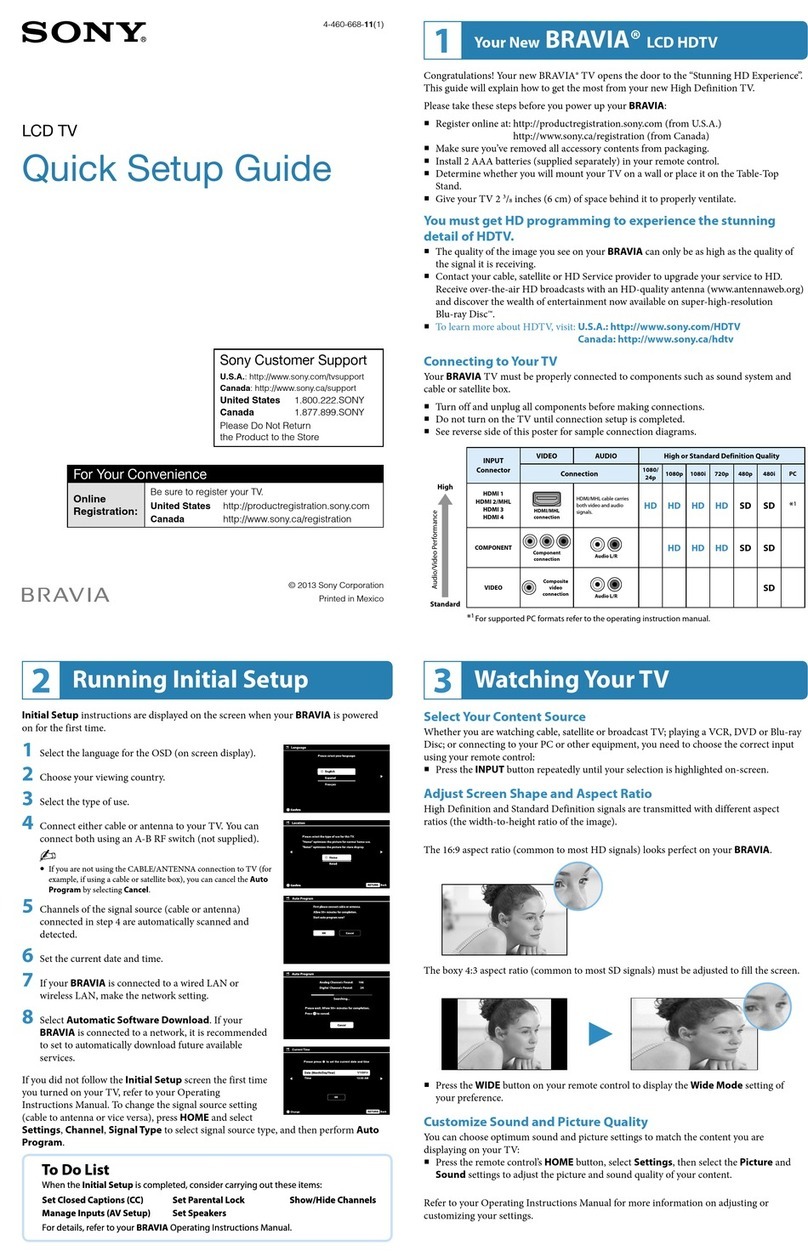
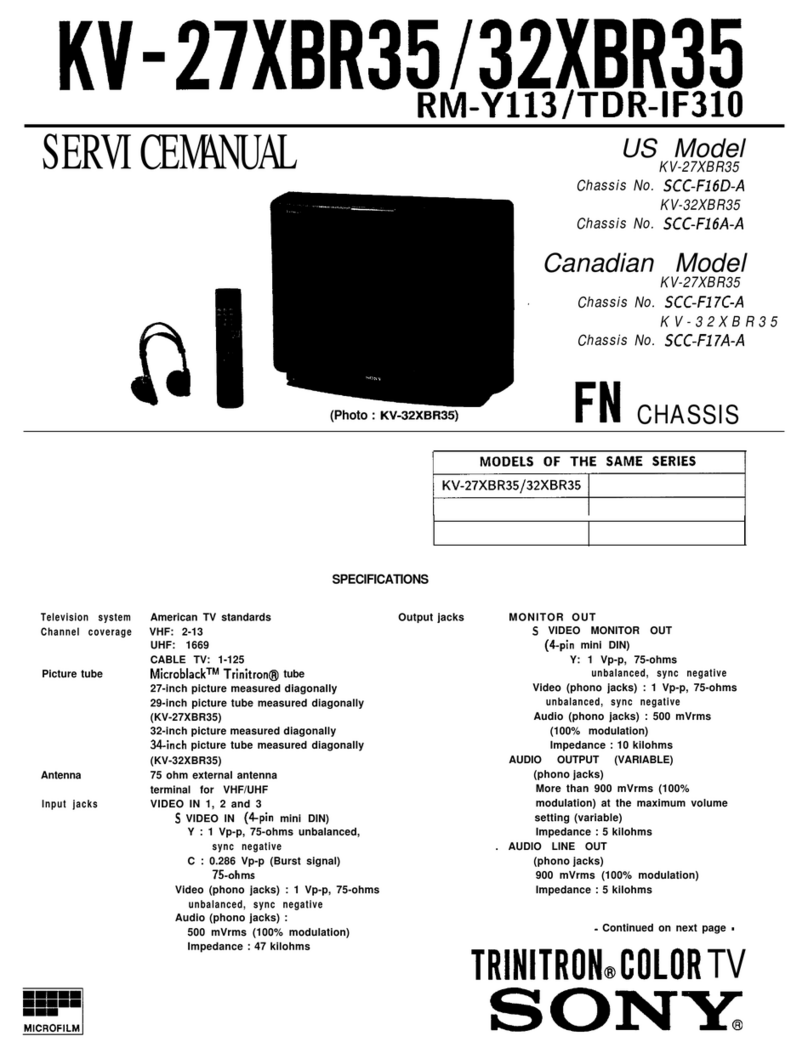
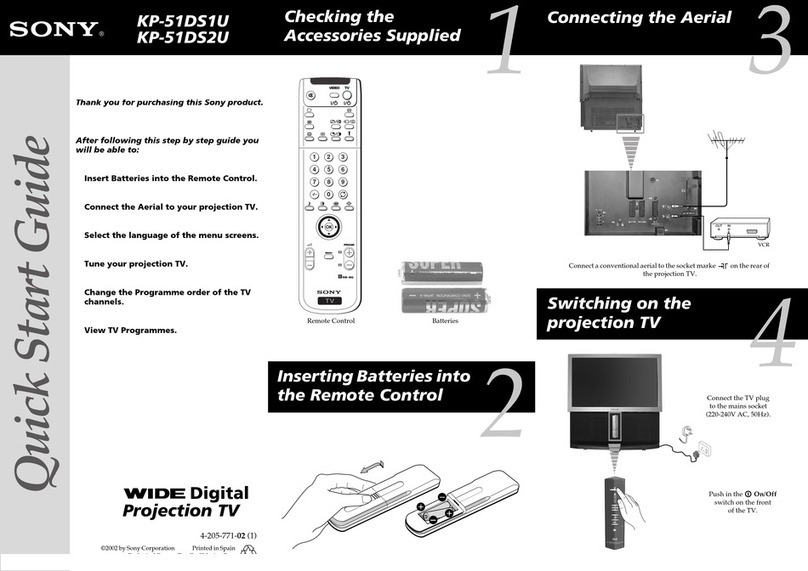
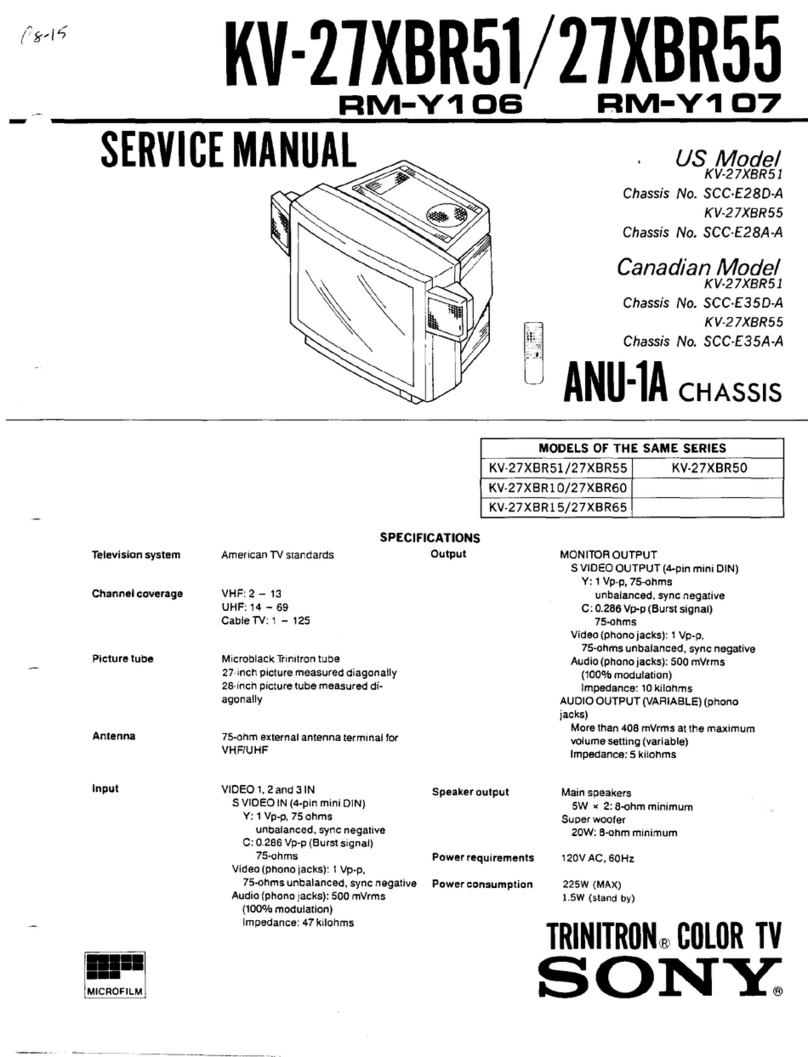
  9. Sony KV-32FX66U User manual

Sony KV-32FX66U User manual

Checking the
Accessories Supplied
Connecting cables are not supplied.
3 Batteries (AA size)
Switching on the TV
S®KV-32FX66U
Inserting Batteries into
the Remote Control
FD Trinitron
Colour Television
©2002 by Sony Corporation Printed in Spain
Ecological Paper - Totally Chlorine Free
Quick Start Guide
Connect the TV plug
to the mains socket
(220-240V AC, 50Hz).
4
4-088-953-01 (1)
Thank you for purchasing this Sony product.
After following this step by step guide you
will be able to:
Insert Batteries into the Remote Control.
Connect the Aerial and VCR to your TV.
Select the language of the menu screens.
Adjust the picture slant.
Assign an ID to your remote control
Tune your TV.
Change the broadcast channels into a
different order.
View TV Programmes.
The first time the TV set is
connected, it is usually turned on. If
the TV is off, push in the On/Off
switch on the front of the TV
or
OUT IN
VCR
1
Connecting the Aerial
and VCR 3
Remote Control RM-937
The Scart lead is optional.
If you use this optional connection
it can improve the picture and sound quality when using a VCR.
If you do not use a SCART lead, after automatically tuning the TV refer to the
«Manual Programme Preset» option on page 16 step a) of the instruction
manual, to tune in the TV to the output of your VCR. Also refer to your VCR
instruction manual to find out how to find the output channel of your VCR.
5
Selecting the language of
the menu screens
This TV set works with menu screens. By following the instructions
below, you can select the desired language of the menu sceens.
If picture slants, please
adjust picture rotation
Not necessary
Adjust now
Select: Confirm: OK
Language
English
Norge
Français
Italiano
Nederlans
Select Language: Confirm: OK
Language
English
Norge
Français
Italiano
Nederlans
Select Language: Confirm: OK
The first time that you switch on your
TV, the Language menu appears
automatically.
Press the or button on the
remote control to select the language,
then press the OK button on the
remote control to confirm your
selection.
The Picture Rotation menu appears on
the screen.
• Make sure you insert the supplied batteries using the
correct polarities.
• Always remember to dispose of used batteries in an
environmental friendly way. 2
If no channels were found
during the auto tuning process
then a new menu appears
automatically on the screen
asking you to connect the aerial.
Please connect the aerial (see
step 3) and press OK. The auto
tuning process will start again.
When the automatic tuning is finished,
the Programme Sorting menu appears on
the screen.
9
Changing the Programme Order
of the broadcast channels
By following the instrutions below, you can rearrange the
order in which broadcast channels appear on the screen.
8
6Automatically Tuning
the TV
You need to tune the TV to receive channels.
By following the instructions below, this TV automatically
searches and stores all available broadcast channels for you.
Your television stations are now stored in your television’s memory.
If picture slants, please
adjust picture rotation
Not necessary
Adjust now
Select: Confirm: OK
Do you want to start
automatic tuning?
Yes
No
Do you want to start
automatic tuning?
Yes
No
Programme:
Channel:
Searching...
1
C 01
Auto Tuning
No channel found
Please connect aerial
Confirm
Programme Sorting
Programme:
01 TVE2
02 TVE
03 ANT3
04 TELE5
05 C+
06 C44
Select Channel: Confirm:
Press the OK button on the remote
control to select Yes.
The TV starts to automatically search
and store all available broadcast
channels for you.
This procedure could take some
minutes.
Please be patient and do not press
any buttons while the automatic
tuning is in progress. Otherwise
automatic tuning will not be
completed.
In some countries the TV
Broadcaster installs the channels
automatically (ACI system). In
this case, the TV Broadcaster
sends a menu in which you can
select your city by pressing
the or button and OK to
store the channels.
Programme Sorting
Programme:
01 TVE2
02 TVE
03 ANT3
04 TELE5
05 C+
06 C44
Select Channel: Confirm:
Programme Sorting
Programme:
01 VE2 41 VE
02 VE
03 AN 3
04 ELE5
05 C+
06 C44
Select new position Move: OK
a) If you wish to keep the broadcast channels in
the tuned order:
• Press the MENU button on the
remote control to exit and
return to the normal TV screen.
Your TV is now ready for use.
b) If you wish to store the broadcast channels in
a different order:
• Press the or button on the
remote control to select the
programme number with the
broadcast channel you wish to
rearrange, then press the
button.
• Press the or button on the
remote control to select the new
programme number position for
your selected broadcast channel,
then press the OK button.
• Repeat all the above steps if you
wish to change the order of the
other broadcast channels on your
TV.
• Press the MENU button on the
remote control to exit and return
to the normal TV screen.
Your TV is now ready for use.
7
Correcting the Picture
Slant
Because of the earth’s magnetism, the picture might slant.
By following the instructions below, you can correct the
picture slant if it is necessary.
Assign an ID to your
Remote Control
This TV set is provided with a locator button to easy find the Remote Control (see page
6 of the instruction manual). Before your use this locator button, you can asign an ID
(number) to your Remote Control to avoid interferences from other locators.
a) If it is not necessary, press OK to
select Not necessary.
b) If it is necessary, press or
to select Adjust now, then press
OK and correct any slant of the
picture between –5 and +5 by
pressing or . Finally press
OK to store.
The automatic tuning menu appears
on the TV screen.
You can assign an ID (number) to
your Remote Control to avoid
interference from other locators
when you press the Remote Control
Locator button on the TV set.
a) If you do not want to configure it,
press OK to select No.
b) If you want to configure it
press to select Yes. Press OK.
Next press one of the number
buttons (0-9) and press OK to
store.
The remote control beeps.
Press OK to stop beeping.
ID should be assigned
anytime the batteries of the
remote control will be
replaced.
Finally press OK to continue the
process.
Do you want to configure your
Remote Control ID?
Yes
No
Select: Confirm: OK
Remote Control ID
Introduce New ID
with number buttons:
-
Enter: 0-9 Confirm: OK
Remote Control ID
New ID is: 5
Now beeping, please
press any button to stop.
Confirm: OK
Remote Control ID
Programme Sorting
Programme:
01 TVE2
02 TVE
03 ANT3
04 TELE5
05 C+
06 C44
Select Channel: Confirm:

Other manuals for KV-32FX66U

1

Other Sony TV manuals

Sony KD-75X8500D User manual

Sony

Sony KD-75X8500D User manual

Sony Bravia KLV-S23A10E User manual

Sony

Sony Bravia KLV-S23A10E User manual

Sony WEGA KV 20FV12 User manual

Sony

Sony WEGA KV 20FV12 User manual

Sony KV-28FX66U User manual

Sony

Sony KV-28FX66U User manual

Sony TRINITRON KV-27XBR351 User manual

Sony

Sony TRINITRON KV-27XBR351 User manual

Sony KV-27XBR37 User manual

Sony

Sony KV-27XBR37 User manual

Sony KV-27S40 Trinitron User manual

Sony

Sony KV-27S40 Trinitron User manual

Sony BRAVIA XBR-55A9F User manual

Sony

Sony BRAVIA XBR-55A9F User manual

Sony KX-1901 User manual

Sony

Sony KX-1901 User manual

Sony 65X9305C User manual

Sony

Sony 65X9305C User manual

Sony GRAND WEGA KDS-R60XBR2 User manual

Sony

Sony GRAND WEGA KDS-R60XBR2 User manual

Sony XR-55A80L User manual

Sony

Sony XR-55A80L User manual

Sony Trinitron KV-32TS35 User manual

Sony

Sony Trinitron KV-32TS35 User manual

Sony TRINITRON KV-21ME43 User manual

Sony

Sony TRINITRON KV-21ME43 User manual

Sony Trinitron KV-XF34M97 User manual

Sony

Sony Trinitron KV-XF34M97 User manual

Sony BRAVIA KDL-70XBR7 User manual

Sony

Sony BRAVIA KDL-70XBR7 User manual

Sony BRAVIA KD-43W880K User manual

Sony

Sony BRAVIA KD-43W880K User manual

Sony Transitron KV-B14K3 User manual

Sony

Sony Transitron KV-B14K3 User manual

Sony FD Trinitron WEGA KV-36FS12 User manual

Sony

Sony FD Trinitron WEGA KV-36FS12 User manual

Sony KD-75X8xJ User manual

Sony

Sony KD-75X8xJ User manual

Sony BRAVIA KDL-48W650D User manual

Sony

Sony BRAVIA KDL-48W650D User manual

Sony Bravia KDL-60W600B User manual

Sony

Sony Bravia KDL-60W600B User manual

Sony KDL-19S5700 User manual

Sony

Sony KDL-19S5700 User manual

Sony KV-XG25M50 User manual

Sony

Sony KV-XG25M50 User manual

Popular TV manuals by other brands

Haier 21T07 Service manual

Haier

Haier 21T07 Service manual

RCA RNSMU5536 instruction manual

RCA

RCA RNSMU5536 instruction manual

Sharp Aquos LC 32GD6U Service manual

Sharp

Sharp Aquos LC 32GD6U Service manual

JVC AV-32H35SAE instructions

JVC

JVC AV-32H35SAE instructions

Planar M Series user manual

Planar

Planar M Series user manual

Emerson Hello Kitty HKTV13 Service manual

Emerson

Emerson Hello Kitty HKTV13 Service manual

Panasonic CT-27SF34 operating instructions

Panasonic

Panasonic CT-27SF34 operating instructions

Kogan KALED46XXXWA user manual

Kogan

Kogan KALED46XXXWA user manual

Electrohome EH14E501 user manual

Electrohome

Electrohome EH14E501 user manual

Insignia NS-32D311MX15 user guide

Insignia

Insignia NS-32D311MX15 user guide

JVC AV-A14M3 Service manual

JVC

JVC AV-A14M3 Service manual

Philips 32PFL2507 quick start guide

Philips

Philips 32PFL2507 quick start guide

Loewe Spheros R 32 HD+ operating instructions

Loewe

Loewe Spheros R 32 HD+ operating instructions

Philips 8506 Series quick start guide

Philips

Philips 8506 Series quick start guide

Memorex MT2274A Service manual

Memorex

Memorex MT2274A Service manual

Pioneer PDP-614MX External Control Manual

Pioneer

Pioneer PDP-614MX External Control Manual

Symphonic ST413D, ST419D owner's manual

Symphonic

Symphonic ST413D, ST419D owner's manual

Panasonic VIERA TX-40CX700E operating instructions

Panasonic

Panasonic VIERA TX-40CX700E operating instructions

manuals.online logo
manuals.online logoBrands
  • About & Mission
  • Contact us
  • Privacy Policy
  • Terms and Conditions

Copyright 2025 Manuals.Online. All Rights Reserved.