SOR 1800PT User manual
Form 1807 (09.22) ©SOR Inc.
1/16
These instructions provide information for installation,
process connection, electrical connection, configuration,
operation and maintenance of the 1800PT and 1800HP
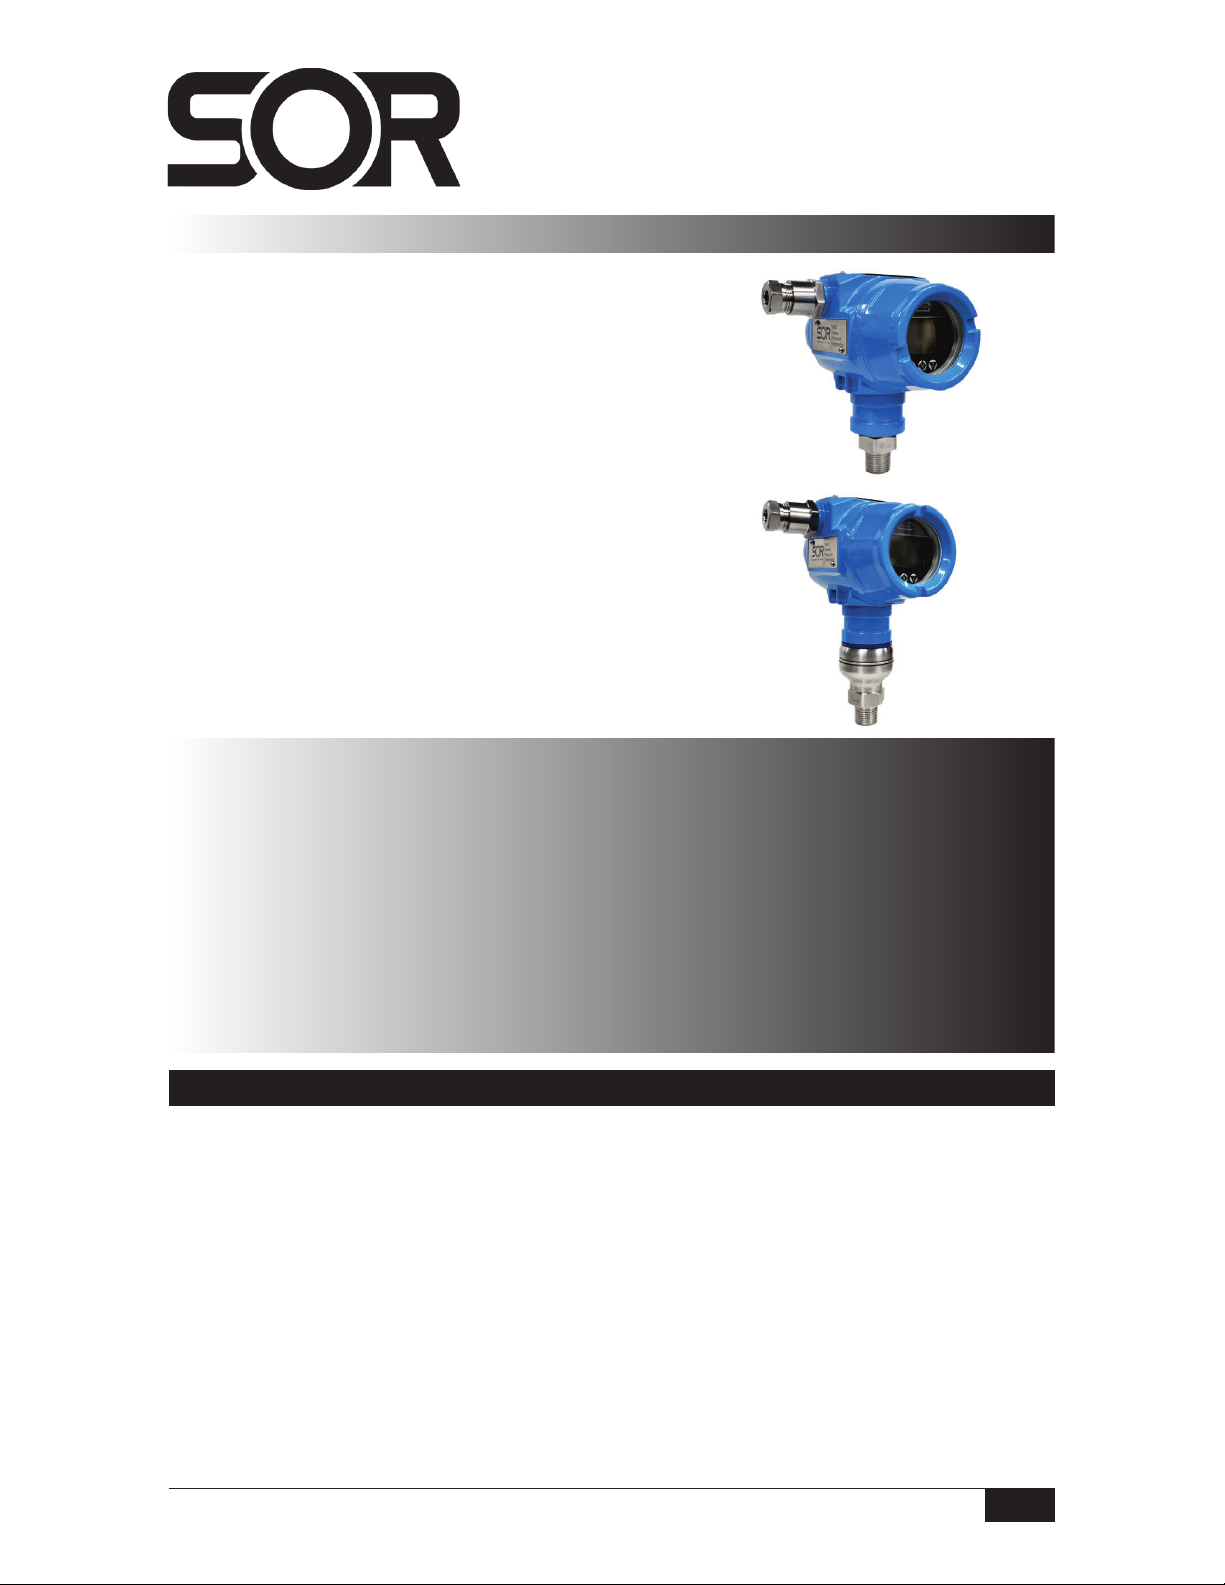
Pressure Transmitters. The 1800 Series Pressure
Transmitters are offered with either a standard over
pressure (model 1800PT) or a high over pressure
(model 1800HP); the information contained
in this document applies to either version.
1800PT and 1800HP
Pressure Transmitters
General Instructions
Registered Quality System to ISO 9001
NOTE: If you suspect that a product is defective, contact the
factory or the SOR
®
Representative in your area for a return
material authorization number (RMA). This product should
only be installed by trained and competent personnel. Product
specifications and important information provided on the device
nameplate should be carefully reviewed before installation.
Design and
specifications are
subject to change
without notice.
For latest revision, go to
sorinc.com
Table of Contents
Installation.......................................1
Electrical Connections .........................2
Configuration with Push-Buttons .............2
Factory Settings and Reset....................7
ATEX and IECEx Marking Details .............8
Maintenance.....................................9
Dimensions .................................... 10
Manifolds ...................................... 12
e
1800HP
High Over
Pressure
1800PT
Standard
Over Pressure
Installation
Normally, line mounting provides adequate support for the instrument.
n
The process connection is threaded onto a fitting within an adequately supported
process piping system.
o
Use two open end wrenches when connecting the pressure port to a process piping
system: one wrench to hold the process fitting, the other at the hex flat to tighten the
gauge pressure transmitter.
p
Process connection pipe or tubing may be rigid or flexible.
q
If ordered with the PK accessory, ensure the device is securely fastened to the pipe
mounting bracket.

2/16
Form 1807 (09.22) ©SOR Inc.
Electrical Connections
Ensure that wiring conforms to all applicable local and national electrical codes and install
unit(s) according to relevant national and local safety codes.
nRemove the housing rear cover.
oPass wiring through the conduit fitting.
pConnect the positive power supply lead to the terminal marked “+”.
qConnect the negative power supply lead to the terminal marked “-“.
Note: The terminals marked “A” and “B” are not used on the 1800 Series.
rReplace the housing rear cover.
sAll housings must be properly “sealed” at the conduit connection to maintain the
NEMA classification.
tApply power to the device. Reference supply voltages are listed below.
Reference Supply Voltages
Standard/Flameproof: 10.5-55VDC
HART Protocol: 16.5-55VDC
Intrinsic Safety: 12-30VDC
Configuration with Push-Buttons
All 1800 Series Pressure Transmitters include external push-buttons to configure the
device; these push-buttons are located beneath the top nameplate. To access, loosen
the bottom-left nameplate screw until the nameplate can be rotated upward exposing
the external push-buttons. If ordered with an LCD Display, the device will also include
internal push-buttons beneath the housing front cover.
Configuration commands are the same for both
the internal and external push-buttons.
From left to right the
buttons are labeled (S), (M), (Z)
When installed in a hazardous
area only the external push-buttons
should be used to configure the device.

Form 1807 (09.22) ©SOR Inc.
3/16
The following three commands configure the device based on the pressure currently
being applied to the sensor.
Zero Pressure Setting
nMake sure there is no pressure being applied to the sensor.
oPress and hold (S) and (Z) simultaneously for at least five seconds.
pOnce the display reads “PV = 0” the zero pressure has been successfully set.
qRelease (S) and (Z) at the same time.
Note: The zero pressure must be set after installation because it is influenced by the
mounting position. Three weeks after installation, the zero pressure should be set again to
ensure the best accuracy.
4mA Pressure Setting
nApply the desired pressure to the sensor that corresponds to a 4mA output signal.
oPress and hold (Z) and (M) simultaneously for at least five seconds.
pOnce the display reads “4mA OK” the 4mA pressure has been successfully set.
qRelease (Z) and (M) at the same time.
20mA Pressure Setting
nApply the desired pressure to the sensor that corresponds to a 20mA
output signal.
oPress and hold (S) and (M) simultaneously for at least five seconds.
pOnce the display reads “20mA OK” the 20mA pressure has been successfully set.
qRelease (S) and (M) at the same time.
Measuring and Menu Interfaces
The device starts by displaying the Measuring Interface. The measuring interface
can be changed via the Display Mode setting. In all three display modes there will be
a bar on the left side of the display that changes height and follows the spanned
current range.
Pressing (M) once enters the Menu Interface which allows eight different device
settings to be manually configured via the push-buttons. The eight setting menus
follow the same order listed below. If the device is left in a setting menu it will return to
the Measuring Interface after 30 seconds.
Note: If any setting value is changed, (M) must be pressed to confirm the changes or the
setting will revert to the original value.

4/16
Form 1807 (09.22) ©SOR Inc.
Within each setting menu there is a label displayed below the setting value. The tables
below each setting menu list the menu label and available setting values.
Measuring Interface
n
Press (M) to enter Menu Interface
Menu Interface
n Configure Display Mode
a. Press (M) to skip and proceed to next setting menu
To change setting value
a. Press (Z) to enter setting menu
b. Press (S) to change the setting value
c. Press (M) to confirm the setting value change and proceed
to next setting menu
Menu Label Setting Values Value Details
DISP
PV Process Variable
mA Current
% Percentage (follows spanned current range)
o Configure Unit of Measure
a. Press (M) to skip and proceed to next setting menu
To change setting value
a. Press (Z) to enter setting menu
b. Press (S) to change to next setting value
c. Press (Z) to change to previous setting value
d. Press (M) to confirm the setting value change and proceed
to next setting menu
Menu Label Setting Values
U
kPa inH2O kg/cm2
MPa ftH2O Pa
bar inHg ATM
psi mHg mm*
mmHg TORR m*
mmH2O mbar
mH2O g/cm2
*Unit of measure is for a specific application only and not
recommended for general use.

Form 1807 (09.22) ©SOR Inc.
5/16
p Configure 4mA Pressure Value
a. Press (M) to skip and proceed to next setting menu
To change setting value
a. Press (Z) once to enter setting menu. It will start with the last digit.
b. Press (S) to change the setting value of digit
c. Press (Z) to move one digit to the left
d. Press (M) to confirm the setting value change and proceed
to next setting menu
Menu Label Setting Values Value Details
LRV -19999 to +99999 Lower Range Value
q Configure 20mA Pressure Value
a. Press (M) to skip and proceed to next setting menu
To change setting value
a. Press (Z) once to enter setting menu. It will start with the last digit.
b. Press (S) to change the setting value of digit
c. Press (Z) to move one digit to the left
d. Press (M) to confirm the setting value change and proceed
to next setting menu
Menu Label Setting Values Value Details
URV -19999 to +99999 Upper Range Value
r Configure Damping Time
a. Press (M) to skip and proceed to next setting menu
To change setting value
a. Press (Z) once to enter setting menu. It will start with the last digit.
b. Press (S) to change the setting value of digit
c. Press (Z) to move one digit to the left
d. Press (M) to confirm the setting value change and proceed
to next setting menu
Menu Label Setting Values Value Details
DAMP 0 to 100 Seconds

6/16
Form 1807 (09.22) ©SOR Inc.
s Configure Output Signal Type
a. Press (M) to skip and proceed to next setting menu
To change setting value
a. Press (Z) to enter setting menu
b. Press (S) to change the setting value
c. Press (M) to confirm the setting value change and proceed
to next setting menu
Menu Label Setting Values Value Details
mA LINER Linear
√ Square Root
t Configure Fault Alarm Signal
a. Press (M) to skip and proceed to next setting menu
To change setting value
a. Press (Z) to enter setting menu
b. Press (S) to change the setting value
c. Press (M) to confirm the setting value change and proceed
to next setting menu
Menu Label Setting Values Value Details
ALARM
NO None
H 20.8mA
L 3.8mA
u Configure Fixed Output Current
a. Press (M) to exit Menu Interface and return to Measuring Interface
To change setting value
a. Press (Z) to enter setting menu
b. Press (S) to change the setting value
c. Press (Z) to apply the selected fixed output current
d. Press (M) once finished to return to Measuring Interface
Menu Label Setting Values
FIX\C
NO (None) 12.0000 mA
3.8000 mA 16.0000 mA
4.0000 mA 20.0000 mA
8.0000 mA 20.8000 mA

Form 1807 (09.22) ©SOR Inc.
7/16
Factory Settings and Reset
Setting Menu Label Factory Setting Value
Display Mode DISP PV (Primary Variable)
Unit of Measure U kPa or MPa (Sensor Dependent)
4mA Pressure Value LRV Lower Range Value (Sensor Dependent)
20mA Pressure Value URV Upper Range Value (Sensor Dependent)
Damping Time DAMP 0 Seconds
Output Signal Type mA LINER (Linear)
Fault Alarm Signal ALARM NO (None)
Fixed Output Current FIX\C NO (None)
There are two methods to reset the device to factory settings using the push-buttons.
Method 1
nThe device must be powered on and displaying the Measuring Interface.
oPress (S) and hold for at least five seconds.
pOnce the display reads “RECOVERY” release (S) and press (Z) for at least
two seconds.
qOnce the display reads “OK” release (Z) and the device will begin resetting.
rThe display reads “LOADING” while it is in the process of resetting.
sAfter the display returns to the Measuring Interface the factory reset is complete.
Method 2
nThe device must be powered off before proceeding.
oPress and hold (Z) while simultaneously powering the device on.
pContinue holding (Z) until the display reads “OK”.
qRelease (Z) and the device will begin resetting.
rThe display reads “LOADING” while it is in the process of resetting.
sAfter the display returns to the Measuring Interface the factory reset is complete.
8/16
Form 1807 (09.22) ©SOR Inc.
ATEX and IECEx Marking Details
ATEX Marking IECEx Marking Parameters
II 1 G Ex ia IIC T4 Ga Ui = 28V
Ex ia IIC T4 Ga (-20°C ≤ Ta ≤ +60°C) Ii = 93mA
(-20°C ≤ Ta ≤ +60°C) Pi = 0.65W
Li = 0mH
Ci = 0μF
II 2 GD Ex db IIC T6 Gb
Ex db IIC T6 Gb Ex tb IIIC T80°C Db
Ex tb IIIC T80°C Db (-20°C ≤ Ta ≤ +60°C)
(-20°C ≤ Ta ≤ +60°C)
Certificate Number: IECEx NEP 18.0008X
Standards: IEC 60079-0:2011 Ed 6, IEC 60079-1:2014-06 Ed 7, IEC 60079-11:2011
Ed 6 and IEC 60079-31:2013, Ed 2
Specific Conditions for Use
When equipment is installed in a Zone 0 hazardous area, user shall avoid an
ignition hazard due to impact or friction.
Contact the original manufacturer for information on the dimensions of the
flameproof joints.
Certificate Number: CML 19ATEX1078X
Standards: EN 60079-0:2012+A11:2013, EN 60079-1:2014, EN 60079-11:2012 and
EN 60079-31:2014
Specific Conditions for Use
When the equipment is installed in a Zone 0 hazardous area, the end user shall
protect the equipment from ignition hazards in the form of impact or friction.
The flameproof joints shall not be repaired. Contact the original manufacturer for
information on the dimensions of the flameproof joints.
The intrinsically safe version of the equipment does not satisfy 500 V test of IEC
60079-11 CL 6.3.13. and shall be supplied by an isolated barrier which is suitable
with the internal parameter of the equipment: Ui = 28V, Ii = 93mA, Pi = 0.65W,
Li ≈ 0mH, Ci = 0μF
The user shall ensure that the surface temperature of the sensor connector
shall never exceed +60°C.

Form 1807 (09.22) ©SOR Inc.
9/16
Maintenance
The 1800 Series Pressure Transmitters contain no user serviceable parts and cannot
be repaired on site. Disassembly of the instrument by unauthorized persons will
invalidate the warranty.
If there is a risk of debris accumulating in the pressure port, it should
be cleaned.
Care and caution must be taken when cleaning the pressure port to prevent
damage to the diaphragm.
It is recommended that the device’s Zero Pressure Setting be configured each year.

10/16
Form 1807 (09.22) ©SOR Inc.
#
!"#$ %
$
Dimensions
Model 1800PT (Standard Over Pressure)
Without
Display
(option 00)
Dimensions = mm
Pipe Mounting Kit (accessory PK)
With Integral
LCD Display
(option IN)

Form 1807 (09.22) ©SOR Inc.
11/16
Model 1800HP (High Over Pressure)
Pipe Mounting Kit (accessory PK)
With Integral
LCD Display
(option IN)
!
Without
Display
(option 00)
!
1
#
!

12/16
Form 1807 (09.22) ©SOR Inc.
Manifolds
If ordered with a 2-valve manifold, please
refer to the dimensional connection
drawings and flowpath diagram.
14685 West 105th Street, Lenexa, KS 66215
913-888-2630
800-676-6794 USA
Fax 913-888-0767
Registered Quality System to ISO 9001
Printed in USA sorinc.com
Process Connection
Instrument Connection
Hex Plug
Flowpath
(Dimensions = mm)
+,,
Instrument - 1/2” NPT(F)
Process - 1/2” NPT(F)
Instrument - 1/2” NPT(M)
Process - 1/2” NPT(F)
Instrument - 1/2” NPT(M)
Process - 1/2” NPT(M)
Connections
This manual suits for next models
1
Table of contents
Other SOR Transmitter manuals


Popular Transmitter manuals by other brands


Nautel
Nautel NX50 Preinstallation manual

Extron electronics
Extron electronics XTP T VGA user guide

NIVELCO
NIVELCO EchoTREK SG-300 series Installation and programming manual

Comnet
Comnet FVT4014 Installation and operation manual

R.V.R. Electronica
R.V.R. Electronica TX500SS user manual

Osram
Osram EASY Hybrid Remote Fitting instructions