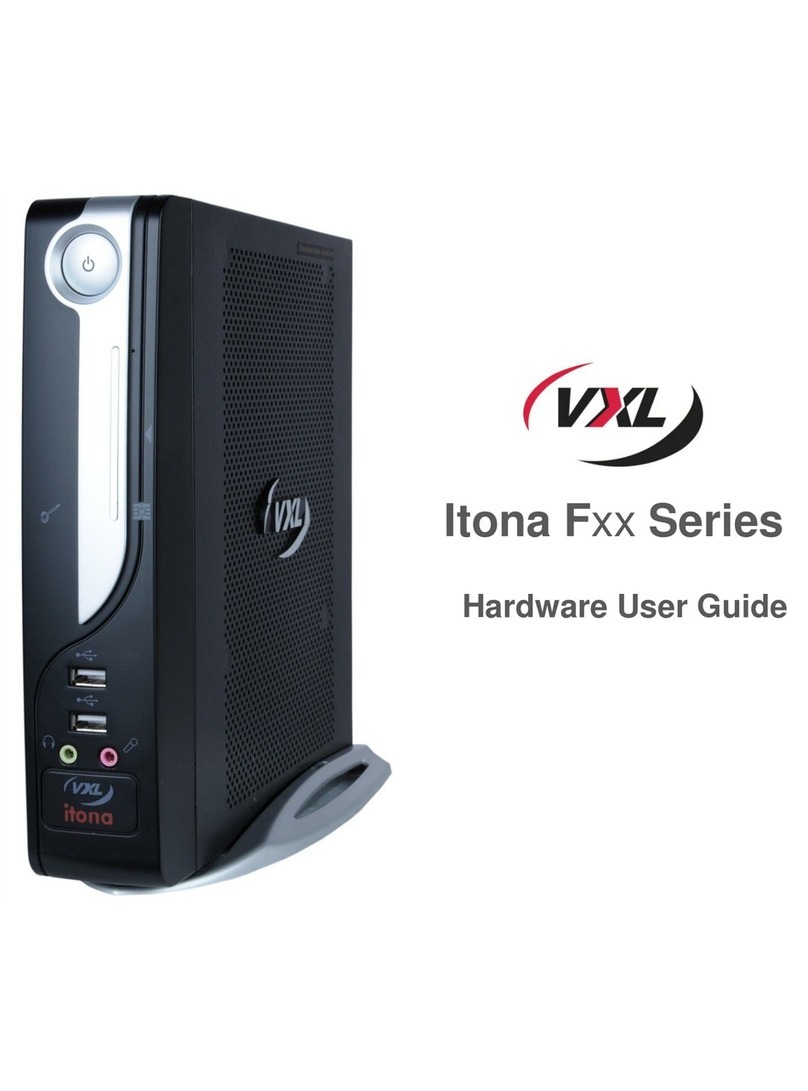
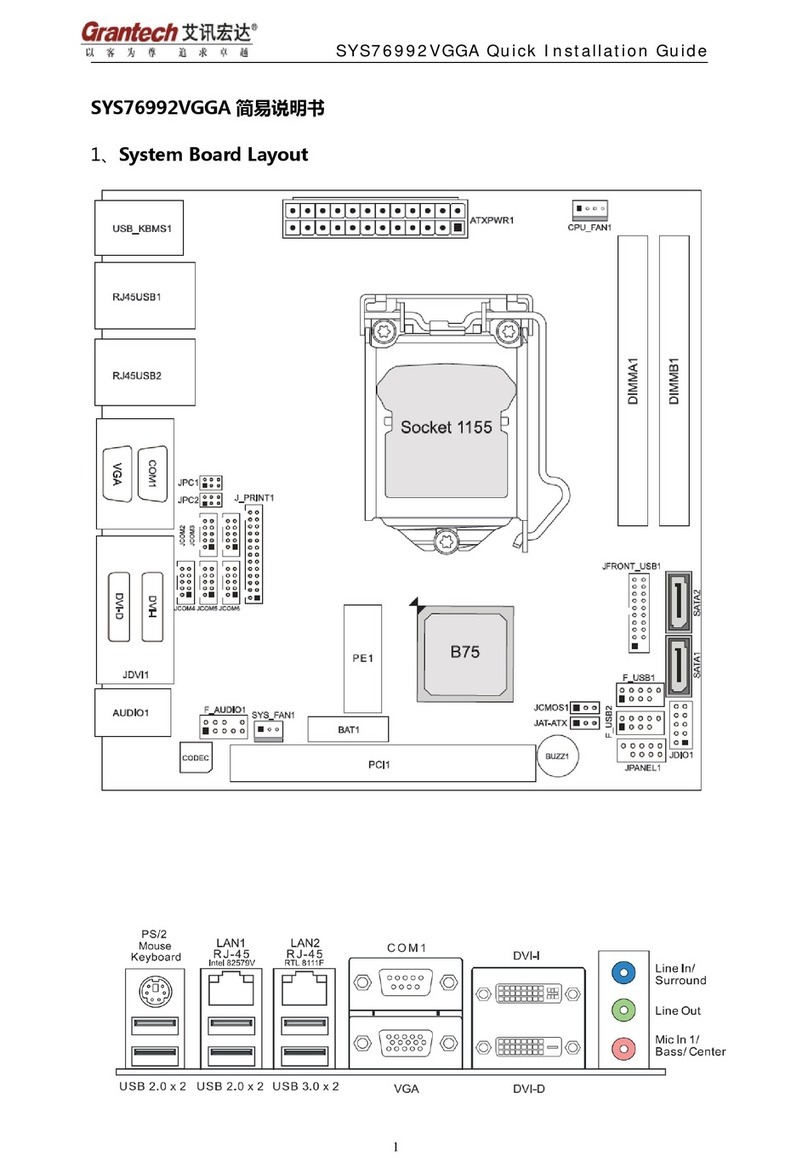
SOtM tX-USBexp User manual

tX-USBexp Operating Instructions
Rev : 1.7
tX-USBexp Operating Instructions_R1.7.indd 1 2013-10-15 �� 10:21:17

반드시 본 사용설명서를 모두 읽은 후 제품을 사용하십시오.
Please read this instruction carefully before you use the product.
제품의 분해, 개조 등을 하지 마십시오. •
Do not attempt to disassemble or modify the product.
제품에 진동, 충격을 가하지 마십시오.•
Keep the product away from external shocks or vibrations.
제품 설치 시 반드시 PC의 전원을 off하신 후 제품을 설치 하십시오.•
When you install the product, make sure turn off the PC power.
손상 되거나 피복이 벗겨진 cable은 사용하지 마십시오.•
Do not use the damaged or peeled cables.
제품 설치 후 반드시 나사를 조여 제품을 PC케이스에 단단히 고정 하십시오.•
After installing the product, make sure tighten the screws rmly to the PC case.
USB포트의 출력 전류를 초과 하지 않도록 주의 하십시오.•
Be careful not to exceed the output current of a USB port.
- 제품의 외관, 내용물, 사양은 예고 없이 변경 될 수 있습니다.
Product specications and features are subject to change without notice.
1
주의 사항
Precautions
tX-USBexp Operating Instructions_R1.7.indd 1 2013-10-15 �� 10:21:18

1. 무상 A/S
Free warranty service
- 정상적인 사용 중 설계, 제조상의 결함으로 발생된 불량에 대하여 구입일로부터 1년간 A/S를 보
증 합니다.
In case of the defect is found caused by the aw of the design or the production while you
use the product properly, a manufacturer is responsible for the faulty product and guaran-
tees the free warranty service for one year from the date of purchase.
- 무상 A/S기간 중 이라도 천재지변 등 불가 항력적인 요인으로 인한 제품의 고장 및 파손은 무상
A/S대상에서 제외 됩니다.
Even in the warranty service period, a malfunction or damage of the product caused by an
inevitable incident such as natural disasters is not subject of the free warranty service.
2. 유상 A/S
Warranty service at a cost
- 무상 A/S기간이 지난 제품
Product which is the free warranty service period is expired.
- 소비자 과실로 인한 제품의 고장
Malfunction of the product caused by user’s fault.
- 사고로 인한 제품 고장
Malfunction of the product caused by an incident.
- 지진, 수해, 낙뢰 등 천재지변으로 인한 제품의 고장
Malfunction of the product caused by natural disasters such as earthquake, ood, lightning
& etc.
- 유상 A/S의 경우 운송비는 소비자 부담 입니다.
In case of the warranty service at a cost, a customer should cover the transportation cost.
3. 소비자 과실 유형
Samples of user’s fault
- 제품의 분해, 개조등을 한 제품
In case of the product which disassemble or modify.
- 사용설명서에 명시된 사용법 미 준수로 인한 불량
In case of not following the instructions on this manual.
4. A/S를 의뢰하기 전 본 사용설명서와 홈페이지의 Q&A항목을 충분히 검토 하
시기 바랍니다.
Please read the operating instructions & Q&A page on our website care-
fully before asking for the warranty service.
2
A/S 정보
Warranty information
tX-USBexp Operating Instructions_R1.7.indd 2 2013-10-15 �� 10:21:18

3
기본 구성품
Supplied accessories
1. tX-USBexp (with slim size bracket)
2. 표준 사이즈 브라킷
Standard size bracket
3. 사용 설명서
Operating instructions
4. 디바이스 드라이버 CD
Device driver CD
tX-USBexp Operating Instructions_R1.7.indd 3 2013-10-15 �� 10:21:18

tX-USBexp는 최고의 USB audio 성능을 구현하기 위해 설계된 PCI express
USB 3.0 host interface card입니다.
tX-USBexp is a PCI express USB 3.0 host card that designed to enable the
best USB audio performance.
PC내부에 설치되는 PCI express USB host card가 고성능 오디오 기능을 구현
하기 위해서는 PC내부의 각종 노이즈를 줄여 주어야 합니다.
In order to implement the high-performance audio features to the PCI
express USB host card installed in a PC, the various noise inside of the PC
should be reduced.
이를 위해 tX-USBexp에는 PC내부의 노이즈가 USB audio 기기에 영향을 주는
것을 감쇄하여 주는 노이즈 필터회로를 적용 하였으며, 초저 노이즈 정전압 회로,
초저 지터 발진 회로 등을 적용하여 제품 자체에서 발생 되는 노이즈를 억제 하고
있습니다.
For this purpose, tX-USBexp has the noise lter circuit which reduces the
noise inside of the PC and also has the Ultra-low noise voltage circuit and
the ultra-low-jitter oscillator circuit to reduce the noise which is caused by
the product itself.
또한 외장 전원 입력 단자를 갖추고 있어 배터리 팩과 같은 고성능 외장 전원을
연결하여 사용할 수 있어 더욱 향상된 최고의 오디오 성능을 얻을 수 있습니다.
It also has an external power input jack, so you can get the best audio per-
formance once tX-USBexp is connected with the high-performance external
power supply as mBPS-d2s or sPS-1000.
제품설명
Product Information 4
tX-USBexp Operating Instructions_R1.7.indd 4 2013-10-15 �� 10:21:18

USB port
USB 3.0 port : Support SS(5Gbps), HS(480 Mbps), FS (12 Mbps), and LS (1.5 Mbps)•
USB port power on/off/open function•
Over current protection•
ESD protection•
USB 3.0 Compliant xHCI host controller•
PCIe x1 Gen2 interface•
Power regulation circuit
ULNR(Ultra low noise regulator)•
Automatically selected external power input•
2’nd stage noise lter for ULNR power source•
Clock circuit
Ultra low phase noise clock•
Specially designed active noise reduction regulator•
PLL power supply noise lter•
Others
Audio grade electrolytic capacitor•
Polymer capacitor•
Ultra low phase noise oscillator•
4 layer PCB structure for noise reduce•
기능
Features
5
tX-USBexp Operating Instructions_R1.7.indd 5 2013-10-15 �� 10:21:18

입출력 커넥터
Input/output connectors
1. External power input jack
외부 전원 입력용 잭 입니다.
2. USB port power switch (Part number : S201)
USB port의 +5.0V전원을 on/off 제어 합니다.
This switch can control USB port power(on/off)
3. USB port connector
USB 기기 연결용 커넥터 입니다.
주의사항 : USB포트의 권장 출력 전류는 0.5A 이하 입니다. 이보다 더 많은 전류를 사
용하는 기기는 가급적 사용을 하지 마십시오.
Caution: The recommended output current of USB port is less than 0.5A. Be care-
ful not to use the device exceeding current of 0.5A as possible.
2
1
3
6
tX-USBexp Operating Instructions_R1.7.indd 6 2013-10-15 �� 10:21:18

보드 점퍼 및 커넥터
Board Jumpers and connectors
1. JP401, JP402 : External power input
jack enable jumper
외부 전원 사용여부를 설정 합니다.
It is to set up the external power input.
J401 J402 Setting
on on Enable external power
off off Disable external power
2. J403 : Internal auxiliary power connector
외부 전원 입력 잭과 연결되어 있는 보조 전원 커넥
터 입니다.
It is an auxiliary power connector which is con-
nected to the external power input jack.
3. JP201 : USB port power off status set-
ting
USB포트 전원 off 상태를 설정 합니다.
It is to set up the status of USB port power off.
JP201 USB port power off status setting
on Connect to ground via 100 ohm
open Open
4. Internal power input connector
내부 전원 입력 커넥터 입니다.
PC power supply의 4pin IDE 전원 케이블과 연결
합니다.
It is the internal power input connector.
Connect to IDE 4pin power cable of PC power
supply.
* 주의 사항 : 설명되어 있지 않는 커넥터와
점퍼핀은 사용하거나 설정 상태를 변경
하지 마십시오.
Caution : Do not use or change the
settings of the undescribed connec-
tors and the jumper pins.
2
13
4
7
tX-USBexp Operating Instructions_R1.7.indd 7 2013-10-15 �� 10:21:18

제품 설치
Installation
제품 설치 시 주의 사항
Precautions when installing the product.
반드시 제품 설치 방법을 모두 읽은 후 제품을 설치 하십시오.1.
Please read this instruction carefully before you install the product.
일부 USB케이블은 고속 전송을 하지 못하는 케이블이 있습니다. 반드시 USB 2.0 인증을 획득한 케이블을 사용2.
하여야 하며 USB 3.0을 지원하는 기기를 사용 할 경우에는 반드시 USB 3.0케이블을 사용하여야 합니다.
Some of USB cables don’t support the high-speed transmission, so please use the certied USB2.0
cable or USB 3.0 cable if you are using USB 3.0 device with.
외부 전원을 이용하여 제품을 사용할 경우 PC의 전원이 켜져 있을 동안에는 외부 전원이 차단되지 않도록 하여3.
야 합니다. 외부전원이 갑자기 차단될 경우 tX-USBexp 또는 PC내부의 부품이 파손 될 수 있습니다.
If the tX-USBexp get powered by the external power input, make sure not to cut off the external power
while PC is powered on. If the external power is suddenly cut off, the internal parts of tX-USBexp or PC
will be damaged.
외부 전원을 이용하여 tX-USBexp를 사용할 경우에도 PC내부의 IDE 전원 케이블을 제품의 IDE전원 입력 커넥4.
터에 연결하여 사용하면 갑작스런 외부 전원의 차단 시에도 제품과 PC부품의 파손 가능성을 줄일 수 있습니다.
If you connect the IDE power cable inside of PC to the IDE power input connector of tX-USBexp while
the tX-USBexp get powered by the external power input, it can prevent the damage of the internal parts
of tX-USBexp or PC when the external power suddenly cut off.
본 제품의 오디오 성능은 사용하는 OS와 PC의 상태에 따라 차이가 날 수 있습니다. 5.
The specications of OS or PC have effect on the audio performance of tX-USBexp.
USB port 최대 출력 전류는 1.0A이지만 제품의 발열이 심해 음질이 떨어질 수 있으므로 0.5A이상의 전류를 사6.
용하는 제품은 가급적 사용을 하지 않는 것이 좋습니다.
The maximum output current for USB port is 1A, but it is highly recommended that do not use the product
which needs over 0.5A because of some parts heating on tX-USBexp, and it will degrade the sound
quality.
설치방법
How to install
PC의 전원을 반드시 off 합니다.1.
Make sure to turn off the PC power.
PC의 AC전원 코드를 분리 한 후 PC 케이스를 엽니다.2.
Disconnect the AC power cord from the PC and open the PC case.
비어 있는 PCI express slot을 찾아 제품을 삽입 하고 완전히 삽입 되어 있는지 확인 합니다.3.
Insert tX-USBexp to the empty PCI express slot and make sure the tX-USBexp is fully inserted.
tX-USBexp의 브라킷과 PC케이스를 나사로 단단히 고정 합니다.4.
Fasten the bracket of tX-USBexp and PC case with screws.
PC 전원 장치의 4핀 IDE 전원케이블을 tX-USBexp의 내부 전원 입력 커넥터와 연결 합니다.5.
Connect the 4-pin IDE power cable of PC power supply to the internal power input connector of tX-
USBexp.
외부 전원을 사용할 경우에는 외부 전원 입력 잭에 전원을 연결 합니다.6.
If you use the external power supply, connect the external power cable to the external power input jack of
tX-USBexp.
PC의 케이스를 닫고 AC 전원 코드를 연결 한 후 PC의 전원을 켭니다.7.
Close the PC case and connect the AC power cord, then turn on the PC power.
Windows OS를 사용하는 PC는 windows OS device driver설치 방법에 따라 device driver를 설치 하십시오.8.
If you use Windows OS, please install the device driver according to the Windows OS device driver instal-
lation.
Linux OS의 경우 별도의 device driver설치가 필요치 않습니다.
If you use Linux OS, you don’t need to install the additional device driver.
Foobar2000, JRiver, Jplay와 같은 음악 재생 프로그램을 이용하여 음악을 재생합니다.9.
Play music using music player software like Foobar2000, JRiver, Jplay.
8
tX-USBexp Operating Instructions_R1.7.indd 8 2013-10-15 �� 10:21:18

윈도우즈 OS 디바이스 드라이버 설치
Windows OS device driver installation
제품에 동봉된 CD를 PC의 ODD에 삽입 하면 아래1.
와 같이 자동으로 설치 프로그램이 실행 됩니다.
(자동으로 설치 프로그램이 실행 되지 않을 경우 ‘\
Texas_Instruments_xHCI_Driver_v1.16.3\Setup.
exe’ 를 실행하여 주십시오.)
Insert the enclosed CD into PC’s ODD, and then
the setup program will run automatically as fol-
lowing. (If the installation program doesn’t run
automatically, please execute ‘\Texas_Instru-
ments_xHCI_Driver_v1.16.3\Setup.exe’)
사용할 언어를 선택 한 후 ‘확인’버튼을 누릅니다.2.
Select a language and press ‘OK’ button.
잠시 후 아래와 같이 설치 준비가 완료 되면 ‘다음’3.
버튼을 눌러 설치를 진행 합니다.
After a while, if the installation is ready as fol-
lowing, press ‘Next’ button to continue.
사용권 계약 정보 내용을 모두 읽고 문제가 없을 경4.
우 ‘사용권 계약의 조항에 동의 합니다.’를 선택 한
후 ‘다음’버튼을 눌러 설치를 시작 합니다.
Please read ‘License Agreement’ carefully. If you
accept the terms, select ‘I accept the terms of
the License agreement’ and press ‘Next’ button
to start installation.
디바이스 드라이버가 설치 되는 동안 기다려 주십5.
시오.
Please wait while the device driver is being
installed as following.
디바이스 드라이버 설치가 완료 되면 ‘완료’버튼을 6.
눌러 설치를 종료 합니다.
After the device driver installation is complete,
press ‘Finish’ button to nish device driver
installation.
9
tX-USBexp Operating Instructions_R1.7.indd 9 2013-10-15 �� 10:21:19

제품 사양
Specication
PCI express USB interface chip set
USB 3.0 Compliant xHCI host controller•
Support SS(5Gbps), HS(480 Mbps), FS (12 Mbps), and LS (1.5 Mbps)•
PCIe x1 Gen2 interface•
Internal power input
Input voltage : +12.0Vdc(+0.5V, -0.5V)•
Input current : 2A max•
4pin IDE power connector•
External power input
Input voltage : +6.5V ~ +9Vdc•
Input current : 2A max•
5.5mm OD, 2.1mm ID DC adaptor jack•
USB port output power
Output voltage : +5.0V(+0.5V, -0.25V)•
Over current protection : 1.5A at 20°C•
Recommend output current : 0.5A >•
Operating environment
Operating temperature : 0°C ~ 30°C•
Storage temperature : -10°C ~ 50°C•
Operating & storage humidity : 10% ~ 90%•
OS support
Windows 7 or higher version•
Linux•
10
tX-USBexp Operating Instructions_R1.7.indd 10 2013-10-15 �� 10:21:19

www.sotm-audio.com
tX-USBexp Operating Instructions_R1.7.indd 11 2013-10-15 �� 10:21:19
Other manuals for tX-USBexp
3
Table of contents
Other SOtM Computer Hardware manuals
