Sound Devices SL-6 User manual

Powering and Wireless System
for the 688 Field Production Mixer
SL-6
QUICK START GUIDE

Quick Start Guide
SL-6
Welcome
Thank you for purchasing the SL-6, the powering and wireless system that simplies interconnection
between the 688 eld production mixer and up to three dual-channel, slot-in receivers, reducing cable
requirements and de-cluttering sound mixers’ bags.
The optional SL-6 accessory attaches directly to the top of the 688 and accepts both unislot and
SuperSlot-compatible receivers. When used with SuperSlot-compatible receivers, the 688 gains fully
integrated control of the receivers (sold separately). The SL-6 also provides a USB charging port, two
12V isolated outputs, and two non-isolated direct battery outputs for powering additional devices.
Your purchase includes:
Quantity item
1 SL-6 powering and wireless system
3Wireless receiver mounting gaskets
2BNC to SMA connection adapters
>1 Promo stickers
1 Product registration card
1 SL-6 Quick Start Guide
This Quick Start Guide provides the necessary steps to set up and begin using your SL-6 with your mixer
right out of the box. It also provides a brief overview of features, warranties and licensing information.
Fill In and Keep for Your Records
PRODUCT: _____________________________________________
SERIAL NUMBER: _____________________________________________
PURCHASE DATE: _____________________________________________
STORE/RETAILER: _____________________________________________
Read and Register...
Sound Devices strongly encourages you to register your product. Registration ensures you will receive
timely product updates.
For a full description of all product features, user-based procedures, specications, and safety informa-
tion, please refer to the product’s full User Guide located on the Sound Devices website; use the QR
code or respective link to access the guide.
Full User Guide:
http://www.sounddevices.com/download/guides/sl-6ug_en.pdf
Register Your SL-6:
www.sounddevices.com/support/registration/
Email Support:
suppor[email protected]
Call Support:
1-608-524-0625
1-800-505-0625
Sound Devices
recommends
keeping your
receipt, as well.
23

Quick Start Guide
SL-6
1. Attach SL-6 to the 688
The SL-6 can be connected only to the top panel of the 688 mixer. Tools needed to attach the
accessory to your mixer include a small Phillips® (cross-head) screwdriver and a at tool, such as a
jeweler’s screwdriver.
To attach the SL-6:
1. Turn the mixer off. Do not connect the SL-6 with mixer on.
2. Remove the disposable protective covers over the multi-pin headers from the top panel of the
mixer and the bottom panel of the SL-6, using a small at tool. (A jeweler’s screwdriver works well.)
The protective covers are attached with adhesive.
3. Remove the right and left screws from the front corners of the mixer and the two rear screws along
the back right edge of the mixer’s top panel.
Note: Keep all four screws; you will need to reuse them to attach the SL-6.
SL-6 Key Features
• Accepts three dual-channel slot-in wireless receivers for a total of six
channels
• Compatible with existing unislot and SuperSlot™ wireless receivers
Note: Visit SuperSlot.org/products for a list of SuperSlot-compatible receivers.
• Ability to set SuperSlot-compatible receiver parameters from the
mixer.
Note: Parameter availability depends on the model of the receiver.
• Ability to monitor SuperSlot-compatible receiver parameters from the
mixer, such as transmitter battery levels, RF level, pilot tone, and active
antenna.
• Accepts analog or digital audio, depending on wireless receiver.
• Built-in antenna signal distribution and ltering
• NP-1 battery slot and external DC input for powering the mixer,
receivers, and external peripherals
• USB charging port
• Two 12V isolated outputs
• Two non-isolated direct battery outputs
• PowerSafe™ circuitry offers smart sensing of available power sources,
front panel warning indication of power loss, and an integrated 10-
second power reserve that will, in the event of an inadvertent power
loss, allow the SL-6 to safely and automatically shut down the receivers
and peripherals. If power source is reapplied within the 10-second in-
terval, shutdown is canceled.
• Routing of receiver outputs to mixer inputs
Rear Screws
Left Screw
Right Screw
Multi-pin Header
(Covered)
Rear Screw Holes
Left Front
Screw
Hole
Right Front
Screw Hole
45

Quick Start Guide
SL-6
4. Connect the supplied ribbon cable to the multi-pin header on the mixer.
5. With the mixer positioned on a at, stable surface, hold the SL-6 in hand, and connect the other
end of the ribbon cable to the SL-6.
6. Insert the excess ribbon cable into the cavity behind the header on the SL-6 while lowering the
SL-6 into position, aligning the screw holes on both devices. Ensure the ribbon cable is fully within
the cavity and not pinched between the accessory and mixer.
7. Using a screwdriver, drive the four screws through the SL-6 and into the mixer—two into the rear
locations along the back right edge of the top panel and two others into the right and left front
corners.
2. Mount Receivers and Attach Antennas
The SL-6 works with standard unislot and SuperSlot-compatible, dual-channel slot-in receivers. It also
provides powering, audio interconnection, and antenna signal distribution, plus it provides control
of SuperSlot-compatible receivers. Before mounting your receivers, you must remove the rubber slot
covers that come with the SL-6 accessory.
To remove rubber slot covers:
▶Pull both antenna distribution leads from each cover and then pull out the rubber covers to expose
the slots for wireless receivers.
Procedures for mounting different models of receivers into slots on the SL-6 may vary; refer to the
receiver manufacturer’s documentation for proper mounting instructions.
To attach antennas:
▶Screw each antenna directly onto the BNC antenna connectors located on the right and left side
of the SL-6 front panel.
Receiver Slots (with Covers)
Antenna Connector (A) Antenna Connector (B)
Distribution Leads (B) Distribution Lead (B)Distribution Leads (A)
Distribution Lead (A)
3. Connect Power
The SL-6 has two options for power source:
• NP-1 Battery
• External DC power
If both power sources are connected, the SL-6 will use the source selected in the POWER > SL-6
Primary Source setting rst—by default, this is set to NP-1. The SL-6 also features PowerSafe which
provides a 10-second reserve in the event of inadvertent power loss.
To connect the SL-6 to external power:
▶Connect a DC power source (not included) to the 6-17 VDC input on the right panel.
Hirose 4-pin DC Input
Note: Pin-4 of the locking, Hirose connector is positive (+) and pin-1 is negative (-).
When the SL-6 is attached, it becomes the master power source for the mixer, receivers, and attached
peripherals.
While the 688 may be connected to other power sources, the 688 does not provide power to the SL-6.
Instead, the SL-6 provides power to the 688, its wireless receivers, and any peripherals attached to
its DC outputs and USB port. Run times will vary depending on how many devices are connected. The
power outputs on the right panel of the SL-6 may be turned off via the POWER > SL-6 Power Outputs.
Note: If the 688 is powered on, but no power source is provided to the SL-6, the SL-6 menu options on the mixer will
appear but be disabled.
67

Quick Start Guide
SL-6
To insert the NP-1 battery:
1. Pull out the metal retainer tab.
2. Slide the battery into the NP-1 battery compartment, located on the left panel of the SL-6, until the
metal retainer tab locks into place.
NP-1 Battery Compartment
Metal Retainer
Tab
To remove an NP-1 battery:
▶Press down on the metal retainer tab and pull out the battery.
Power LED
To power on the SL-6:
▶Flip the Power switch on the mixer to the ON position (as shown here).
The Power LED on the mixer illuminates yellow then green.
With the SL-6 attached to the 688, the SL-6 becomes the powering distribu-
tion for the receivers, the mixer, and any other peripherals attached to its
power connections.
Note: The SL-6 will also power the CL-6 accessory if it is afxed to the bottom of the 688
mixer.
Like the mixer, the SL-6 has PowerSafe technology, so if all power is lost
to the SL-6, a 10-second power reserve would deploy to allow for the safe
shutdown of the receivers and attached peripherals. This shutdown procedure would only apply to the
mixer if, at the time of power loss to the SL-6, the mixer itself did not have any power source in place.
If the mixer has been supplied with separate battery or DC power, then the mixer would continue
operating under its own power and provide power to the CL-6 accessory, if attached.
Note: The 688 does not provide power to the SL-6, its receivers, or any peripherals attached to the SL-6.
Declaration of Conformity
According to EN ISO/IEC 17050-1:2004
Manufacturer’s Name: Sound Devices, LLC
Manufacturer’s Address: E7556 State Road 23 and 33
Reedsburg, WI 53959
USA
Declares under sole responsibility that the product as delivered
Product Name: SL-6 Powering and Wireless System
Model Number: SL-6
Product Options: This declaration covers all options of the above product.
complies with the essential requirements of the following applicable European Directives,
and carries the CE marking accordingly:
EMC Directive (2004/108/EC)
EN 55022:2010
EN 55103-2:2009
First date of CE approval June 4, 2015.
This Declaration of Conformity applies to the above-listed product(s) placed on the EU market after:
June 4, 2015
Date Matt Anderson
Director of Engineering
89

Quick Start Guide
SL-6
Warranty and Service
Sound Devices, LLC warrants the SL-6 against defects in materials and workmanship for a period of ONE (1) year from date of original
retail purchase. Users who register their product directly with Sound Devices Technical Support by mail, online, or phone, will receive an
additional ONE (1) year of warranty coverage, extending the complete warranty period to TWO (2) years from the date of original retail
purchase. In order to extend the warranty coverage period, registration must be completed within the initial ONE (1) year warranty peri-
od. Products must be purchased through authorized Sound Devices resellers to qualify for Warranty coverage. Damage resulting from
the opening of a Sound Devices product or attempted repairs by a non-authorized Sound Devices repair technician will void warranty
coverage.
This is a non-transferable warranty that extends only to the original purchaser. Sound Devices, LLC will repair or replace the product at its
discretion at no charge. Warranty claims due to severe service conditions will be addressed on an individual basis.
THE WARRANTY AND REMEDIES SET FORTH ABOVE ARE EXCLUSIVE. SOUND DEVICES, LLC DISCLAIMS ALL OTHER WARRANTIES, EX-
PRESS OR IMPLIED, INCLUDING WARRANTIES OF MERCHANTABILITY AND FITNESS FOR A PARTICULAR PURPOSE. SOUND DEVICES,
LLC IS NOT RESPONSIBLE FOR SPECIAL, INCIDENTAL, OR CONSEQUENTIAL DAMAGES ARISING FROM ANY BREACH OF WARRANTY OR
UNDER ANY OTHER LEGAL THEORY. Because some jurisdictions do not permit the exclusion or limitations set forth above, they may not
apply in all cases.
For all service, including warranty repair, please contact Sound Devices for an RMA (return merchandise authorization) before sending
your unit in for repair. Product returned without an RMA number may experience delays in repair. When sending a unit for repair, please
do not include accessories, including SSD drives, CF cards, batteries, power supplies, carry cases, cables, or adapters unless instructed
by Sound Devices. Sound Devices repairs and replacements may be completed using refurbished, returned or used parts that have been
factory certied as functionally equivalent to new parts.
Sound Devices, LLC
Service Repair RMA #XXXXX
E7556 State Road 23 and 33
Reedsburg, WI 53959 USA
Telephone: (608) 524-0625
Technical Support / Bug Reports
For technical support and bug reporting on any Sound Devices products contact Sound Devices, LLC at:
Website: www.sounddevices.com/support/
Phone: +1 (608) 524-0625
Toll-free: +1 (800) 505-0625 — in USA only
Fax: +1 (608) 524-0655
Sound Devices also hosts a user support forum. Visit: http://forum.sounddevices.com
Legal Notes
Product specifications and features are subject to change without prior notification.
Copyright © 2015
Sound Devices, LLC.
All rights reserved.
This document is protected under copyright law. An authorized licensee of this product may reproduce this publication for the licensee’s
own personal use. This document may not be reproduced or distributed, in whole or in part, for commercial purposes, such as selling cop-
ies or providing educational services or support. This document is supplied as a technical guide. Special care has been taken in preparing
the information for publication; however, since product specications are subject to change, this document might contain omissions and
technical or typographical inaccuracies. Sound Devices, LLC does not accept responsibility for any losses due to the use of this guide.
Limitation of Liability
LIMITATION ON SOUND DEVICES’ LIABILITY. SOUND DEVICES, LLC SHALL NOT BE LIABLE TO THE PURCHASER OF THIS PRODUCT OR
THIRD PARTIES FOR DAMAGES, LOSSES, COSTS, OR EXPENSES INCURRED BY PURCHASER OR THIRD PARTIES AS A RESULT OF: ACCI-
DENT, MISUSE, OR ABUSE OF THIS PRODUCT OR UNAUTHORIZED MODIFICATIONS, REPAIRS, OR ALTERATIONS TO THIS PRODUCT, OR
FAILURE TO STRICTLY COMPLY WITH SOUND DEVICES, LLC’S OPERATING AND INSTALLATION INSTRUCTIONS. TO THE FULLEST EXTENT
PERMITTED BY LAW, SOUND DEVICES SHALL HAVE NO LIABILITY TO THE END USER OR ANY OTHER PERSON FOR COSTS, EXPENSES,
DIRECT DAMAGES, INCIDENTAL DAMAGES, PUNITIVE DAMAGES, SPECIAL DAMAGES, CONSEQUENTIAL DAMAGES OR OTHER DAMAGES
OF ANY KIND OR NATURE WHATSOEVER ARISING OUT OF OR RELATING TO THE PRODUCTS, THESE TERM(S) AND CONDITIONS OR THE
PARTIES’ RELATIONSHIP, INCLUDING, WITHOUT LIMITATION, DAMAGES RESULTING FROM OR RELATED TO THE DELETION OR OTHER
LOSS OF AUDIO OR VIDEO RECORDINGS OR DATA, REDUCED OR DIMINISHED AUDIO OR VIDEO QUALITY OR OTHER SIMILAR AUDIO OR
VIDEO DEFECTS ARISING FROM, RELATED TO OR OTHERWISE ATTRIBUTABLE TO THE PRODUCTS OR THE END USER’S USE OR OPERATION
THEREOF, REGARDLESS OF WHETHER SUCH DAMAGES ARE CLAIMED UNDER CONTRACT, TORT OR ANY OTHER THEORY. “CONSEQUEN-
TIAL DAMAGES” FOR WHICH SOUND DEVICES SHALL NOT BE LIABLE SHALL INCLUDE, WITHOUT LIMITATION, LOST PROFITS, PENALTIES,
DELAY DAMAGES, LIQUIDATED DAMAGES AND OTHER DAMAGES AND LIABILITIES WHICH END USER SHALL BE OBLIGATED TO PAY OR
WHICH END USER OR ANY OTHER PARTY MAY INCUR RELATED TO OR ARISING OUT OF ITS CONTRACTS WITH ITS CUSTOMERS OR OTHER
THIRD PARTIES. NOTWITHSTANDING AND WITHOUT LIMITING THE FOREGOING, IN NO EVENT SHALL SOUND DEVICES BE LIABLE FOR
ANY AMOUNT OF DAMAGES IN EXCESS OF AMOUNTS PAID BY THE END USER FOR THE PRODUCTS AS TO WHICH ANY LIABILITY HAS BEEN
DETERMINED TO EXIST. SOUND DEVICES AND END USER EXPRESSLY AGREE THAT THE PRICE FOR THE PRODUCTS WAS DETERMINED
IN CONSIDERATION OF THE LIMITATION ON LIABILITY AND DAMAGES SET FORTH HEREIN AND SUCH LIMITATION HAS BEEN SPECIFICALLY
BARGAINED FOR AND CONSTITUTES AN AGREED ALLOCATION OF RISK WHICH SHALL SURVIVE THE DETERMINATION OF ANY COURT OF
COMPETENT JURISDICTION THAT ANY REMEDY HEREIN FAILS OF ITS ESSENTIAL PURPOSE.
Trademarks
The “wave” logo is a registered trademark, and SuperSlot, MixAssist, PowerSafe, and Wave Agent are trademarks of Sound Devices, LLC.
FCC Notice
This device complies with part 15 of the FCC Rules. Operation is subject to the following two conditions: (1) This device may not cause
harmful interference, and (2) this device must accept any interference received, including interference that may cause undesired oper-
ation.
FCC Part 15.19(a)(3)
10 11

www.sounddevices.com
Part # 6140.000
Other manuals for SL-6
1
Table of contents
Popular Power Supply manuals by other brands
POMCube
POMCube iCAN NetZero PNZ-BES1-5K user manual
Spektrum
Spektrum SPMXC10201 user manual
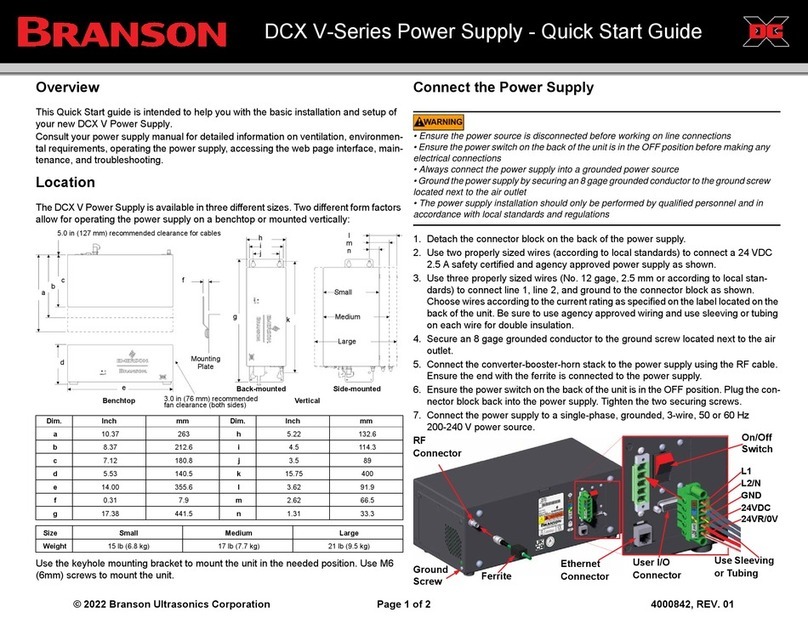
Branson
Branson DCX V-Series quick start guide
AA Portable Power Corp
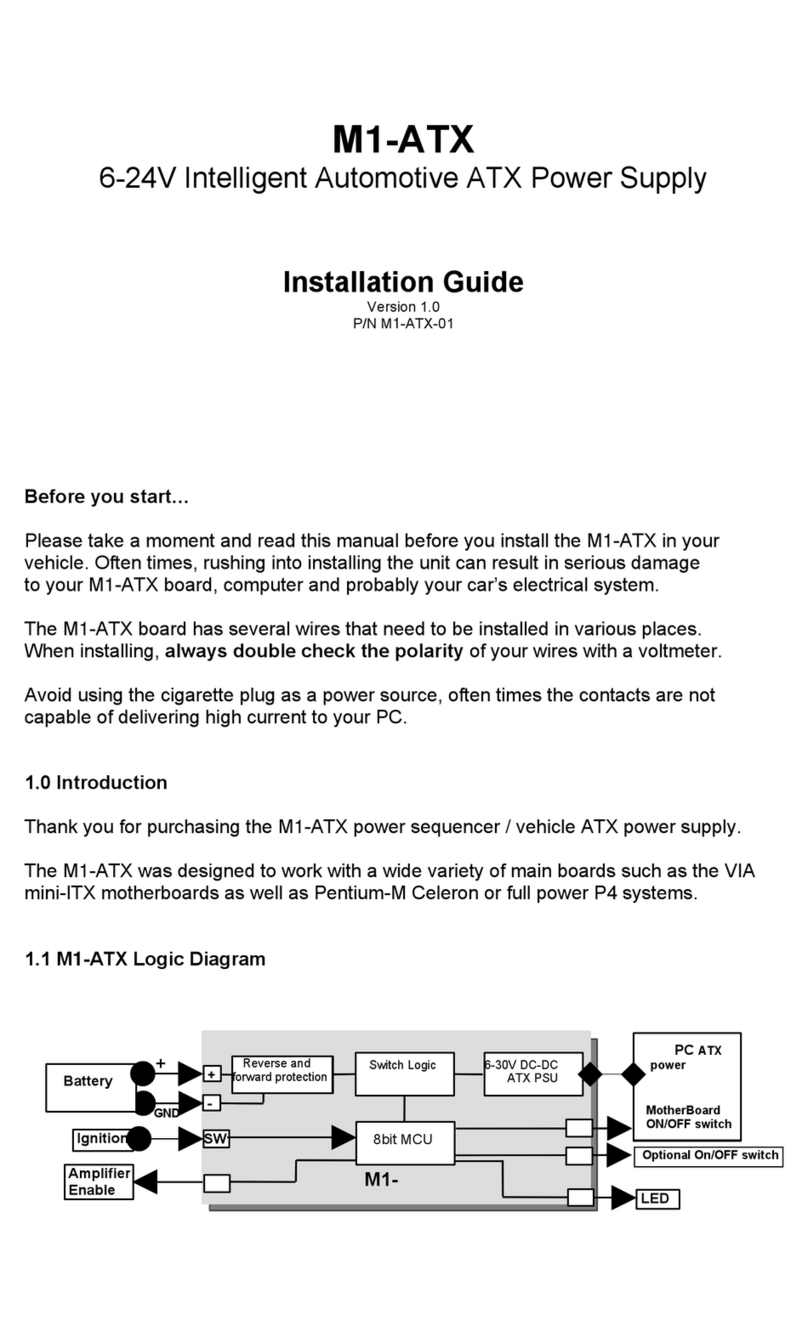
AA Portable Power Corp M1-ATX installation guide
Rockwell Automation
Rockwell Automation Allen-Bradley Micro800 installation instructions

Moog
Moog PB26LG Operation instructions
