manuals.online logo
Brands
  1. Home
  2. •
  3. Brands
  4. •
  5. SOUNDMASTER
  6. •
  7. Alarm Clock
  8. •
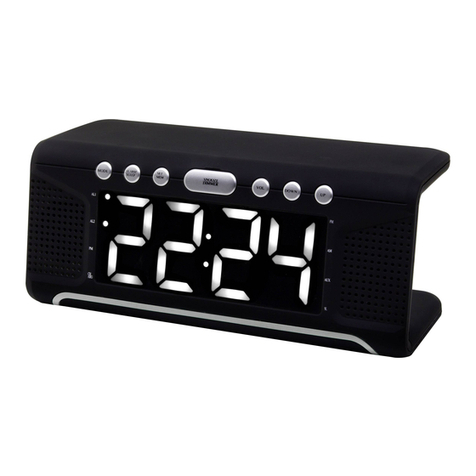
  9. SOUNDMASTER UR8900 User manual

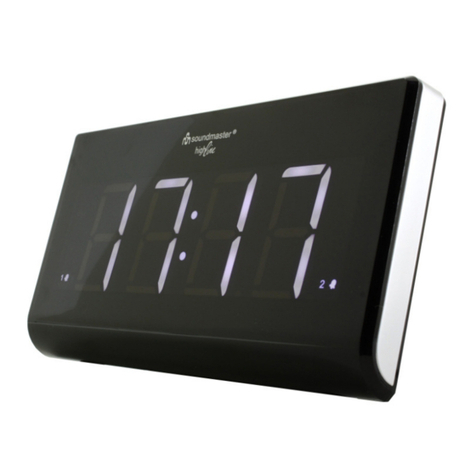
SOUNDMASTER UR8900 User manual

UR8900 / English instruction manual
1
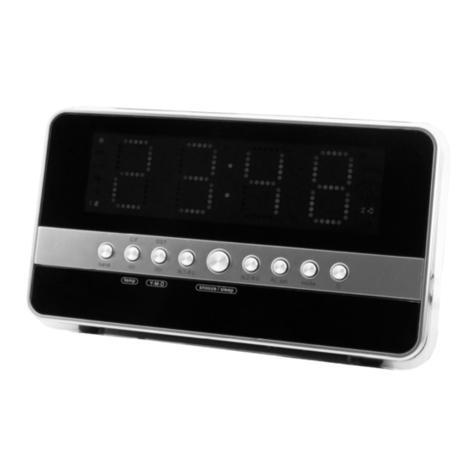
Location of Control
1. Time Set button
2. ▲button
3. ▼button
4. Snooze button
5. ֠1 button
6. ֠2 button
7. ֠button
8. PM LED indicator
9. Display
10. Alarm1 LED indicator
11. Alarm2 LED indicator
12. Speaker
13. DC jack
14. Battery compartment
15. Foldable stand
UNIT POWER SUPPLY
This unit is designed to operate on wither DC 9V adaptor.
Insert the small plug of adaptor into the DC Jack.
Insert the AC/DC adaptor into any convenient having 230V~AC, 50Hz household outlet in
vertical or horizontal direction.
BATTERY BACKUP:
1pcs X CR2025(3V) button cell (not included) may be installed as a backup option to
maintain the time if electrical power fails. In the event of a power outage, the time will not
appear on the clock Display, however the clock will continue to operate and the actual time
will be maintained. The Clock Display and other functions will resume once electrical power
15
UR8900 / English instruction manual
2
is restored if used the backup battery .The backup battery should be replaced as needed;
Remove the battery if the clock is not used or stored for long periods of time.
TO SET THE CLOCK AND THE DATE
1. Press and hold the “TIME SET” Button, The Hour Time will blink in the LCD display.
2. Press ▲or ▼button to adjust the Hour Time, After the desired hour time has reached,
press “TIME SET” button and the MINUTE time will blink, press ▲or ▼button to adjust the
Minute time.
3. Press “TIME SET” to button again, press ▲or ▼button to desire 12H or 24H mode.
4. Press “TIME SET” to confirm : the display flashes the year, press the ▲or ▼button to
adjust
5. Press “TIME SET” to confirm : the display flashes the month, press the ▲or ▼button to
adjust
6. Press “TIME SET” to confirm : the display flashes the date, press the ▲or ▼button to
adjust
7. Press “TIME SET” to confirm : the screen shows the normal display again
The unit alarm active with 10 mode:
1. Display shown 1-7, alarm active on Monday to Sunday
2. Display shown 6-7, alarm active on Saturday & Sunday
3. Display shown 1-5, alarm active on Monday to Friday
4. Display shown 1, alarm active on Monday only
5. Display shown 2, alarm active on Tuesday only
6. Display shown 3, alarm active on Wednesday only
7. Display shown 4, alarm active on Thursday only
8. Display shown 5, alarm active on Friday only.
9. Display shown 6, alarm active on Saturday only
10 Display shown 7, alarm active on Sunday only
TO SET THE ALARM
1. Press and hold “֠” button, the HOUR time & ALARM 1 indicator will blink, Press ▲or ▼
button to adjust the Hour Time, After the desired hour time has reached, press “֠” button and
the MINUTE time will blink, press ▲or ▼button to adjust the Minute Time.
2. Press “֠” button to confirm, the display flashes the alarm active mode, press the ▲or ▼
button to desired mode
3. Press “֠” button to confirm, then the HOUR time & ALARM 2 indicator will blink, Press ▲or
▼button to adjust the Hour Time, After the desired hour time has reached, press “֠” button
and the MINUTE time will blink, press ▲or ▼button to adjust the Minute Time.
4. Press “֠” button to confirm, the display flashes the alarm active mode, press the ▲or ▼
button to desired mode
5. Press “֠” button to confirm
UR8900 / English instruction manual
3
ACTIVE THE ALARM (ALARM 1)
1.Press the “֠1” button, until “bb” shown on the display, wait for 3 second the screen shows the
normal display again, and the Alarm 1 indicator will light on. The buzzer will sound at the set
alarm time.
CANCEL THE ALARM (ALARM1)
Press the “֠1” button, until “OFF” shown on the display, wait for 3 second the screen shows the
normal display again, and the Alarm 1 indicator will cut off.
ALARM 2 setting
Same as Alarm 1 setting. But, press the “֠2” button instead of “֠1” button.
(Alarm 2 indicator will instead of Alarm 1 indicator)
SHUT OFF THE ALARM
Press the “֠” Button, the alarm will reset for next day
SNOOZE FUNCTION
If you want to snooze a few more minutes press the “SNOOZE” button will deactivate the sound
for approximately 9 minutes.
Dimmer Function
In normal status (not in alarm status), press the SNOOZE button repeatedly to set the
brightness level of the LED segments as desired.
SPECIFICATIONS
Power consumption: 3 Watt
AC adapter: DC 9V, 250mA
Battery back-up: 1x CR2025 3V
Technical and specifications are subject to change without further notice
Copyright by Wörlein GmbH, D-90556 Cadolzburg

Other SOUNDMASTER Alarm Clock manuals

SOUNDMASTER TR150SW User manual

SOUNDMASTER

SOUNDMASTER TR150SW User manual

SOUNDMASTER FUR100 User manual

SOUNDMASTER

SOUNDMASTER FUR100 User manual

SOUNDMASTER UR170SW User manual

SOUNDMASTER

SOUNDMASTER UR170SW User manual

SOUNDMASTER UR 923 User manual

SOUNDMASTER

SOUNDMASTER UR 923 User manual

SOUNDMASTER UR8100 User manual

SOUNDMASTER

SOUNDMASTER UR8100 User manual

SOUNDMASTER UR8400 User manual

SOUNDMASTER

SOUNDMASTER UR8400 User manual

SOUNDMASTER Highline UR8900 User manual

SOUNDMASTER

SOUNDMASTER Highline UR8900 User manual

SOUNDMASTER UR620 User manual

SOUNDMASTER

SOUNDMASTER UR620 User manual

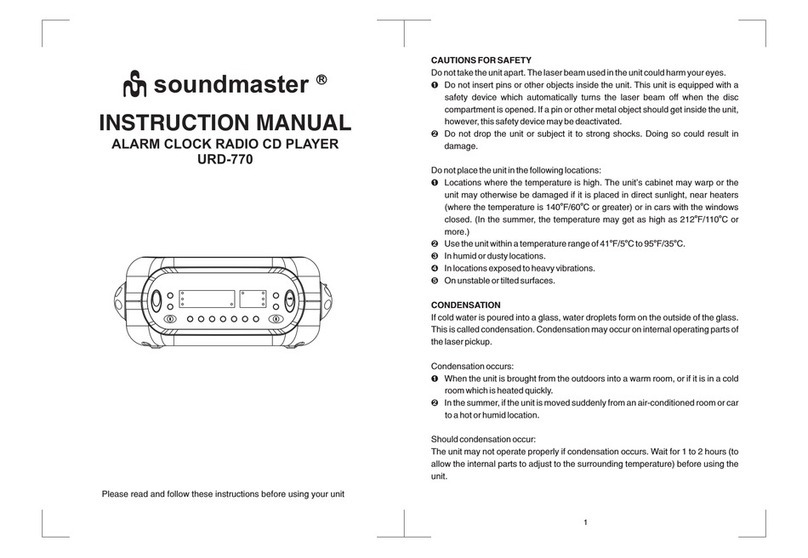
SOUNDMASTER URD-770 User manual

SOUNDMASTER

SOUNDMASTER URD-770 User manual

SOUNDMASTER UR200SI User manual

SOUNDMASTER

SOUNDMASTER UR200SI User manual

SOUNDMASTER UR8800 User manual

SOUNDMASTER

SOUNDMASTER UR8800 User manual

SOUNDMASTER UR105W User manual

SOUNDMASTER

SOUNDMASTER UR105W User manual

SOUNDMASTER UR8400 User manual

SOUNDMASTER

SOUNDMASTER UR8400 User manual

SOUNDMASTER FUR6100SI User manual

SOUNDMASTER

SOUNDMASTER FUR6100SI User manual

SOUNDMASTER UR800 User manual

SOUNDMASTER

SOUNDMASTER UR800 User manual

SOUNDMASTER URD860 User manual

SOUNDMASTER

SOUNDMASTER URD860 User manual

SOUNDMASTER UR106 User manual

SOUNDMASTER

SOUNDMASTER UR106 User manual

SOUNDMASTER FUR 8097 User manual

SOUNDMASTER

SOUNDMASTER FUR 8097 User manual

SOUNDMASTER UR8350WE User manual

SOUNDMASTER

SOUNDMASTER UR8350WE User manual

SOUNDMASTER UR-104 User manual

SOUNDMASTER

SOUNDMASTER UR-104 User manual

SOUNDMASTER FUR 8097 User manual

SOUNDMASTER

SOUNDMASTER FUR 8097 User manual

Popular Alarm Clock manuals by other brands

PowerTran D 2321 operating instructions

PowerTran

PowerTran D 2321 operating instructions

Renkforce 1383424 operating instructions

Renkforce

Renkforce 1383424 operating instructions

Philips AJ560 user manual

Philips

Philips AJ560 user manual

Sempre Sunrise Troubleshooting

Sempre

Sempre Sunrise Troubleshooting

TFA 60.4511 instruction manual

TFA

TFA 60.4511 instruction manual

Hama RC400 operating instructions

Hama

Hama RC400 operating instructions

Bering 91066 instruction manual

Bering

Bering 91066 instruction manual

Conrad 27 58 79 operating instructions

Conrad

Conrad 27 58 79 operating instructions

iHome iH18 Features

iHome

iHome iH18 Features

Velleman WT014 user manual

Velleman

Velleman WT014 user manual

Somogyi home LTCP 01 instruction manual

Somogyi

Somogyi home LTCP 01 instruction manual

iHome iBN350 user guide

iHome

iHome iBN350 user guide

La Crosse Technology 617-148TXT Setup guide

La Crosse Technology

La Crosse Technology 617-148TXT Setup guide

Oregon Scientific RESONANCE CIR600 user manual

Oregon Scientific

Oregon Scientific RESONANCE CIR600 user manual

Jensen JCR-370 user manual

Jensen

Jensen JCR-370 user manual

iHome IP23 user manual

iHome

iHome IP23 user manual

Clas Ohlson MC2219 quick start guide

Clas Ohlson

Clas Ohlson MC2219 quick start guide

Beurer WL 90 Instructions for use

Beurer

Beurer WL 90 Instructions for use

manuals.online logo
manuals.online logoBrands
  • About & Mission
  • Contact us
  • Privacy Policy
  • Terms and Conditions

Copyright 2025 Manuals.Online. All Rights Reserved.