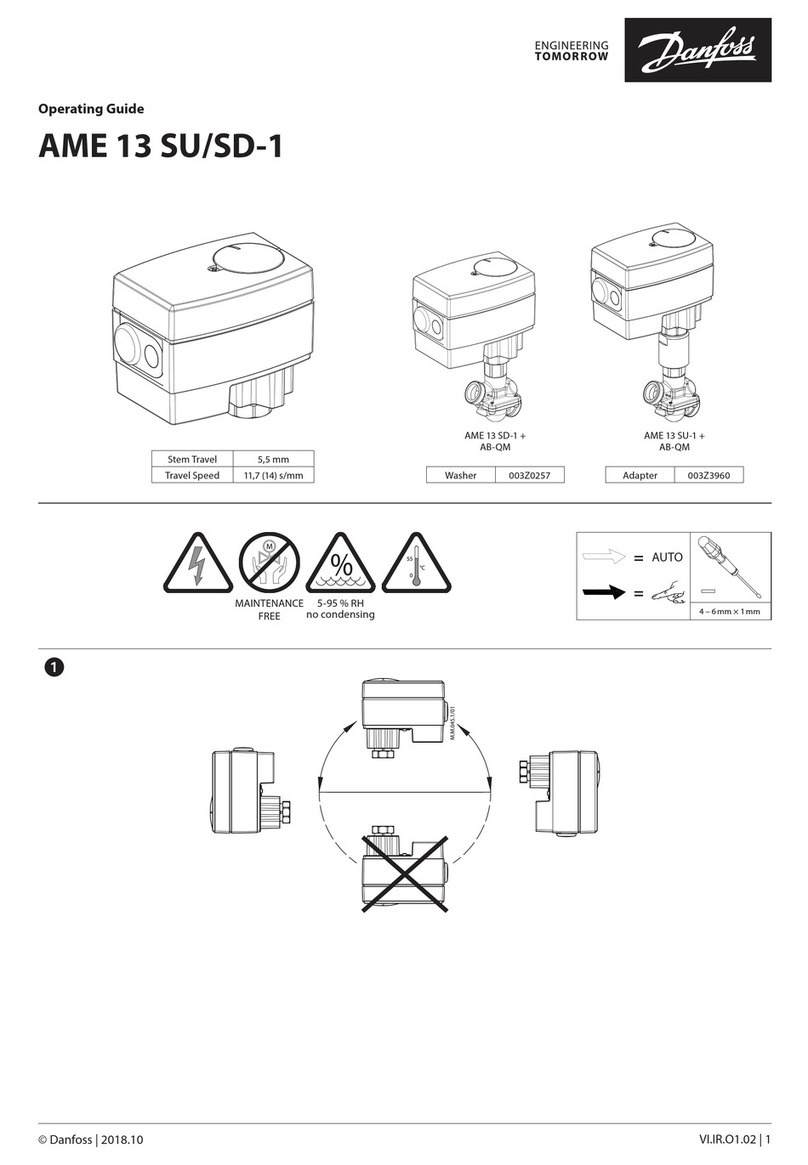
Southco EA-R03 User manual

EA-R03 Wireless Keypad Controller Kit
Operating Instructions
J-EA-R03-M_revC visit www.southco.com for latest version of this document Page 1 of 4
Package Contents
EA-R02-202 Receiver
EA-R03-103 Wireless Keypad Transmitter
Keypad Mounting Packet
Power/Auxiliary Connector Wire Harness
Lock/Unlock Relay Connector Wire Harness
User Instructions
EA-R03-103 Wireless Keypad Transmitter
1·2 3·4 5·6 7·8 9·0
1·2 3·4 5·6 7·8 9·0
EA-R02-202 Receiver
1. Antenna
2. Access Tab for Programming Switches
Features
Receiver supports up to four transmitters (one pre-programmed
wireless keypad transmitter included with kit)
Re-programmable user code (3 to 7 digits)
Selectable LOCK/UNLOCK pulse duration (250ms or 10sec)
Backlit keypad keys
Two user-configurable lock/unlock relay outputs
One 12V auxiliary relay output.
Specifications
Receiver Power: 12VDC (±10%)
Receiver Idle Current: 10mA (maximum), no attached devices
Receiver Operating Current: 100mA (maximum), no attached devices
Receiver Outputs: three Form C relays, rated 15A at 14VDC
Receiver Operating Temp: -20 to 80°C
Operating Range: up to 60 feet / 18 meters (open air)
Operating Frequency: 433.92MHz
Coding Type: Fixed Code (24-Bit)
Transmitter Power: Type CR2032 3VDC battery
Normal Use
The keypad transmitter can be used to lock and unlock the system.
Unlocking the System
Enter the user code (default 1234), then press the 1·2 button. The system
will unlock and the auxiliary output will pulse twice, as shown in the figure
below:
UNLOCK Sequence (pulse set for 250ms)
UNLOCK Sequence (pulse set for 10 seconds)
Locking the System
Enter the user code (default 1234), then press the 3·4 button. The system
will lock and the auxiliary output will pulse once, as shown in the figure
below:
LOCK Sequence (pulse set for 250ms)
LOCK Sequence (pulse set for 10 seconds)
Pulsing Auxiliary Output
Enter the user code (default 1234), then press the 5·6 button. The auxiliary
output will pulse five times, as shown in the following figure:

EA-R03 Wireless Keypad Controller Kit
Operating Instructions
J-EA-R03-M_revC visit www.southco.com for latest version of this document Page 2 of 4
Changing the User Code
The unit is shipped with a default user code of 1234, but can be changed
to a 3-7 digit number. To change the user code:
1. Press the 9·0 button for approximately 3 seconds. Keypad lights
will flash twice then stay on.
2. Enter the current user code. When entering the last digit of the
current user code, hold the button for approximately 2 seconds.
Keypad lights will flash once then stay on.
3. Enter the new user code. When entering the last digit of the new
user code, hold the button for approximately 2 seconds. Keypad
lights will flash once then stay on.
4. Repeat the new user code. When entering the last digit of the
new user code, hold the button for approximately 2 seconds.
5. Keypad lights will flash once then turn off. The user code has
been successfully changed.
If the keypad lights turn off during Steps 1-4, then programming has been
timed out and the process needs to be repeated from Step 1.
NOTE: Refer to “Resetting the User Code” section if the user code
is lost or forgotten.
Enrolling Transmitters and Setting LOCK/UNLOCK Pulse Duration
Enrolling additional transmitters or setting the LOCK/UNLOCK pulse
duration will require access to the programming switches on the EA-R02-
202 receiver’s circuit board. To access the switches, remove the switch
access tab by sliding the tab away from the receiver unit as shown below.
Two switches will be visible thru the tab window (default positions shown):
Switch1 – Used to enroll transmitters. Default setting = “OFF”
position.
Switch 2 – Used to set LOCK and UNLOCK pulse duration:
Switch2 Setting
Duration
ON (default) 250ms (default)
OFF 10sec
NOTE: The switch access tab must always be re-installed when done
changing the settings.
Enrolling Transmitters
The EA-R03 kit is shipped with one EA-R02-202 receiver and one pre-
enrolled EA-R03-103 keypad transmitter. This transmitter is ready to use
with the receiver.
Up to four compatible transmitters can be enrolled with the receiver. To
enroll a transmitter:
1. Verify receiver has 12VDC power supply.
2. Move Switch1 from OFF to ON position, as shown below. The
auxiliary output will turn on.
3. Within six seconds of moving Switch1 to the ON position, enter
the current user code of the new keypad (e.g. 1234), then press
the 1·2 button. The auxiliary output will pulse to indicate the
transmitter has been enrolled.
4. If additional keypads are to be enrolled, enter the current user
code of the new keypad (e.g. 1234), then press the 1·2 button
within three seconds of enrolling the previous transmitter. The
auxiliary output will pulse twice to indicate transmitter #2 has
been enrolled, three times to indicate transmitter #3 has been
enrolled, and four times to indicate transmitter #4 has been
enrolled.

EA-R03 Wireless Keypad Controller Kit
Operating Instructions
J-EA-R03-M_revC visit www.southco.com for latest version of this document Page 3 of 4
5. Move Switch1 from ON to OFF position, as shown below:
6. Issue a LOCK or UNLOCK command from the transmitter to
verify successful enrollment.
NOTE: Enrolling any transmitters after moving Switch1 from OFF to
ON will cause all previous transmitters that were enrolled to be erased
and require re-programming to that receiver.
Setting LOCK/UNLOCK Pulse Duration
The EA-R02-202 receiver is shipped with the LOCK/UNLOCK pulse
duration set to 250ms.
The pulse duration of the LOCK and UNLOCK outputs can be set by
setting Switch2, shown below. Set the switch to the ON position for 250ms
output. Set the switch to the OFF position for 10 second output.
CAUTION: Be sure the LOCK/UNLOCK pulse duration is appropriate
for the latch or actuator connected to the EA-R02-202 receiver.
Resetting the User Code
If the keypad user code is lost or forgotten, it is possible to reset to the
factory default (1234). The keypad will remain enrolled with the receiver if
it is reset.
The keypad is shipped with a production date code label affixed to the
housing as shown in the following location:
The production date code is unique to each keypad. Each production date
code corresponds to a unique supervisor code that is required to reset the
user code. To obtain the supervisor code, contact Southco and provide the
production date code for your keypad.
Once the supervisor code is provided, perform the following to reset the
user code to 1234:
1. Press the 9·0 button for approximately 3 seconds. Keypad lights
will flash twice then stay on.
2. Enter the supervisor code provided by Southco. When entering
the last digit of the supervisor code, hold the button for
approximately 3 seconds. Keypad lights will flash, then turn off.
If the keypad is near the receiver, the receiver will issue an
‘unlock’ command and the auxiliary output will pulse.
NOTE: It is important to keep the production date code. The
keypad user code cannot be reset without the production date code.
It is suggested the user writes the production date code here and store
these instructions in a safe location. After writing down the production date
code and storing the instructions, the label should be removed from the
keypad.
Production Date Code: ____________________________________
Transmitter Battery Replacement
Replace the transmitter battery with a Type CR2032 3VDC battery. The
battery can be replaced by removing the screws on the back of the keypad,
then opening the enclosure.

EA-R03 Wireless Keypad Controller Kit
Operating Instructions
J-EA-R03-M_revC visit www.southco.com for latest version of this document Page 4 of 4
Receiver Unit Mounting and Wiring
The receiver should be mounted in a location to minimize RF shielding.
Two mounting screw bosses are provided to mount the receiver.
Power Supply and Auxiliary Output Connector
Pin #
Descripti
on
1 VCC (+12VDC Power Supply Input)
2 GND (Ground)
3 Auxiliary Output (Vout = VCC)
LOCK & UNLOCK Relay Connector
Pin #
Description
1 LOCK Relay – Normally Closed
(typically connect to GND)
2 LOCK Relay – Common
3 LOCK Relay – Normally Open
(typically connect to VCC)
4 UNLOCK Relay – Normally Closed
(typically connect to GND)
5 UNLOCK Relay – Common
6 UNLOCK Relay – Normally Open
(typically connect to VCC)
FCC Compliance Statement
This device complies with Part 15 of the FCC Rules. Operation is subject
to the following two conditions:
1. this device may not cause harmful interference and
2. this device must accept any interference received, including
interference that may cause undesired operation of the device.
R&TTE Compliance Statement
This equipment complies with all the requirements of DIRECTIVE
1999/5/EC OF THE EUROPEAN PARLIAMENT AND THE COUNCIL of
March 9, 1999 on radio equipment and telecommunication terminal
Equipment and the mutual recognition of their conformity (R&TTE).
The R&TTE Directive repeals and replaces in the directive 98/13/EEC
(Telecommunications Terminal Equipment and Satellite Earth Station
Equipment) as of April 8, 2000.
Safety
This equipment is designed with the utmost care for the safety of those
who install and use it. However, special attention must be paid to the
dangers of electric shock and static electricity when working with electrical
equipment. All guidelines of this and of the computer manufacture must
therefore be allowed at all times to ensure the safe use of the equipment.
EU Countries Intended for Use
The ETSI version of this device is intended for home and office use in
Austria, Belgium, Denmark, Finland, France, Germany, Greece, Ireland,
Italy, Luxembourg, the Netherlands, Portugal, Spain, Sweden, and the
United Kingdom.
The ETSI version of this device is also authorized for use in EFTA ember
states: Iceland, Liechtenstein, Norway, and Switzerland.
EU Countries Not Intended for Use
None.
For technical support of this product contact: info@southco.com
or visit: www.southco.com.
This manual suits for next models
2
Other Southco Controllers manuals
Popular Controllers manuals by other brands
OSTLING
OSTLING PinMark UMC box Operation manual
Vacon
Vacon NX user manual
Chigo
Chigo SMART BOX User and installation manual
Hamilton Sundstrand Company
Hamilton Sundstrand Company Precision ACT2000 Series user manual
LEGRAND
LEGRAND Wattstopper LMRC-221 instructions
Satel
Satel KNX-SA41 Quick installation guide
