manuals.online logo
Brands
  1. Home
  2. •
  3. Brands
  4. •
  5. Spang Power Electronics
  6. •
  7. Controllers
  8. •
  9. Spang Power Electronics 451-60 User manual

Spang Power Electronics 451-60 User manual

2 3
INSTALLATION
OUTLINE: The outline and mounting dimensions of the
TYPE
451-60 AC Controller are
shown in Figure 1, below.
FIGURE 1: OUTLINE AND MOUNTING
MOUNTING: The type 451-60 controller is supplied as a modular assembly, and is
intended to be mounted in a customer supplied enclosure. The mounting
holes are 1/4″in diameter, and the use of a 10-32 UNF machine screw, with
a flat washer and a lock washer is recommended. For most applications, the
heat transfer through the base of the module into a steel or aluminum panel
(with paint removed and a thermal compound applied) will provide adequate
cooling. A mounting torque of about
44 lb. in. ±15% is recommended.
SAFETY: When possible, the control common (connector J1 pins 2 and 7) should be
tied to earth ground. This should be a single point ground in order to avoid
the possibility of noise being generated by circulating ground currents.
CAUTION
DANGEROUSLY HIGH VOLTAGES ARE PRESENT WHEN POWER
IS APPLIED TO THE UNIT, WHETHER THE CONTROLLER IS
OPERATING OR NOT. ALLOW AT LEAST 1 MINUTE AFTER
POWER IS REMOVED BEFORE CONNECTING OR
DISCONNECTING WIRES, OR OTHERWISE COMING IN
CONTACT WITH INTERNAL CIRCUITRY.
WIRING CONNECTIONS - POWER
The controller power input is connected to terminal L1. The load is connected from
terminal X1 to the return side of the power source. See Figure 2 for a typical
connection diagram. A power source rated between 120 - 575 V, 1∅, 50/60 Hz
capable of supplying the required load current (up to 60 A
RMS
) is required. Wire
size should be determined by the applicable wiring codes for the specific
installation. The terminals will accept wire gauges of 2 - 14 AWG, with a strip
length of 3/8″recommended. It is expected that 4 AWG wire will typically be
used, with an appropriate breaker or fuse provided.
WIRING CONNECTIONS - CONTROL POWER
The control power input is connected to J1, terminals 6 and 7. A 24 VAC isolated
power source, which is in phase with the main power source, must be used. See
Figure 2 for a typical connection diagram.
FIGURE 2: TYPICAL CONNECTION DIAGRAM
WIRING CONNECTIONS - CONTROL
Figure 3 shows a typical method of connecting the control signals to the 451-60. In
this typical setup, a Remote / Local switch or relay is used to select which input
signal is used. In the Local position, a 10K potentiometer is used to generate a 0 - 5
VDC control signal, and the voltage output from the 4 - 20 mA source (J1 pin 5) is
disconnected. In the remote position, a 4 - 20 mA source is used to generate the
control signal, which is connected to J1 pin 3, and the 10K potentiometer is
disconnected.
On / off control may be realized by connecting a switch between J1 pin 4 and J1 pin
7. The unit will be held off when this switch is closed.
If the controls are located at some distance from the unit (i.e. if they are not in the
door of the enclosure) shielded cable should be used. Wire size is not important,
other than it should be between 12 and 28 AWG to fit the connectors.
4
© 2002 Spang Power electronics
1
FIGURE 3: TYPICAL CONTROL WIRING
The normal system set up adjustments are described below.
R12: BIAS
Potentiometer R12 adds an offset, or “bias” voltage to the input control
signal. Its range is about 0-11 volts, or the
entire normal control range.
Turning R12 clockwise will raise the
output voltage across the entire
input range.
R4: GAIN
Potentiometer R4 “scales” the input control signal, before the bias
voltage is added. It may be adjusted to multiply the input signal by a
number from 0 to 1. Turning P6 clockwise will increase the “gain” of
the circuit, producing a larger voltage for a given control signal.
SERVICE: Customers requiring service or application assistance may contact:
Customer Service Department
Spang Power Electronics
5241 Lake Street phone: 724-376-7515
Sandy Lake, PA 16145-0457 fax: 724-376-2249
The information contained in this manual is the property of Spang Power Electronics.
Transmittal, receipt or possession of this information does not comply, license or imply any
rights to use, sell or manufacture from this information and no reproduction or publication, in
whole or in part, shall be made without the express written consent of Spang Power
Electronics, and is under the full protection of United States patent and copyright laws.
45160UM
12/13/2004
Revised:
OWNER’S MANUAL
TYPE 451-60 SINGLE PHASE AC CONTROLLER
SPECIFICATIONS
-
ELECTRICAL
POWER INPUT:
LINE VOLTAGE
:
115 - 575 V,
±
10%, 50 / 60 Hz.
LINE CURRENT
:
60 Amps maximum.
INPUT POWER
:
23,000 Watts maximum.
CONTROL POWER
INPUT:
VOLTAGE
:
CURRENT
:
24 V, ±10%, 50 or 60 Hz.
260 mA maximum @ 26.4V.
POWER
:
7 Watts maximum.
OUTPUT:
VOLTAGE
:
0 - 575 V, 50/60 Hz.
CURRENT
:
60 Amp maximum.
POWER
:
23,000 Watts maximum.
PERFORMANCE:
LOSSES
:
≤
60 Watts at 575V, 60 A
CONTROL
INPUTS: 0
-
5
VDC
:
J1 pin 3 ( + ) to pin 2 (common). Input
impedance ≈200k.
10
K POTENTIOMETER
.:
J1 pin 4 (cw), J1 pin 3 (wiper), J1 pin 2
(ccw).
4
-
20
mA:
J1 pin 1 ( + ) to pin 2 ( - ). Input
impedance ≈300 Ω. To use this input
jumper J1pin 5 to J1 pin 3.
ON
/
OFF
:
J1 pin 4 to J1 pin 7 (common). Shorting
pin 4 to pin 7 will inhibit the output.
24
VAC
:
J1 pin 6 to pin 7 (common). Provides
logic power and phase reference for the
controller. This must be in phase with the
power terminals L1 to X1.
SPECIFICATIONS - MECHANICAL
PHYSICAL DATA:
ASSEMBLY TYPE
:
Isolated case power module with printed
circuit board attached.
DIMENSIONS
:
5″Long x 4″Wide x 2.2″
high. (127 mm x
102 mm x 56 mm).
MOUNTING CENTERS
:
3.15” (80 mm).
MOUNTING MEANS
:
Two 1/4
″
(6.4 mm) diameter holes.
WEIGHT
:
0.7 lb. (0.32 kg) (approximately).
CONNECTIONS
,
POWER
:
Pressure type, accepts #2 -
#14 AWG wire.
Strip length = 3/8″- 1/2”.
CONNECTIONS
,
C
ONTROL
:
Pressure type plug connector, rated 300 V,
10 Amp. Accepts #28 - #12 AWG wire
.
Recommended strip length = 0.27″.
ENVIRONMENTAL:
OPERATING TEMPERATURE
:
0°C - 50°C air temperature.
RELATIVE HUMIDITY
:
10 % to 90 % relative humidity.
4-20ma
CONTROL
INPUT
cw
CONTROL
INPUT
10K
LOCAL
1 2 3 4 5
HOUSING ON BOARD
PLUG-IN TERMINAL BLOCK
PHOENIX TYPE MSTB OR EQUIVALENT
6
1
24 VAC
CONTROL POWER
OR
J1
7
7 POSITION
4-20mA OUTPUT
0-5VDC
7 POSITION, 5.08mm SPACING
ON/OFF
REMOTE
LOCAL

Other Spang Power Electronics Controllers manuals

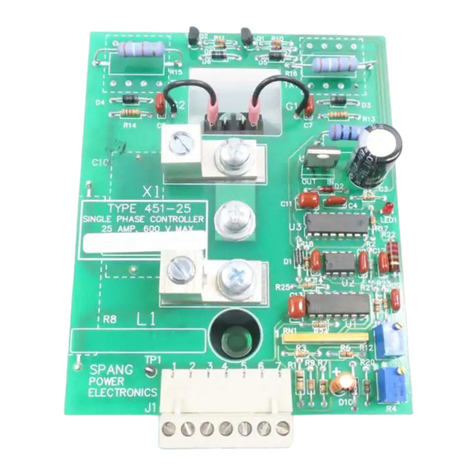
Spang Power Electronics 451-25 User manual

Spang Power Electronics

Spang Power Electronics 451-25 User manual

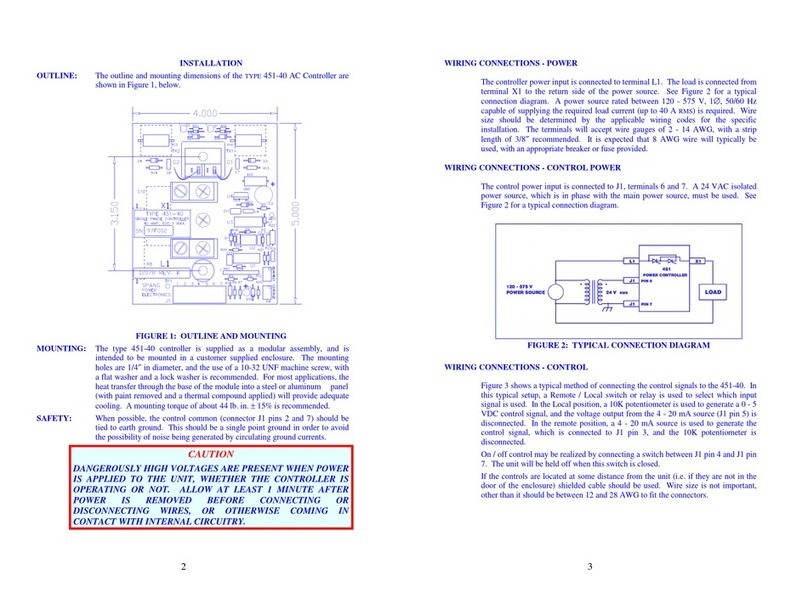
Spang Power Electronics 451-40 User manual

Spang Power Electronics

Spang Power Electronics 451-40 User manual

Popular Controllers manuals by other brands

Fire Pro FPC-2V2 Operation and installation manual

Fire Pro

Fire Pro FPC-2V2 Operation and installation manual

Corsair LIGHTING NODE PRO RGB installation guide

Corsair

Corsair LIGHTING NODE PRO RGB installation guide

WindowMaster WMS 409 Installation instructions manual

WindowMaster

WindowMaster WMS 409 Installation instructions manual

NovaStar MX40 Pro user manual

NovaStar

NovaStar MX40 Pro user manual

Contro l4 EA-3 installation guide

Contro l4

Contro l4 EA-3 installation guide

Tolomatic IMA-S Series manual

Tolomatic

Tolomatic IMA-S Series manual

IMG STAGE LINE CU-3IR quick guide

IMG STAGE LINE

IMG STAGE LINE CU-3IR quick guide

Black Box VSW-MC-CTRL MediaCento IPX Controller user guide

Black Box

Black Box VSW-MC-CTRL MediaCento IPX Controller user guide

Delta DVP-MC Series instruction sheet

Delta

Delta DVP-MC Series instruction sheet

Hobby-Wing Platinum HV-200A-OPTO user manual

Hobby-Wing

Hobby-Wing Platinum HV-200A-OPTO user manual

EP Solar ViewStar MT-100 instruction manual

EP Solar

EP Solar ViewStar MT-100 instruction manual

sky-tec 154.083 instruction manual

sky-tec

sky-tec 154.083 instruction manual

EPOS EPOS2 50/5 Application note

EPOS

EPOS EPOS2 50/5 Application note

SUNFLEX V6A FM user manual

SUNFLEX

SUNFLEX V6A FM user manual

ATO DMKEB Series user manual

ATO

ATO DMKEB Series user manual

superbrightleds LDRF-RGB6-TC2B instruction sheet

superbrightleds

superbrightleds LDRF-RGB6-TC2B instruction sheet

Lynxspring JENEsys Edge 100 installation guide

Lynxspring

Lynxspring JENEsys Edge 100 installation guide

DTS SLICE PRO LAB user manual

DTS

DTS SLICE PRO LAB user manual

manuals.online logo
manuals.online logoBrands
  • About & Mission
  • Contact us
  • Privacy Policy
  • Terms and Conditions

Copyright 2025 Manuals.Online. All Rights Reserved.