manuals.online logo
Brands
  1. Home
  2. •
  3. Brands
  4. •
  5. Speco
  6. •
  7. Security Camera
  8. •
  9. Speco WDRB1 User manual

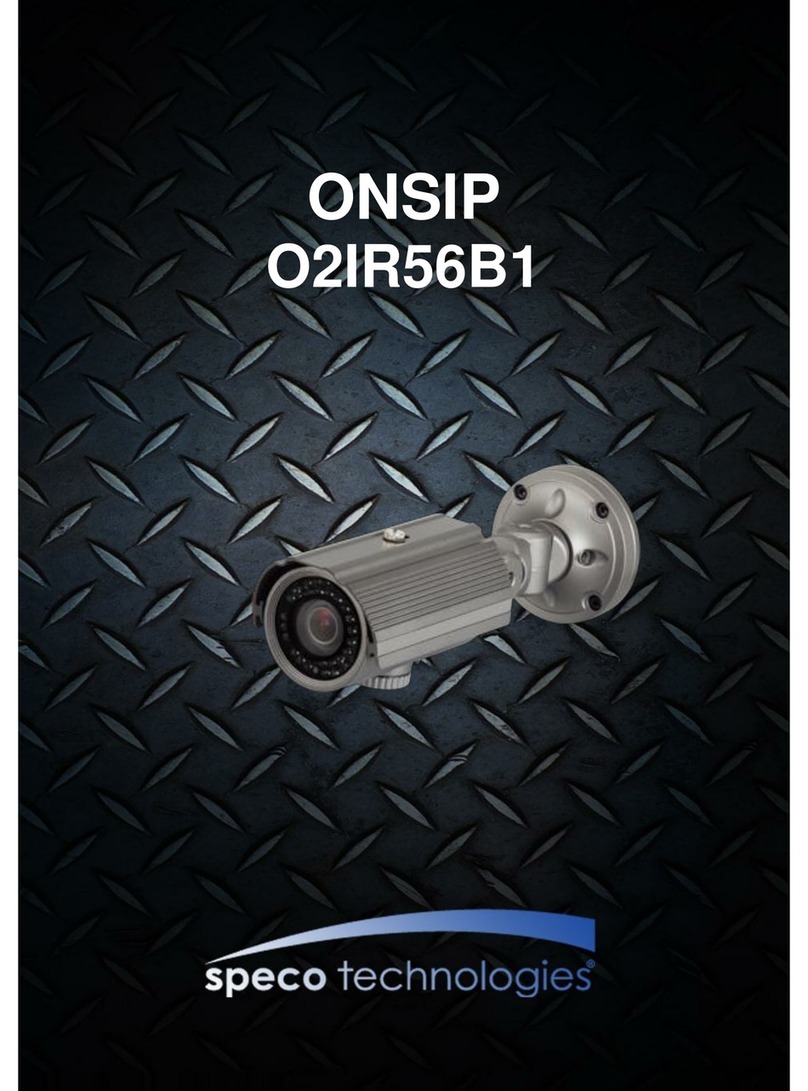
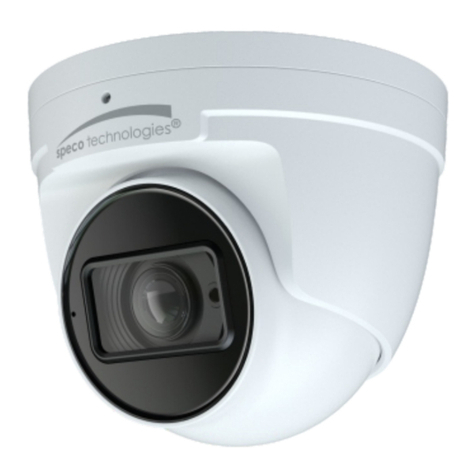
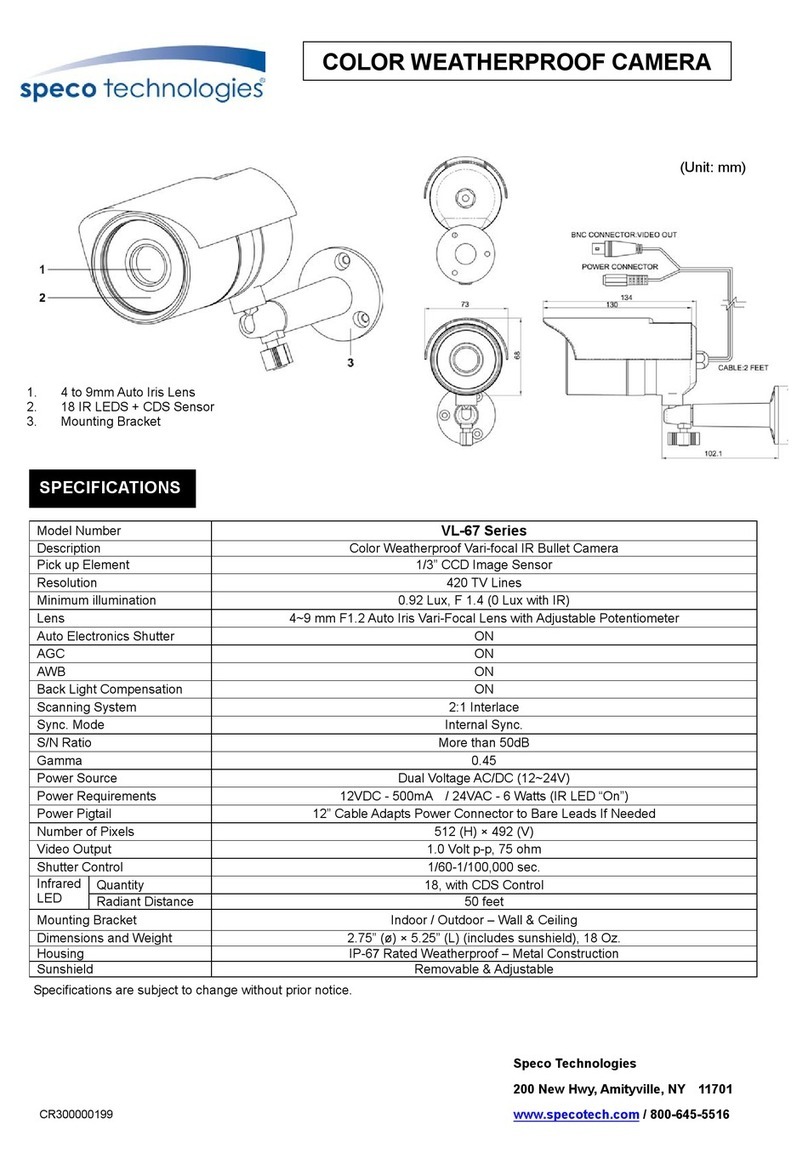
Speco WDRB1 User manual

◈FEATURE
1. Long visible range at night.(50m Max. indoors,
40m Max. outdoors)
2. This camera uses split glass technology to prevent
IR light reflection.
3. This camera has a vari-focal IR lens to prevent
focus drift under IR lighting.
4. The IR cut filter is removed at night to receive
maximum available light.
5. This product is weather proof to resist rain, snow
and other environmental factors.(IP65)
6. This product is made of corrosion-free materials to
resist rust and corrosion for extended periods of
time.
7. The built-in sunshield helps the camera produce
clear pictures under a variety of lighting conditions.
8. Power & video cables are concealed for extra
security.(Cable through the mount).
9. Unique bracket allows the camera to be fully
adjustable from both wall and ceiling mounting
positions.
10. This camera is incredibly to install with its 3-axis
camera construction, which makes the camera
ceiling, wall or slope mountable.
11. Mechanical filter exchange(True Day & Night),
built-in WDR function.
12. Supreme resolution.(690 TV-Line)
◈DIMENSION
◈CONFIGURATION
◈WALL MOUNT INSTALLATION #1
1. Make a hole Ø30mm in diameter for routing cable.
2. Using the mounting plate, drill four holes on the wall.
3. Insert the anchors.
4. Attach the screws.
◈WALL MOUNT INSTALLATION #2
1. Adjust horizontal angle.
1) Loosen the bolt to adjust the horizontal angle of
the camera.
2) Use the WRENCH to tighten the bolt after adjusting
the camera.
2. Adjust vertical angle
1) Loosen a bolt to adjust vertical angle of the camera.
2) Use the WRENCH to tighten a bolt after adjusting
the camera.
WDRB1
◈CEILING MOUNT INSTALLATION #1
1. Make a hole Ø30mm in diameter for routing cable.
2. Using the mounting plate, drill four holes on the ceiling.
3. Insert the anchors.
4. Attach the screws.
◈CEILING MOUNT INSTALLATION #2
1. Adjust horizontal angle.
1) Loosen the bolt to adjust the horizontal angle of
the camera.
2) Use the WRENCH to tighten the bolt after adjusting
the camera.
2. Adjust vertical angle
1) Loosen the bolt to adjust the vertical angle of the
camera.
2) Use the WRENCH to tighten a bolt after adjusting
the camera.
◈SPECIFICATION
Model No.
WDRB1
Image Sensor
1/3" PIXIMDPSSENSOR-SEAWOLF
Effective Pixel
758(H)X540(V)PIXEL
Resolution
690TV-Line
TV Type
NTSC
Sync. Type
Internal /External
Scanning System
Progressivescan
Video Output
1.0Vp-p(Sync.Negative)
Termination75Ω±10%
Gamma
Characteristic
γ=0.45(Selectable)
White Balance
ATW /AWC/ MANUAL(2,000 ~11,000
°K
)
Min. Illumination
0.1Lux(SenseupX64)
0Lux(131ftrangeatLEDhigh)
S/N Ratio
More50 dB(AGC OFF)
SDNR
ON
Backlight
WDR/BLC/OFF
DNR
TrueD&N(AUTO/COLOR/BW)
Day & Night
AUTO/MANUAL
Shutter Speed
Max.X64(X2,X4,X8,X16,X32,X64)
Test Illuminance
Area
Averagetestilluminance byfront view
Reverse Polarity
Protection
Regulated 12VDCor24VAC
Power Supply
Max.500mA(at12VDC)
Max.510mA(at24VAC)
Current
Consumption
Yes
LENS
Vari focalautoirislens
Operation Temp.
14 °F to 122 °F
Preservation Temp.
-4 °F to 140 °F
Dimension
3.1”(W) X 3”(H) X 6.8”(L)mm
Weight
3.3 Ibs.
※AII specifications are subject to change without notice to
improve the quality.
◈FUNCTIONS
1. Setup for camera functions
①Setup : Press "SETUP" button to go to the menu.
②Up, ③Down : Use "UP" or "DOWN" button to
navigate.
④Left, ⑤Right : Use "RIGHT" or "LEFT" button to
navigate
⑥EXT-VIDEO : Test monitor connection.
⑦LED : LED level adjust.(Factory default is Max.)
2. Camera function setting
OSD
Menu
Select
menu
Sub
menu
Summary
LENS
SELECT
DC
Lens type selection
(Fixed iris lens or Vari-focal auto
iris lens)
MANUAL
EXPOSUR
E…
MANUAL
*Preset mode for common application to
speed up installation
PRESETS
CUSTOM
User setting value
INDOOR
For indoor
WINDOW
Maximizing WDR function
OUTDOOR
For outdoor
WDR
LOW
Although the subject had a bright
light behind of it, you can see the
subject clearly as well as
background
NORMAL
MEDIUM
HIGH
BLC
OFF
Determines that use BLC(Back
Light Compensation) function or
not
ON
AGC
CUSTOM
- -
AGC level selectable
(CUSTOM - - LIMIT : 60)
LOW(24)
MEDIUM
(30)
HIGH(36)
SENSE-
UP
Determines that use the SENSE-UP function
or not and SENSE-UP level selectable
OFF
No use sense-up mode
AUTO - -
Use sense-up mode automatically
in low illumination
(Limit : 2X ~ 64X)
MANUAL
- -
Sense-up level selectable between
x2 ~ x64
FLICKERL
ESS
OFF
Optimized mode for flicker
(If user choose CRR2 mode,
AWC mode is not available on
the White Balance menu)
WHITE
BALANCE
ATW
CRR
Balances the color automatically
depending on the source of light
from 2,000°K ~ 11,000°K
AWC
CRR2
Move the camera lens toward to
white paper then press the enter
button to find the optimal white
balance for current environment
(User can not use this mode
when Flickerless is CRR2)
MANUAL
R/B - -
Adjust the Red or Blue values to
shift the color of the object
KELVIN - -
Adjust color temperature
DAY&
NIGHT
AUTO
INPUT
DELAY
(Sec)
The camera automatically
detects lighting condition and
selects the mode accordingly
COLOR
The picture is always displayed
in Color
B/W
The picture is always displayed
in Black and white
IMAGE
ADJUST…
GAMMA
25 ~ 45 ~
100
Change the GAMMA of the
screen(Default : 45)
SHARPNE
SS
MIN ~
MAX
Change the sharpness of the
screen(Default : Max)
COLOR
GAIN
-8 ~ 0 ~ 8
Change the color gain of the
screen(Default : 0)
FLIP
OFF
Normal image(No image
inversion)
HORIZ
Set a horizontal image inversion
VERT
Set a vertical image inversion
BOTH
Set horizontal and vertical image
inversion
ZOOM
OFF
Normal image(No Zoom)
ON
Max 4x digital zoom available
PAN, TILT : Zoomed in image
can be moved to horizontal and
vertical
MOTION
OFF
No use motion detection function
ON…
REA
SELECT
Select motion detection area up
to 4 area
AREA
1 ~ 4
- Adjust position & size of motion
detection area
- Press the enter button to move
into the motion area setting
section, whenever you press
the enter button, the mask
color is changed.
- When the mask color is white
you can set the position of
mask by up, down, left and
right button.
- When the mask color is green
and red you can adjust the size
by 4 buttons.
- Press the enter button for a few
second to escape.
PRIVACY
OFF
No use privacy mask function
ON - -
MASK
1~12
- Allow you to mask certain
areas of the screen, support
12 privacy zone
- Press the set button to move
into the privacy mask setting
section, whenever you press
the set button, the mask color
is changed.
- When the mask color is
white(or black or RED) you
can set the position of mask by
up, down, left and right button.
- When the mask color is blue,
you can adjust the size by 4
buttons.
- Press the set button for a few
second to escape.
MASK
COLOR
Select mask color
(WHITE, BLACK, RED)
FUNCTION
SETUP..
CAMERA
ID SETUP
ID
DISPLAY
Display the camera ID on the
screen
CAMERA
ID
Change the camera ID
ID
POSITION
Select the position to display the
ID on the screen
SYNC
INT
Internal Sync with 12V DC
power
L.L
External Sync with 24V AC power
(Dual power only)
V-PHASE
Phase contollable at 24V AC
input(L/L mode)
ㆍThe ' ' icon appeared with desired function, press the set
button to move sub menu.
ㆍThe '- - -' icon appeared with function that is unavailable
according to function setting.
ㆍUser can control the menu by using PELCO-D, 2,400bps
only
3B15000A
WDRB1
Speco Technologies is constantly
developing product improvements. We
reserve the right to modify product design
and specifications without notice and
without incurring any obligation.
Rev. 7/5/11.
Other Speco Security Camera manuals

Speco O4iT1M User manual

Speco

Speco O4iT1M User manual

Speco Intense-IR Series User manual

Speco

Speco Intense-IR Series User manual

Speco VL-648IR User manual

Speco

Speco VL-648IR User manual

Speco O8VB1 User manual

Speco

Speco O8VB1 User manual

Speco HT7246H User manual

Speco

Speco HT7246H User manual

Speco Intensifier O2iBD3 User manual

Speco

Speco Intensifier O2iBD3 User manual

Speco CVC-550EX User manual

Speco

Speco CVC-550EX User manual

Speco VIP2C1P User manual

Speco

Speco VIP2C1P User manual

Speco CVC-622PH User manual

Speco

Speco CVC-622PH User manual

Speco O4LB1M User manual

Speco

Speco O4LB1M User manual

Speco CVC-225ES User manual

Speco

Speco CVC-225ES User manual

Speco HT-647HRTP User manual

Speco

Speco HT-647HRTP User manual

Speco VLED24T3W Series User manual

Speco

Speco VLED24T3W Series User manual

Speco HT7248TM User manual

Speco

Speco HT7248TM User manual

Speco VLT7 User manual

Speco

Speco VLT7 User manual

Speco HT7246H User manual

Speco

Speco HT7246H User manual

Speco SIPB1 User manual

Speco

Speco SIPB1 User manual

Speco VL5700BPVF User manual

Speco

Speco VL5700BPVF User manual

Speco VLD2A User manual

Speco

Speco VLD2A User manual

Speco VL-64TP User manual

Speco

Speco VL-64TP User manual

Speco LEDome User manual

Speco

Speco LEDome User manual

Speco HT5100BPVFG User manual

Speco

Speco HT5100BPVFG User manual

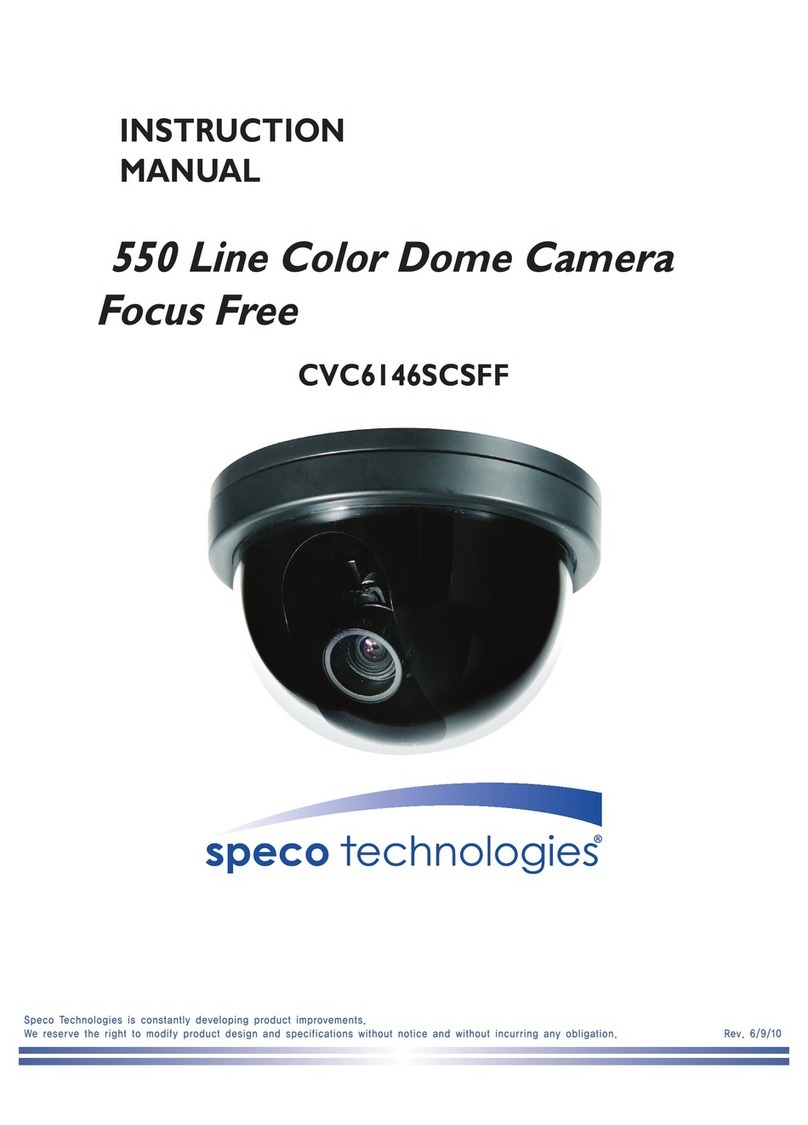
Speco CVC6146SCSFF User manual

Speco

Speco CVC6146SCSFF User manual

Speco LPRD922 User manual

Speco

Speco LPRD922 User manual

Popular Security Camera manuals by other brands

Axon Body 2 quick start guide

Axon

Axon Body 2 quick start guide

Sanyo VCC-4312P Service manual

Sanyo

Sanyo VCC-4312P Service manual

Dahua IPC-HDW3849H-AS-PV-0280B quick start guide

Dahua

Dahua IPC-HDW3849H-AS-PV-0280B quick start guide

Kedacom IPC4X2 Series user manual

Kedacom

Kedacom IPC4X2 Series user manual

Vitek VTD-TNMD5RFS-2 Operation manual

Vitek

Vitek VTD-TNMD5RFS-2 Operation manual

Airlink101 AICN1500W user manual

Airlink101

Airlink101 AICN1500W user manual

Vicon ROUGHNECK V-CELL-HD-A Quick installation guide

Vicon

Vicon ROUGHNECK V-CELL-HD-A Quick installation guide

Vivotek IP7137 user manual

Vivotek

Vivotek IP7137 user manual

Lorex LZV2622BW instruction manual

Lorex

Lorex LZV2622BW instruction manual

NETGEAR Arlo quick start guide

NETGEAR

NETGEAR Arlo quick start guide

Arecont Vision MegaView 2 AV1225PMIR-S installation manual

Arecont Vision

Arecont Vision MegaView 2 AV1225PMIR-S installation manual

PROLiNK PIC3003WP Quick installation guide

PROLiNK

PROLiNK PIC3003WP Quick installation guide

JVC VN-X35U - Network Camera Product specification

JVC

JVC VN-X35U - Network Camera Product specification

Vivotek ip8155hp Quick installation guide

Vivotek

Vivotek ip8155hp Quick installation guide

Lilin IPS 8264 instruction manual

Lilin

Lilin IPS 8264 instruction manual

Kedacom IPC52X Series user manual

Kedacom

Kedacom IPC52X Series user manual

Smartec STH 3230 user manual

Smartec

Smartec STH 3230 user manual

CPRO NBT5-22-R user manual

CPRO

CPRO NBT5-22-R user manual

manuals.online logo
manuals.online logoBrands
  • About & Mission
  • Contact us
  • Privacy Policy
  • Terms and Conditions

Copyright 2025 Manuals.Online. All Rights Reserved.