Speedheat MWD5 User manual
MWD5 USER MANUAL
Speedheat Melbourne
(03) 9596 9385
info@speedheat.com.au
2
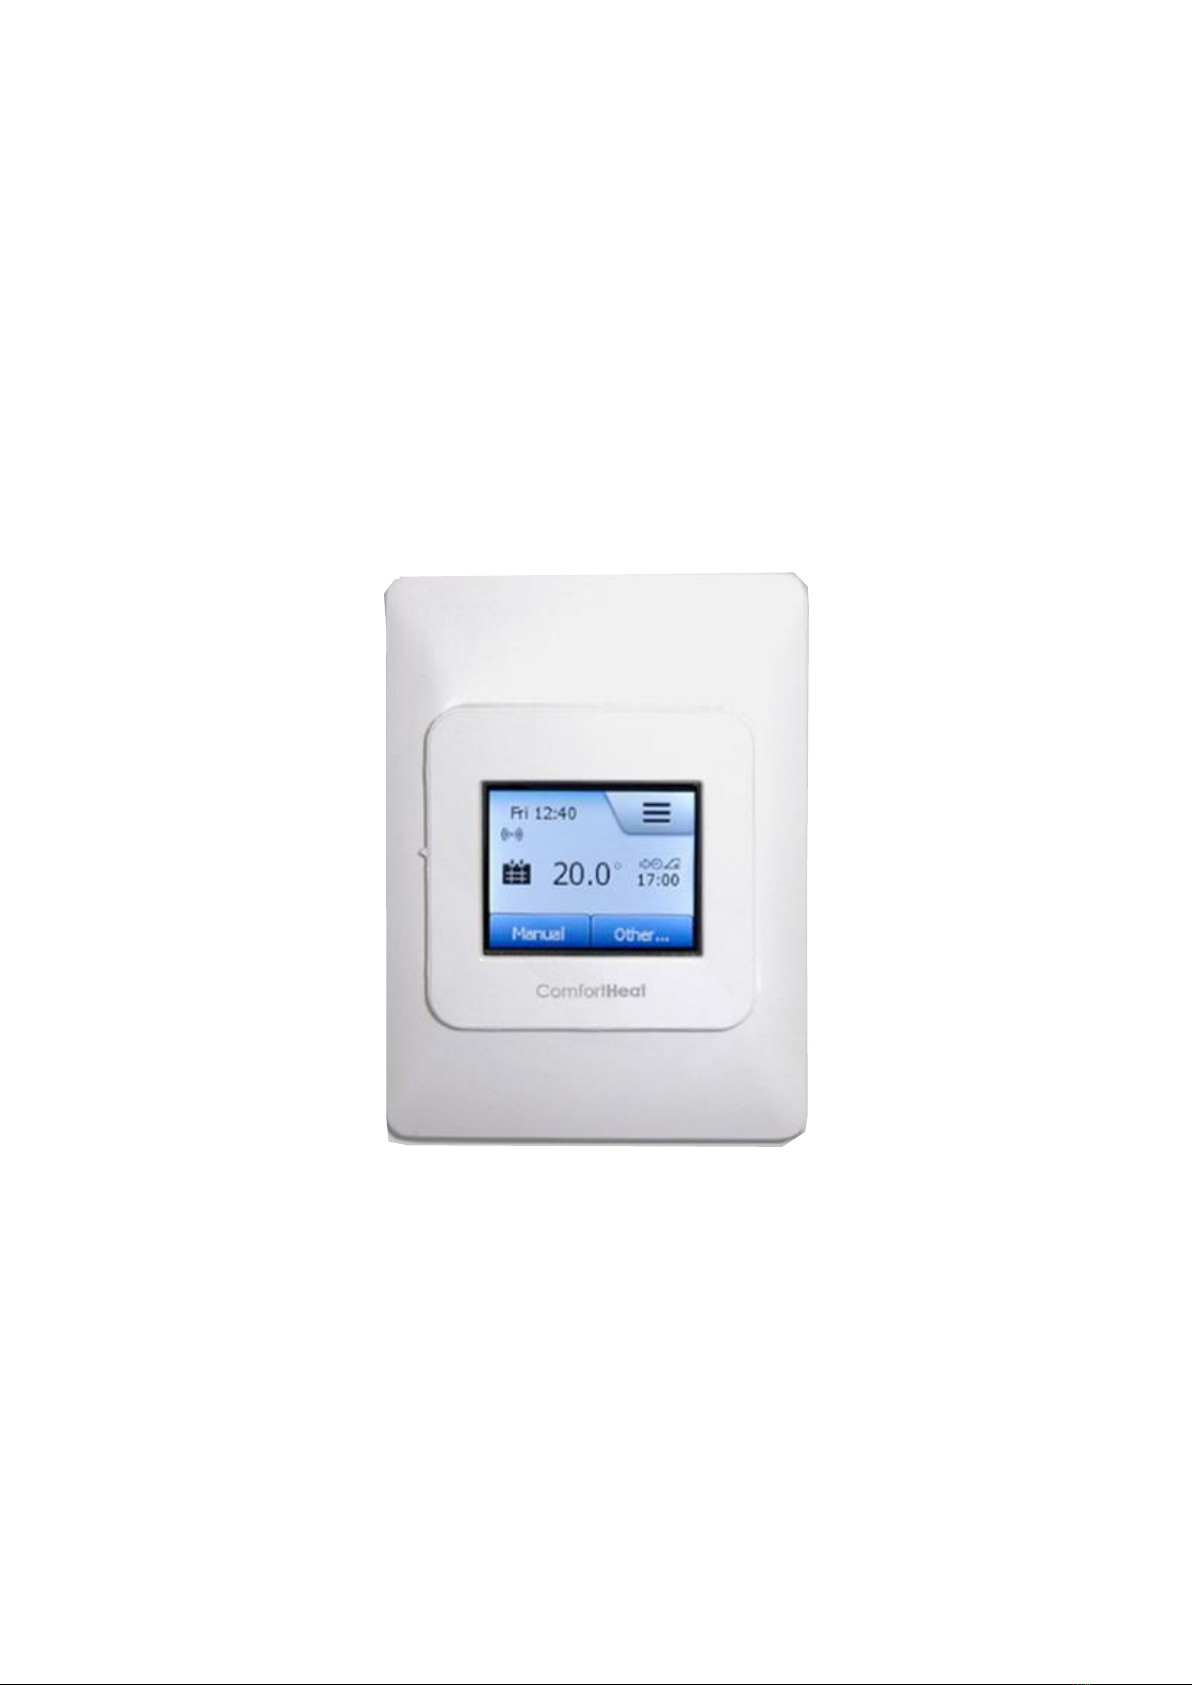
MWD5 Wi-Fi Thermostat
Speedheat Underfloor heating has been installed in your floor.
A floor sensor and thermostat have been installed to ensure
optimum temperature control. These items control your floor
heating which warms your rooms from the ground up.
PRIOR TO turning on your heat for the first time, you need to
ensure the following:
Slab Heating or Under Tile Heating
-For concrete floors and tile screeds, please wait 3 weeks from
installation before turning your heating on
- When turning on the floor heating, increase the floor
temperature gradually over the first 2-3 uses.
Carpet or timber flooring with Speedheat installed can be turned on immediately after installation.
We recommend the following temperature settings for your product:
Bathroom: 24-28°C
Large Tiled Area: 21-22°C
Carpet: 19-21°C
Timber: 24°C
Slab Heating: 21°C
Does my product come with a warranty?
The following Speedheat Products come with a warranty:
Product Type
Years
Tile Heating
5
Carpet Heating
5
Timber Heating
5
Slab Heating
10
Thermostat and Temperature Sensor
2
Specifically designed for underfloor heating, these thermostats can be mounted either vertically or
horizontally to suit individual needs. They come with a 2P Isolator / 16A Output relay.
The thermostat also comes with a programmable time clock which can automatically change the
temperature up and down at certain times. When the unit is in a down period, the heating doesn’t
turn off; instead it programs the temperature to the customers selected “set back” temperature.
ON
Speedheat Melbourne
(03) 9596 9385
info@speedheat.com.au
3
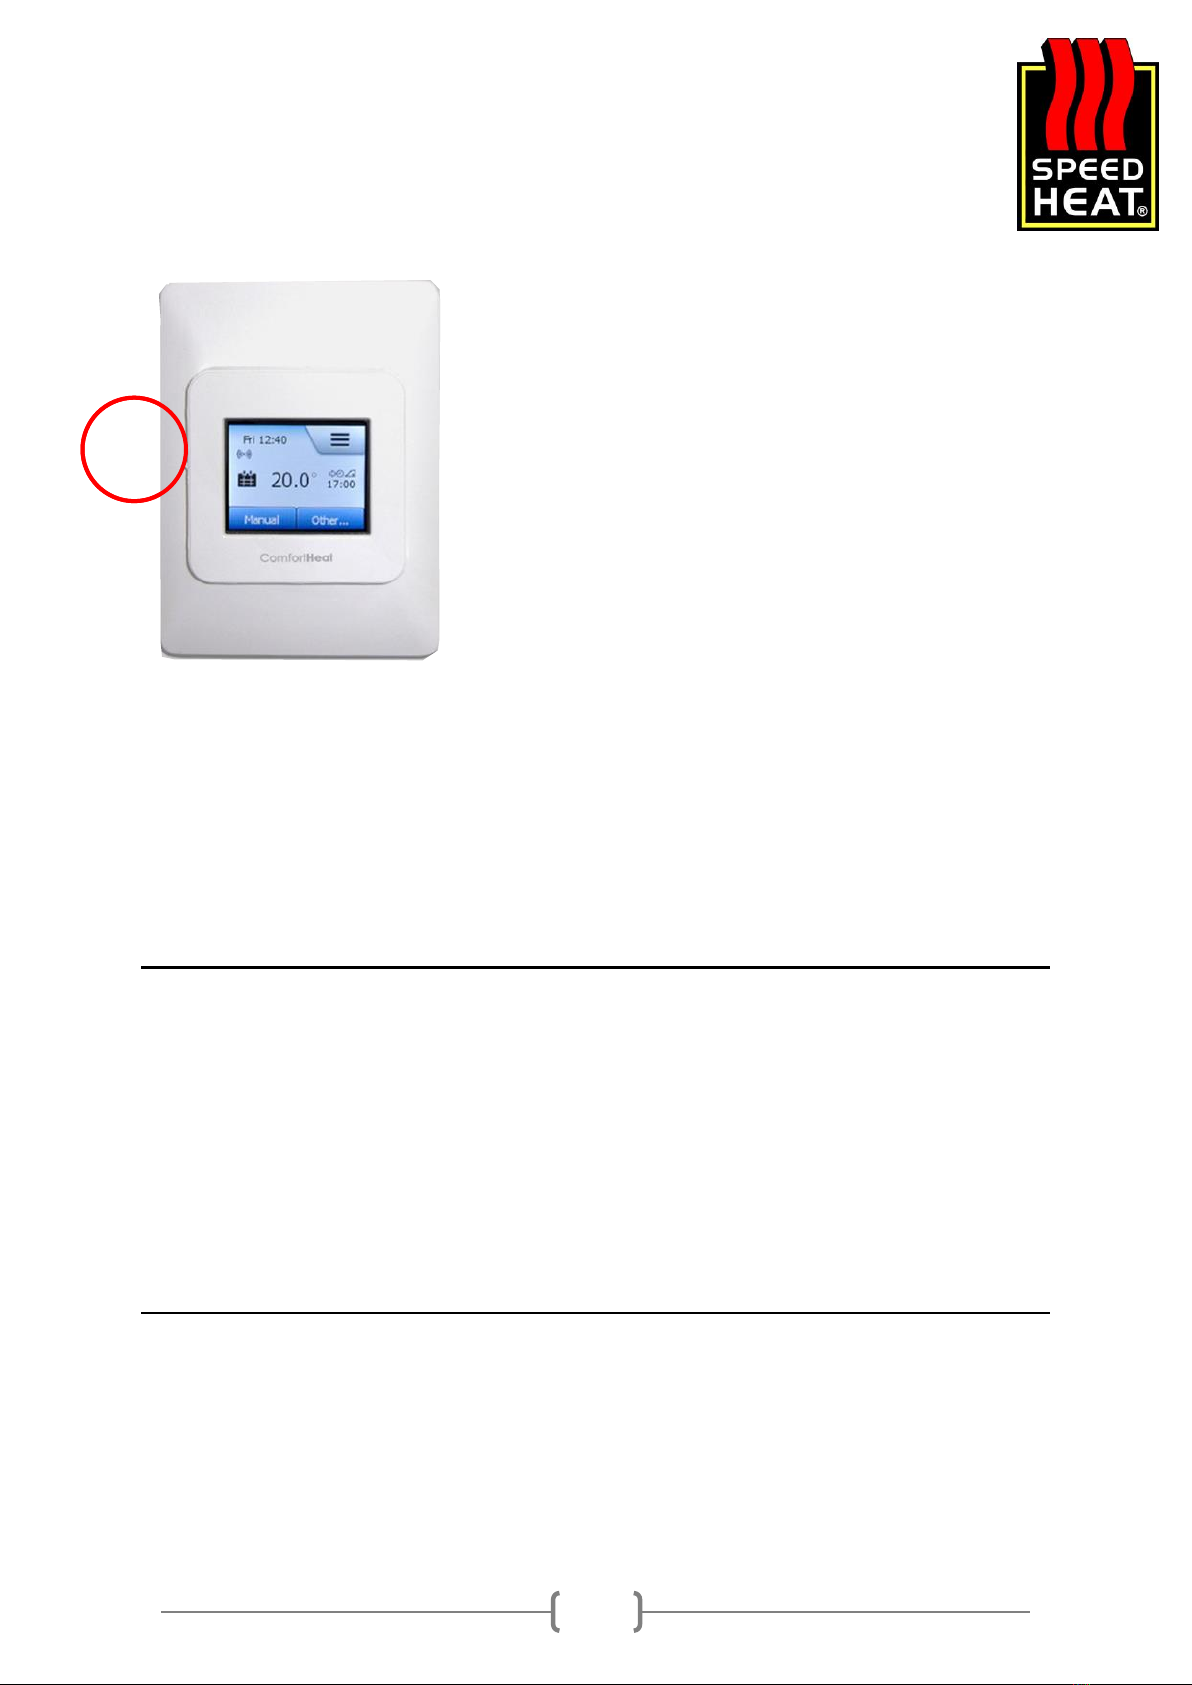
When your display is red, this indicates the floor is heating. Once the desired temperature is
reached, your thermostat will go back to black.
Technical Data
MWD5
Supply Voltage
240V AC, 50/60hz
Output Relay
16A SPST, 3600W max
Switching
Differential
0.4°C
Built in switch
16A 2 Pole
Temperature Range
0/+50°C
Clock Function
Up to 7 different combinations
Display
Colour Touch Screen
Housing
IP21
Dimensions
144mm x 84mm x 40mm
Starting up your thermostat / Factory Reset
The following steps are to be followed when starting up your thermostat for the first time; or
alternatively when preforming a factory reset on your thermostat. The thermostat will guide you
through the process automatically.
Step 1: Region
Set the time region where you are located (e.g. Melbourne –EST). This is important as selecting the
correct time frame will enable daylight savings (if applicable).
Select the time region you are in with a ✓.
Step 2: Language
Select the language you wish your thermostat to display and confirm with a ✓.
Step 3: Date
Using the UP or DOWN arrows, set the DAY, MONTH and YEAR.
Confirm with a ✓.
Step 4: Time
Yet again, using the UP or DOWN arrows, set the HOURS and MINUTES.
Confirm with a ✓.

Speedheat Melbourne
(03) 9596 9385
info@speedheat.com.au
4
Step 5: Floor Type
There are two choices you can select:
Tile: floors made of TILE or STONE.
Soft Floor: WOODEN or other engineered floors.
Confirm with a ✓.
Following the completion of these steps, your underfloor heating is ready for use and will operate
according to the pre-set heating schedule. If you wish to change the heating schedule, instructions
are outlined below.
Connecting your Thermostat to WiFi
Once you have begun with your initial setup, you can proceed to connect to your WiFi.
Step 1: Select MENU > App Control
Step 2: Select WiFi Connection > (If applicable) the WPS button on your router can be selected > (if
applicable) in most cases you will select MANUAL.
Step 3: Now your thermostat will search for your WiFi area to detect networks. If your network
doesn’t appear; turn your router on and off and repeat the process until your network is visible on
the screen.
Step 4: Once your WiFi network has appeared in the scroll down list, select your network and enter
your password.
The LEFT BUTTON flips between the upper case, lower case, numbers and symbols. Continue to
press your UP and DOWN arrows to scroll and PRESS the highlighted character when correct to
select it.
Step 5: Once your password is correct, confirm with a ✓.
Step 6: Once your unit is connected, the screen will display the status of your connection.
Step 7: Arrow back to return the home page of the thermostat. You will see the WiFi symbol
highlighted on your home page once it is connected.
Icons on your thermostat
Prior to customising the settings on your thermostat, you have the following icons to select from:

Speedheat Melbourne
(03) 9596 9385
info@speedheat.com.au
5
Programming your heating schedule
Start by selecting MENU, the select HEATING SCHEDULE.
There are a few different paths you can take from here.
Speedheat Melbourne
(03) 9596 9385
info@speedheat.com.au
6
Selecting the WEEK TYPE button, you can select from either work days / home days OR all days
different.
Confirm with a ✓.
Once pressing the back arrow, you can select the EVENTS PER DAY menu and select either 4 events
per day or 6 events per day.
Confirm with a ✓.
This will lead you to press the EVENT SCHEDULE button.
- If you have selected work days / home days, you will set UP and DOWN temperatures and
times for 2 schedules.
- If you have selected all days different, you will set UP and DOWN temperatures for all 7
days.
Confirm with a ✓.
You can now return to the main page of the menu.
Lastly, if you would like ALL DAYS THE SAME, you select the work days / home days option and set
every day as a work day with 4 events per day. You will only need to program the schedule ONCE for
the whole week.
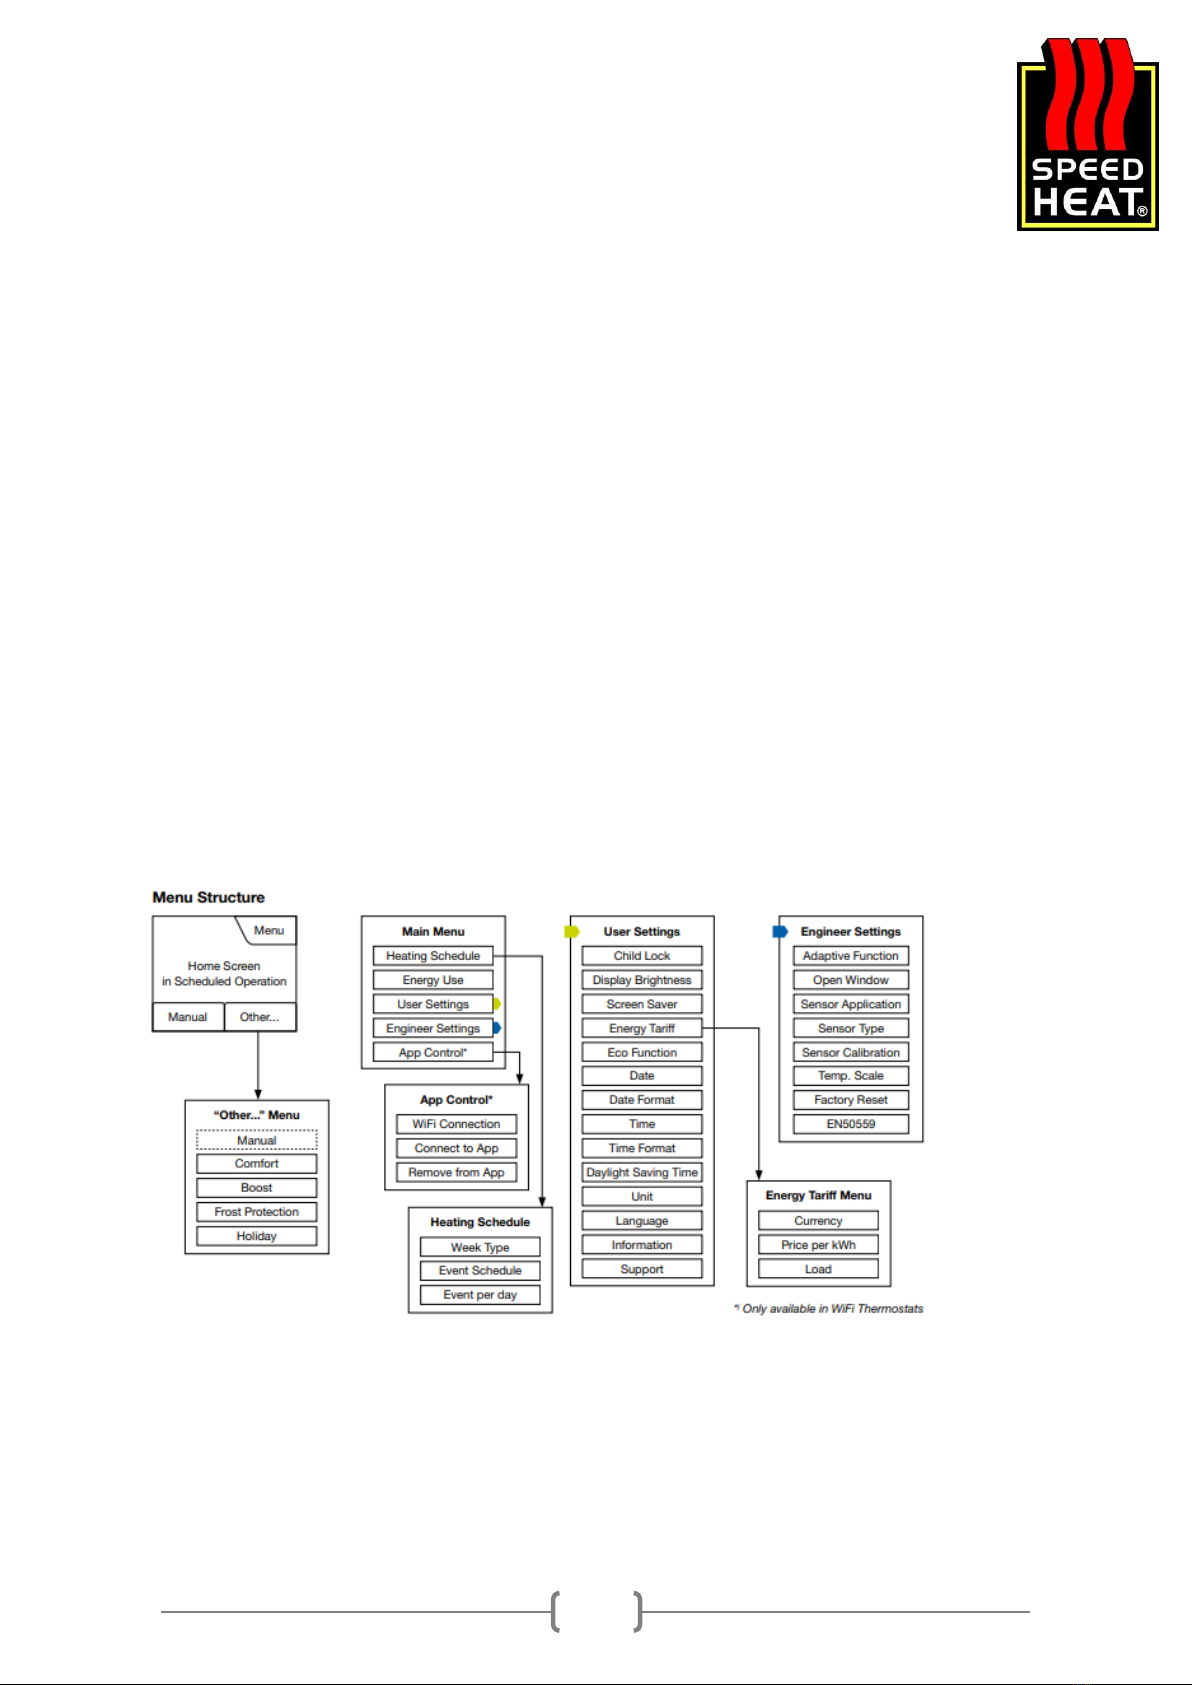
The Menu Structure is as follows:
__________________________________________________________________________________
Troubleshooting and Energy Tariffs
Prior to using your Speedheat Underfloor Heating on a permanent basis, you may wish to set an
energy tariff using the following buttons:

Speedheat Melbourne
(03) 9596 9385
info@speedheat.com.au
7
MENU > User Settings > Energy Tariff > Price per kWh
You can now set your price.
Confirm with a ✓.
Moving forward, you will be able to view your energy use levels via energy use.
Should you require to troubleshoot your thermometer; one of the following error messages will
appear on the screen:
E0: Internal Failure –The thermostat is defective and requires replacement.
E1: Internal Sensor Defective or Short–Circuited –The temperature sensor is defective and requires
replacement.
E2: External Wired Floor Sensor Disconnected, Defective or Short-Circuited –Any number of
reasons could be the cause for this error. The unit requires replacement.
E5: Internal Overheating –There are problems with the heating wires and the unit will need to be
replaced.
SHOULD ANY OF THESE MESSAGES APPEAR please call Speedheat Melbourne immediately on (03)
9596 9385.
Using the ADAPTIVE FUNCTION feature
If you choose to enable this feature on your thermostat, your room will already have reached the set
temperature at the beginning of a programmed event. After the first few days of use, the function
will have already calculated when the heating needs to be turned on or off prior to an event.
Only select the OFF button if you just wish for the heating to start at the beginning of an event.
To access this function:
MENU > Engineer Settings > Adaptive Function > Off/On
Confirm with a ✓.
Your thermostat automatically returns to “engineer settings” upon completion of these steps.
Using the CHILD LOCK function
This feature can be enabled to ensure children and/or others are prevented from tampering with
your thermostat.
To access this function:
MENU > User Settings > Child Lock > Off/On
Confirm with a ✓.
Your thermostat automatically returns to “user settings” upon completion of these steps.
The child lock automatically activates (along with a screen saver) if the thermostat is idle for 3
minutes. Should you wish to use your thermostat again, you will have to unlock the child lock by

Speedheat Melbourne
(03) 9596 9385
info@speedheat.com.au
8
following the following:
Step 1: Tap your screen and you will see THREE DOTS displayed.
Step 2: Draw the letter “L” on the screen in a single stroke without lifting your finger from the
screen.
- Start by touching the dot in the circle in the UPPER LEFT CORNER
- Slide your finger downwards to the dot in the circle in the LOWER LEFT CORNER
- Continue sliding your finger to the dot in the circle in the LOWER RIGHT CORNER
-If this process has been done correctly, you will have formed the letter “L”.
PLEASE NOTE that the child lock will be reactivated when the thermostat returns to screen saver
mode –unless it is deactivated in the MENU. (User Settings > Child Lock).
Downloading and Connecting to the App
Step 1: You will need to download the “SWATT OJ”
App from the App or Google Play stores.
Step 2: You will be asked to read the terms and conditions
prior to use of the app. Read through them, tick all the boxes and press
ACCEPT.
Step 3: You will also need to press the following buttons on your
thermostat in order to connect to the app:
MENU > APP CONTROL > Connect to App > QR Code
Step 4: Once you have selected your QR code, scan your QR code on your Apple or Android device.
The QR code will turn red and will complete the connection.
Step 5: Name your thermostat i.e. Master Ensuite and the heating zones i.e. Bathrooms
Step 6: The app will ask you to create a login profile. With this profile, you can access the app from
any mobile device that has it installed.
Enter User Name > Password > Press “Create Account”
Confirm with a ✓.
During this step, additional thermostats can be added to your profile.
Menu > Manage Zones > Add Icons (this adds the zone or thermostat)
Confirm with a ✓.
Trouble with your App?
To ensure a successful remote connection, you must have the following:

Speedheat Melbourne
(03) 9596 9385
info@speedheat.com.au
9
1. Make sure you are logged into your SWATT OJ App.
2. Make sure each thermostat you have is connected to the WiFi network.
3. If there is no WiFi connection available, try turning your router off and on. The thermostats
might be too far away from the router to join the WiFi network. The thermostat requires a
WiFi connection for the remote control.
4. Make sure your WiFi network is connected to the internet. Please note that sometimes you
can be successfully connected to the WiFi network, but your internet could be down. If this
is the case, you will have to check your router and connection with another device.
5. IF you server is not connecting it is either your WiFi, internet or the SWATT OJ server is
down. Alternatively, you can contact Speedheat Melbourne on (03) 9596 9385.
Using the App
The SWATT app divides your heated area into zones and within each zone are the thermostats that
have been grouped. By grouping thermostats into zones, this allows you to set all thermostats in the
same zone to the same schedule and temperature. If you do not wish to do this, you can also
program each thermostat separately.
Should you only have a single area with Speedheat Underfloor Heating we recommend keeping it
rather simple. i.e. name it Bathroom and the zone name Home.
Each zone is presented on a list and shows the thermostats within that zone.
MWD5 Menu on the App
On the App, you have the following functions to choose from:
Set up schedule: Allows you to programme individual heating schedules for each of your zones.
These can only be created for each zone and not a single thermostat.
Holiday: When you’re away, use this setting to keep your floors off during these periods.
Frost Protection: The will ensure that your floor will always stay above freezing point.
Manage Zones: With this function, you can create, edit, move, delete and rename zones and
thermostats you have added.
- Drag and drop your thermostats in different zones
- Tap zones and/or thermostats to rename them
- Drag and drop zones and / or thermostats into the bin icon to delete them
Energy Use: Should you wish to view usage for each thermostat.
Thermostat Information: Shows the details of each thermostat installed.
My Profile: You can log out here, delete your profile or change your password.
Speedheat Melbourne
(03) 9596 9385
info@speedheat.com.au
10
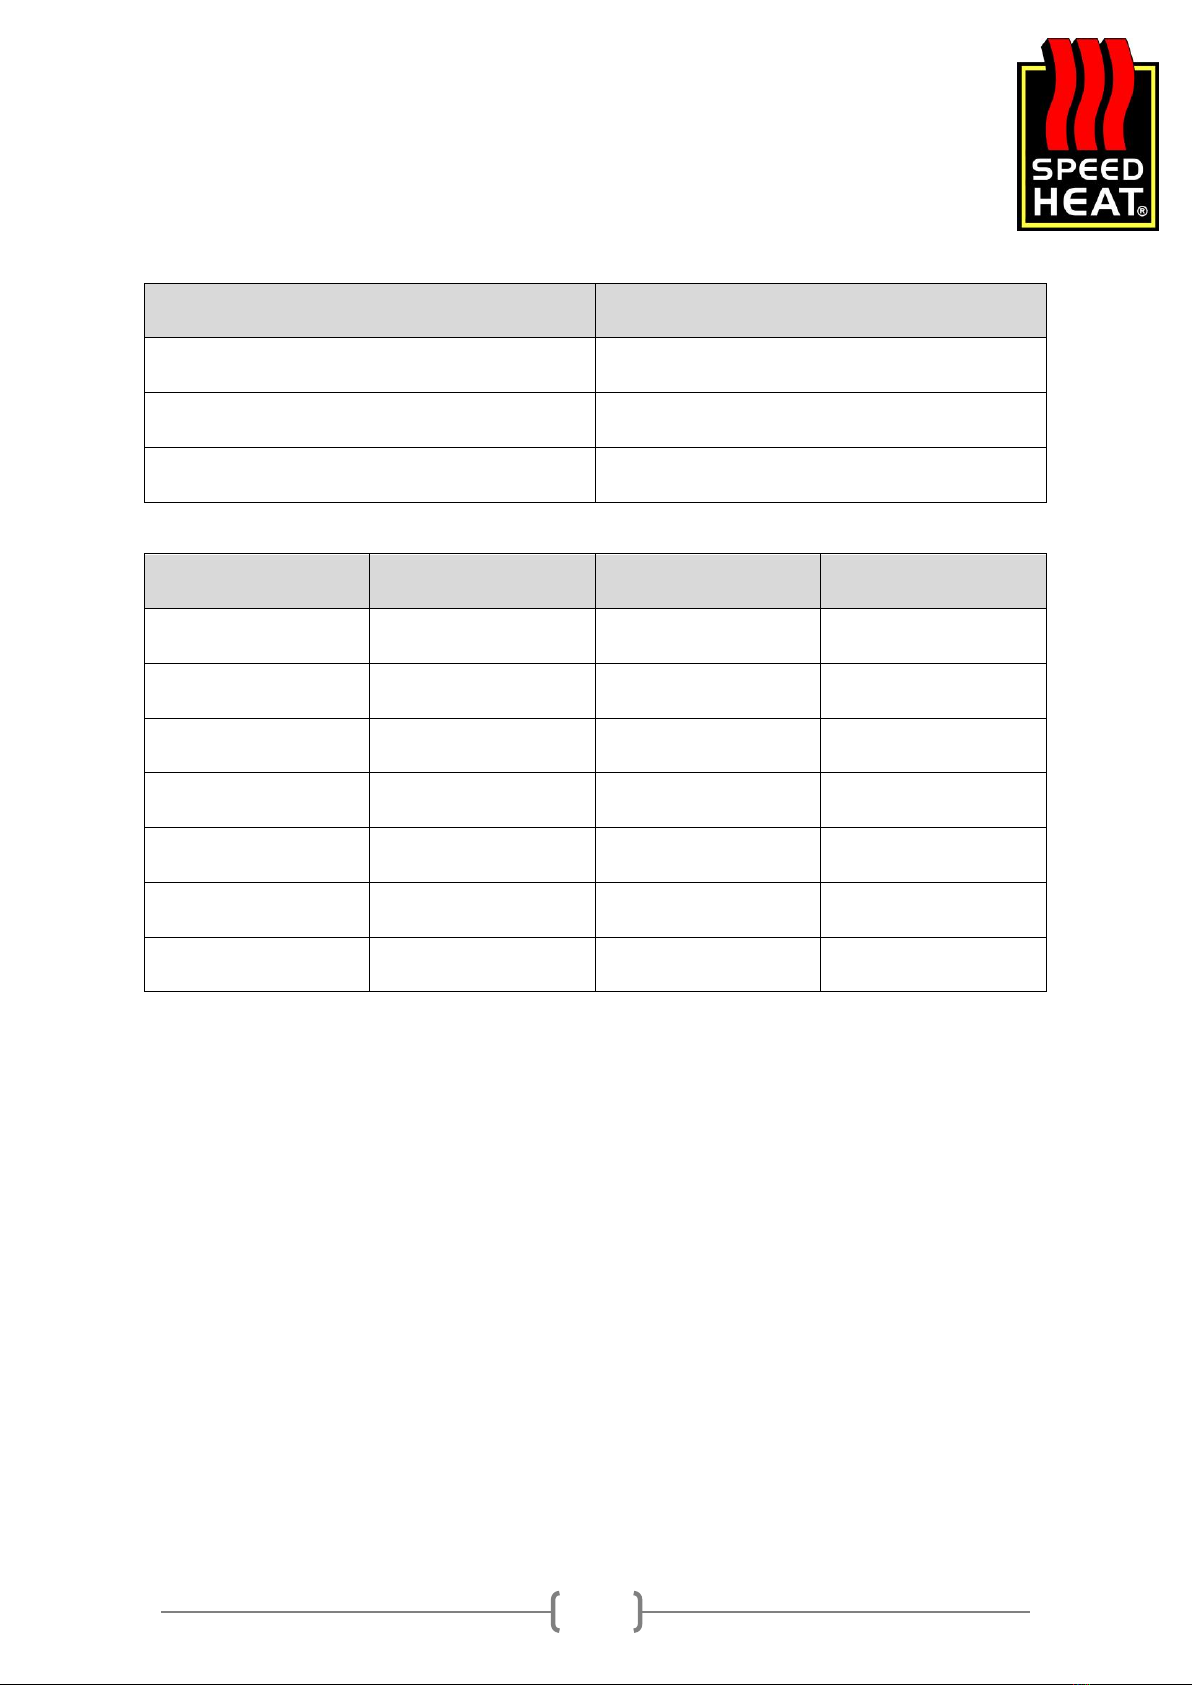
Important Data
Speedheat Installer Name
Date of Installation
Room
Load
Resistance
Thermostat
The above data is important to record as you will need the information for any future upgrades to
your electricity supply. Please record in the tables above and keep in a safe place.
The electrical resistance can be found on a white tag and can be recorded above as well. IF you have
purchased a Speedheat Kit, place the cable sticker in the area above.
Other Speedheat Thermostat manuals


