manuals.online logo
Brands
  1. Home
  2. •
  3. Brands
  4. •
  5. Spektrum
  6. •
  7. Remote Control
  8. •
  9. Spektrum DX3S User manual

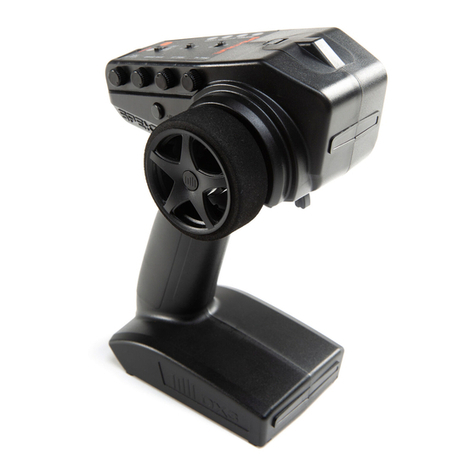
Spektrum DX3S User manual

Other manuals for DX3S

3

Other Spektrum Remote Control manuals

Spektrum DX5 Rugged User manual

Spektrum

Spektrum DX5 Rugged User manual

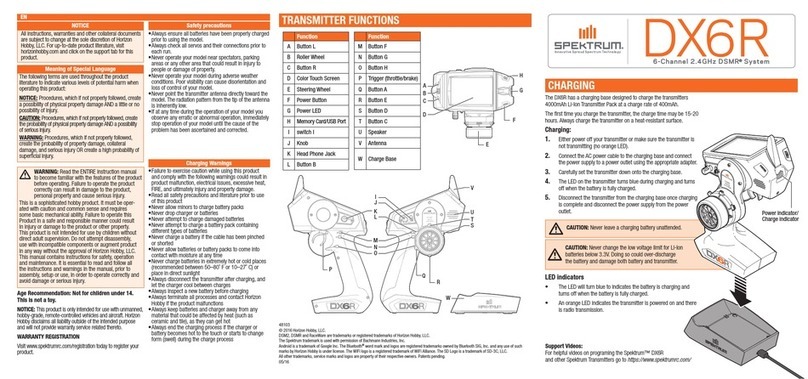
Spektrum DX6R User manual

Spektrum

Spektrum DX6R User manual

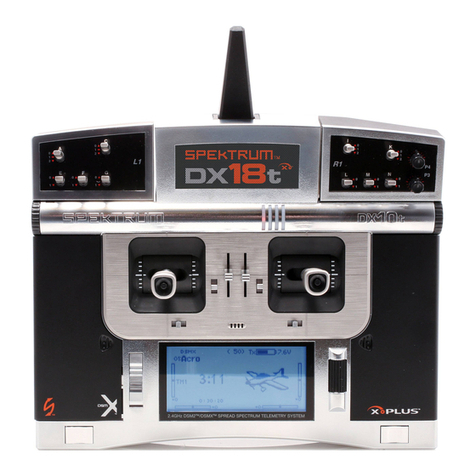
Spektrum DX18t User manual

Spektrum

Spektrum DX18t User manual

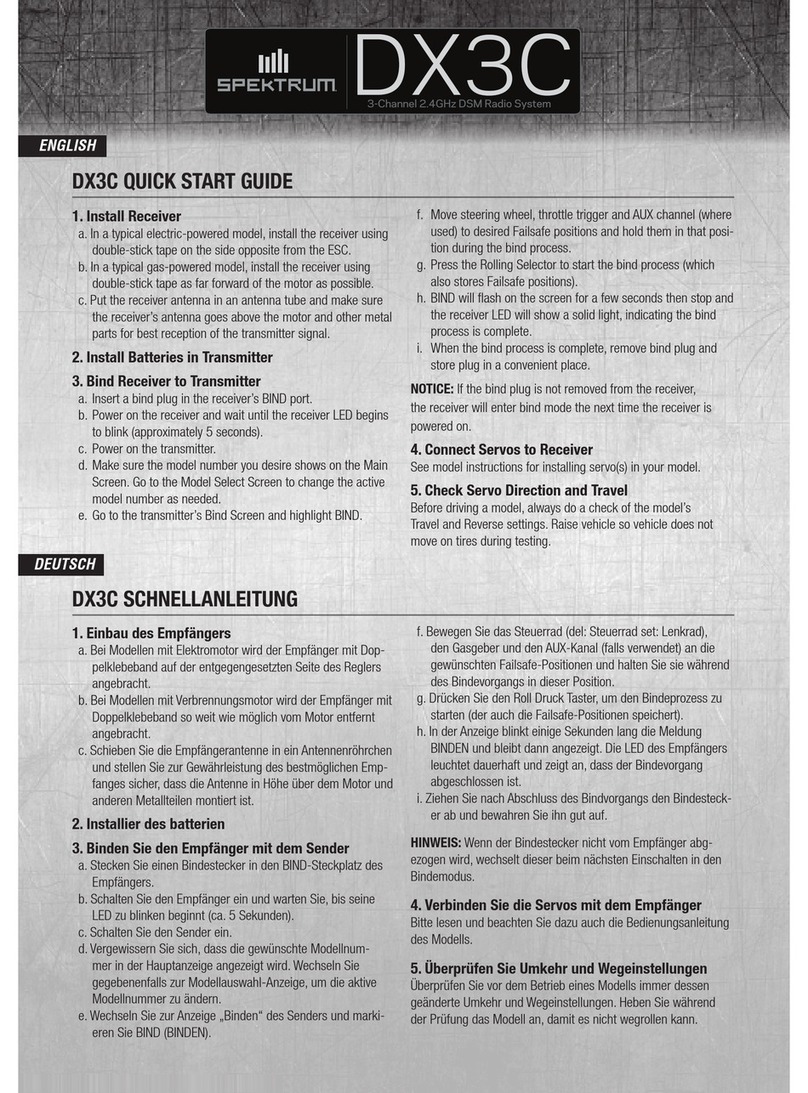
Spektrum DX3C Quick start guide

Spektrum

Spektrum DX3C Quick start guide

Spektrum DX8 User manual

Spektrum

Spektrum DX8 User manual

Spektrum DX8 User manual

Spektrum

Spektrum DX8 User manual

Spektrum DSM DX5C User manual

Spektrum

Spektrum DSM DX5C User manual

Spektrum DX8 User manual

Spektrum

Spektrum DX8 User manual

Spektrum DX2EQ2UC User manual

Spektrum

Spektrum DX2EQ2UC User manual

Spektrum DX8 Manual

Spektrum

Spektrum DX8 Manual

Spektrum DX3E User manual

Spektrum

Spektrum DX3E User manual

Spektrum DX8 User manual

Spektrum

Spektrum DX8 User manual

Spektrum DX 4e User manual

Spektrum

Spektrum DX 4e User manual

Spektrum SPM4200W User manual

Spektrum

Spektrum SPM4200W User manual

Spektrum DX18 User manual

Spektrum

Spektrum DX18 User manual

Spektrum DX4S User manual

Spektrum

Spektrum DX4S User manual

Spektrum PowerSafe AR9130T User manual

Spektrum

Spektrum PowerSafe AR9130T User manual

Spektrum DX7 User manual

Spektrum

Spektrum DX7 User manual

Spektrum DX7 User manual

Spektrum

Spektrum DX7 User manual

Spektrum DX3R User manual

Spektrum

Spektrum DX3R User manual

Spektrum TM1000 User manual

Spektrum

Spektrum TM1000 User manual

Spektrum DSM User manual

Spektrum

Spektrum DSM User manual

Spektrum DX Series User manual

Spektrum

Spektrum DX Series User manual

Spektrum DX3C User manual

Spektrum

Spektrum DX3C User manual

Popular Remote Control manuals by other brands

Bircher Reglomat RC Duo 2 user guide

Bircher Reglomat

Bircher Reglomat RC Duo 2 user guide

Emerson RCBT100 owner's manual

Emerson

Emerson RCBT100 owner's manual

BILDA Element-6 user manual

BILDA

BILDA Element-6 user manual

Absima CR7P manual

Absima

Absima CR7P manual

Mitsubishi Electric PAR-32MAAG Instruction book

Mitsubishi Electric

Mitsubishi Electric PAR-32MAAG Instruction book

RCA RCRTBL08BE1 quick start guide

RCA

RCA RCRTBL08BE1 quick start guide

US Electronics NOVARI user guide

US Electronics

US Electronics NOVARI user guide

Panasonic EUR7622KB0 Operation guide

Panasonic

Panasonic EUR7622KB0 Operation guide

Bang & Olufsen Beo4 user manual

Bang & Olufsen

Bang & Olufsen Beo4 user manual

Marantz RC101 user guide

Marantz

Marantz RC101 user guide

FUTABA 9ZAP - PART2 manual

FUTABA

FUTABA 9ZAP - PART2 manual

HR Matic HR MULTI 3 quick start guide

HR Matic

HR Matic HR MULTI 3 quick start guide

Anritsu MP1777A Operation manual

Anritsu

Anritsu MP1777A Operation manual

Niles WVC100 Installation & operating guide

Niles

Niles WVC100 Installation & operating guide

Bang & Olufsen BEO6 Getting started

Bang & Olufsen

Bang & Olufsen BEO6 Getting started

GE 94901 instruction manual

GE

GE 94901 instruction manual

FUTABA R7108SB Full manual

FUTABA

FUTABA R7108SB Full manual

Invacare G91S user manual

Invacare

Invacare G91S user manual

manuals.online logo
manuals.online logoBrands
  • About & Mission
  • Contact us
  • Privacy Policy
  • Terms and Conditions

Copyright 2025 Manuals.Online. All Rights Reserved.

The Spektrum trademark is used with permission of Bachmann Industries, Inc.
DX3S Quick Start Guide
1. Install Receiver
SR3300T installation SR300 installation
Mount the receiver in the vehicle using double-sided servo tape.
Although the antenna on a DSM receiver is shorter, it is still
important to route the antenna in an antenna tube so that it is up away
from the vehicle. The antenna tube also provides protection for the
antenna so that it doesn’t get damaged.
2. Install AA Alkaline Batteries (included)
Note: Observe polarity when installing batteries.
3. Using the Rolling Selector
The Rolling Selector is pressed to access functions and rolled to select
specific features or to change settings or values. Pressing and holding
the Rolling Selector for more than 3 seconds returns the display to the
main screen.
4. Bind Transmitter to the Receiver
A. Insert the bind plug in the receiver’s BIND port.
B. Power the receiver through any port that is not a 3.3V telemetry port.
Warning: Do not power the SR3300T through the LAP, TEMP, or
RPM port. The receiver will be damaged!
C. Turn on the transmitter and make sure the transmitter is in the
desired model number that you intend to use. Using the rolling
selector, go to the BIND screen and highlight bind. Rotate the
Rolling Selector to highlight BIND.
D. With the steering wheel, throttle trigger and aux channel (if
applicable) in the desired preset failsafe positions (normally full brake
and straight steering), press the rolling selector to initiate the bind
process and to store the failsafe positions.
E. BIND will flash for a few seconds then stop, indicating the process is
complete. The LED on the receiver should now be solid, indicating a
successful bind has taken place.
F. Once the bind process is complete and before power is cycled on the
receiver, remove the bind plug and store it in a convenient place.
Failure to do so will result in the receiver going back into bind mode.
5. Plug in Servos to the Receiver
Plug in servos to the appropriate port on the receiver. Be sure the
polarity of the connections is correct. For information on installing
telemetry sensors (SR3300T only), please see the “Installing the
Telemetry Sensors in Your Vehicle” section of the DX3S User Guide.
6. Check Servo Direction
Turn on the transmitter followed by the receiver and check that the
direction of each channel is correct by rotating the steering wheel,
slightly pulling the throttle trigger and switching the aux channel, if
applicable. (Nitro engines should not be running.) Use the REVERSE
screen of the DX3S to change the direction of any channel.
Note: If servo reverse direction is changed, rebind to re-establish the
fail-safe positions.
7. Check Servo Travel
With the transmitter and receiver powered on, check the travel of each
servo by fully rotating the steering wheel, pulling/pushing the throttle
trigger and switching the aux channel if applicable. (Nitro engines
should not be running.) Use the TRAVEL screen of the DX3S to change
the amount of travel of each channel if more or less travel is necessary.
13955
Leaders in Spread Spectrum Technology
AUX
THROTTLE
STEERING
BIND
Nitro - Rx uses a receiver pack for power. Electric - Rx uses the ESC for power.