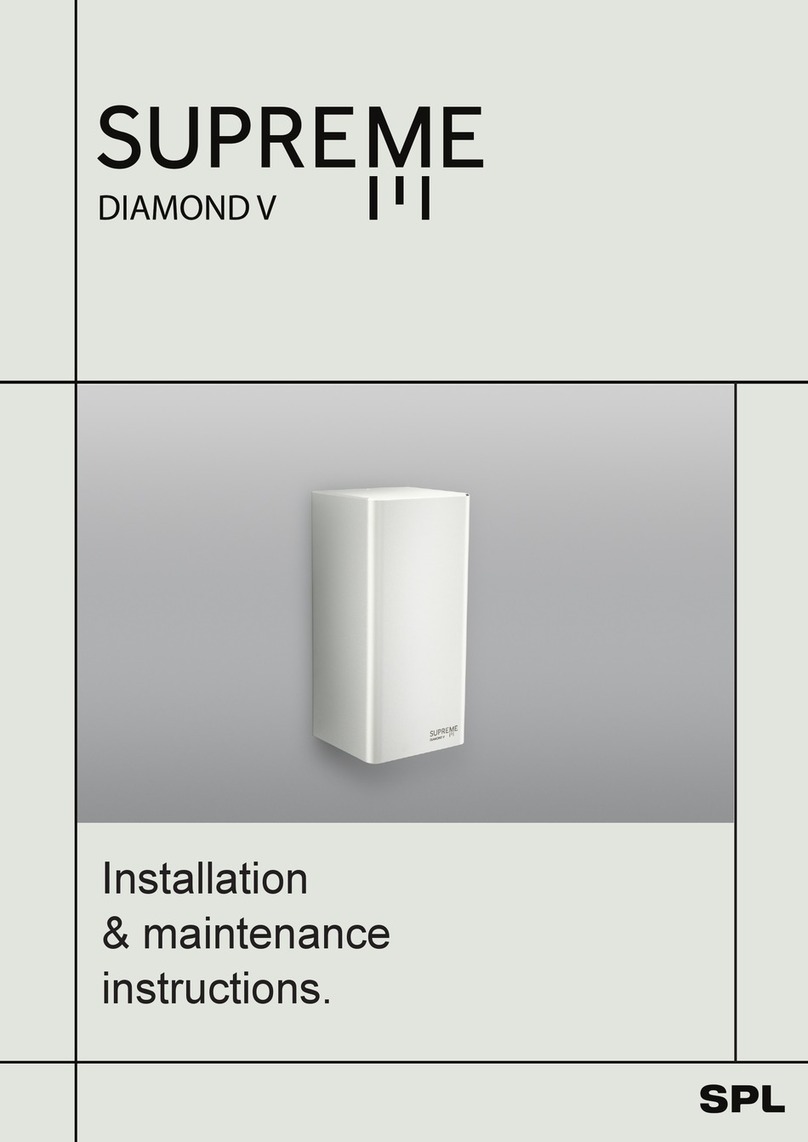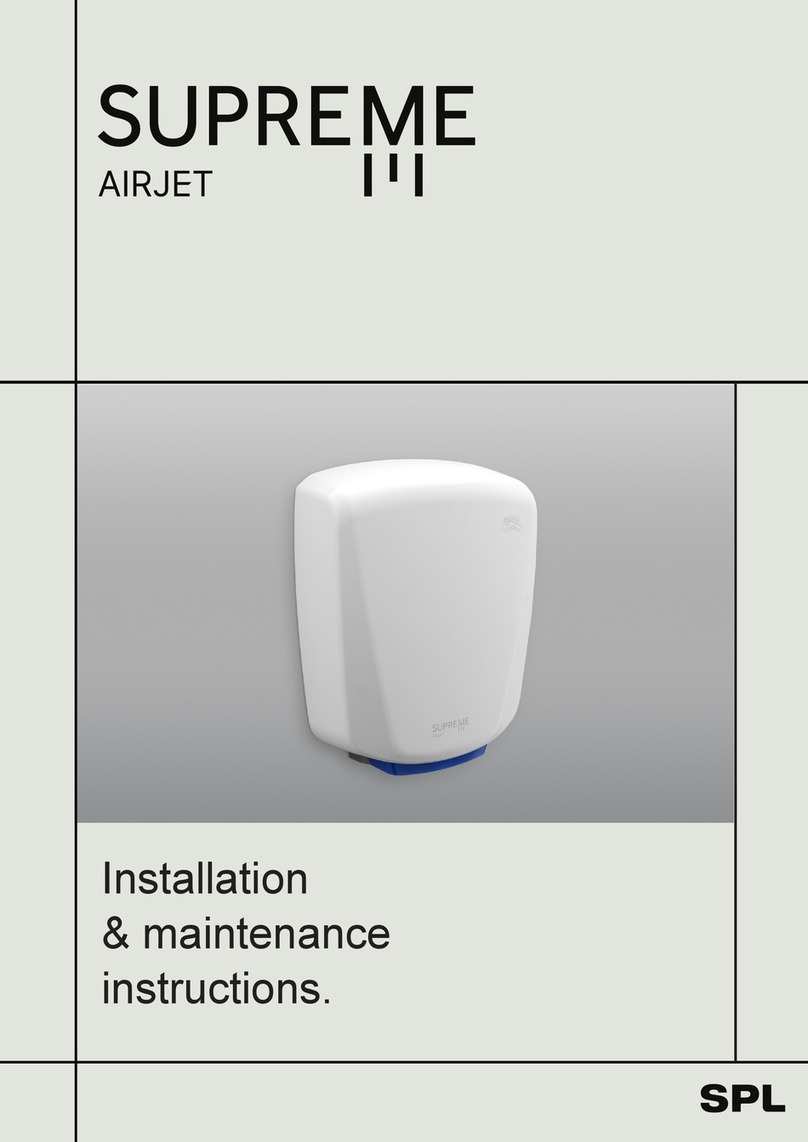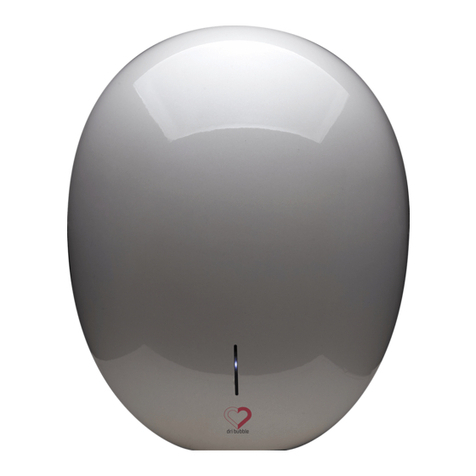
OPERATING INSTRUCTION AND PARTS MANUAL
Please read and save these instructions. Please read carefully before attempting to assemble, install,
operate or maintain the product described. Protect yourself and others by observing all safety
information. Failure to comply with instructions could result in personal injury and/or property damage.
Retain instructions for future reference.
UNPACKING
1. Remove all packing material. Recycling is recommended.
2. Carefully remove the hand dryer from the shipping carton taking care not to drop the
appliance.
3. Inspect carefully for damage that may have occurred during transit. Check for any
loose, missing or damaged parts. If the hand dryer is damaged, promptly inform the
dealer where you purchased it.
CLEANING INSTRUCTIONS
Read complete instruction before proceeding.
Turn off power to the dryer before cleaning or carrying out any maintenance.
The exterior of the dryer should be wiped down with a damp cloth on a regular basis.
Every six months in high use environments or twelve months in normal office usage, the cover
should be removed and any lint and dust build up on motor and fan blades removed with a
soft brush.
Any residue on the grille assembly should be removed with a damp cloth.
INSTALLATION INSTRUCTIONS
Installation should be carried out by a qualified person in accordance with all local wiring
regulations.
Using the hex key provided, remove the 4 cap head screws from both covers. NOTE that two
screws are on the side of the covers and two screws are accessed through the grille assembly as
shown in photo.
Push covers away from grille to unlatch and remove.
Position the base plate on the wall at the appropriate height as per fixing guideline
table 1.
The dryer has a top and bottom as marked on the base plate
The appliance is intended to be permanently connected to fixed wiring cables 1.0-2.5 mm². Wiring
should be routed through one of the two cable entry grommets.
Means for disconnection must be incorporated in the fixed wiring in accordance with AS/NZS
nation wiring rules.
Remove and discard the two test wires from the terminal block.
NOTE this appliance must be earthed.
Should a supply cord be required use cable clamp Supreme Part # BA404.
Fasten the dryer to the wall using the four screws and large flat washers provided. Tighten the four
mounting screws evenly until the base plate is 1-2mm from the wall.
NOTE This gap is intended to isolate the dryer from the structure and alleviate the covers being
painted to the wall by the decorators.
SETTING UP THE HEATER AND LIGHTING OPTIONS
The setting dip switches can be found on the right hand side of the main PCB when looking at the
dryer on the wall.
Dip switch 1 selects the LED colour when dryer is idle
UP - default = red
DOWN = slow random colours
Dip switch 2 selects the LED colour when dryer is in use
UP - default = White
DOWN = quick changes of random colours
Dip switch 3 & 4 selects one of the four heater modes
Factory Settings- 3 down & 4 down = full power
Or Options: 3 down & 4 up = full power for 10 seconds & then half power
3 up & 4 down = half power only
3 up & 4 up = full power for 10 seconds & then ramping down to 0
PLANNING
We suggest that one Hand Dryer be installed for every two hand basins.
The BA210 hand dryer is suitable for mounting over bench tops or reflective surfaces.
When positioning dryers take note of traffic flows in the
washroom, also be aware of obstructing doors, cabinets etc.
SAFETY PRECAUTIONS & STANDARDS COMPLIANCE
Supreme Hand Dryers have been tested and comply with all relevant Australian and New Zealand
standards for electrical safety and electromagnetic interference.
CAUTION
The appliance is not to be used by persons (including children) with reduced physical, sensory
or mental capabilities, or lack of experience and knowledge, unless they have been given
supervision or instruction.
Do not insert objects into the air outlet, doing so can be
hazardous and could result in electric shock.
Do not obstruct the air inlets or outlets in any way.
Do service your hand dryer at regular
intervals.


