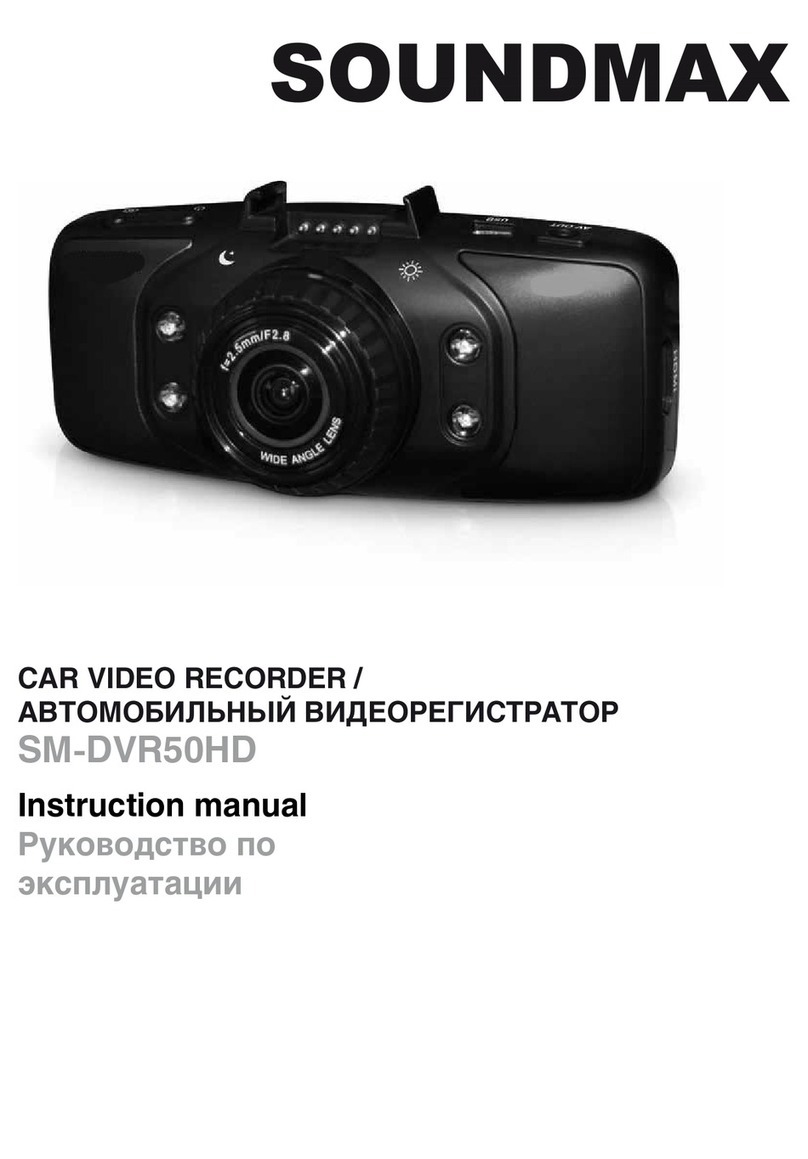
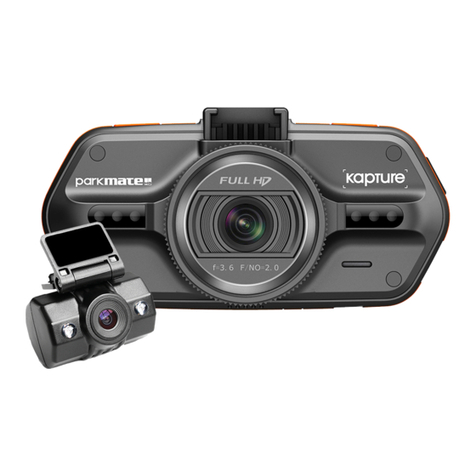
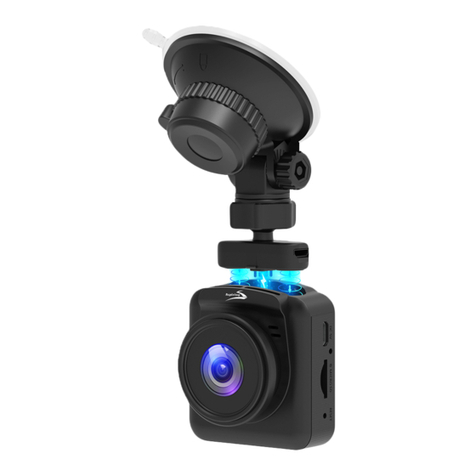
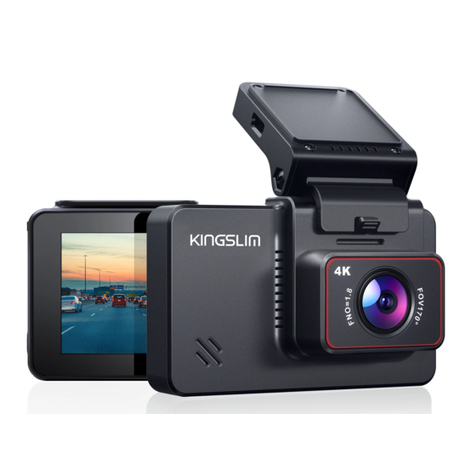
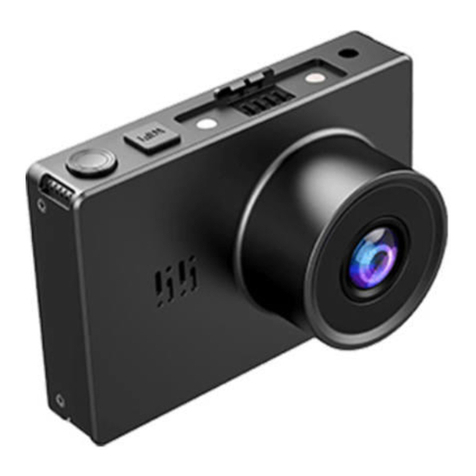
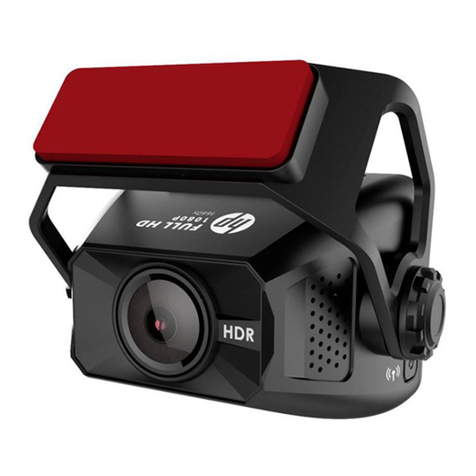
Splash-E-Tech Mini0805 User manual

SplashETech
Mini0805
Instruction
Manual
Please read this manual carefully before using this product.
Please get this manual well-kept for future reference.
Please use the product correctly based on a full understanding of the manual.

List of Parts
Precautions
Name of Items
SplashETech Mini0805
Car Charger
USB Cable
3M Plastic Sticker
Vehicle Mounting Bracket (GPS Tracker)
Instruction Manual
Quantity
1
1
1
1
1
1
1
• There may be a layer of plastic protective film on the LCD screen
and the lens, which is intended to prevent any scratch during
transportation. In that case, please remove the protective film before
putting the product into use.
• The product will generate heat after being used for a long time.
Please note that it is not a malfunction.
• Do not try to disassemble, refit or heat the product. Doing so may
result in electrical shock and will most likely resulting in damaging
the dash camera.
• Please keep the product from water or any other liquid.
• Do not clean the product using alcohol, gasoline, diluent or any
other organic solvent. Only a dry cloth should be used.
• Do not mistreat the dash camera. Do not crash, push or press the
lens hard – otherwise, an injury or a product damage may be caused.
• Please protect the product from dropping or being strongly
impacted. In case of dropping down or a product damage, do not
touch the inside part of the product so as to prevent any harm.
• Stop using it immediately if the product emits smoke or any
peculiar smell or there occurs any other abnormal situation.
Before using this product, please make sure that your dashboard camera
package consists of all the following items. Please contact the distributor
in case of any loss.

Product Structure
2
1. 3M Sticker
4. Up/Mute Button (a long press for the menu)
7. Indicator Light
10. HDMI Port
13. GPS Tracker/Mounting Bracket (Angle adjustable)
2. USB Port -1
5. OK Button
8. Lens
11. USB Port -2
3. AV Port
6.Down/Lock File Button
9. MicroSD Card Slot
12. Power Button
13
1
2
4
5
8
6
7
10
9
12
11
3
• Do not expose the dash camera to a temperature lower than -10℃
or higher than 65℃. Otherwise, a possible battery leakage,
overheating or an explosion may happen, resulting in a fire, an
electric shock, burns or other injuries.
-- High temperature can shorten the life span of the device, and extremely
high temperature will shorten the battery and/or degrade the plastic
components. Please note that extreme temperatures can be achieved in
parked cars in direct sunlight.
-- Expose the dash camera in sunlight with Motion Detection mode may
cause the dash camera crash or damaged as the temperature is too high
in your car in summer.
• Do not expose the dash camera to dusty, dirty, or wet areas, if this
gets into the camera or on the lens, damage to components can be
caused.

Initial Use and Installation
Insert the MicroSD Card:
Insert an appropriate microSD card into the dash cam to record to the
external microSD card. Only after a microSD card (with a memory of no
more than 128G) is correctly inserted into the camera will it work properly.
It is recommended to use microSD card which reads and writes faster than
Class 6.
Power On/Power Off:
Short press the "Power" button to boot the machine, meanwhile the blue
light will light up. And the short press the OK button to start recording
video. Extended press the "Power" button to shut it down and the blue light
will go out. The camera will shut down automatically when having given a
low power indication. After connecting with vehicle power, it is supported
to automatically start recording when the car is starting, and when the car
is off the video will be saved automatically then the recorder will be turned
off.
The dash camera is preconfigured for a simple plug and play experience
with the most popular options; if you want further customize the settings,
should you require a slight different experience, please refer to section
“SETTING”.
Installation Instructions:
Take the SplashETech Mini0805 out of the package, install the GPS
tracker correctly; then, tear off the 3M Sticker, and stick the camera into an
appropriate position on the front windshield. Switch the GPS tracker to get
a proper angle.
Operatio
Normal mode: After turning on the recorder, it will automatically enter a
video mode, please short press the OK button to stop recording and go to
normal mode for picture-taking and settings.
Video Mode: When having started up the camera, short press the OK
button to start or stop recording. In the upper right corner of the screen,
there will appear a flashing red dot and the recording time, which indicates
the start of recording.
3

Photo Mode: After turning to the normal mode, extended press the OK
button to take pictures. The screen will flash once to indicate the
completion of a picture.
Reviewing Videos and Photos:
• After starting up the camera, extended press the DOWN button to enter
the video interface, extended press the DOWN button again to enter the
picture interface.
• Then extended press the UP button to enter file editing interface, and
continuously short press the UP and DOWN button to switch between
each setting (file protect operation, auto play, delete file); when having
selected a item or a sub-item which need to be modified, short press the
OK button, ans extended press the UP button to go back from a sub-item.
• In case of no modification, extended press the UP button to go back to
the picture/video file interface. Extended press the DOWN button on the
picture interface to go back to normal mode.
USB Mode: Connect to PC by USB cable, and then we can access video
or photo files.
SOS Function: During camera shooting, short press DOWN button, the
current video will be locked and saved as a file that cannot be deleted. To
unlock the file once again, just short press the button again.
One Button Mute Function: Short press the UP button to switch
on/off during recording.
Setting
In the normal mode, extended press the UP button to call up the function
setting menu. Continuously short press the UP and DOWN button to
switch between each setting; when having selected the item which need to
be modified, short press the OK button.
Before using the dash camera it may be necessary to change some of the
default setting for your own customization, for example the driver number
is defined by you and the date may need updating when first powered on.
The camera will automatically update the real time when GPS connected,
for the camera with GPS module.
The settings on the menu are as follows:
4

5
1. Resolution:
2560×1080 30p 21:9, 2304×1296 30p 16:9, 1920×1080 45p 16:9,
1920×1080 30p 16:9, HDR 1920×1080 30p 16:9, 1280×720 60p 16:9,
1280×720 30p 16:9
Higher resolution videos will take more storage space.
2.Quality:
Super Fine (S. Fine)/Fine/Normal
The quality will affect video grain, sharpness, contrast and so on. Better
quality videos will result in higher bit rate and take more storage space.
3.Photo size:
13M(4800×2700 16:9), 9M(4000×2250 16:9), 4M(2588×1512 16:9)
4.Photo quality:
Super Fine (S. Fine)/Fine/Normal
5.AE Meter mode:
average/spot/central
This setting will affect the video brightness and quality. "central metering"
is recommended if there is no special requirement.
6.LDWS detection:
on/off
Lane Departure Warning System. The camera will warn when it detects a
lane departure, including normal planned lane departure. Here you can
define the speed threshold above which the LDWS will become active.
7.LDWS calibration:
This adjusts the LDWS reference lines to improve the LDWS operation.
Please use the UP and DOWN buttons to move the top line to the height
of the horizon and the bottom line to the height of the front of your car. Use
the OK button to confirm the adjustment of each line.
8.Flicker:
auto/50Hz/60Hz
Here you can set the sensor flicker frequency to fit your AC power
frequency and reduce the effect of flickering lamps. Please leave it AUTO
if you don’t know which frequency is in use in your country.

9.White balance:
auto/sunny/cloudy/tungsten/fluorescent
Here you can set the image white balance mode to improve color balance
in videos/images in different weather and lighting conditions. Auto is
recommended to fit most conditions.
10.EV:
-2.0/-1.7/-1.3/-1.0/-0.7/-0.3/0/+0.3/+0.7/+1.0/+1.3/+1.7/+2.0
Here you can manually adjust the Exposure Values to improve the image
brightness.
11.Recycle:
off/1 min/3 mins/ 5 mins
The video and data is stored on the memory card, this can either be a
continuous recording or a segmented loop recording of 1min, 3 mins or 5
mins blocks.
When "off" is chosen, the videos recording will continue until the card
space is full. Once the memory is full a "card full" message will be
displayed on screen and recording will stop. Please be aware that the
maximum video file size is 4GB.
When "1 min/3 mins/ 5 mins" is chosen, the dash camera will record in
segment specified by the loop tome interval selected. Once the memory
is full the oldest file will be overwritten with the new recording (unless the
files are locked).
12.Motion detection:
off/low/meddle/high
Motion detection is used to reduce the amount of storage space used.
When there isn’t obvious motion detected the camera will switch to
standby. Once motion over the threshold value is detected, the camera
will start recording and continue until 15 seconds after the motion stops.
Here you can set the detection sensitivity.
13.Time setup:
The date/time information will be automatically updated if the GPS
satellites are connected. You can set the system time manually.
6

7
14.Auto power off:
off/1 min/3 mins/5 mins
If there are no button actions when the camera is on standby, the camera
will auto power off to save power (unless the camera is on Motion
Detection mode). Here you can define the delay time.
15.Power off screen: off/1 min/3 mins/5 mins
16.Stamp:
date and time/driver number stamp/off
After opening this function, relevant information will be shown in the
screen when a video is replayed on the computer. There are options to
show the date and time, driver serial number or off. Not all the information
will fit onto the video stamp do the decision needs to be made as to which
information is deemed most relevant.
17.Driver number:
Here you can define the driver number or your customized information
with 9 characters or numbers to help identify the recording.
18.GPS stamp: on/off
19.Velocity stamp: on/off
20.G-sensor sensitive:
2G/2.5G/3G/3.5G/4G/4.5G/close
The G-sensor is used to detect the 3-axis impacting forces. If any impact
over the threshold value is detected, the current recording file will be
locked/protected to avoid being over-written, and this is important in a
crash as you may become disoriented or not able to lock the file which has
recorded the incident. The level of sensitivity is set by selecting the
required amount of G Forces to cause the video to lock.
21.GPS: on/off
After installing a GPS tracker correctly, start up the GPS function in menu
setting. When the icon appears on the main interface, it means that GPS
can be used normally. When the function has been started, all videos and
pictures recorded by the camera will contain GPS positioning and tracking
information, which can be shown on the computer by special software,
which can be downloaded via http://www.splashetech.net/.

Part of the Icons
Product Specifications
Camera mode
Segmented loop recording
time
GPS Positioning succeeded
Auto mode of white balance
Battery
A microSD card has been
inserted
Motion detection
5
Image sensor
Main control chip
Lens
Lens parameters
Display screen
Video compression format
Video file format
ISO sensitivity
Photo format
OV4689
AmbarellaA7LA50
120°wide-angle lens
6G, F2.0, f3.0mm
1.5 inch HD TFT
H.264
MOV
Auto
JPG
22. Speed unit:
Km/H/MpH/off
23. Language:
English/simplified Chinese/traditional Chinese/Russian
24. Default settings:
yes/no
This function allows the device to be reset to factory setting.
25. Format:
yes/no
This is to format the memory card, which will remove all the data.
26. Software version:
This shows the software version installed on the dash camera.
8

Under normal operating conditions, if the product has problems, please
refer to the following solutions:
◆Cannot take pictures or videos
Check if microSD card has enough space or is locked, or if you have Loop
Recording on that the files are not all protected.
◆It tends to automatically shut down once a while after
being connected to the power supply
Please check whether the automatic shutdown function is started.
◆Camera stops recording occasionally
Because the data stream of high-definition video is huge, please use a
high-speed Class 6 microSD card that is compatible with SDHC.
◆GPS information can’t be displayed when watching the
video on the computer
Please check whether the GPS module is correctly installed. When the
icon occurs in the camera’s screen, it indicates that the GPS positioning
has failed. When the icon occurs, it indicates that the GPS positioning
is being done.
9
Troubleshooting
HDR
Microphone and speakers
AV video output
HDMI video output
Memory card
Battery
Video play software
Temperature requirement for
the Work Environment
Humidity requirement for the
Work Environment
Supported
Supported
Supported
Supported
TF card (no more than 128GB)
3.7V 320mA polymer lithium battery
Media player/KM player
-10℃~ 65℃
15%RH~60%RH

10
◆"File error" displays when replaying the pictures and
videos
Please use the "Format" function to reformat the microSD card as a
certain error having occurred when data are saved into the microSD card.
Please format the card on a computer to be FAT32 format if it is bigger
than 32GB.
◆The image is blurred
Please check whether there is anything dirty or any finger print on the lens;
please wipe the lens with a piece of lens paper before recording or
picturing. Please remember to remove the lens protecting film before use.
◆The image is rather dark when picturing or recording the
sky, water or other scenes
The automatic exposure function of the camera will be affected in case of
a scene with a severe contrast. Please conduct modification by adjusting
the "EV" value in the camera’s setting menu.
◆The color isn’t perfect on a cloudy day or under indoor
lighting conditions
Please check the "white balance" function and see whether it is set in the
auto mode.
◆The system crashes
Please extended press the "Power" button to restart the camera.
◆Video file cannot be played normally (no audio, or no
image)
This is due to the current video player cannot fully support the MOV video
format, please try other video plays, or go to the official website:
http//www.splashetech.net to download the dedicated video player:
SplashETech Mini0805 GPS Player.
◆No image displayed on TV/DVD screen
Please confirm the AV, HDMI cable is connected correctly, and the
TV/DVD is set to the correct AV, HDMI mode.

14.Auto power off:
off/1 min/3 mins/5 mins
If there are no button actions when the camera is on standby, the camera
will auto power off to save power (unless the camera is on Motion
Detection mode). Here you can define the delay time.
15.Power off screen: off/1 min/3 mins/5 mins
16.Stamp:
date and time/driver number stamp/off
After opening this function, relevant information will be shown in the
screen when a video is replayed on the computer. There are options to
show the date and time, driver serial number or off. Not all the information
will fit onto the video stamp do the decision needs to be made as to which
information is deemed most relevant.
17.Driver number:
Here you can define the driver number or your customized information
with 9 characters or numbers to help identify the recording.
18.GPS stamp: on/off
19.Velocity stamp: on/off
20.G-sensor sensitive:
2G/2.5G/3G/3.5G/4G/4.5G/close
The G-sensor is used to detect the 3-axis impacting forces. If any impact
over the threshold value is detected, the current recording file will be
locked/protected to avoid being over-written, and this is important in a
crash as you may become disoriented or not able to lock the file which has
recorded the incident. The level of sensitivity is set by selecting the
required amount of G Forces to cause the video to lock.
21.GPS: on/off
After installing a GPS tracker correctly, start up the GPS function in menu
setting. When the icon appears on the main interface, it means that GPS
can be used normally. When the function has been started, all videos and
pictures recorded by the camera will contain GPS positioning and tracking
information, which can be shown on the computer by special software,
which can be downloaded via http://www.splashetech.net/.
◆Power indicator doesn’t work
If the power supply is less than 600mA current, the camera can’t be
charged and the power indicator will not work.
◆Image has horizontal stripes interference
This is due to the wrong setting of “flicker”. Please adjust it depending on
the local power supply frequency, reset the Flicker: 50Hz/60Hz.
◆Camera doesn’t auto start recording when the car engine
is started
Please make sure that the loop recording is 1/3/5 minute(s), not OFF,
because it won’t auto start recording when loop recording is OFF;
additionally, please check if the microSD card is full, if yes you may try to
format the microSD card.
◆The camera continues automatic recording and won’t
stop
This perhaps because that the camera is working on Motion Detection
mode; you can check whether there is an icon on the screen. When
the Motion Detection is ON, it will auto start recording when a moving
object appears within the range of camera.
When the motion ceases, the recording will stop automatically until a
moving object appears again. It will not automatically shut down until
power goes off.
◆What to do if the camera has locked up and will not
respond to button presses
Remove the camera from the mount or turn off the power, then hold the
power button for 20 seconds, the camera will auto reset.
www.splashetech.net
suppor[email protected]
Sam Direct Global Trade Co., Ltd
11
Table of contents

