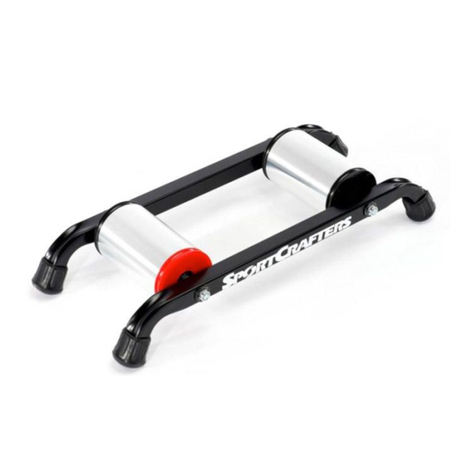
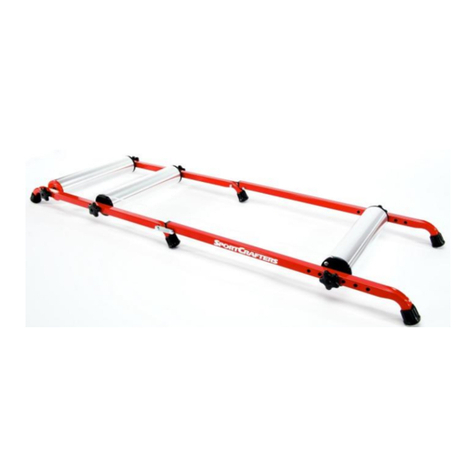
Thank you for choosing the SportCrafters Omnium Trainer. This
unique device was designed to be the perfect companion for race
warm-up and travel, and can also be used to
train indoors. The integrated resistance, all
contained within the roller drums, packs a punch
at higher speeds for a heart-pumping interval
workout.
Please review the following information:
1) Unscrew and remove the silver legs
2) Loosen the skewer
3) Loosen the captive knurled nut (pictured
right). When folding the Omnium up after use,
loosen this nut before folding.
4) Gently unfold the roller base from the fork
stand
5) Continue to unfold the fork stand away from the telescoping
beams
6) Place your Omnium
on the ground, and
install each of the
legs into the fork
stand:
7) Make sure the legs
are turned all the
way until they are seated in the fork stand. Do not overtighten, nor
ride with them loosened, as this can damage the legs.
8) Remove the front wheel from your bike, and install bike on the
Omnium. Make sure your bike is vertical and tighten the skewer
so that it is securely clamped on the fork dropouts**
9) Adjust the trainer so that the rear wheel settles between the drums
and the tire contacts each drum. Spin the wheel by hand gently to
assure both drums spin easily, and that your rear tire stays
reasonably centered
10) Please note that there are a lot of variations in bike geometries
and tolerances, so the rear tire may not end up exactly in the
middle of the drums. Your tire should be about 2 inches, or 50mm,
away from the edge of the drums. If not, recheck your skewer
mount.
WARNING! This quick release skewer must be properly adjusted
before using a bicycle on the Omnium Trainer. Failure to
properly adjust the skewer may cause damage to the bicycle
and/or injury to the user.
Unscrew the adjusting nut of the skewer just enough that the fork slides onto
the skewer. Make sure the fork is all the way down onto the skewer, and the
bike is vertical. While holding the quick release lever in the OPEN position
(with the curve of the lever facing OUT), slowly tighten the adjusting nut in a
clockwise direction stopping now and then to check to see if you are close to
the right adjustment. This is the point where, as you pivot the curved lever
towards the LOCKED position (with the curve of the lever facing IN) the lever
requires significant pressure at some point to move the lever all the way
LOCKED. In other words, you will need to use the palm of your hand to pivot
the lever to the fully closed position. This will leave a slight impression in your
palm when you are done. You will know the skewer is tight enough if you can
barely force the lever to the LOCKED position. You may have to do this a few
times to get the pressure just right. Once this is done, check to make sure
the adjusting nut and the base of the Quick release lever are pressed flat
against the dropout and not hung up on anything. This can occur if the
dropouts are not aligned properly or seated all the way on the Omnium fork
mount tube. Check again that the bike is vertical and the rear wheel tracks
close to the middle of the resistance drums before completing the rest of the
adjustments on the Omnium. Removal is the opposite of assembly. Follow
bicycle manufacturer’s instructions for removing and reinstalling the front
wheel on your bicycle.
