Spring USA 2171-6 User manual
June 2019
Reflection
Induction Buffet
Servers
Owner’s Manual
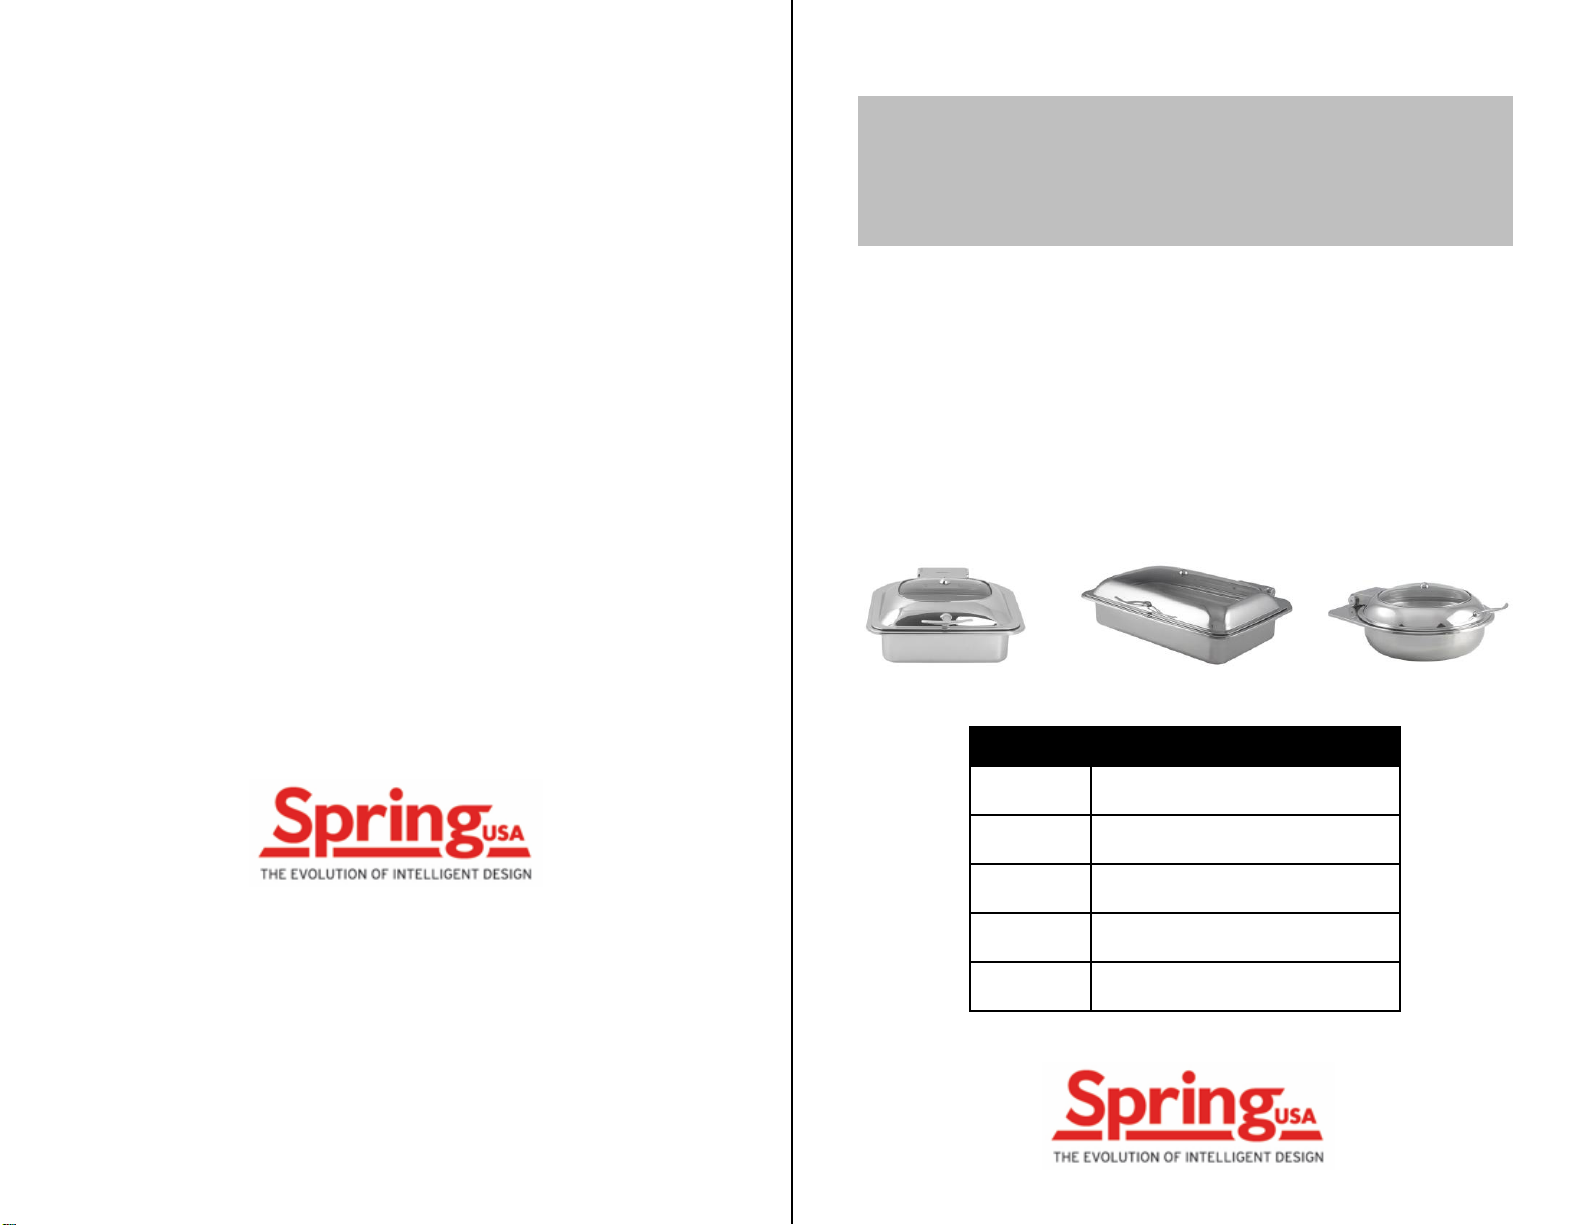
Model # Description
2171-6 Full Size Server
2172-6/30 Mini Round Server
2172-6/37 Round Server
2173-6/12 Mini Square Server
2174-6 Square Server
127 Ambassador Drive, Suite 147
Naperville, IL 60540-4079
P: 630-527-8600
F: 630-527-8677
springusa@springusa.com
www.springusa.com

2 3
Installation
Inspect all parts of the Reflection Induction Buffet Server prior to
installation and use. If the server is damaged, do not use. Contact a
supplier for a replacement.
To prepare the server for use, place the unit on an induction range or
hidden induction surface that is in a flat, level position. The support
Before You Begin
To ensure safe operation, read the following instructions in their
entirety.
Warning is used to indicate the presence of a hazard that can cause
severe personal injury, death, or substantial property damage if the
warning is ignored.
Caution is used to indicate the presence of a hazard that will or can
cause minor personal injury or property damage if the caution is
ignored.
NOTICE
Notice is used to note information that is important but not
hazard-related.
To reduce risk of injury or damage to the equipment:
•Equipment should only be used in a flat, level position.
•Do not obstruct or cover the equipment in any way when in use.
•Do not store or place any materials below the equipment when in
use.
•Always turn off and unplug electric heating elements when not in
use.
•Always allow equipment to cool before handling.
•Do not operate without water in the water pan.
•Do not operate unattended.
•Closely supervise equipment operating in public areas and/or around
children.
•Do not operate if equipment has been damaged or is malfunctioning
in any way.
Function
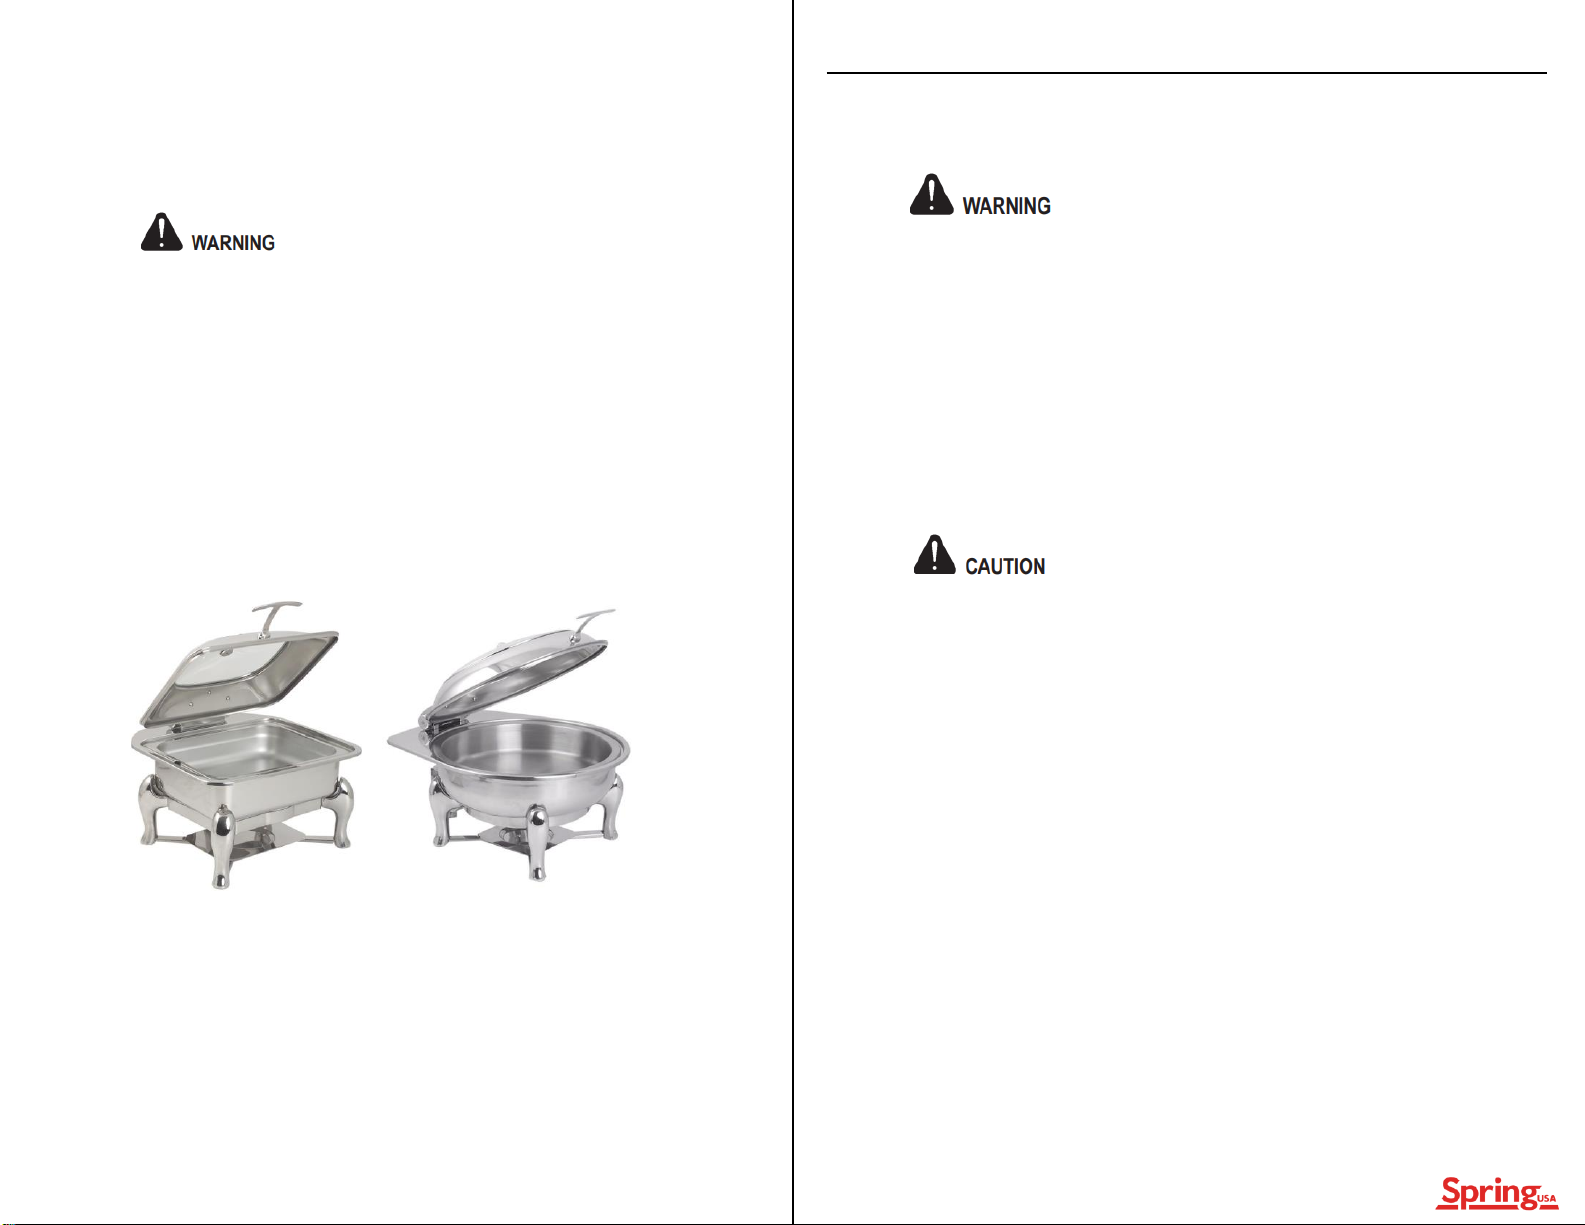
Spring USA’s Reflection Induction Buffet Servers are induction ready
vessels with a water-based system intended for serving prepared food.
Food must be at or above serving temperature before being placed in
the servers. Adapter frames enable use of electric heating elements
with the full size, round or square server. All servers can also be used
with an optional stand and canned fuel (not included).
NOTICE: Reflection Induction Buffet Servers only
maintain temperature –they are not intended for
cooking food.
Figure 1. Support Stabilizer Bar and Bumper
stabilizer bar with
bumper located in the
back of the vessel is
used to keep the vessel
in place. See Figure 1
for reference. Be sure
the bumper is in contact
with the top surface of
the range or induction
surface so that the
bumper creates a seal.
Support
Stabilizer
Bar
Bumper
For use with induction:

If using any of the Reflection Induction Buffet Servers with canned fuel,
a stand is also required. See Figure 3 for reference. Be sure the stand is
in a flat, level position prior to placing the server in the stand. Align the
support stabilizer bar and bumper with the stabilizer surface found in
the back of the stand. The bumper should seal to this.
A support stabilizer bar extender should be used when the bumper
cannot reach the surface. See Figure 2 for reference.
If using the full size, round or square server with an electric heating
element, a stand and adapter frame are required. See Figure 3 and 4
for reference.
Be sure the stand is in a flat, level position. Place the electric heating
element inside the adapter. See Figure 5 for reference. Fit the adapter
frame inside the middle of stand so it is suspended above the canned
fuel holder. See Figure 6 for reference.
Place the server on the stand being sure to align the support stabilizer
bar and bumper with the stabilizer surface found in the back of the
stand. The bumper should seal to this.
4 5
Figure 2. Support Stabilizer Bar Extender
Figure 4. Adapter Frame
For use with an electric heating element:
For use with canned fuel:
Figure 3. Stand
Figure 6. Adapter Frame
Placed in Stand
Figure 5. Heating Element in
Adapter Frame
How to Operate
1. Open the cover and remove the food pan from the water pan.
2. Pour clean, hot water (140°F-180°F) into the water pan to the fill
line stamped on the backside of the pan.
3. Place the food pan back in the server and turn on the induction
range, plug in the electric heating element or light the canned fuel.
4. Place the prepared food into the food pan and close the cover.
NOTICE: For ambient temperature water, allow at least
one hour for pre-heating with the cover closed and the
heat source on/lit. The food pan in the server will help
heat the water faster.

6 7
Disassembly
When finished serving food follow the below steps.
1. Turn off the induction range.
2. Open the cover, remove the food pan and allow time for the water
to cool before handling.
3. Remove the server from the range or surface once cooled.
4. Empty the water in the water pan after every use.
5. Regularly monitor the food temperature and water level in the
water pan. Food should remain above 140°F. Water should not fall
below the fill line. If needed, refill the water pan with hot water.
NOTICE: The water pan will warp if allowed to run dry
for an extended period of time. A warped water pan will
cause poor contact with the induction surface or heating
element and limit heat transfer to the pan.
Burn Hazard. Hot food, surfaces, steam and liquid can burn
skin. Use proper protective gear when handling.
Electrical Shock Hazard. Liquids inside the heating element
can cause electrical shock. Do not use if liquid is inside the
heating element.
Burn Hazard. Hot food, surfaces, steam and liquid can
burn skin. Use proper protective gear and allow time
for cooling before servicing.
Induction instructions:
Never touch the top surface of the induction range
or the induction surface itself immediately after
using. The surface may retain heat from the server.
1. Unplug the heating element.
2. Open the cover, remove the food pan and allow time for the water
to cool before handling.
3. Once cooled, remove the server from the stand.
4. Allow the heating element to cool before handling. Once cooled,
this can be removed from the stand.
5. Empty the water in the water pan after every use.
Electric heating element instructions:
Burn Hazard. Hot food, surfaces, steam and liquid can
burn skin. Use proper protective gear and allow time
for cooling before servicing.
8 9
Maintenance
The Reflection Induction Buffet Servers should be cleaned after every
use to maintain the appearance and prolong the life of the equipment.
Clean the server, including stand and adapter if applicable, with warm,
soapy water using mild detergent. Rinse with water. Dry with a soft
cloth. Do not use any abrasive material or scouring pads.
The food pan can be run through a dish washer.
Never submerge the cover in water.
Never submerge the axle in water. Wipe the axle with warm, soapy
water using mild detergent, rinse and dry with a soft cloth.
If needed, polish with stainless steel cleaner or glass cleaner without
ammonia.
Over time, mineral deposits may accumulate within the water pan.
Remove with de-liming solution. Follow the manufacturer’s
instructions for removal of mineral deposits from stainless steel
surfaces.
If axles begin to squeak when opening the cover, apply cooking spray or
vegetable oil directly on the axle to lubricate the components. Wipe
off an excess oil. Never use WD-40 to lubricate the axle.
1. Extinguish the canned fuel.
2. Open the cover, remove the food pan and allow time for the water
to cool before handling.
3. Once cooled, remove the server from the stand.
4. Allow the canned fuel to cool before handling. Once cooled, this
can be removed from the stand.
5. Empty the water in the water pan after every use.
Burn Hazard. Hot food, surfaces, steam and liquid can
burn skin. Use proper protective gear and allow time
for cooling before servicing.
Canned fuel instructions:
NOTICE: The cover should not be removed after
service for cleaning or storage.
Burn Hazard. The server will be hot immediately after
service. Follow the disassembly instructions prior to
cleaning.
NOTICE: The cover does not need to be removed for
cleaning. The cover is only removed for replacing the axle
when necessary.
Thermal Shock Hazard. Submerging the cover in water
when it is still hot may cause the glass to crack.
This manual suits for next models
4
Table of contents
Other Spring USA Kitchen Appliance manuals


