Springtree P200RGBW LED User manual

USER MANUAL AND
INSTALLATION GUIDE
Springtree
P200RGBW LED
Ellipsoidal

2(615) 599-1505 www.springtree.net
Table of Contents
1. Before You Begin
What is included.......................................................................................................................3
Safety precautions....................................................................................................................3
2. Product Information
Description................................................................................................................................4
Features....................................................................................................................................4
3. Installation
Power supply.............................................................................................................................5
Mounting....................................................................................................................................5
Adjusting the shutters................................................................................................................6
Using a gobo.............................................................................................................................6
Usingagelorlter.....................................................................................................................6
DMX linking...............................................................................................................................7
4. Operation
Touch buttons...........................................................................................................................7
Operating modes......................................................................................................................7
LED display menu....................................................................................................................8
DMX Modes..............................................................................................................................8
5. Maintenance
Cleaning your ellipsoidal...........................................................................................................8
6. Technical Specications
Beam angles.............................................................................................................................9
Dimensions...............................................................................................................................9
Troubleshooting.......................................................................................................................10
Warranty...................................................................................................................................10
Contact us...............................................................................................................................10

3
(615) 599-1505 www.springtree.net
Before You Begin
What is included
When you open your package, there should
be four items inside of the box:
1. One LED Ellipsoidal light with
a 19°, 26°, 36° OR 50° lens
2. One gobo holder
3. One gel frame
4. One Powercon power cord
*If any of these items is damaged or missing,
please contact Springtree Media Group.
Safety precautions
•Toreducetheriskofelectricalshockorre,donotexposethisunittomoisture.
• Be sure that the local power outlet matches that of the required voltage for your unit
• Do not attempt to operate this unit if the power cord has been frayed or broken. Do not attempt
toremoveorbreakothegroundprongfromtheelectricalcord.Thisprongisusedto
reducetheriskofelectricalshockandreincaseofaninternalshort.
• Disconnect from main power before making any type of connection.
• Do not remove the cover under any conditions. There are no user serviceable parts inside. •
Never plug this unit into a dimmer pack.
• Always be sure to mount this unit in an area that will allow proper ventilation. Allow about 6”
between this device and a wall.
•ThisxtureisintendedforindooruseONLY.
• During long periods of non-use disconnect the unit main power.
• Always mount this unit in a safe and stable matter.
• Keep this manual for as long as you own this product!
1.
3.
4.
2.

4(615) 599-1505 www.springtree.net
• 200W RGBW LED COB
• Digital Display
• Interchangeable 19°, 26°, 36° or 50° lenses
• Lightweight 13.6 lb (6.1kg) body
• Three pin XLR jacks
• 6 DMX Modes
• Gobo holder
• Gel frame
• 4 shutters for controlled spotlighting
• Linking Powercon IN/OUT
Product Information
Features
Description
The Springtree P200RGBW LED
Ellipsoidalisapowerful,versatilexture
with all of the professional features found
on higher priced units.

5
(615) 599-1505 www.springtree.net
Power Supply
Before plugging your unit in, be sure the source voltage in your area matches the voltage
required for your lighting setup. Every unit has a power supply capable of 120V. Because line volt-
age may vary from venue to venue, you should be sure your unit voltage matches the wall outlet
voltage before attempting to operate your unit.
* Always connect this product to a protected circuit with an appropriate electrical ground to avoid the risk
ofelectrocutionorre.
Mounting
When mounting your ellipsoidal, make sure there is adequate room for ventilation. Operating
inaninsucientlyventilatedroomcanleadtoanoverheatingofthedeviceandmaycauseserious
accidents. Keep a minimum distance of 6 inches around and above the device. Before
deciding on a location, mount in a way that it will be easy to access the unit for maintenance and
addressing.
Installation

6(615) 599-1505 www.springtree.net
Adjusting the shutters
To adjust the width and shape of the beam, simply push or pull any of the four shutters
located around the body of the ellipsoidal.
Gobo holder
Gel frame
Framing shutter
(top)
Framing shutter
(left)
Framing shutter
(bottom)
Using a gobo
If you want to shape your light with a gobo,
insert it into the included gobo holder so that it is
visible through the circular hole. In order for your
gobo to be projected correctly, it should be inserted
upsidedownandipped.Afteryou’veinserted
your gobo into the holder, screw the holder shut
so that the gobo is secure and does not move. Slide the holder into the slot located in front of the
top shutter. When removing the gobo, make sure to let it cool before handling.
Using a gel or lter
To alter the color of your light beam
insert a gel into the included gel frame.
Screw the frame closed so that the
gel is secure and does not move.
Slide the holder into the slots
located in front of the lens.
When removing the gel and
holder, make sure to let it
cool before handling.
To look like this Insert like this

7
(615) 599-1505 www.springtree.net
DMX linking
An LED Ellipsoidal can be connected to a DMX controller by a 3-pin XLR cable, allowing total
control over one or more lights. To do this, connect an XLR cable from the DMX-input (labeled DMX
IN) on your lighting unit to the DMX-output of the controller. Connect a second light via its DMX-in-
puttotherstunit’sDMX-output(labeledDMX OUT) to control and synchronize muiltiple lighting
units at once. DMX IN
DMX IN DMX IN
DMX OUT DMX OUT
Operation
Touch buttons
There are four touch buttons on the back of this unit: MENU, ENTER, UP and DOWN.. Normally
theLEDwilldisplaythecurrentDMXaddresscodeofthexture.PressMENUtochoosethede-
siredfunctionandpressENTERtoconrm.
Operating modes
This light can operate in two modes:
• DMX control mode- this function will allow you to control each individual unit with a standard
DMX 512 controller
• Master-slave mode- one unit will work as the master in one of the above three modes, and
other units in the chain will work in sychronization towards the master

8(615) 599-1505 www.springtree.net
LED display menu DMX Modes
MENU
STATIC Red 0-255
Green 0-255
Blue 0-255
White 0-255
Strobe 0-20
AUTO 1-10
Custom 1-10
SP 0-99
ADDRESS A001-A512
RUN DMX
Slave
Sound
MODE TOUR (7Chan)
ARC1
ARC1+D
ARC2
ARC2+D
ARC2S
ARSD
ID 1-66
EDIT Custom 1-10
SET Upload (password required, no user function)
Cal1 (white 1-11) (no user funtion)
Dim (1-4, off) (dim fade rate 1 fastest, 4 slowest)
Dim Curve (para, line, s-curve, sv-curve)
Back (on, off)
DMX Stat (off,prog1, black)
Version (firmware version)
Temp (operation temp)
Hour (operation hours)
Fans (off, low, normal, high, auto)
ID (off, on)
Power (low, High)
RESET reset fixture to factory default
ARC1 3 Channel Mode
1Red
2Green
3Blue
ARC1+D 4 Channel Mode
1Dimmer
2Red
3Green
4Blue
ARC2 4 Channel Mode
1Red
2Green
3Blue
4White
ARC2+D 5 Channel Mode
1Dimmer
2Red
3Green
4Blue
5White
ARC2S 6 Channel Mode
1Dimmer
2Red
3Green
4Blue
5White
6Strobe
TOUR 7 Channel Mode
1Dimmer
2Red
3Green
4Blue
5White
6Strobe
7Macro

9
(615) 599-1505 www.springtree.net
Maintenance
Cleaning your ellipsoidal
Due to fog residue, smoke, and dust cleaning the internal and external optical lenses must be
carried out periodically to optimize light output.
1.Usenormalglasscleanerandasoftclothtowipeotheoutsidecasing.
2. Clean the external optics with glass cleaner and a soft cloth every 20 days.
3. Always be sure to dry all parts completely before plugging the unit back in.
*Cleaning frequency depends on the environment in which
the unit operates (i.e. smoke, fog residue, dust, dew).
Troubleshooting
Listed below are a few common problems that you may encounter
when using this product:
Unit not responding to DMX:
1. Check that the DMX cables are
connected properly and are
wired correctly. DMX output DMX input
2. Check that all cables are connected to the right connectors; it does matter
which way the inputs and outputs are connected.

10 (615) 599-1505 www.springtree.net
TechnicalSpecications
• Power Supply: AC120V, 50/60Hz
• Power Consumption: Max. 200W
• LED: RGBW COB
• Flicker Free
• ElectronicStrobe:1-20ash/s
• Display: 4-digit LED
• Data In/Out: XLR 3Pin
• Switch Power Supply: Built-in and auto switching
• Cooling: Entire casing heat sink plus 2 fans
• Housing: Plastic
• Housing Color: Black
• IP Rating: IP20
• Environment Temp: -30°C-50°C with single yolk
• Dimensions(mm): L25.3 x W7.9 x H6.7
• Net Weight: 13.6 lbs
Dimensions:
Beam Angles:

11
(615) 599-1505 www.springtree.net
Ocehours:
Monday-Friday, 8:30
AM to 5:00 PM CT
Telephone:
(615) 599-1505
E-mail:
Website:
www.springtree.net
Contact us
Springtree Media Group would like to thank you for choosing our company for
your lighting needs! If you have any questions or concerns, please contact us.
WARRANTY
1st YEAR - Parts and labor. Advanced replacement - First 90 days with shipping
covered by Springtree Media.
2nd YEAR - Repair/ Replace Springtree discretion. Return shipping covered by
customer.
Table of contents
Popular Light Fixture manuals by other brands
Finelite
Finelite DL-C instructions
Cooper Lighting
Cooper Lighting Tribute IMI-685 installation instructions
Cooper Lighting
Cooper Lighting Combo Trimless Series LV-216-TR installation instructions
Blizzard Lighting
Blizzard Lighting Blade QFX user manual
RSA Lighting
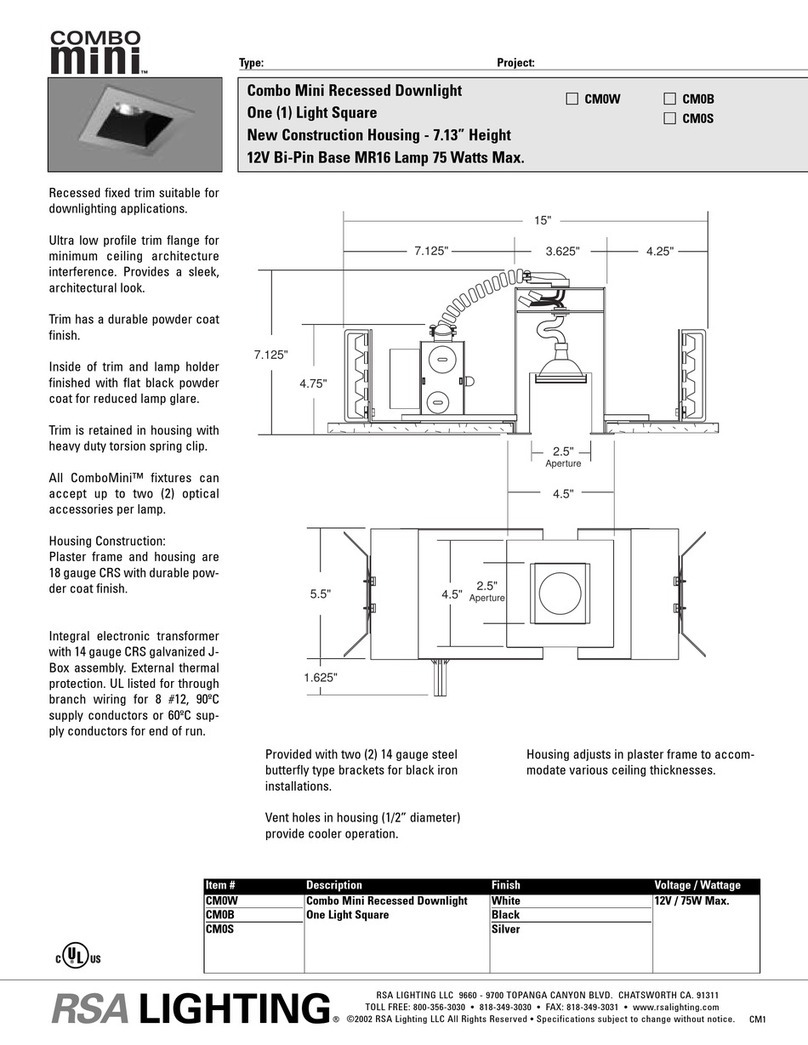
RSA Lighting CMOB Specification sheet
Panlux
Panlux LINETA BL0108/B instructions
