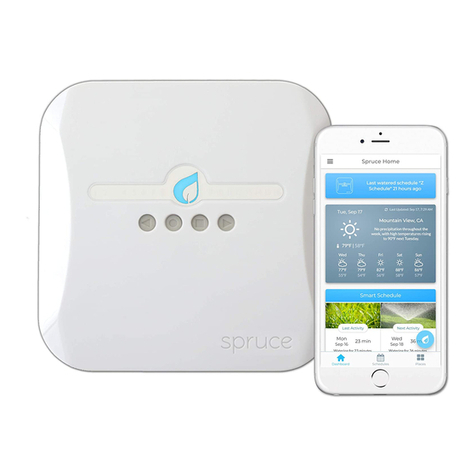
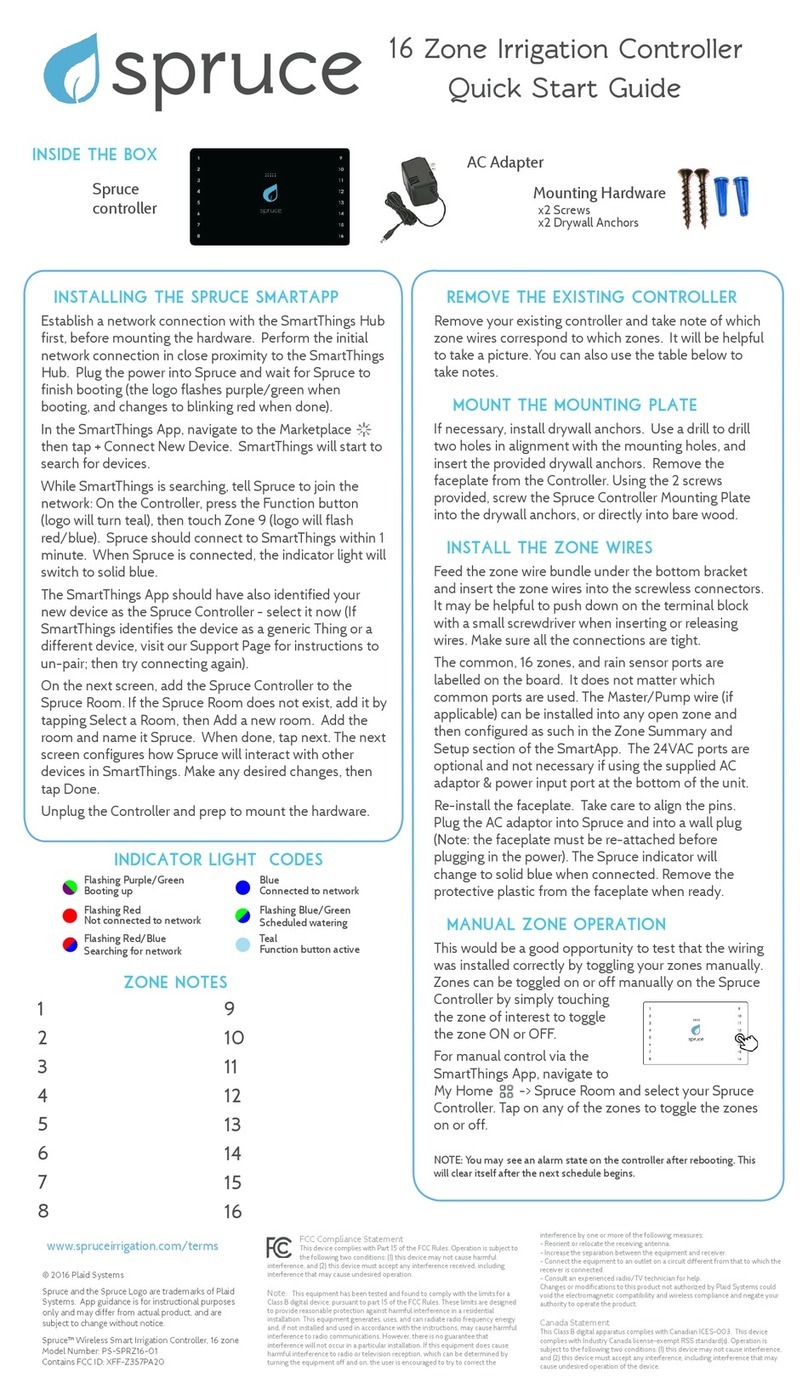
Spruce PS-SPRZ16-01 User manual

spruce
16
Zone Irrigation Controller
Quick Start Guide
Spruce controller AC Adapter Mounting Hardware
x2 Screws
x2 Drywall Anchors
connect spruce to smartthings
Establish a network connection with the SmartThings Hub first, before
mounting the hardware. Perform the initial network connection in close
proximity to the SmartThings Hub. Plug the power into Spruce and wait
for Spruce to finish booting (the logo flashes purple/green when
booting, and changes to blinking red when done).
In the SmartThings App, navigate to the Marketplace then tap + Connect
New Device. SmartThings will start to search for devices.
While SmartThings is searching, tell Spruce to join the network: On the
Controller, press the Function button (logo will turn teal), then touch
Zone 9 (logo will flash red/blue). Spruce should connect to SmartThings
within 1 minute. When Spruce is connected, the indicator light will
switch to blue.
Back in the SmartThings App, select Spruce Controller on the list of
connected devices (If SmartThings identifies the device as a generic
Thing or a different device, go to our Support Page for instructions to un-
pair; then try connecting again).
On the next screen, add the Spruce Controller to the Spruce Room. If
the Spruce Room does not exist, add it by tapping Select a Room, then
Add a new room. Add a new room and name it Spruce. When done, tap
next. The next screen configures how Spruce will interact with other
devices in SmartThings. Make any desired changes, then tap Done.
Unplug the Controller and prepare to mount the hardware.
remove the existing controller
Remove your existing controller and take note of which zone wires
correspond to which zones. You can use the table on the opposite side
of this quick start guide to take notes, or take a picture.
inside the box
Phillips (+) Screwdriver
Drill &3/16” drill bit (if mounting to drywall)
tools needed
NOTE: This guide will assume that you have already configured your
SmartThings Hub & installed the SmartThings App on your smartphone or
tablet. Refer to the SmartThings manual to get SmartThings up and running.
A SmartThings Hub is required for operation.
Spruce is not weatherproof.
If installing Spruce outdoors, you must mount Spruce in a weatherproof enclosure.
Failure to do so will void the warranty.

FCC Compliance Statement
This device complies with Part 15 of the FCC Rules. Operation is subject to the following two conditions: (1) this device may not cause harmful
interference, and (2) this device must accept any interference received, including interference that may cause undesired
operation.
Note
This equipment has been tested and found to comply with the limits for a Class B digital device, pursuant to part 15 of the FCC Rules. These
limits are designed to provide reasonable protection against harmful interference in a residential installation. This equipment generates, uses,
and can radiate radio frequency energy and, if not installed and used in accordance with the instructions, may cause harmful interference to
radio communications. However, there is no guarantee that interference will not occur in a particular installation. If this equipment does
cause harmful interference to radio or television reception, which can be determined by turning the equipment off and on, the user is
encouraged to try to correct the interference by one or more of the following measures:
- Reorient or relocate the receiving antenna.
- Increase the separation between the equipment and receiver.
- Connect the equipment to an outlet on a circuit different from that to which the receiver is connected.
- Consult an experienced radio/TV technician for help.
Changes or modifications to this product not authorized by Plaid Systems could void the electromagnetic compatibility and wireless
compliance and negate your authority to operate the product.
Canada Statement
This Class B digital apparatus complies with Canadian ICES-003
This device complies with Industry Canada license-exempt RSS standard(s). Operation is subject to the following two conditions: (1) this
device may not cause interference, and (2) this device must accept any interference, including interference that may cause undesired
operation of the device.
Spruce™Wireless Smart Irrigation Controller, 16 zone
Model Number: PS-SPRZ16-01
Contains FCC ID: XFF-Z357PA20
www.spruceirrigation.com/terms
mount the mounting plate
C
Ca
ar
re
ef
fu
ul
ll
ly
y remove the faceplate - refer to the insert for additional
instruction. Prop up the Controller on a table with the front face of
the unit facing away from you. Push down on the tabs on the top of
the unit, and continue to push the tabs towards you to separate the
mounting plate away from the faceplate.
If necessary, install drywall anchors. Use a drill to drill two holes in
alignment with the mounting holes, and insert the provided drywall
anchors. Using the 2 screws provided, screw the Spruce Controller
into the drywall anchors, or directly into bare wood.
install the zone wires
Feed the zone wire bundle under the bottom bracket and insert the
zone wires into the screwless connectors. It may be helpful to push
down on the terminal block with a small screwdriver when inserting
or releasing wires. Make sure all the connections are tight.
The common, 16 zones, and rain sensor ports are labelled on the
board. It does not matter which common ports are used. The
Master/Pump wire (if applicable) can be installed into any open zone
and then configured as such in the SmartApp. The 24VAC ports are
optional and not necessary if using the supplied AC adaptor & power
input port at the bottom of the unit.
Re-install the faceplate. Take care to align the pins - do n
no
ot
t bend
them. Plug the AC adaptor into Spruce and into a wall plug (Note: the
faceplate must be re-attached before plugging in the power). The
Spruce indicator will flash purple & green while booting up, then
change to solid blue when connected.
connect spruce sensors
Connect your Spruce Sensors (if applicable) to the network at this
time, and be sure to add all Sensors to the Spruce Room.
installing the spruce smartapp
Navigate to the Marketplace then SmartApps, then Energy
Management. Find the Spruce SmartApp, and configure your settings.
settings + assigning sensors
The Spruce SmartApp is accessible from My Home
-> SmartApps. Here you can configure all settings for the
Spruce SmartApp. An explanation of settings can be
found in the Spruce Knowledge Base/Support Page.
In the Zone Summary and Setup section of the Spruce
SmartApp, you can configure settings for individual zones,
as well as assign Spruce Moisture Sensors to zones.
manual zone operation
Zones can be toggled on or off manually on
the Spruce Controller by simply touching the
zone of interest to toggle the zone ON or OFF.
For manual control via the SmartThings App, navigate to My Home
-> Spruce Room and select your Spruce Controller. Tap on any of the
zones to toggle the zones on or off. The Start Watering option will
water each zone based off the algorithm output using the current
conditions (ignoring weather prediction and day of week restrictions).
1
2
3
4
5
6
7
8
9
10
11
12
13
14
15
16
zone notes
Need more information? Visit
support.spruceirrigation.com
© 2016 Plaid Systems
Spruce and the Spruce Logo are trademarks of Plaid
Systems. App guidance is for instructional purposes
only and may differ from actual product, and are
subject to change without notice.
v3.0
indicator
light
codes
Flashing Purple/Green
Booting up
Flashing Red
Not connected to network
Blue
Connected to network
Flashing Blue/Green
Scheduled watering
Flashing Red/Blue
Searching for network Teal
Function button active
Other Spruce Controllers manuals
