SQ Professional dainty 5978 User manual
instruction manual
PLEASE READ THESE INSTRUCTIONS CAREFULLY BEFORE USE
SQIM 5976-5977-5978-7926 22-12-2020 V14 | SQ Professional Ltd © 2021 All rights reserved
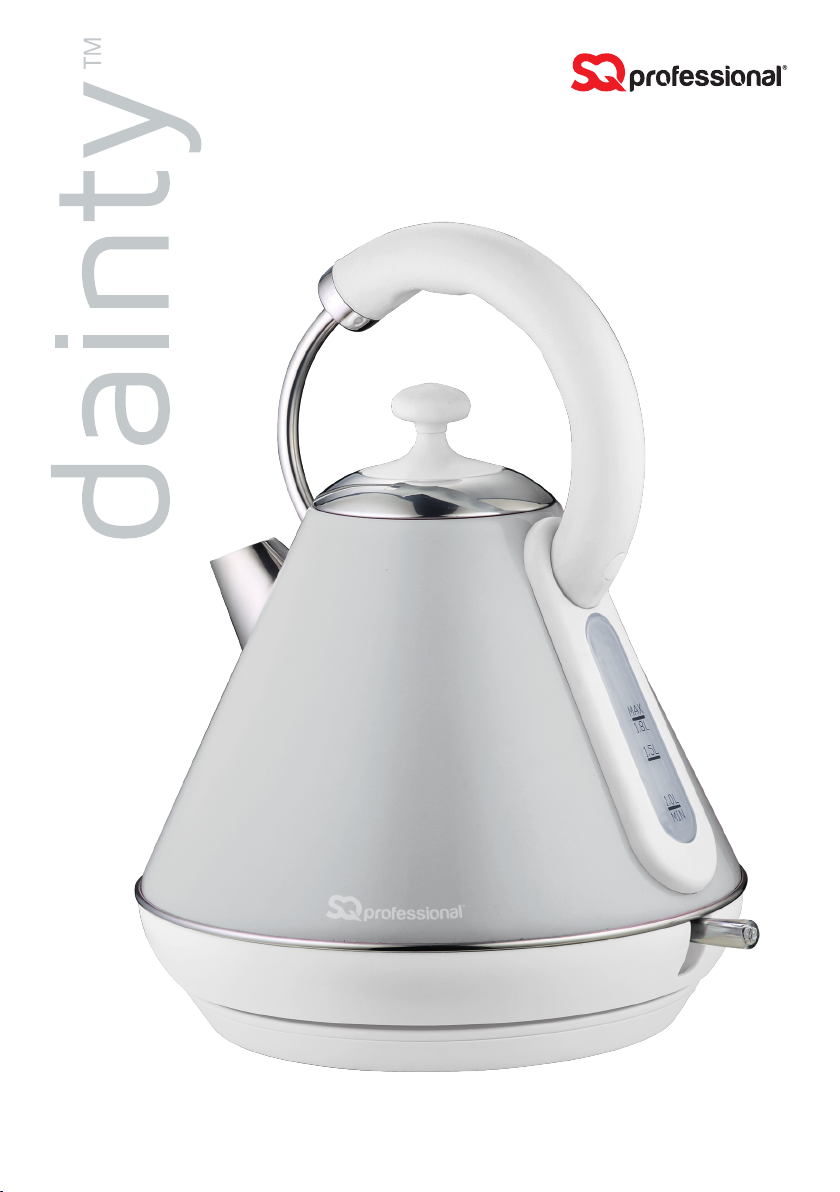
LEGACY KETTLE

2
FEATURES
1 Spout with filter
2 Handle
3 Lid with knob
4 Stainless steel cordless kettle jug
5 Water level indicator
6 Concealed heating element
7 ON/OFF switch with indicator light.
8 Base unit with 360˚connector
HOT SURFACE!
IMPORTANT SAFEGUARDS
Do not use the appliance in a bathroom, near water, or
outdoors. Do not operate the appliance with wet hands
or bare feet.
Do not immerse any of the parts (appliance, mains cable,
plug) in water or other liquids during use to protect from
fire, electric shock and personal injury.
Do not use the appliance if it is damaged or
malfunctioning.
Do not leave the appliance unattended whilst in use. Use
and store it out of reach of children.
SAVE THESE INSTRUCTIONS FOR FUTURE REFERENCE
• This appliance is intended for household use only.
• Ensure that the appliance is always placed on a firm and flat
surface, away from any edges of the worktop. Do not place the
appliance onto a metal tray or metal surface whilst in use. Do
not place the appliance on, or near, a hot gas or electric burner
or in a heated oven.
• Keep the appliance and mains cable away from the edges of
worktops and out of reach of children. Route the mains cable so
it does not overhang, and cannot be tripped over or caught.
360°
Due to hot parts and potential hazards, this appliance should not be used by children
under 16 years old unless supervised by an adult.
Please keep the appliance and mains cable out of the reach of children. This is not a toy!
If used by persons with reduced physical, sensory or mental capabilities, instruction and
supervision must be given to understand the use of the appliance and the hazards involved.
Always disconnect the appliance from the power socket if it is left unattended and before
assembling, disassembling or cleaning.
If the mains cable is damaged, it must be replaced by qualified persons
in order to avoid any hazards.

3
• Do not let the mains cable run across an open space, such as
between a low power socket and a table, or across any hot area,
such as a cooker. Heat may damage the mains cable.
• The connections on both sides of the mains cable (the appliance
and the power socket) should never be strained. If the mains
cable is damaged it must be replaced by a qualified person or
service to avoid any hazards.
• This appliance must not be operated by an external timer or a
remote control system.
• The top of the base unit
8
should always be kept dry, especially
around the connection area.
• Before drying, disconnect the power supply; ensure that
the base unit
8
is completely dry before you reconnect the
appliance to power supply.
• Pour the water out of the kettle slowly and carefully, do not over
tilt or tip the kettle too fast to prevent spillage and splashing.
• Do not move the kettle when it is switched on. Use extreme
caution when moving a kettle containing hot water.
• Do not switch the kettle on unless it contains at least two cups
of water.
• Avoid filling it up above the MAX mark to prevent the hot
water spewing out.
• Always remove the kettle from the base unit
8
before you fill it.
• Always close the lid
3
and have the filter
1
in place before
you switch the kettle on. Do not open the lid
3
while the water
is boiling.
• Avoid contact with steam while the water is boiling and after the
kettle is switched off.
• Avoid using the kettle near or below curtains, shelves, cupboards
or anything that might be damaged or deformed by hot steam.
• Use the handle
2
and knobs
3
on the appliance and avoid
touching any hot surfaces.
• The switch
7
should never be held fixed in the ON position as
this may cause damage to the switch-off mechanism.
• Do not remove the kettle jug
4
from the base unit
8
without
switching it off first. Unplug the base unit
8
when not in use.
• Unplug the kettle from the power socket before cleaning or
removing any parts. Ensure that the kettle is completely cooled
down before cleaning and storing away. Keep the kettle, base
unit
8
, mains cable, and plug away from sources of heat and
store in a dry place.
• Do not use the kettle for any purpose other than heating water.
• Use the kettle only with the base unit
8
supplied and do not
tamper with the connector in any way.
A scald hazard can last for a long time after boiling.
Take care when opening the lid as steam will escape
from the opening. If scalding does occur, immediately
run cold water over the affected area and seek
medical assistance.
BEFORE FIRST USE
Fill to the MAX mark, boil, discard the water, then rinse. Do
this three times, to remove manufacturing dust. Ensure that the
electrical connections are completely dry before use.
SAFE HANDLING
• Pour water from the kettle jug
4
slowly to prevent splashing
and scalding with the hot water.
• Fill the water from the top to help free the filter from limescale
build-up. There should always be a minimum amount of water in
the kettle jug
4
before you switch it on (MIN mark on the water
level indicator ).
• To save time and electricity, only boil the necessary amount of water.
SWITCHING ON
• Place the kettle jug
4
on the base unit
8
. Make sure that the
kettle jug
4
is secure on the 360˚connector.
• Plug the mains cable of the base unit
8
into a power socket
before switching the power on.
• Switch the kettle ON. The ON/OFF switch
5
will light up and
the kettle will start heating the water.
SWITCHING OFF
• Once the water is boiled the kettle will automatically switch off.
• Lift the kettle jug
4
from the base unit
8
and hold it level to
avoid splashing the hot water.
• To boil the water again, place the kettle jug
4
back on the base
unit
8
and switch it on again.
• If there is not enough water in the kettle jug
4
, it will switch
off automatically. To switch it back on, refill the kettle and wait a
few minutes to cool down.
Using insufficient water will shorten the service life
of the appliance.
FILTER REMOVAL
• Push the filter
1
into the kettle jug
4
through the spout. Do
not use sharp objects as they can damage the mesh.
• To fit the filter
1
into the kettle jug
4
again, align the filter
hooks onto the spout opening from the inside, and press until it
clicks into place.

4
SERVICE
This product is not user-serviceable. If it is not working, read
the instructions, check the plug fuse and main fuse/circuit
breaker. If it is still not working, consult your retailer.
If that does not solve the problem contact Customer Service
– they may be able to offer technical advice. Please have the
Model Number to hand, as they will not be able to help you
without it.
If you are advised to return the product to us, pack it
carefully, include a note with your name, address, day phone
number, and description of the problem.
If under a guarantee, say where and when it was purchased
and include a valid VAT receipt. Send it to SQ Professional Ltd.
GUARANTEE
The guarantee for this product is covered by SQ Professional
Limited. Any faults with this product arising through a
manufacturer defect will be covered for 1 year from the date
of purchase, subject to a valid vat receipt being presented.
This does not include faults or damage caused by misuse of
general wear and tear. SQ Professional Ltd will not be held
liable for general wear and tear, or eventual damages to
persons, animals or objects caused by incorrect installation
or deriving from improper, erroneous or unreasonable use.
Please contact customer services on 01992 716 070 or send
an e-mail to info@sqprofessional.com, Monday to Friday
from 09:30 - 17:30.
This does not affect your statutory rights.
AC 220-240V ~ 50/60Hz
SCAN THE QR CODE TO EXPLORE
OUR FULL PRODUCT RANGE.
Voltage Business Centre, Units 1 - 3
6 Mollison Avenue, Enfield, EN3 7XQ
T: 01992 716 070 | F: 01992 700 538 |info@sqprofessional.com
WWW.SQPROFESSIONAL.COM
CARE & MAINTENANCE
Before cleaning always check that the kettle is
switched off and has completely cooled down.
• Unplug the base unit and let the kettle cool completely.
• Wipe the kettle jug
4
inside and out, with a damp
cloth. Do not use abrasive cleaners on the outside of the
appliance to avoid scratching the surface.
• Ensure that all connectors and sockets are completely dry.
Descale - even in soft water areas
• This appliance is fitted with a concealed heating element
6
and therefore must be descaled regularly.
• The frequency of descaling depends on usage and water
hardness. Excessive scale causes overheating, reduces the
life of the appliance, and may trigger the boil-dry cut-out
feature. This may damage the concealed heating element
6
and invalidate the guarantee.
• Use an appropriate descaling product suitable
for stainless steel, glass or plastic and follow the
manufacturer’s instructions carefully.
• Products returned under guarantee with faults due to
scale will be subject to a repair charge.
SPECIFICATIONS
Rated Voltage: 220-240V~
Frequency: 50/60Hz
Rated Power: 1850-2200W
Capacity: 1.8L
ELECTRICAL
The product must not be used without the fuse
cover fitted.
Should the power cable or the power plug become
damaged, arrange for these to be replaced by Customer
Service or a qualified person before continuing to use the
appliance. The appliance is fitted with a 10A fuse (BS1362) in
a 10A plug (BS1363).
ENVIRONMENTAL
To reduce environmental and health problems
due to hazardous substances in electrical and
electronic goods, appliances marked with
the symbol below must not be disposed of
with unsorted municipal waste. Please repair,
reuse or recycle appropriately.
This manual suits for next models
3
Other SQ Professional Kettle manuals

SQ Professional
SQ Professional ELEGANTO User manual

SQ Professional
SQ Professional SferA User manual

SQ Professional
SQ Professional Aquen User manual

SQ Professional
SQ Professional dainty User manual

SQ Professional
SQ Professional Gems User manual

SQ Professional
SQ Professional Senza 5410 User manual

SQ Professional
SQ Professional EPOQUE User manual

SQ Professional
SQ Professional gems User manual

SQ Professional
SQ Professional ElegantO User manual

SQ Professional
SQ Professional EPOQUE 9173 User manual


