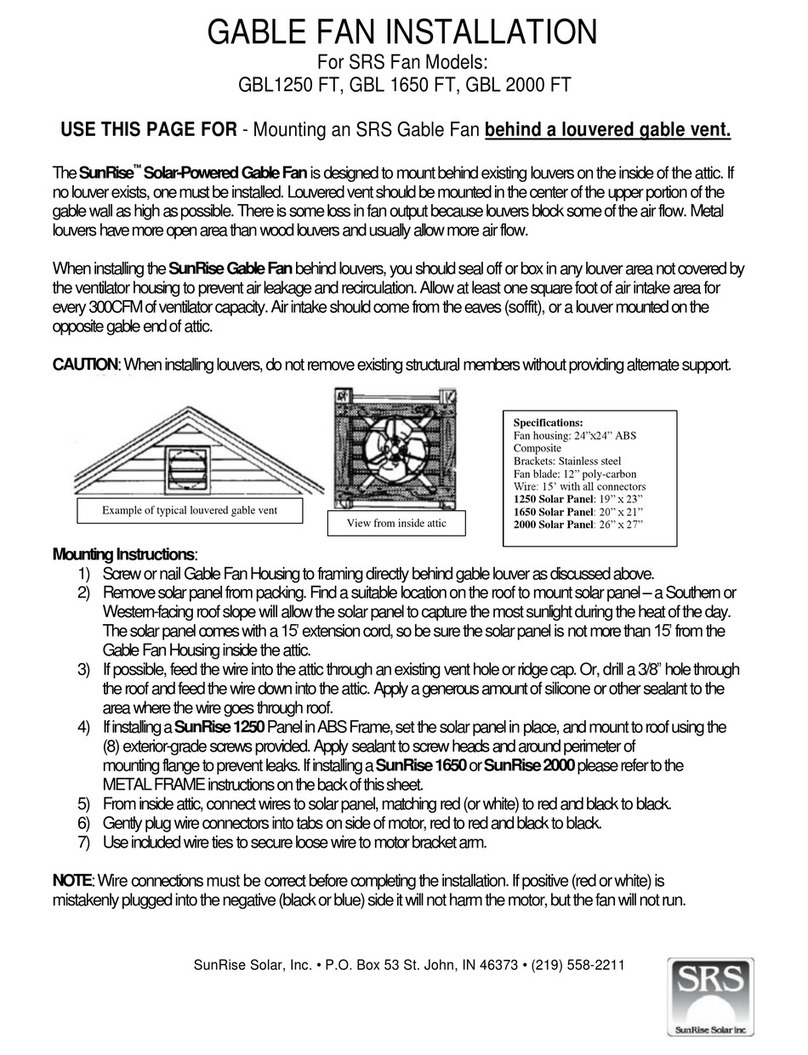
FLAT BASE UNIT INSTALLATION
NOTE: For best operation, install solar fan where it will receive direct sunlight. South or
West facing roof slopes will work best.
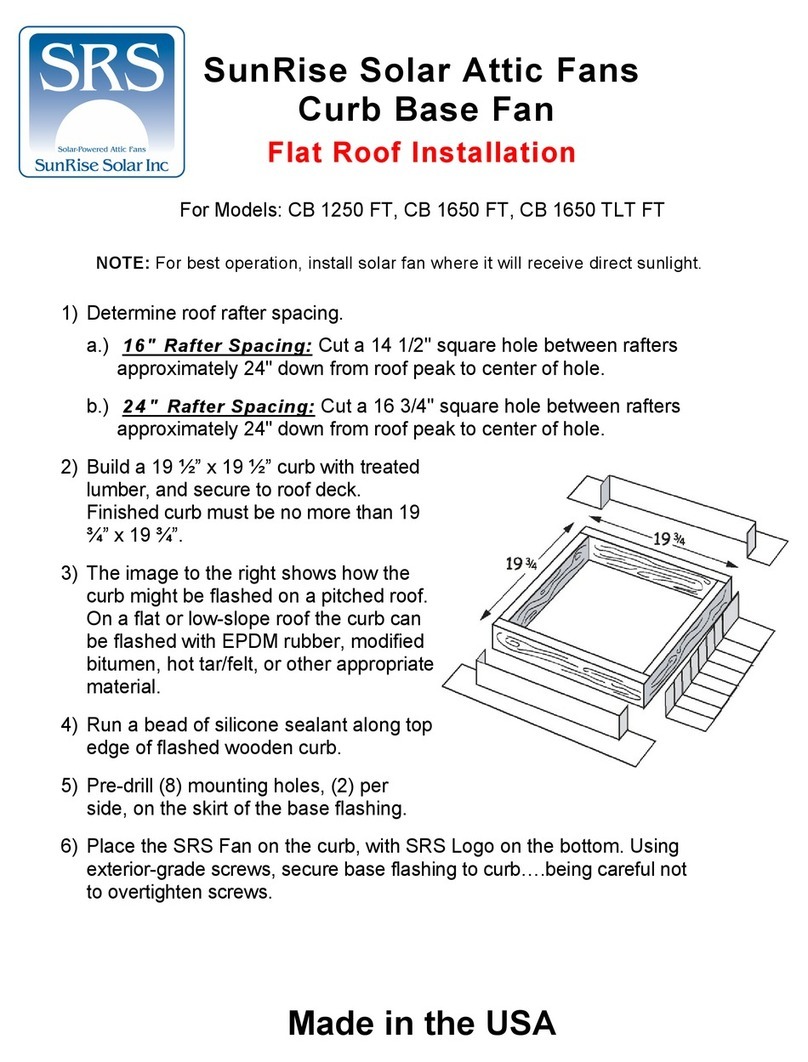
1.) Cut a 14 1/2" diameter hole between
rafters approximately 24”-30" down from
roof peak to center of hole.
2.) Trim away top rows of shingles an
additional 2" to allow base flashing to
slip under top rows of shingles and over
bottom rows.
3.) Slip the flat base under the top rows of
shingles and center unit over opening
with the SRS Logo on the bottom.
4.) Gently lift the unit and apply sealant
under lower edge and sides of base
flashing.
5.) Pre-drill (4) mounting holes along the
bottom edge of the base flashing, and
(1) hole on each side approximately 2"
up from the bottom edge.
6.) Use exterior-grade screws to secure unit
to roof deck. Apply sealant to screw heads.
DO NOT OVER-TIGHTEN SCREWS
Fixed Thermostat Information
This fan has been factory equipped with a thermal on/off switch. This switch is
designed to turn the fan:
ON: 80° F
OFF: 65° F
(+/-7°)
Example: Attic temperature rises to 80° and fan turns on. Once it cools to 65° the fan
will shut off. If evening comes and temp does not fall below 65° to reset the switch,
then the unit will start the next morning at sunrise and continue to cool the attic.
However, if the attic temp falls below 65° at night, then the switch will shut off and
will not turn the unit on again until attic temp reaches 80°.
INSTALLER: THIS FAN WILL NOT RUN UNLESS THE AMBIENT (AIR)
TEMPERATURE IS AT OR NEAR 80°. YOU MAY TEST OPERATION OF THE
THERMOSTAT BY BLOWING WARM AIR DIRECTLY ON THE THERMOSTAT TO
HEAT IT TO 80°, MAKING SURE SOLAR PANEL IS EXPOSED TO SUNLIGHT AT
THE SAME TIME.
